Adventures of an Abandoned Coffee Table, Part One…
Well, after talking and talking about starting a blog, I’ve finally done it. Thanks to the husband for setting me up with a cool domain, hosting, and starting me off in WordPress I can finally sit down and…well…blog! I’m glad I married someone with talent. It’s funny how I’ve been wanting to do this for a few years, yet I absolutely hated writing ANYTHING in college. But either way, here I am and for my first ever project, I’m sharing how I gave this sad little coffee table a complete makeover!
This post may contain affiliate links for your convenience. Read our disclosure policy.
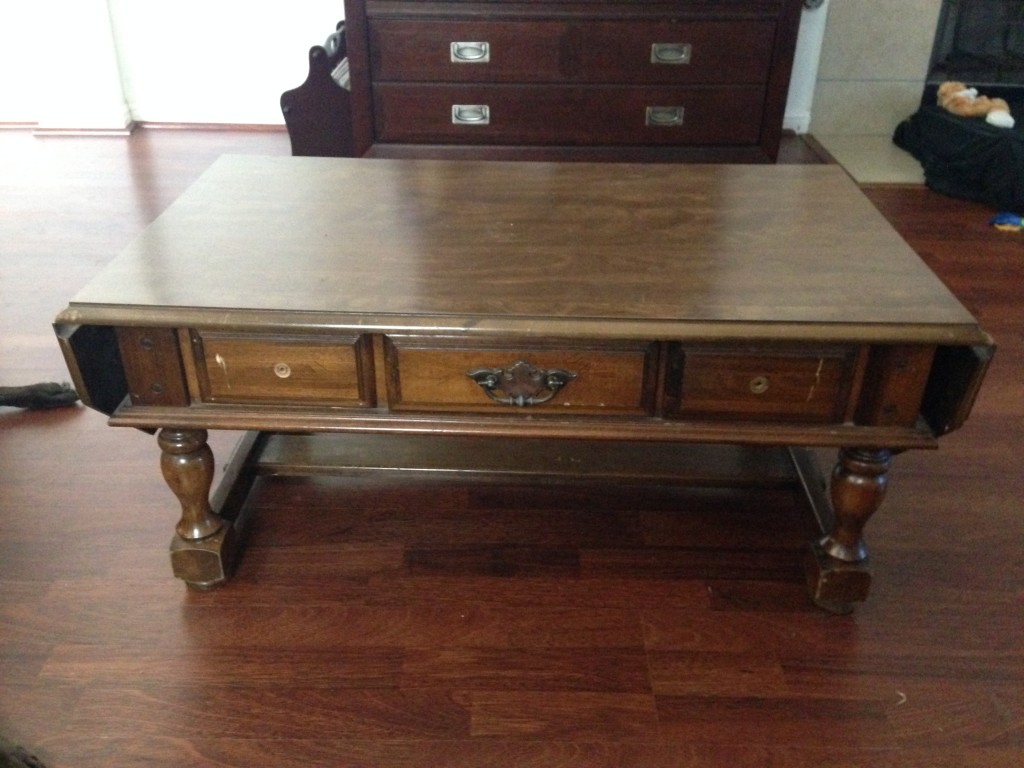
Before the husband and I made our cross country trek to this wasteland I like to call Manor, TX, we made one last trip to Illinois to visit family. That is where this project officially begins. My mom had this coffee table in their basement that had been there for years. She decided a year or two ago to replace it with a newer version. The older one sat in their unused basement bedroom until she decided to make it a true guest room. Said coffee table had to go. I couldn’t just let her kick it to the curb (literally) when it had so much potential! I was sure with a little elbow grease and paint that baby could take on a whole new life.
That’s where I came to the rescue. Even though we had a 10 hour drive home in a tiny Ford Focus WITH our 60 pound dog and all of our other belongings, I made that poor lifeless table fit in the trunk. It took a little finagling, a little swearing, and a few cuts and scrapes, but it finally fit.

Once we were back in Chattanooga, there was no time to even think about projects. We had just a few weeks to pack up our 4 bedroom house and move it 1000 miles to the west. Well, we have now been settled in our new place for 4 1/2 months and I have finally decided it’s time. Now that our lives have become routine again we finally made that fateful trip to Home Depot for supplies today.
I’m sure my husband just loves when I drag him out to stores on his day off. At least today it was just to Home Depot and he was able to use a gift card he got for Christmas to buy himself some new drill bits. Either way, I feel much better when he joins me because he knows way more about anything DIY than I do. So after spending about an hour in the store we walked away with stain, primer, paint, sandpaper, and brushes. While there we also picked up another light for my plant stand (almost time to start my seedlings!!!!) and of course, drill bits!
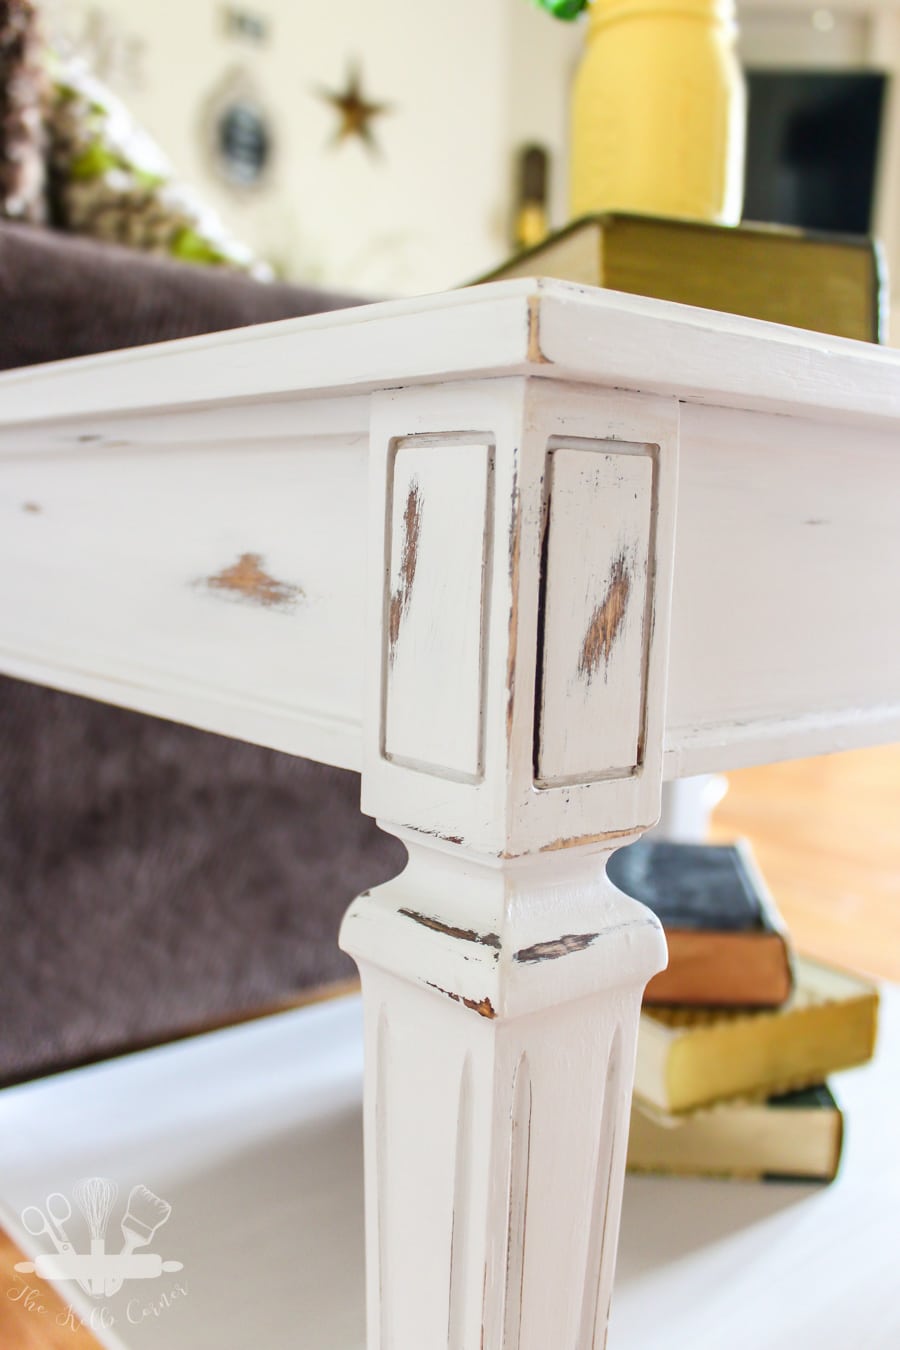
After going back and forth for the last 4 months on the color and style I wanted for this coffee table I decided to do a dark espresso stain on the top with an antique white paint on the bottom. If I’m feeling extra crafty I may just distress the antique white. Only time will tell…
I decided to get rid of the drop sides as well as the “I” post between the 4 legs. I think this gives it a cleaner look.
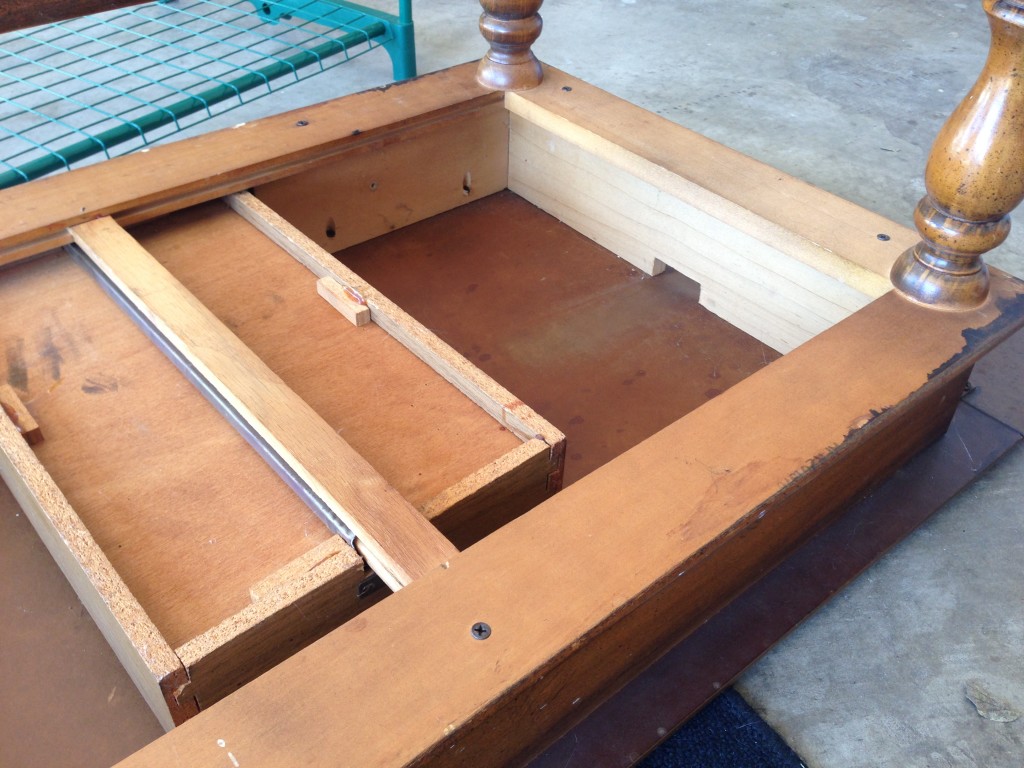
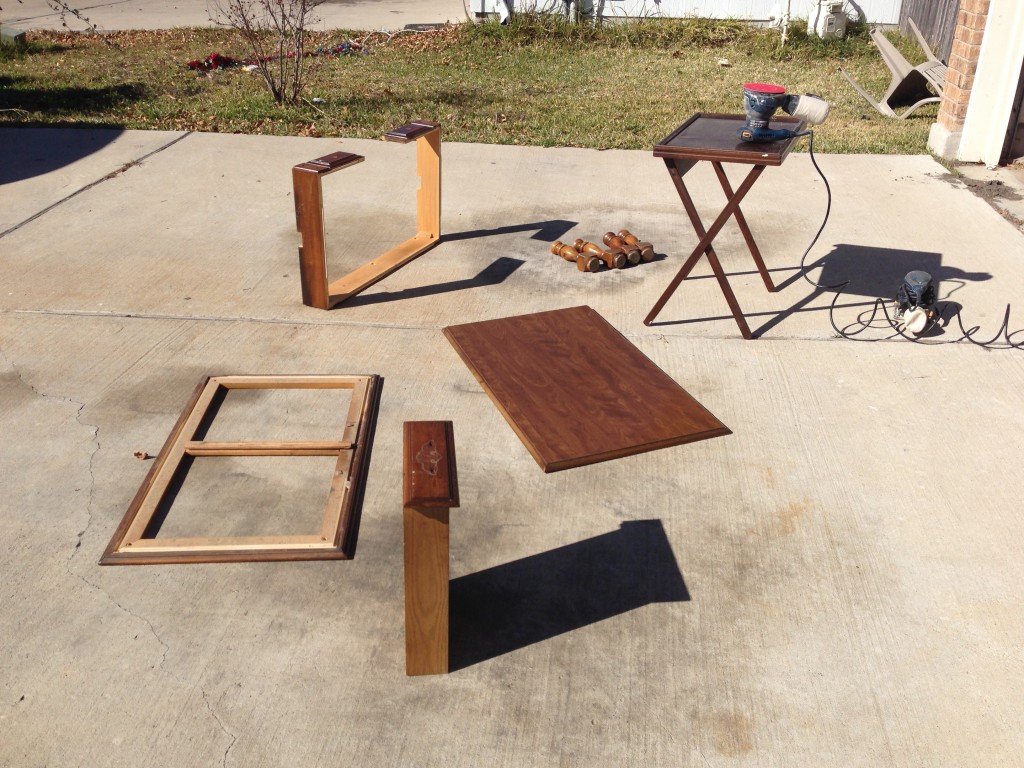
I started breaking everything down to pieces so it was easier to work with.
This part was much easier than I expected. Of course I had to take a lot of pictures to make sure I can put it back together correctly (not speaking from experience or anything).
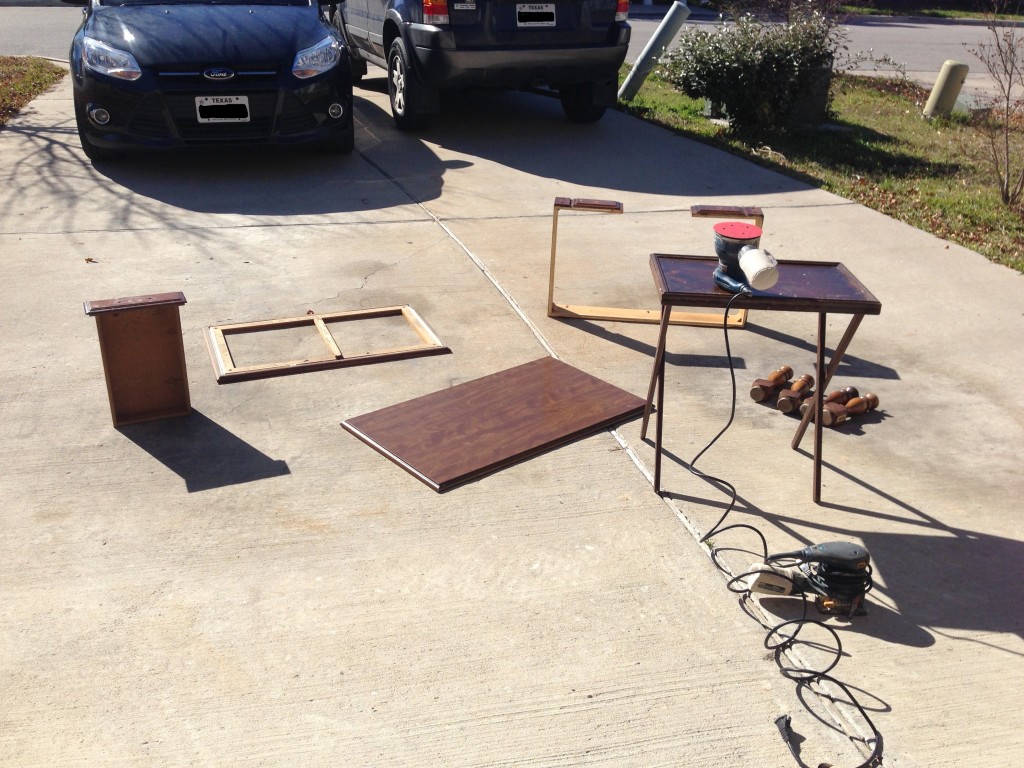
After I had it completely broken down, I started the meticulous sanding. I started with the top first with our orbital sander. I used 100 grit first trying to knock off the multiple layers of stain and poly. That is where my project hit it’s first hiccup. This beautiful coffee table that I had so many ideas for, that I assumed was all hard wood, had a top that was sadly just MDF with a wood grain veneer. There goes my idea of the espresso stain.
After talking it over with the husband, I think I will exchange the stain for an oil based Rustoleum in the Espresso color. *Fingers crossed they have the right color* I really don’t want to use a latex paint on the top even with a poly top coat because it can scratch really easily. Oh well, whats a DIY project without some road blocks anyway?
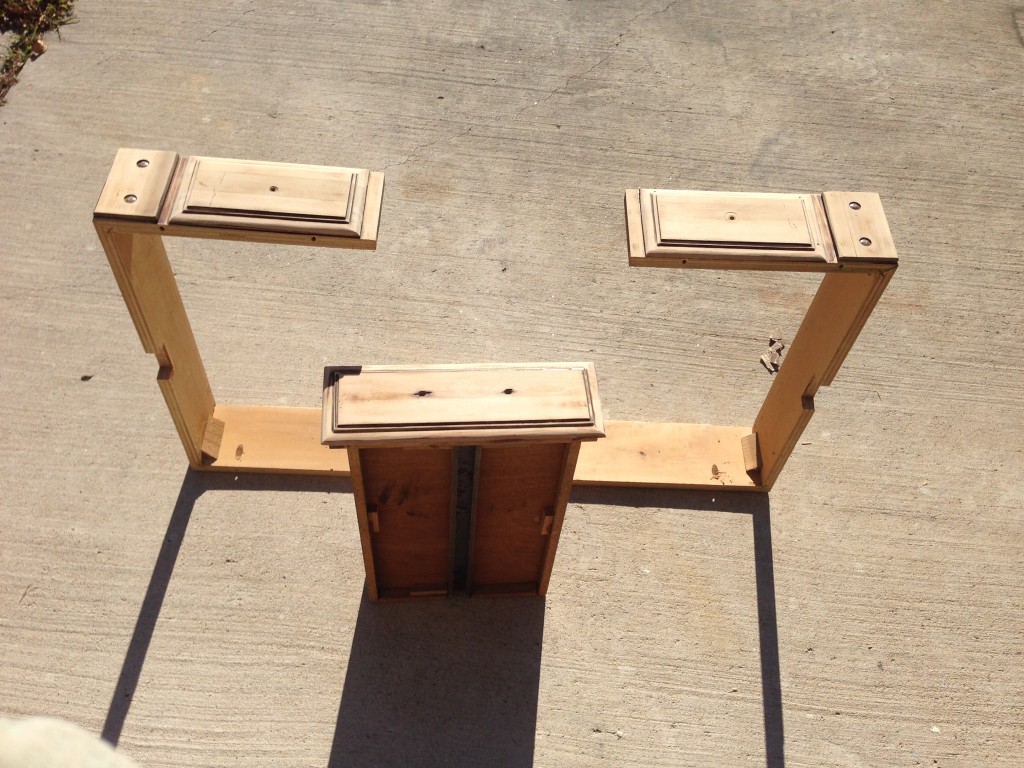
So instead of dwelling on the top, I moved on to sanding the other pieces. I needed to make sure I got all of the finish off because of the light color to the paint would allow the darker color to bleed through. I started with 60 grit sand paper and moved to 120 and then 220. I used our Dremel Multi Max tool to sand with so I was able to get into all of the crevices and curves of the drawer fronts. After I was through with that I decided it was a good time to call it a day. It was getting pretty warm out in the sun with it being 72 and all…not to rub it in or anything.. Even D was panting. I’ll save the legs for another day because I have a feeling they won’t be easy to do.
Here’s what the sanded drawer fronts and frame looked like when I was finished. Smooth as a baby’s butt 😉
Hopefully this weekend I can finish it, or at least get it primed and a coat or two of paint on it. Now I need to decide what kind of hardware I want to use on it.
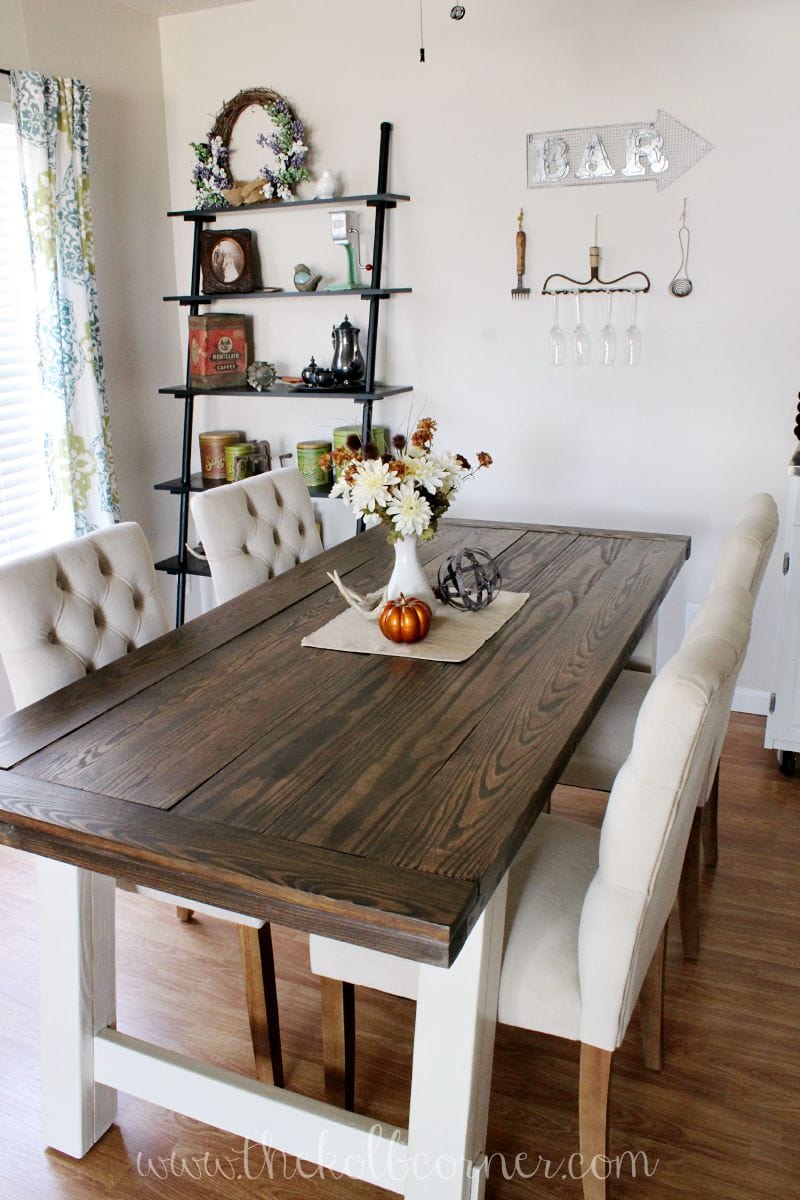
**Update! Check out the finished project here!
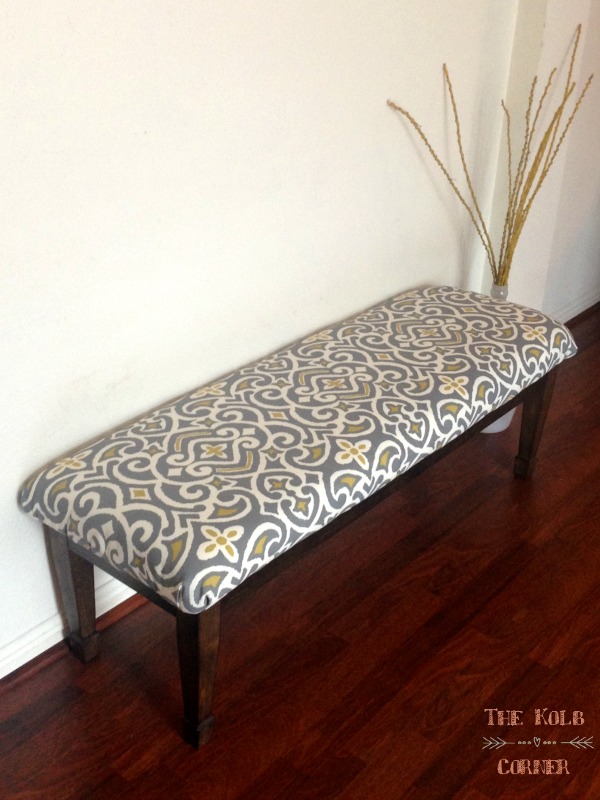
More fun furniture makeovers: