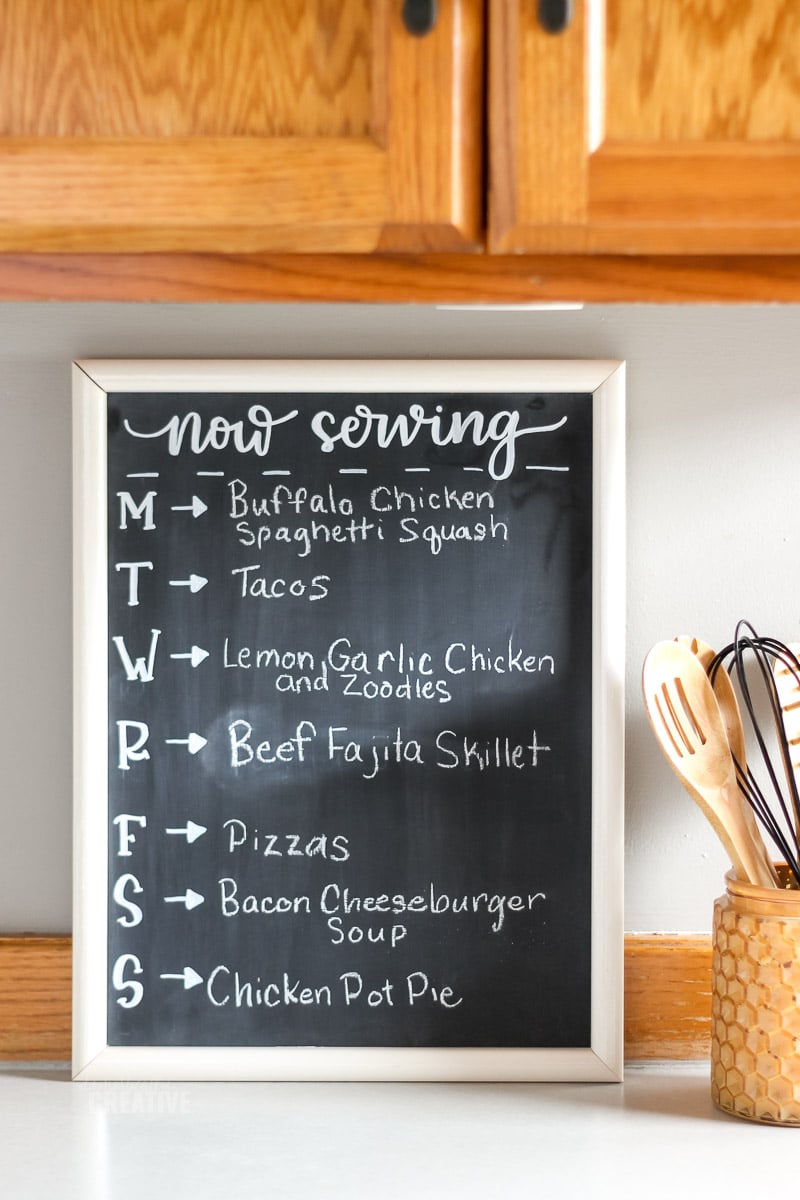
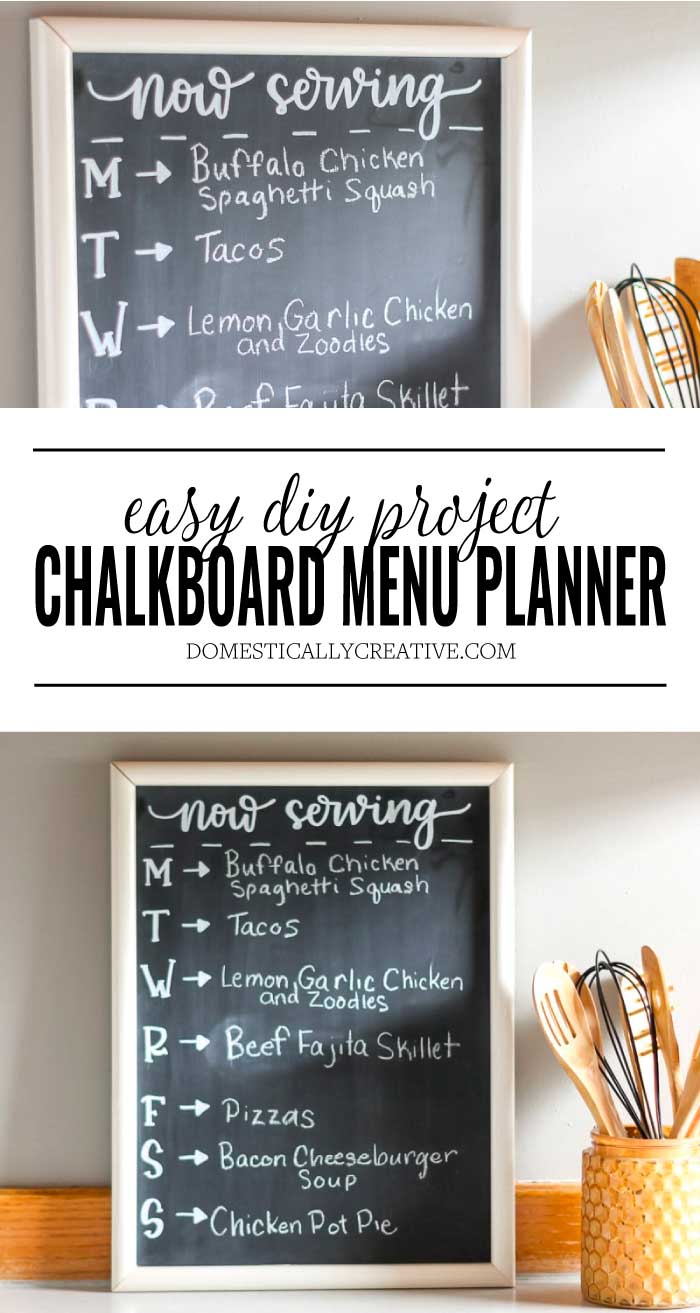
DIY Chalkboard Menu for Meal Planning
Keep up with your goals of meal planning by making this simple DIY chalkboard menu from a picture frame.
This post may contain affiliate links for your convenience. Read our disclosure policy.
*This post was originally written and published January 2015 but has since been updated.
Do you have goals of planning your dinners each week, only to find that by Tuesday you have no idea what’s on tap? This easy to make DIY Chalkboard Menu is not only a fun piece of decor but it’s a great way to keep you on track for dinner!
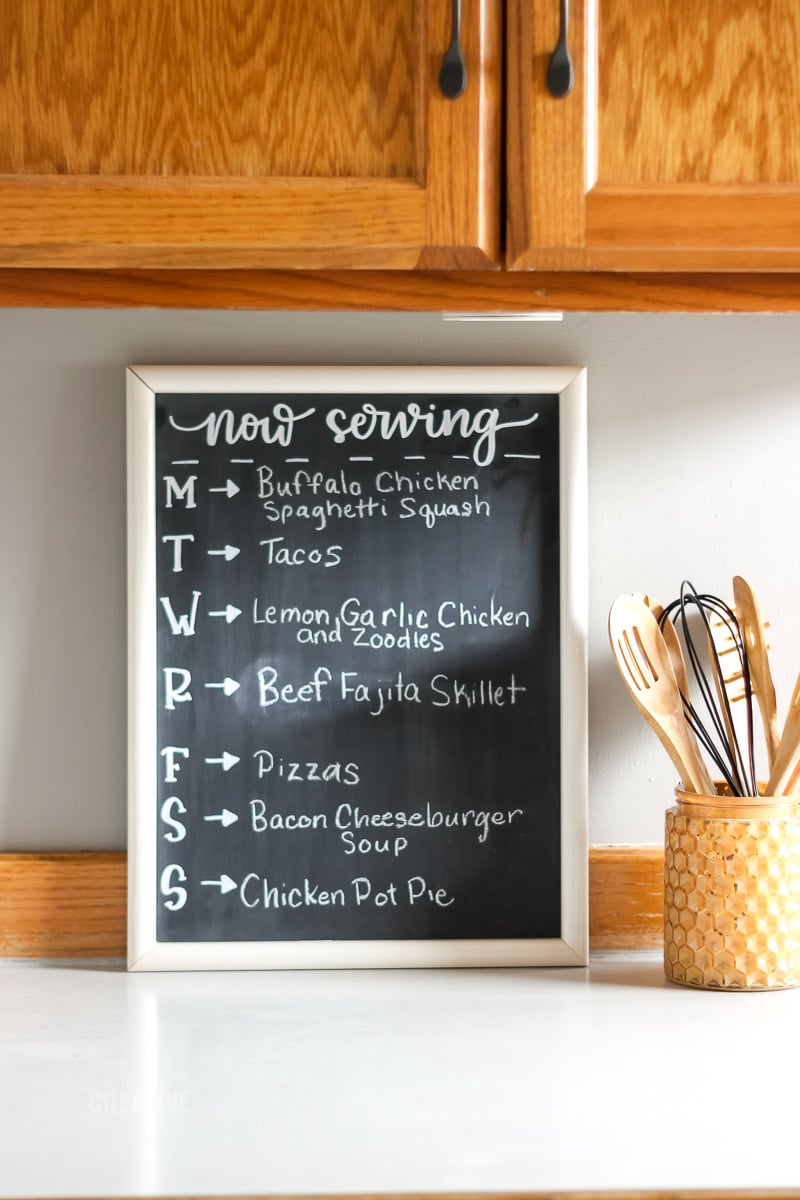
This DIY chalkboard menu is made by painting the glass of a picture frame in chalkboard paint. It’s simple to do and creates an inexpensive way to keep track of your meal plans. Here’s how to make your own.
How to Make a Chalkboard Menu for Meal Planning
Things you’ll need:
- Picture Frame–thrift stores are great for these
- Spray paint (optional)
- Chalkboard Paint
- Paint brush or Foam roller
- 320 grit sand paper
- Chalk and Chalk Markers
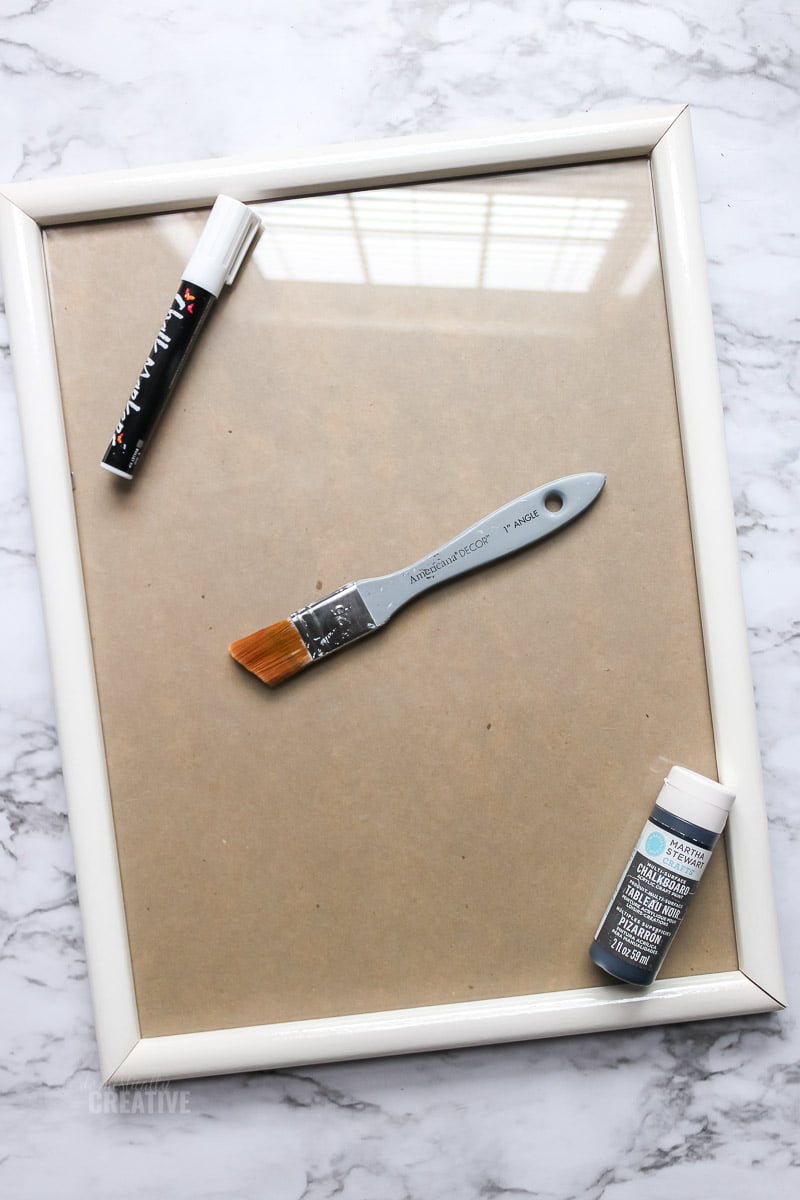
First remove the glass and backing from the picture frame. Clean the frame really well with Murphy’s Oil Soap or other mild cleaner to get any dirt and grime off.
Clean the glass with Windex and let it dry completely.
If needed, spray paint the frame in the color of your choice. I prefer to use Rust Oleum 2x Ultra Cover brand for the best coverage and even color. Let the frame dry completely.
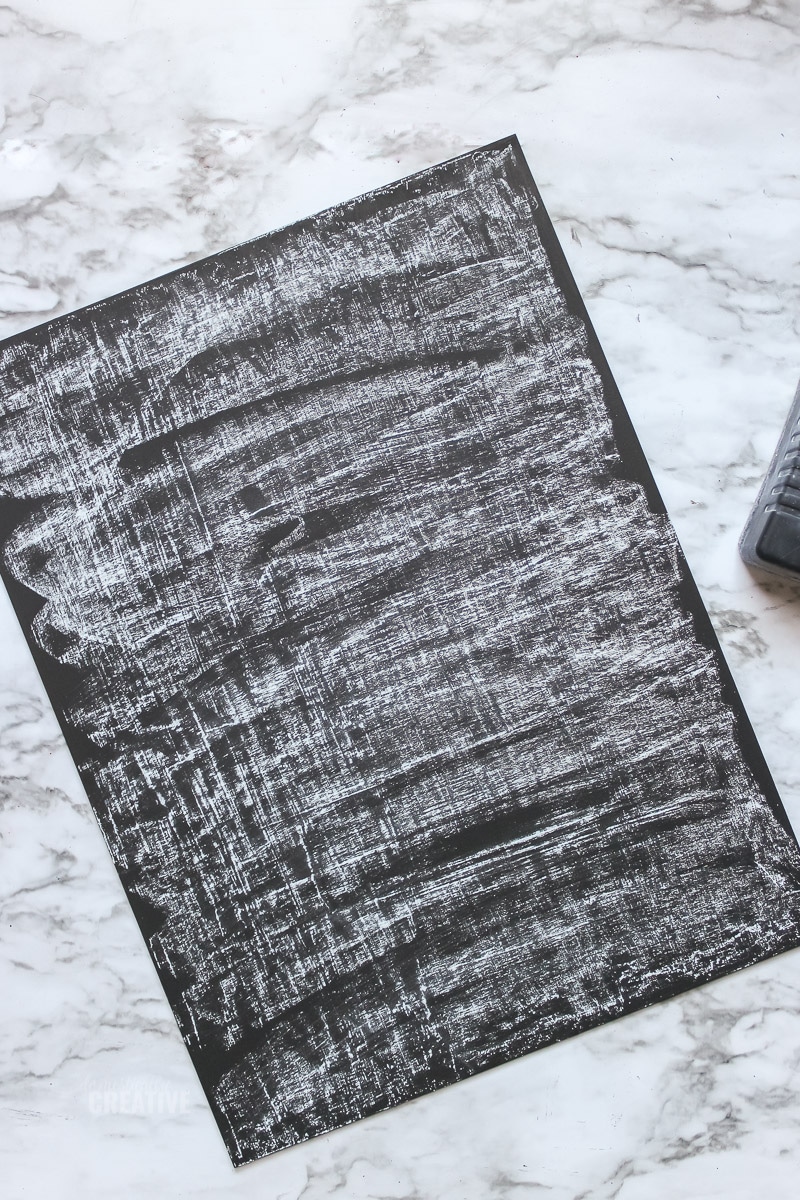
Using chalkboard paint, cover the glass from the picture frame. A foam roller makes even strokes for a smoother surface (learned the hard way!) It will take 3-5 coats to get the best coverage.
Once the chalkboard menu has dried completely, prime the chalkboard paint by rubbing a piece of chalk on the entire surface. Then erase the chalk away. This will prevent “ghosting” which is when you can still see what was written after erasing.
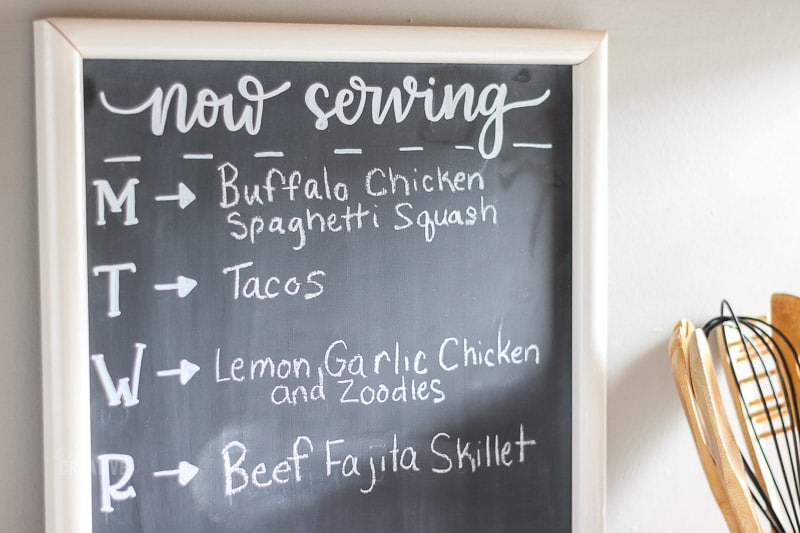
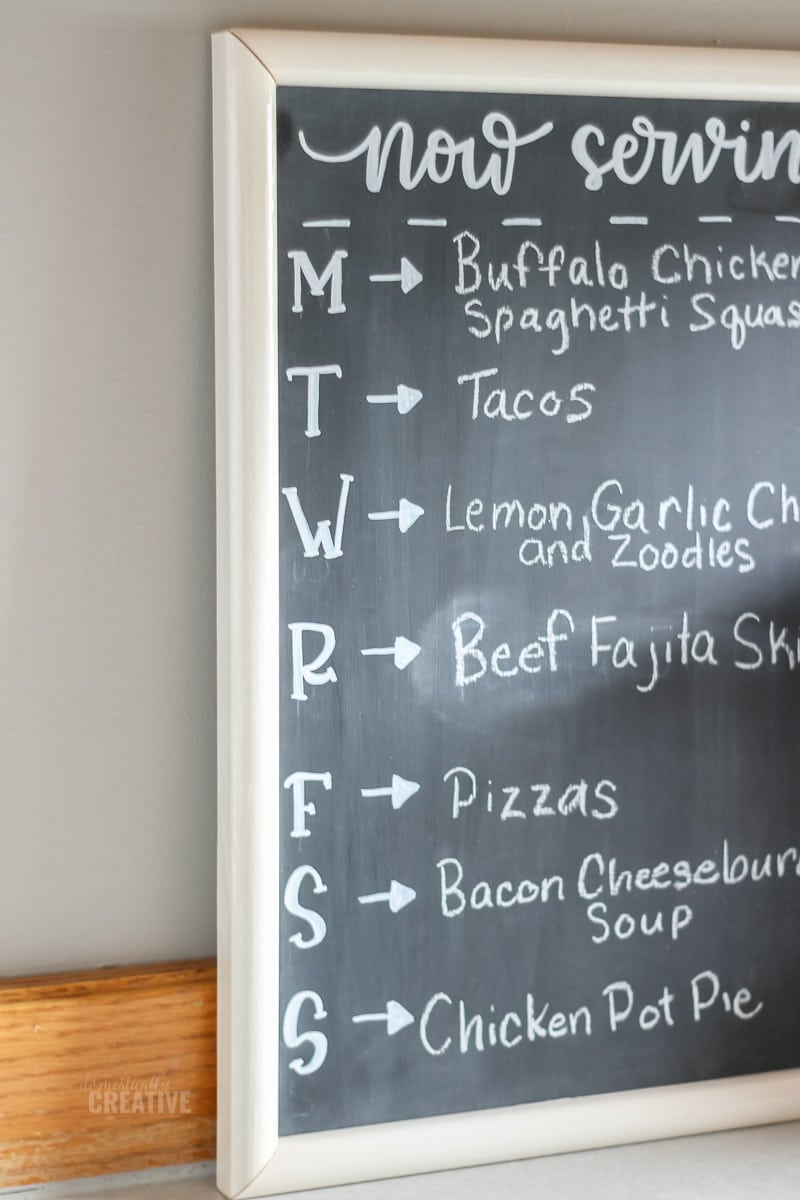
Use a chalk marker to create the layout for the chalkboard menu. Chalk marker is still able to be erased with a wet rag, but will not be erased with an eraser. This way you won’t need to rewrite the days or title every time the menu changes.
Want to learn more about hand lettering? Check out my calligraphy blog Designs By Amanda Kay
Find a convenient place to hang your brand new meal planning chalkboard so it’s easy to refer back to. Now you have a great piece of original decor to display that is also functional and inexpensive to create.
Advice for creating this DIY Chalkboard Menu
- Start with a large picture frame so you’ll have plenty of space to write out each day’s meal. My picture frame is 12×16 and I wish it was just slightly bigger.
- Buying a frame from a thrift store is the most inexpensive way to create your own chalkboard menu for meal planning. I scored mine at Goodwill and it just so happened to be a color that was 50% off. I only paid $1.50 for it.
- Do not skip the chalkboard priming step! I have done this in the past and only regret it. You will have ghosting if you do not prime it.
- I definitely recommend using a foam roller for the chalkboard paint. At the very least a foam paintbrush will work better than a bristle brush. Learn from my mistakes!
- If the surface of the chalkboard menu is not as smooth as you’d like (say from brush strokes from using the wrong paint brush) you can give it a light sanding with 320 grit or finer sand paper before priming. Wipe the surface down with a wet cloth to get all of the dust.
Not in love with the idea of using chalk?
You could simply paint the inside cardboard of the picture frame with black acrylic paint. Then use chalk markers on the glass to write the menu. It will give the look of a chalkboard without the hassle and mess. Check out my dry erase magnetic fridge menu also for more meal planning ideas.
Are you a pen and paper type of meal planner? Subscribe below for your free printable meal planner!
Love this idea? Pin it for later!
I love that! Makes my weekly menu look ridiculous LOL Thanks so much for joining us at the #HomeMattersParty this week! Tell a friend, and we hope to see you both next week! Happy Saturday 🙂
SUCH a cute idea!!! I could definitely put this to work in my kitchen! Thank you SO much for sharing at the Frugal Crafty Blog Hop this week!
Thank you Kristi!
Hello cute lady! This looks so amazing. I would love have one right now. Pinned and tweeted. We appreciate you taking the time to stop by and party with us. It wouldn’t be a party without you! I hope to see you tonight at 7 pm. Lou Lou Girls
I *need* this chalkboard menu in my kitchen! So happy you stick with it and created something awesome!
Thanks for sharing at Show Me Saturday linky party! You are one of my weekly features!
~ Ashley
Thank you so much Ashley!!
Love this. I want to make one for our kitchen. Unfortunately, my handwriting is so terrible it rivals on unreadable. I saw some erasable paint liquid chalk from martha stewart that I may use.
Adorable! And I applaud your persistence! I hate it when a seemingly simple DIY goes awry. I tried making a chalkboard out of one of those dollar store silver platters and had the same problem with the paint peeling right off. I have yet to win that battle. You’ve inspired me to not give up!
Thank you Meredith! Have you tried using an oil base primer for your platter? I don’t know if it would work out, but may be worth a shot. Good luck!!
Love your chalkboard menu project. I pinned this –
Thank you for the pin!