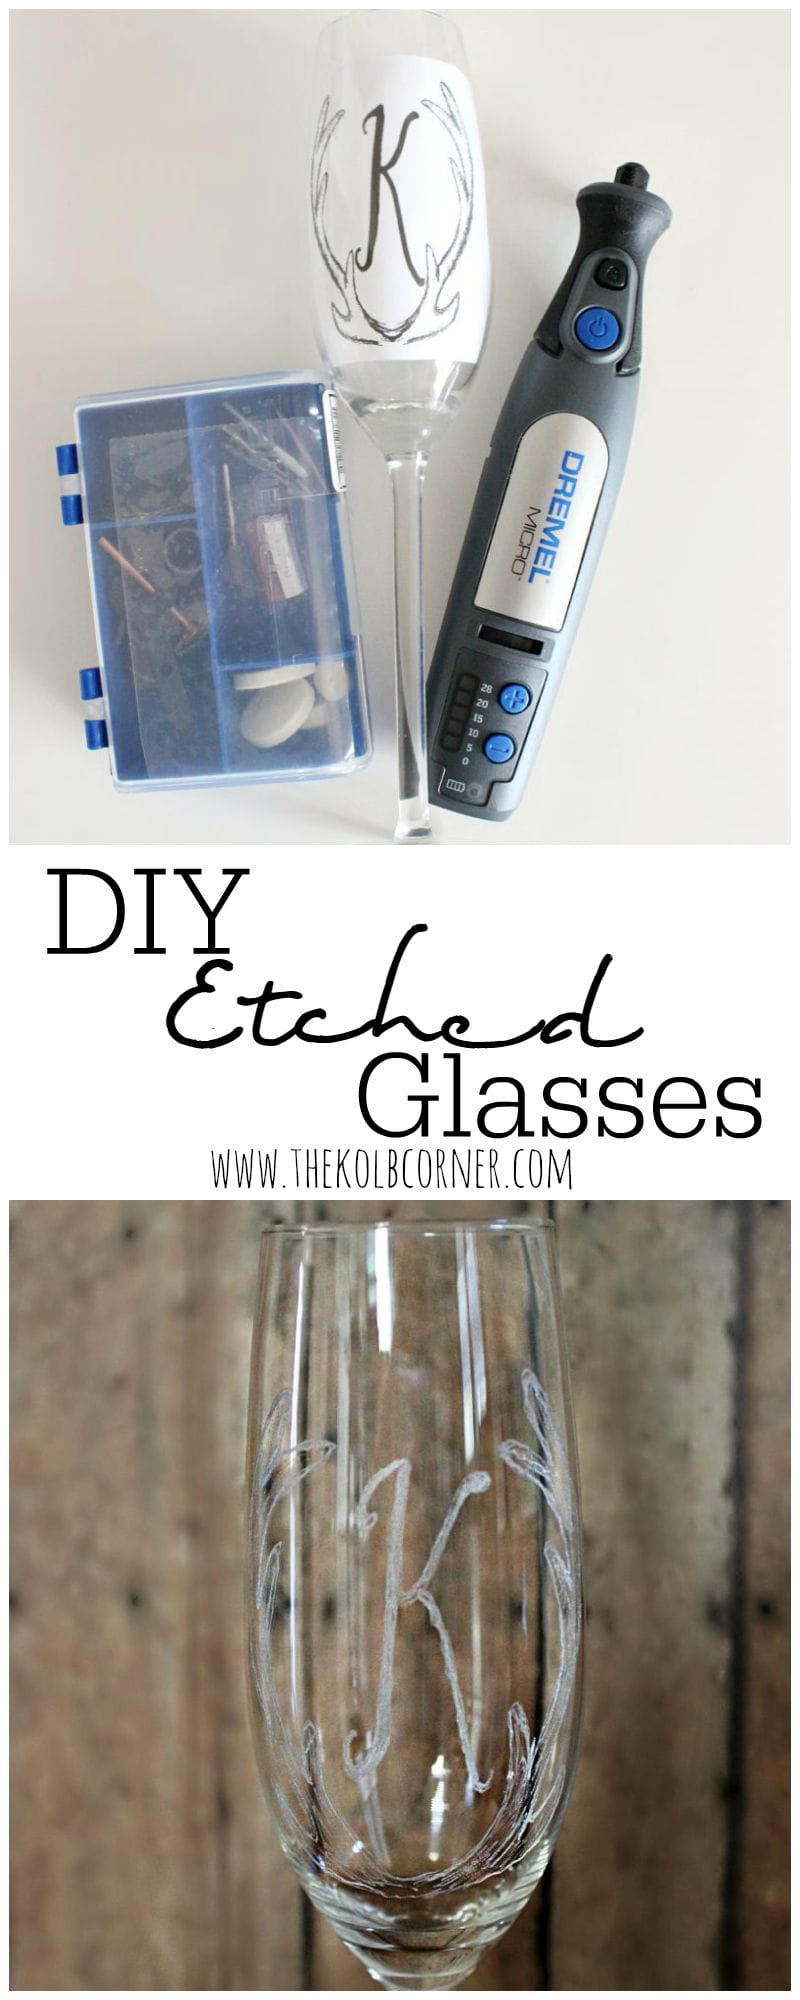
DIY Etched Glasses
*Denotes affiliate links. This means purchasing items linked to in this post may result in a commission paid to me. All opinions expressed in this post are my own–Read my full disclosure HERE.
Last Christmas my wonderful husband bought me a Dremel Micro*, after I told him I had to have one to etch some stemware.
This post may contain affiliate links for your convenience. Read our disclosure policy.
We have 2 different Dremel tools, and we use them all the time. For me, I mostly use them to get into tight crevices when sanding furniture, but my husband uses them for just about everything.
When I saw that there was a miniature version, I was so excited to try it out. Then I saw a few projects on Pinterest where people were using theirs to etch glasses.
My husband and I didn’t ask for or receive any fancy stemware for our wedding because it’s just not practical for us. Instead of getting all fancy with custom engraved stemware, I thought I would use the Dremel Micro to engrave some thrift store glasses. We hardly ever use stemware anyway, and these would be perfect to keep on display on the rake wine glass holder I made.
Cut to last weekend, I FINALLY got started on my glass etching adventure. The hardest part was deciding on a design for these etched glasses.
I happened to find these adorable antler graphics from We Lived Happily Ever After, and knew they would be perfect for this project!
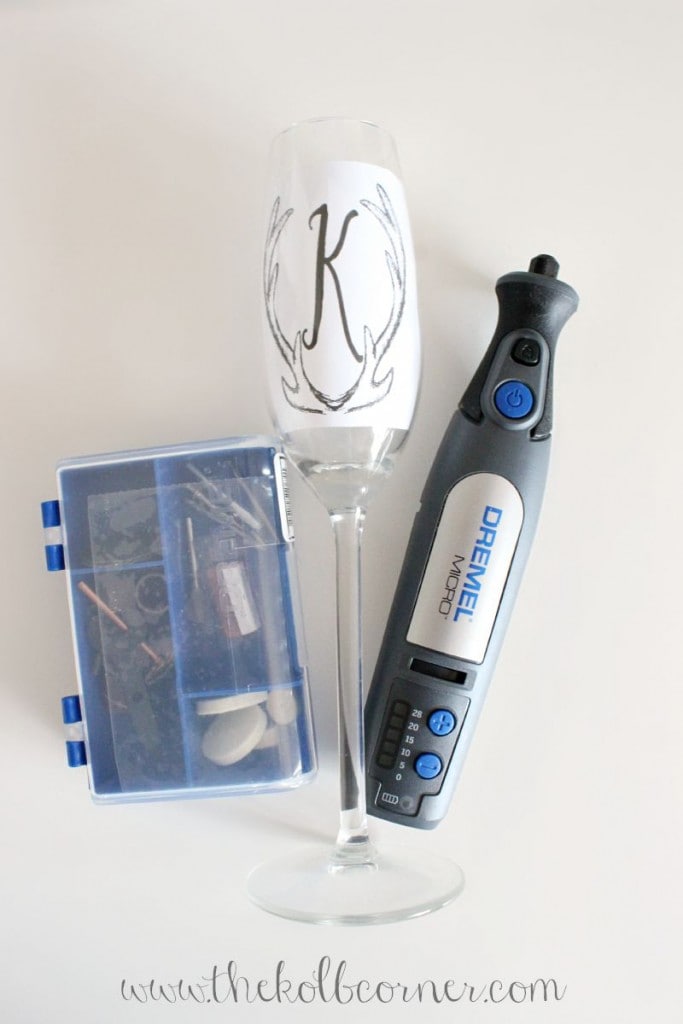
Here is the design I settled on–a simple “K” initial and antlers.

After the design was decided on, I printed it, cut it out and stuck it down in the glass. Then I used a small piece of tape to secure it to the glass so it wouldn’t slide around while I was working.
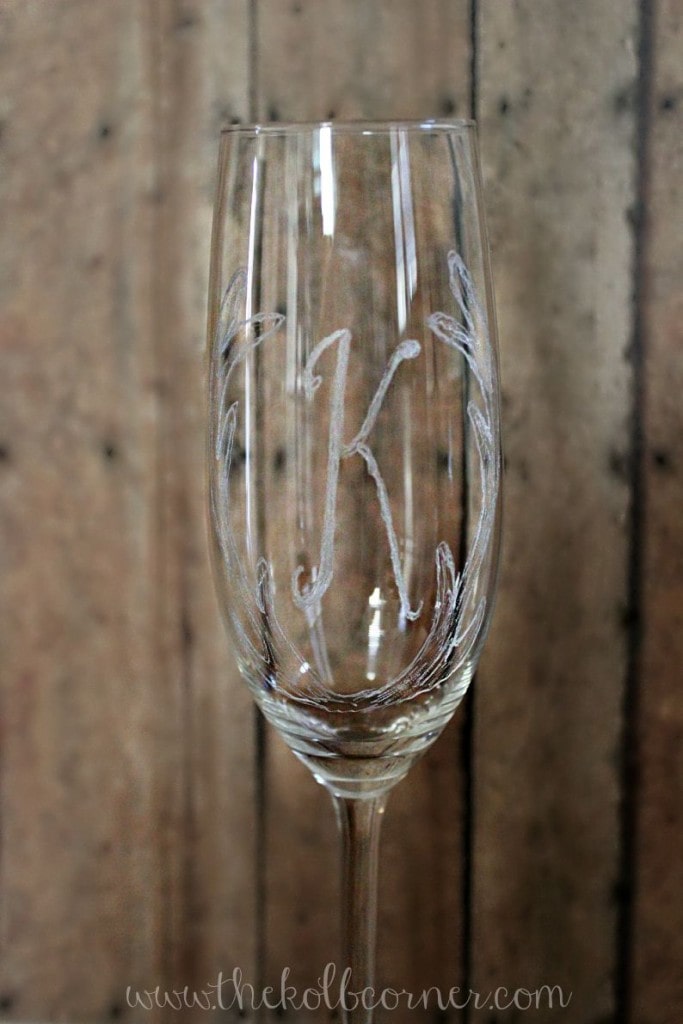
With the fine tip grinding stone attached to my Dremel Micro, I started tracing out the design onto the glass. It was pretty quick work! First I did a rough outline tracing, then went back in to shade in the antlers and make the “K” thicker.
I should mention that it is important to wear gloves, long sleeves, glasses, and maybe even a mask. I did wear glasses while I was doing this, but not gloves, long sleeves, or mask. While you are etching the glasses, it creates “glass dust” that gets ALL OVER and is hard to wash off. The dust reminded me of glitter at Christmas time and how it gets everywhere, so it may be a good idea to do this outside.
These etched glasses are a wonderful finishing touch to the wine glass holder!
I’m sure you could use another Dremel tool to do the etching, but what makes the micro easier to use is that it is small enough to grip like a pen, for finer work. Plus the micro is compatible with all other Dremel attachments. It comes with a fine tip grinding stone, and a few engravers as well. If you need more variety, there is an 11 Piece Carving/Engraving Kit* that has multiple sizes of grinding stones and engraver tips that is reasonably priced.
I can’t wait to try some wood engravings! The wheels are already spinning for my next Dremel project.
Check out some of my other DIY projects:
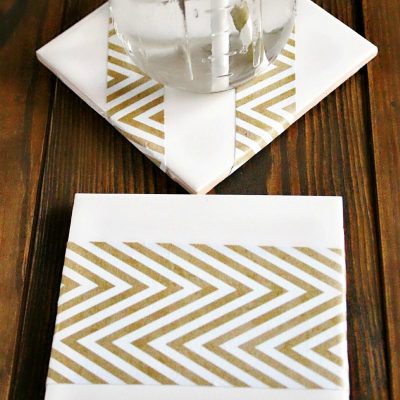
DIY Coasters
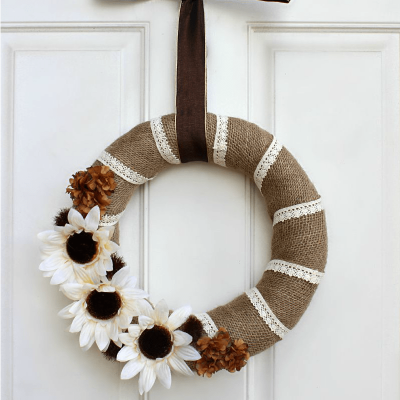
Burlap and Lace Fall Wreath
Love the DIY Amanda. I’m a sucker for such projects.
Thanks for inspiring me to do something similar. I’m really glad to have found your site.
Cheers
Oliver
Hi Amanda,
Really cool post – I learnt a thing or two about DIY etched glasses!
I see you mentioned the use of a Dremel tool. I actually recently wrote a complete FAQ on using a Dremel tool.
Maybe your readers might get some use out of it 🙂
https://tooljuice.com/how-to-use-a-rotary-tool-dremel-tool-what-is-faq/
Looks so good! Pinned and tweeted. We truly appreciate you taking the time to be a part of our party. Please stop by and party with us again. The party starts Monday at 7 pm and ends on Friday at 7 pm. Happy Sunday! Lou Lou Girls
You are brave! I love my dremel, but I’m not sure I’ll ever be brave enough to use it to etch glass. I do use it to drill holes in china to make cake plate stands. I can’t draw a stick figure on a piece of paper. I cannot imagine etching a picture on glass! Keep up the good work. Looking forward to seeing what you do next.
I was terrified to make the first line!! But it really turned out to be so much easier than I anticipated.