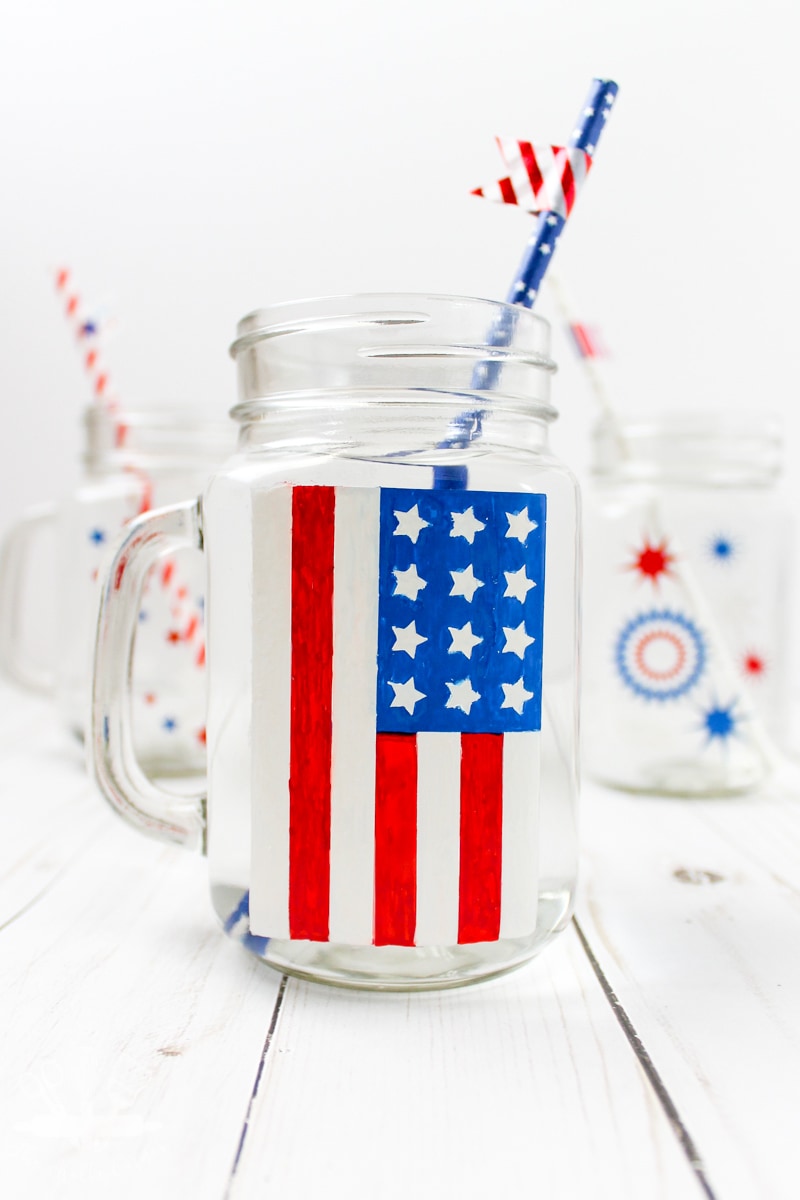
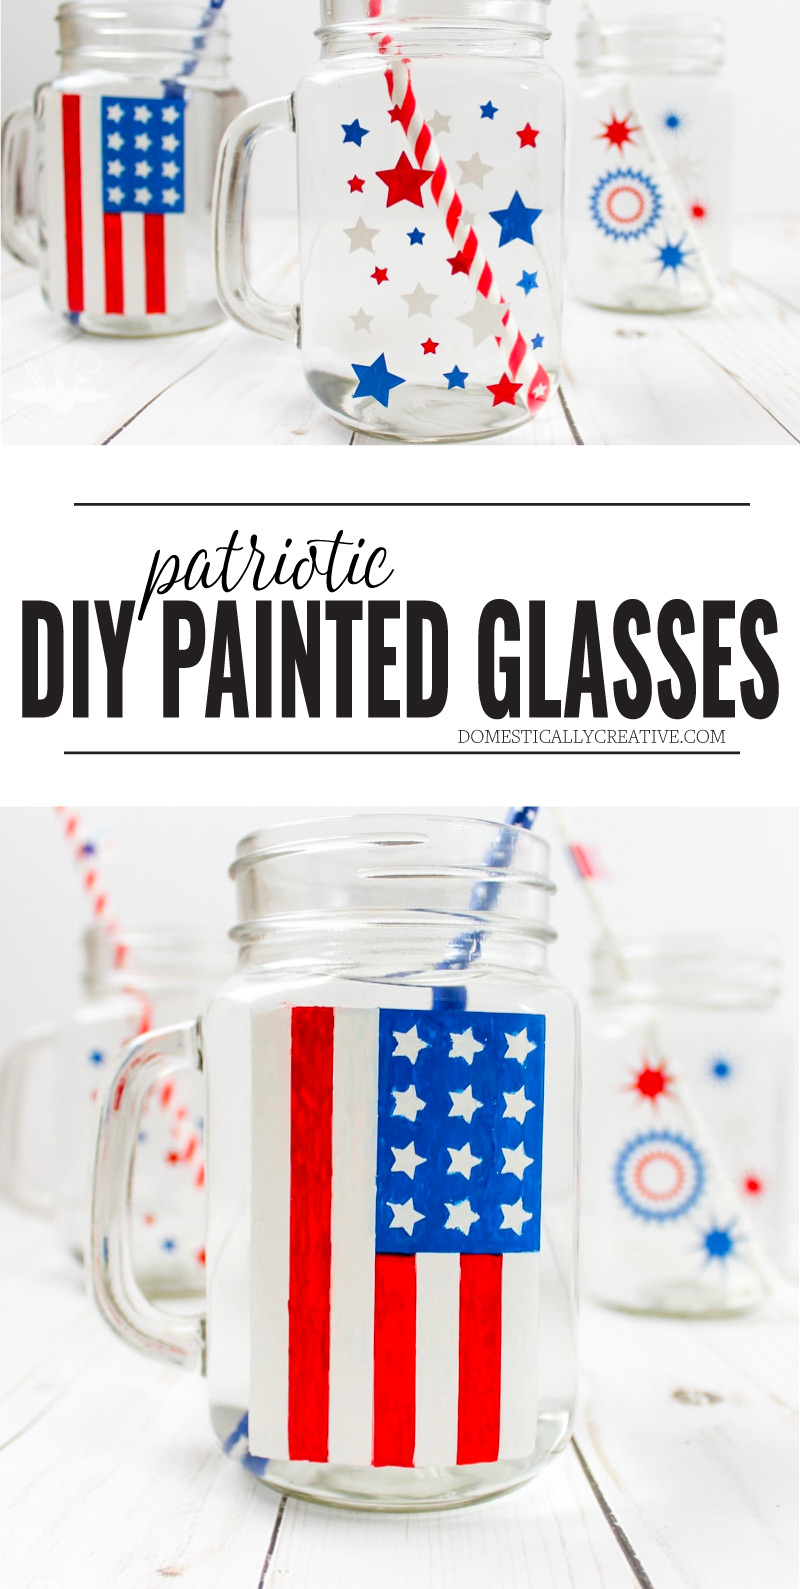
Patriotic Painted Glasses for the Fourth of July
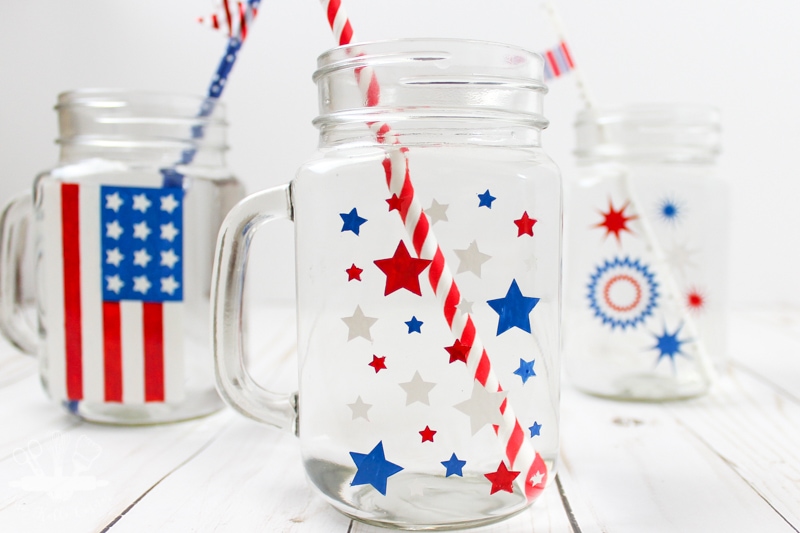
Have a Fourth of July party or barbecue coming up? Serve your favorite drink, punch, or cocktail in these fun and festive, patriotic painted glasses!
This post may contain affiliate links for your convenience. Read our disclosure policy.
Have you ever painted your own glasses or mugs? I guess I’m a little late to the game because I really just started. I painted a few ceramic coffee mugs just for myself and was so thrilled with how they turned out, that I thought I’d move on to glass. That’s where these cute patriotic painted glasses come in! Aren’t they perfect for the 4th of July?
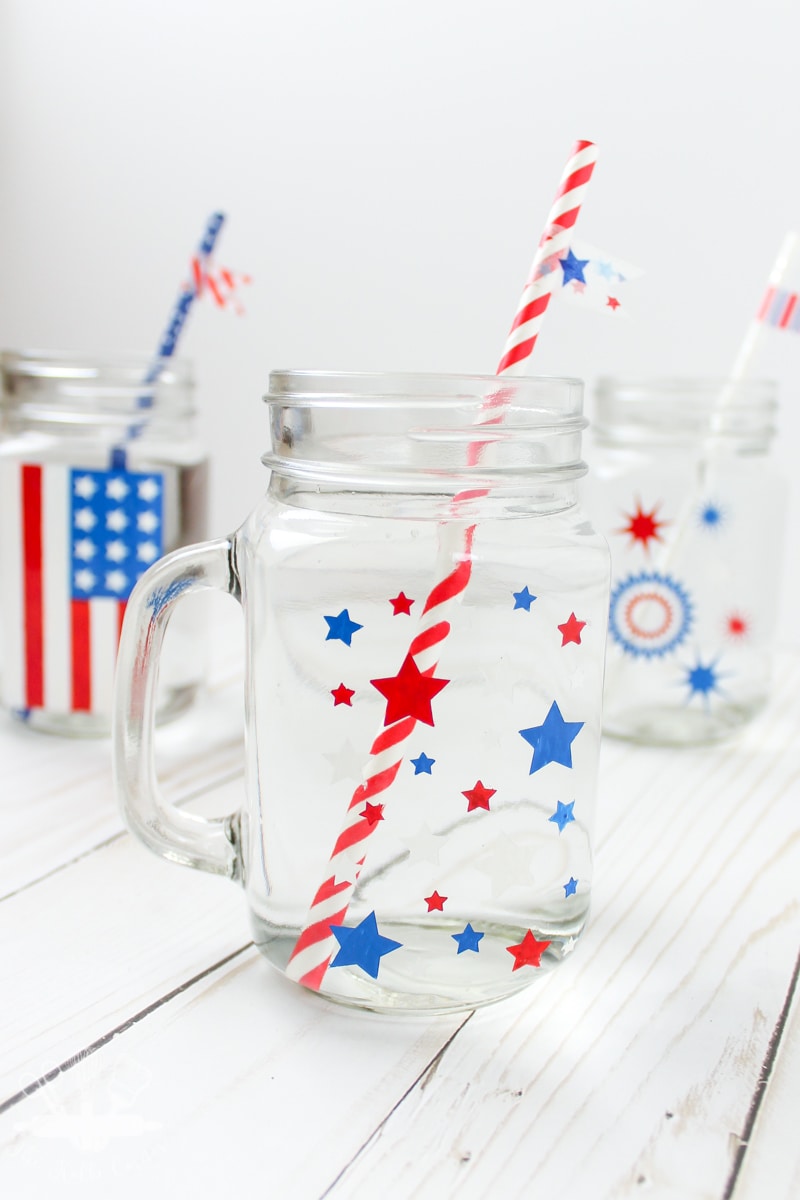
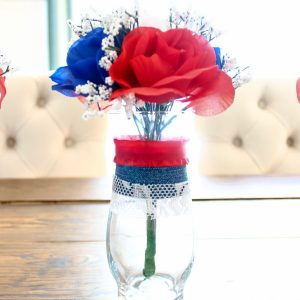
I imagine mixing up some patriotic concoction, like a layered punch or a sparkling sangria to serve in these babies. Or you could serve something a little more summery (is that a word?) like frozen blackberry lemonade. Once the party is over these patriotic painted glasses should hold up pretty well to hand washing if you follow the curing method in the tutorial below.
Patriotic Painted Glasses
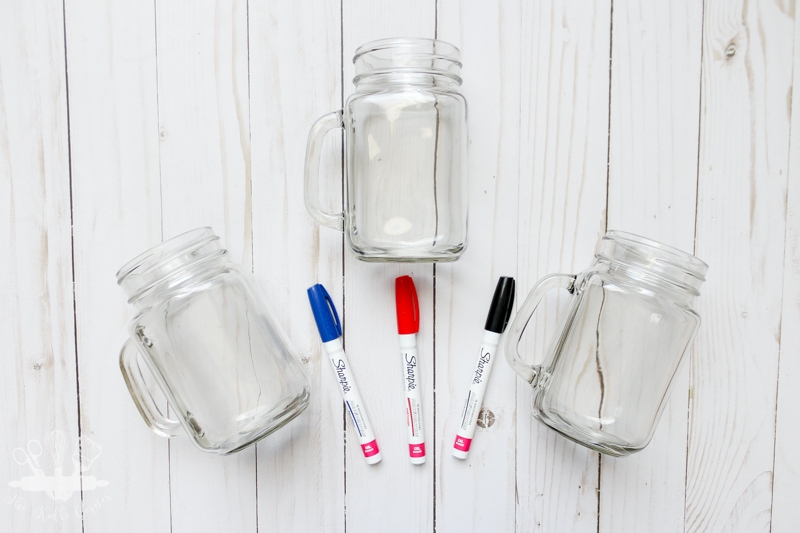
Supplies you’ll need:
- Glasses or mugs (I used these)
- Sharpie Oil-based Paint Markers in red, white and blue
- Rubbing Alcohol
- Silhouette or cutting machine OR paper and x-acto knife
- Frog Tape
- contact paper
- Flag design
- Stars design
- Fireworks design
How to make your own patriotic painted glasses
Start by cleaning the glasses really well to get off any dirt or grime. Take a cotton ball soaked in rubbing alcohol and wipe down the surface you will be painting on. Let the glasses dry.
Download the designs above if you are using and open them up in Silhouette Studio. Cut out your designs onto contact paper using the Silhouette and weed out the shapes. Remember you are using these as a stencil, so leave the negative space. If you don’t have a silhouette, you can print designs out onto paper and cut them out with an x-acto knife.
To transfer the stencil to the glasses, I used frog tape. You could use some transfer tape, but I find that with contact paper the frog tape works a little bit better. Smooth out the stencil on the glass to get rid of any bubbles, and carefully peel off the frog tape.
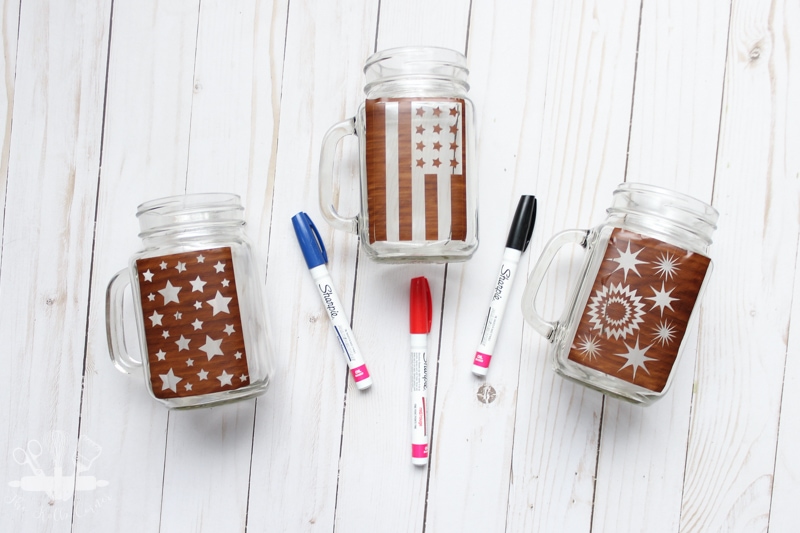
Now you are ready to draw in the stencils with the sharpie markers! You could probably use enamel paint made for glassware too, but I find that the oil based sharpie markers work a bit better. The paint sticks to the glasses, dries quickly and the flow of the paint is really easy to control in tight spots of the stencils.
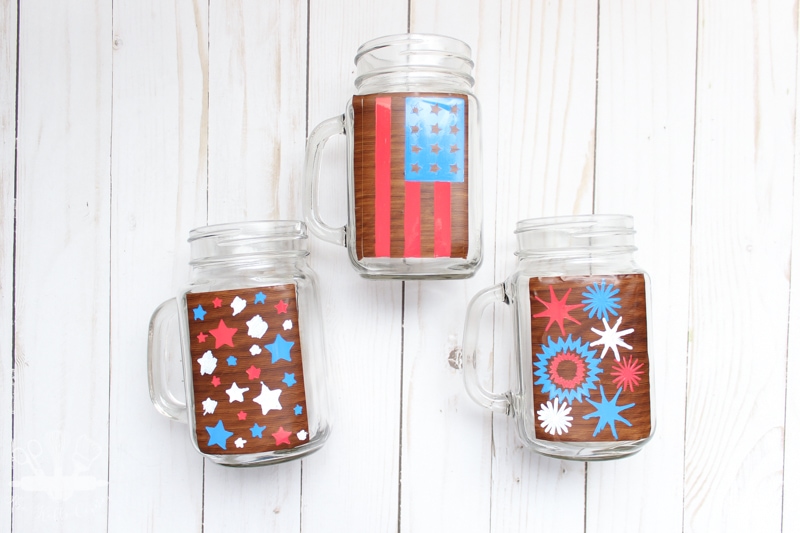
For the flag glass, I actually left the stars and removed the rectangular portion first, but I saved the rectangle with star cuts outs for later. Once the blue paint was completely dry, I peeled off each little star and then placed the rectangle with stars over the area to use as another stencil. That way my stars were more crisp than if I just tried to fill in those tiny spaces freehand. It worked like a charm!!
Once the paint has completely dried, carefully peel off the contact paper. If you find areas that have bled a bit, you can touch them up with a little acetone on a cotton swab OR you can use the tip of an x-acto knife to gently scrape off the excess paint.
Now for the important part! This is how the paint holds up to washing!
Place the glasses on a baking sheet and place in a COLD oven. Turn the oven to 350 degrees and let the mugs heat up with the oven. Set the timer for 30 minutes. When the timer goes off, turn off the oven and leave the glasses inside to cool down with the oven.
For added protection, you can paint on a layer of Dishwasher safe Mod Podge. I haven’t done this on glass, as I think you may be able to see the Mod Podge after it dries. If you try this let me know how it turns out!!
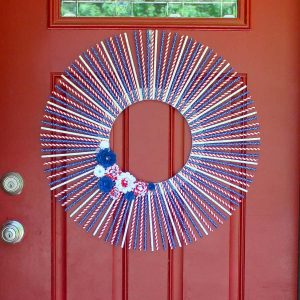
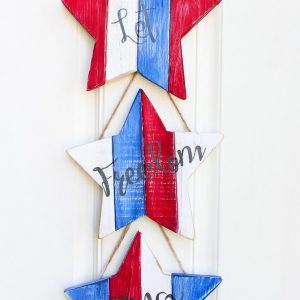
Love this craft? Check out some of my other patriotic ideas too!
Don’t forget to pin it!
These are so cute and festive Amanda! Thanks for sharing them with us! Pinned.
Super cute! Lots of possibilities. No worries, I haven’t done mush with painting glass before either! Visiting from Merry Monday party.