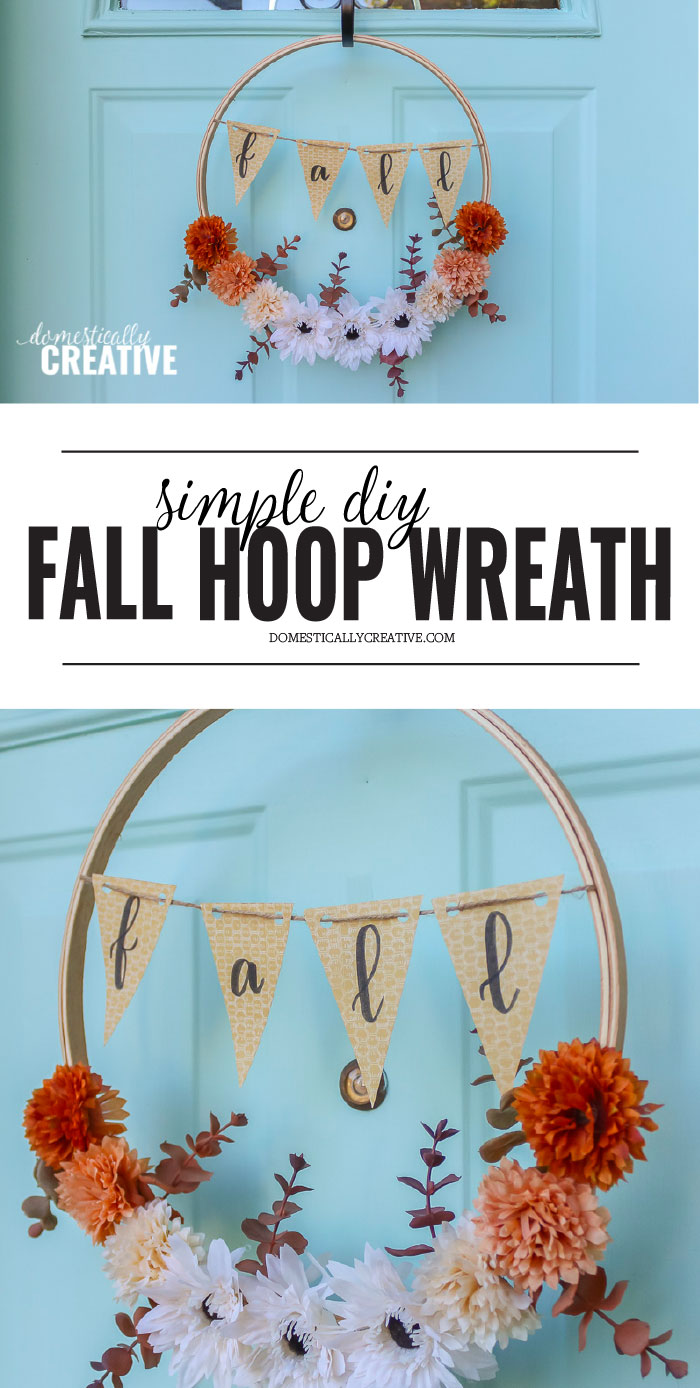
Simple DIY Fall Hoop Wreath
If you love the look of hoop wreaths and want to whip one up for Fall, you’re in the right place! Find out how easy it is to make this simple DIY Fall hoop wreath with just a few items from the craft store.
This post may contain affiliate links for your convenience. Read our disclosure policy.
I can’t let the Fall season go without making a new wreath! I’ve made one every year I’ve been blogging, which is almost 5 years! Can you believe that? You can check out the rest of my wreaths here.
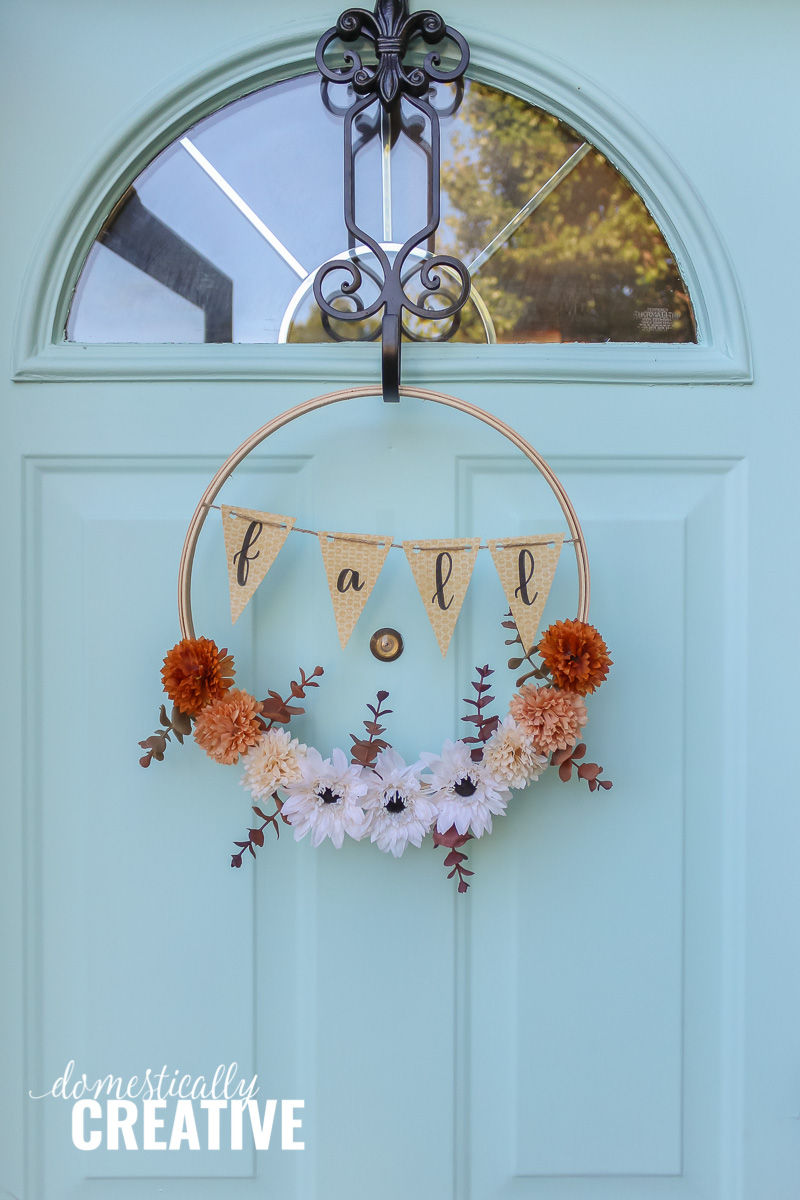
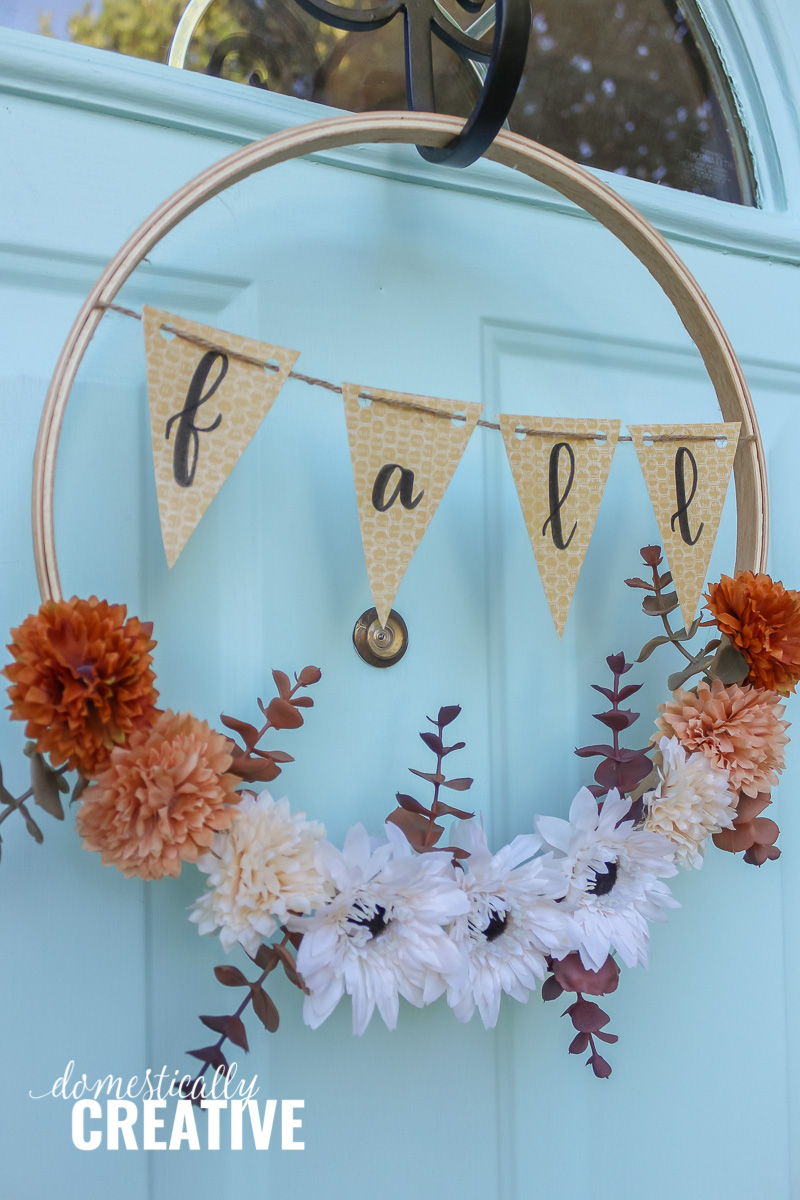
This Fall hoop wreath is special because it is the first piece of decor I’ve made for our new home. Yep, we bought a new house and have just taken possession! I made this wreath with that blue door in mind. Check out the tutorial to see exactly how to make your own!
Simple DIY Fall Hoop Wreath
Items You’ll Need:
- Embroidery Hoop
- Fall Florals (I used daisies, mums and eucalyptus)
- Scrapbook Paper
- Hole Punch
- Twine
- Sharpie or Brush Pen
- Hot Glue Gun/Sticks
- Wire Cutters
- Scissors
- Finger Caps
If you want to paint or stain your hoop wreath, do so first. I think this DIY Fall hoop wreath would be so pretty with a walnut stain!
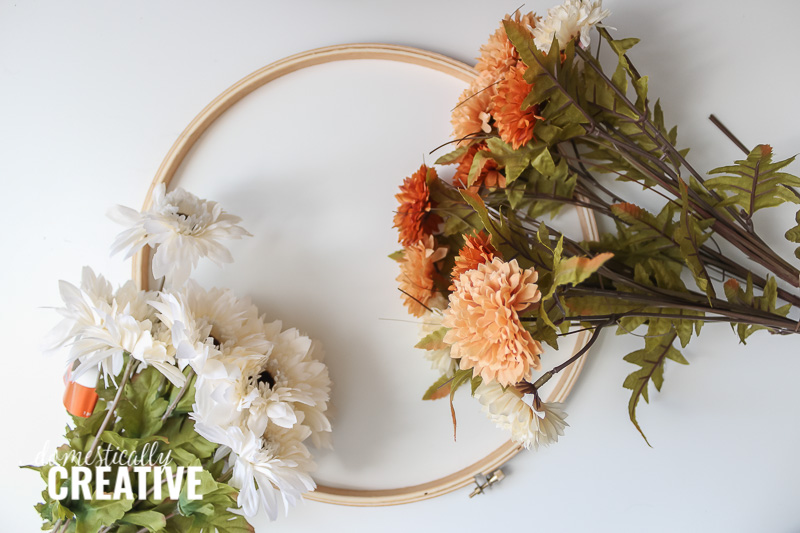
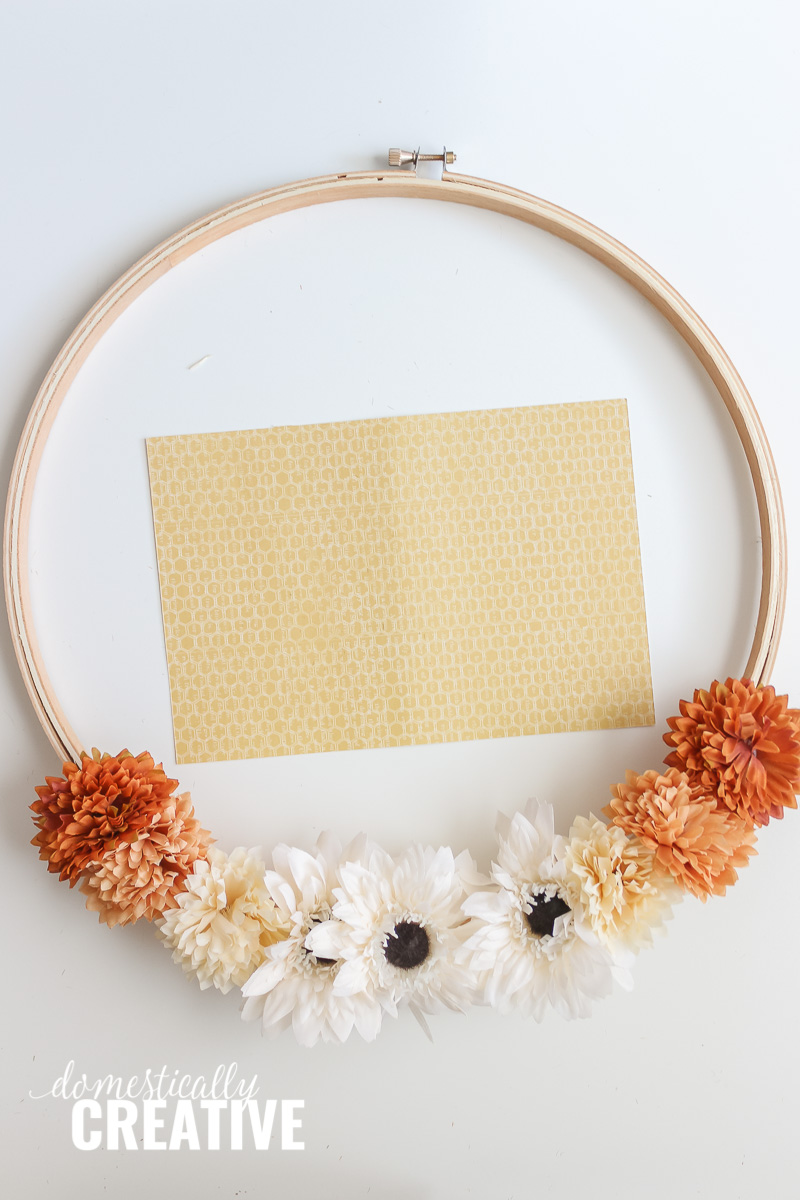
Start by cutting the Fall florals apart with the wire cutters. If you aren’t sure exactly how you will lay out the florals I recommend leaving a bit of stem to work with. After you know the layout, you will want to cut as much stem from the flower head as possible to get it to lie flat on the hoop.
An easy way to arrange the flowers without them falling off or sliding around is to loosen the hoop. Have a section of it hang over the table top like the photo below.
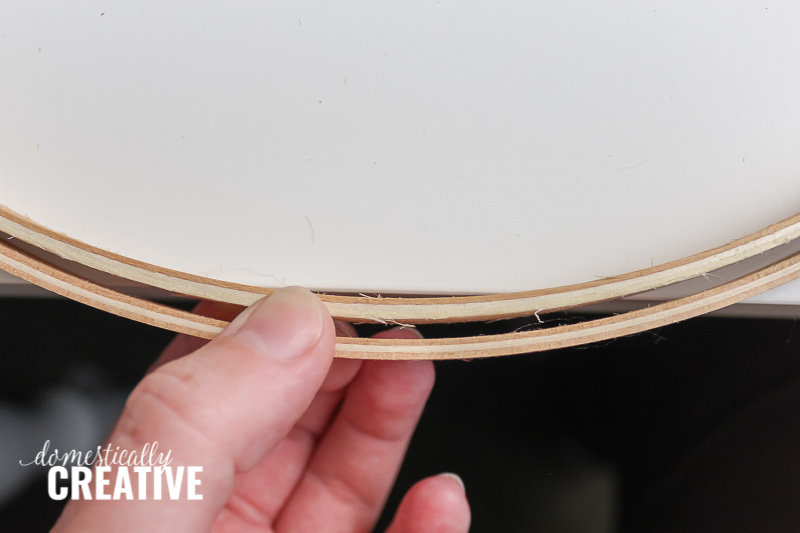
Then stick the floral stems into the hoop. This way they stay in place, but are easy to rearrange until you like the layout.
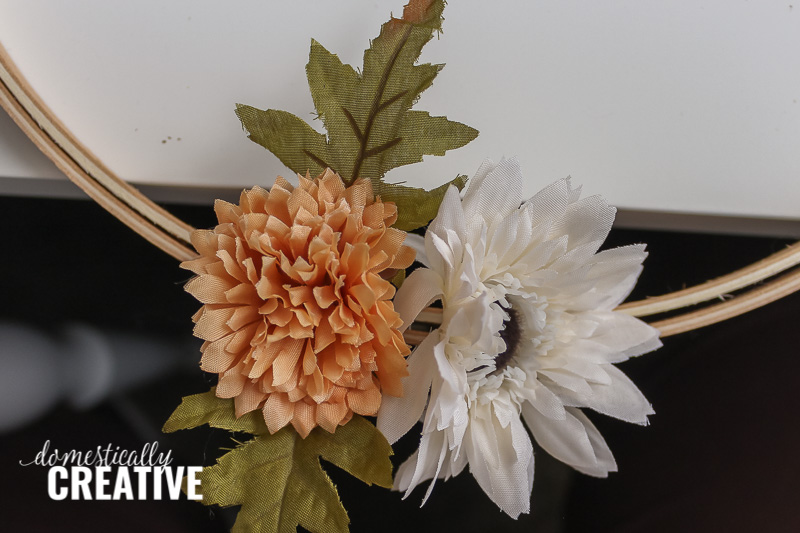
Once the layout is finalized, tighten the hoop back up, and cut as much stem away from the flower as possible. Then using a bit of hot glue, attach each floral in the desired place on the Fall hoop wreath.
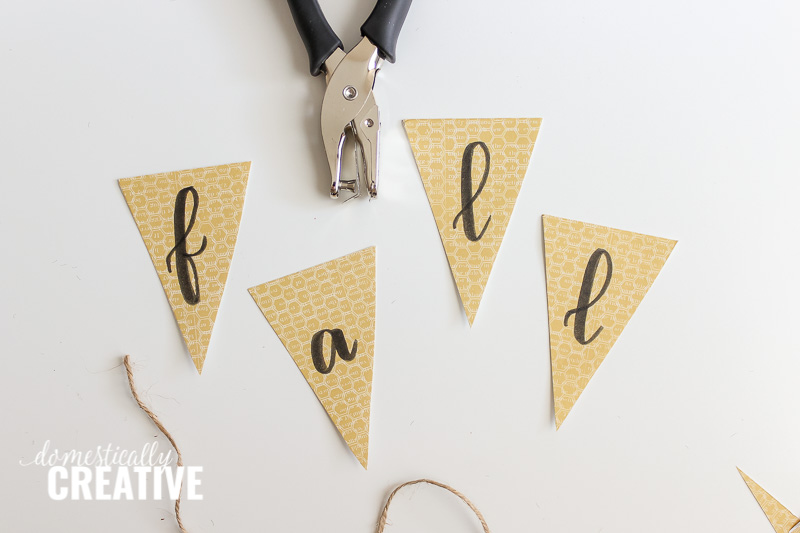
After the florals dry, take a piece of scrapbook paper and cut 4 triangle banner shapes. Write “f” “a” “l” “l” on the triangles with a brush pen or sharpie and punch two holes at the top of each.
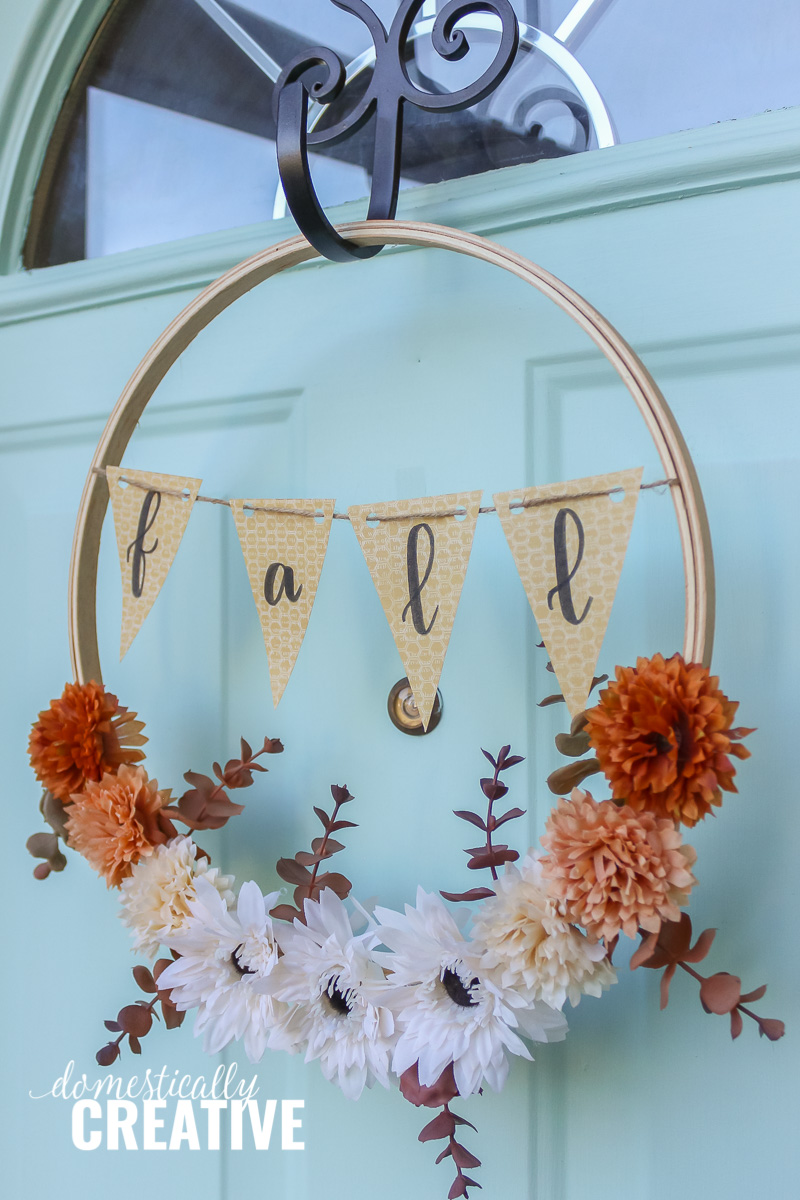
Slide the triangles onto a piece of twine and then place it on your fall hoop wreath. I decided to put the end pieces of twine through the hoop to secure so I could slide it around later. However you could just use some hot glue and secure the ends to the back of the hoop wreath. Either way works!
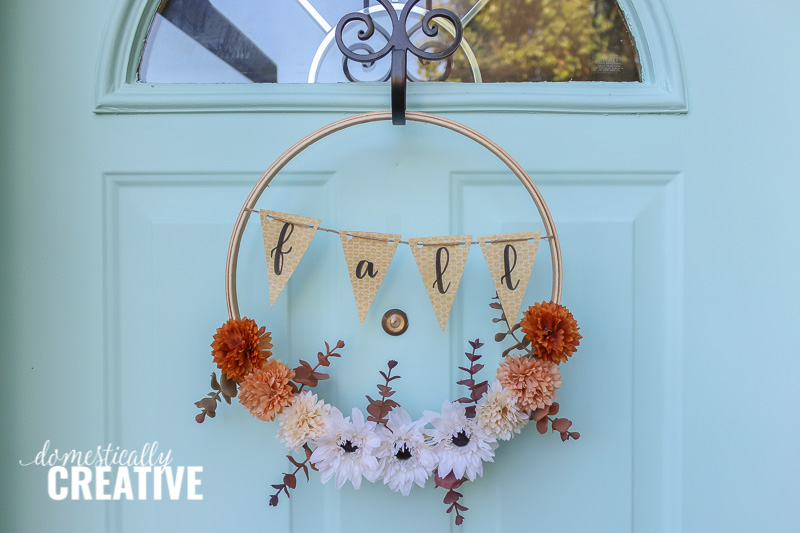
I added a few sprigs of Eucalyptus after I was finished because I felt the Fall hoop wreath needed something extra. You could also add a bow to the top or anywhere to give it some extra personality!
The best part about hoop wreaths are that they are so easy to hang! Doesn’t it look great on our new blue front door? I’ll be honest that I wasn’t sold on the color when we first looked at the house, but it is definitely growing on me. I do think a dark charcoal would look great with the rest of our house, and only time will tell if I decide to repaint it or not!
Looking for more Fall wreath inspiration?
- Burlap and Lace Fall Wreath
- Rustic Fall Cinnamon Broom Wreath
- Beautiful and Affordable Fall Wreaths under $30
- Easy Fall Wreath
- Rustic Fall Berry Wreath
Love this? Pin it for later!
love the simplicity of the look. It reminds me of fall with the great selection of fall flowers
come see us at http://shopannies.blogpsot.com
I think your wreath and blue door look great! I hadn’t thought of using the hoop itself to secure the items… Maybe I’ll think of a theme for my large oblong hoop soon! Thank you for sharing at Best of the Weekend!
I’m featuring this tonight! : )
Thank you so much!
Congratulations on your new home! The wreath looks wonderful on your front door (love the color of your door!).
Aww thank you so much Erlene!!