DIY Upholstered Bench
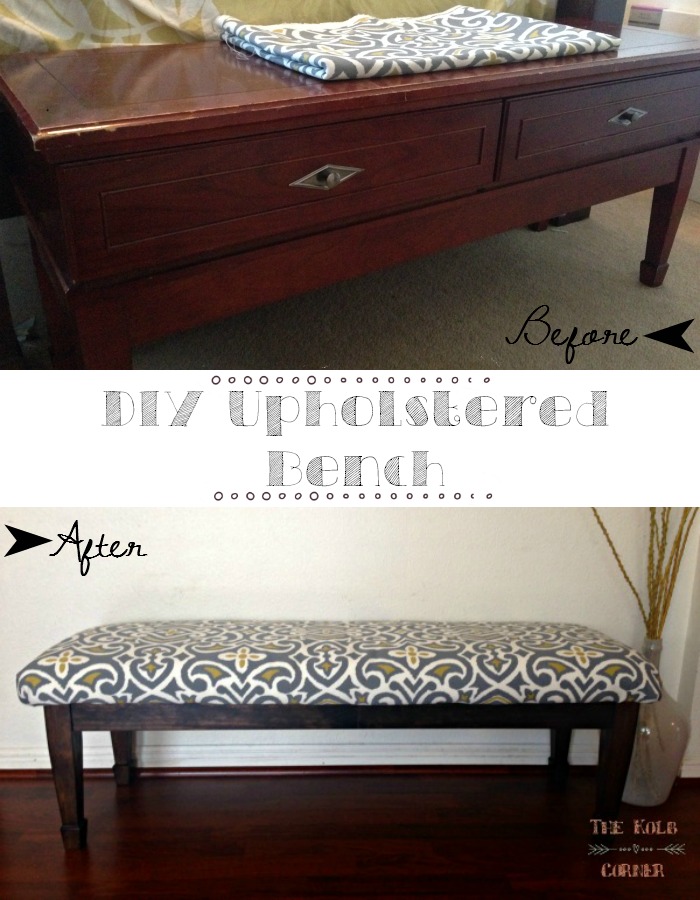
So remember waaaaaaaay back to one of my very first posts, when I transformed my coffee table? I mentioned then that I wanted to turn my previous coffee table into a bench. Well guess what? I did it! I hit a few snags in the process, but it’s finally finished and I LOVE it!
This post may contain affiliate links for your convenience. Read our disclosure policy.
Alright, so a little bit of backstory on this baby. It’s first mission in life was to be a sideboard. In college, I worked for a home furnishing store called Bombay Co. I loved working there with my 50% off discount! But, being a poor college student who, at the time, still lived at home with mom and dad, I mostly just ended up buying little knickknacks with that discount.
Alright, cut to the company goes bankrupt, and closes all of their stores. This piece of furniture was returned to my store, because it was missing a few crucial pieces to make it a successful sideboard. And by crucial, I mean it was missing the sides.
Hard to be a sideboard without sides huh? So, instead of trashing it in the dumpster, I took the bottom and top pieces home and decided to turn it into a “coffee table” It remained that until we moved to Texas. Sad, I know.
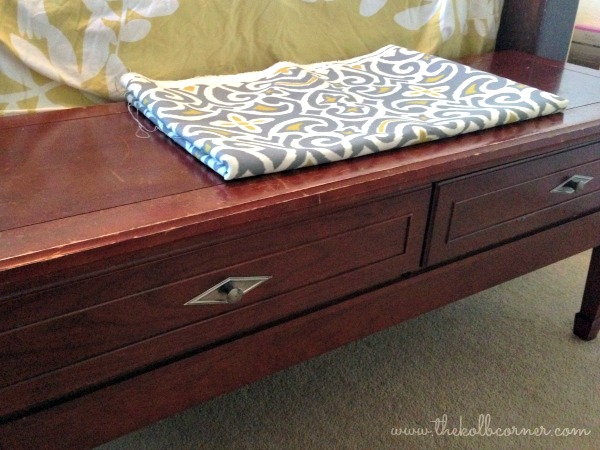
Not the best before pictures, but you get the idea.
Well, I have been wanting to turn the bottom of this table into an upholstered bench for YEARS. I figured it would be no big deal. And it wouldn’t have been if I had been content with the color of the wood. But that finish has always been way to red to fit in with any of my decor.
Let’s get one thing straight. If there is one color I hate most in this world, it’s red. Hate. Except for redheads, you guys are cool.
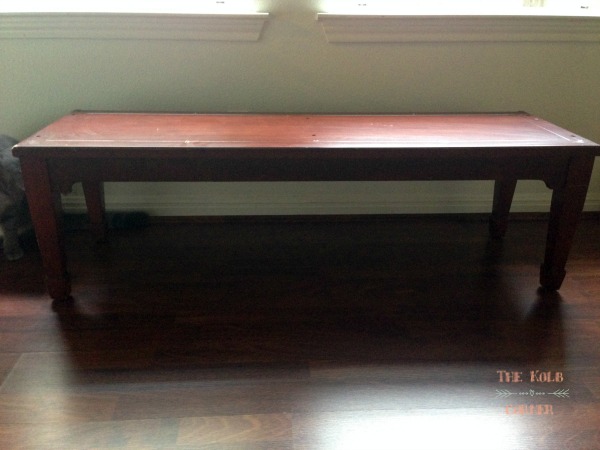
So I started by taking the top of the table apart. This meant separating the drawers from the legs. Pretty easy. Just had to unscrew 4 screws.
Sorry for the terrible lighting. And sorry for the photo bomber in the corner. He was feeling a little left out.
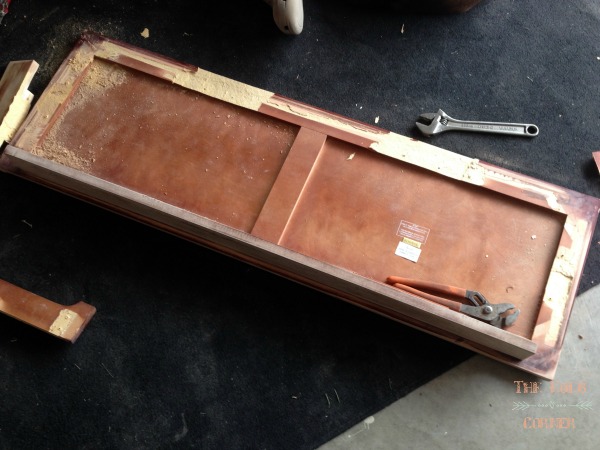
Next, I removed the legs. I was left with the top and sides still connected.
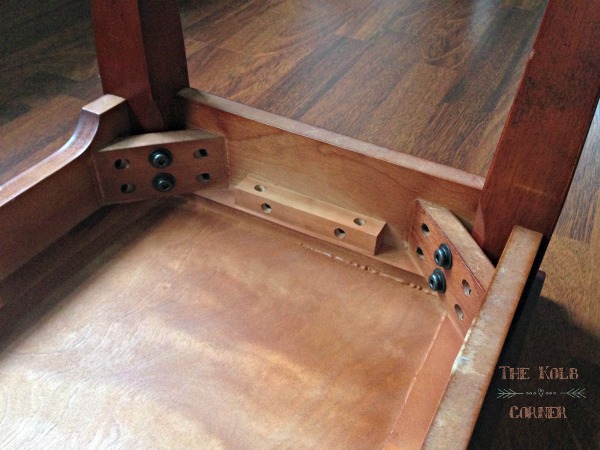
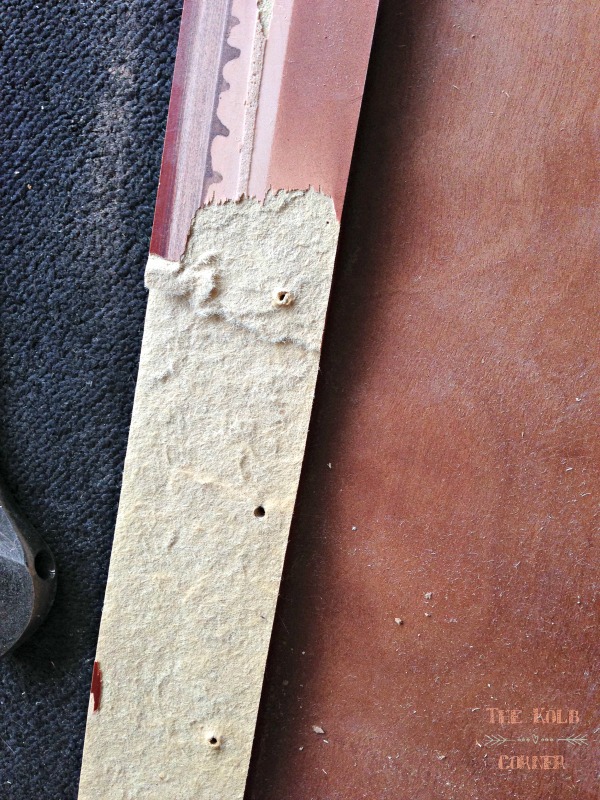
This would have been fine if I’d left it at that and just sanded and stained the pieces as one. But no, I had to go and try to take the pieces apart. And this is what happened.
Here, let’s take a closer look
Yep.
But, as you can tell from the pictures, it wasn’t wood anyway. I don’t know why I expected anything else from Bombay Co. furniture. I should have known better.
So hubby to the rescue! Instead of calling the project a fail, he decided to build me a new frame! All we did was use the existing pieces as a template! He is so smart.
This post contains affiliate links. By purchasing items linked to in this post, you are helping me continue to bring great content your way. But don’t worry, I only share products I’ve personally used and love! You can read my full disclosure policy here.
How to make a DIY Upholstered Bench
Here’s the supplies we bought:
(2) pine 1 x 3’s
(1) 2′ x 4′ peice of MDF
Quart of Minwax stain in Espresso
2 1/2 yards of fabric
Supplies we already had:
Screws and drill bits
4 legs from existing piece
foam brushes
Foam
Staple gun and staples
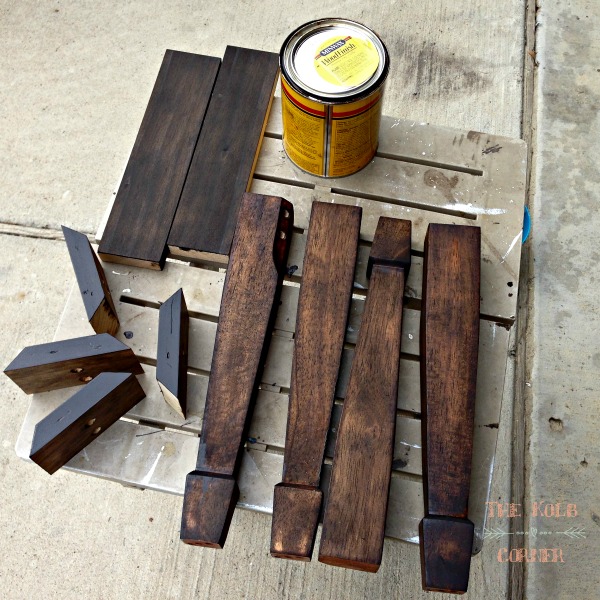
Hubby cut the 1×3’s to the size of the fronts and sides, as well as mitered corner braces to bolt the legs back to. He also cut the MDF to the size of the existing top. All I had to do was sand and stain the pieces.
While my pieces were drying, I started on the cushion top. For the foam, I actually used an old memory foam topper we were using in our guest bedroom. When Delilah was a baby she chewed a hole through the sheet and topper, and we have just never replaced it. Afterall, we don’t get many guests. We were going to toss the topper next time we moved, so I thought I could at least use it for this project! It’s the perfect thickness, and it actually holds up pretty well.
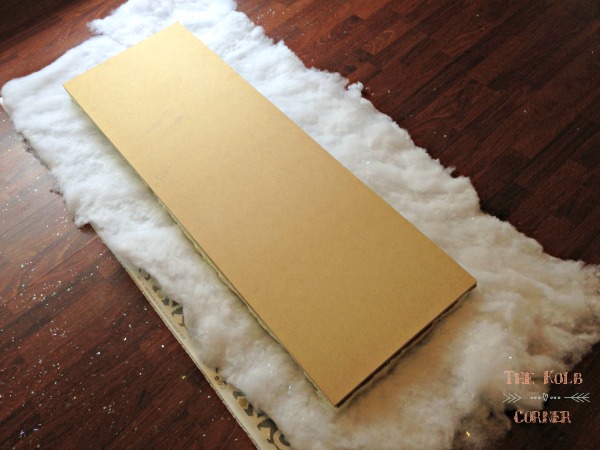
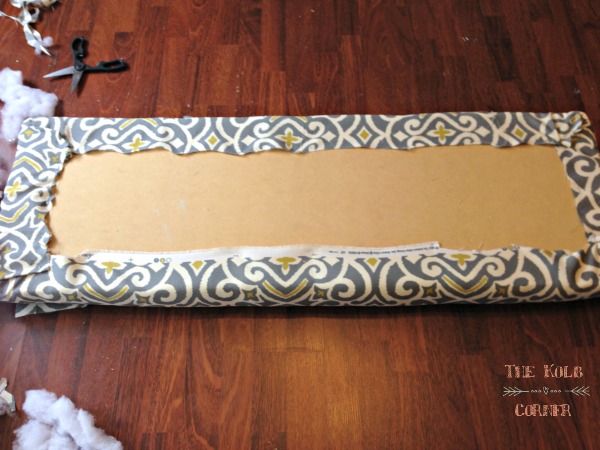
I cut the foam to the size of the MDF. Then I laid out my fabric and cut it 6 inches longer on each side, so I would have plenty to wrap with. You can always cut off the excess. I also laid out my quilt batting. I bought fake snow on clearance last year after Christmas for $0.50 a bag-STEAL. Unfortunately I didn’t realize it was glittery fake snow. Notice the sparkles.
Then I just wrapped it up, making sure I was smoothing it as I went. I used a staple gun to secure it to the MDF. You want to make sure you pull it taught, but not too tight, or else you will put pressure on the foam and cause wrinkles.
I cut off the excess fabric, and then my wonderful husband assembled it for me. I’m so pleased with how it turned out. Now we have a place near our entry where we can sit and put our shoes on.
What do ya’ll think?
As for the drawers, I am thinking of adding some legs, and maybe a lower shelf for a console table. We are still deciding on that one for now.

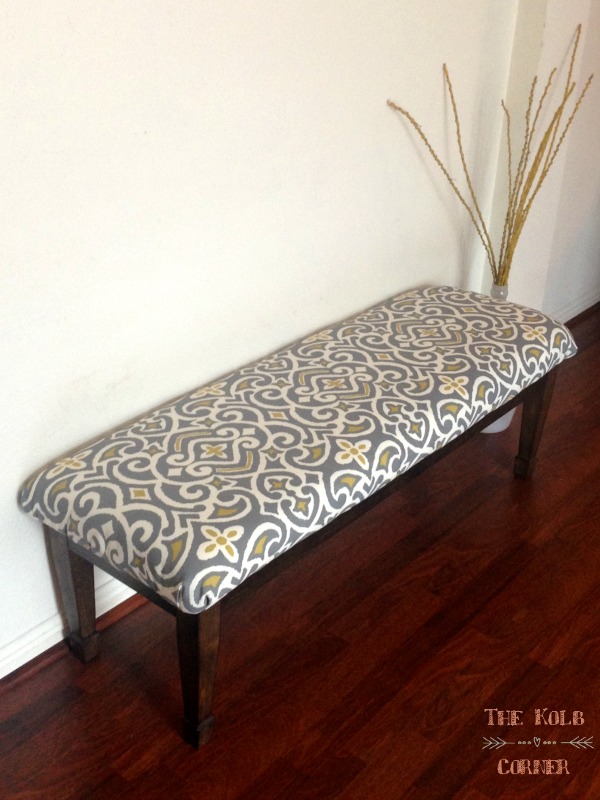
I love what you did with that bench, it is not an ordinary bench, but a more beautiful and you can actually place it in your living room.
Hi Amanda!
Thank you for sharing with us at Retro Re-Pin last week! I chose to feature you at this week’s party starting tonight at 8pm. I hope you will stop by and post again with us! Love to have you there~
Robin
Wow! Thank you so much Robin! I’ll be there with bells on!
This looks so pretty! That’s really neat your husband built that for you! Oh, thanks for pinning this at Friday PrideDay Pinterest Party! Hope to see you there again! I’m pinning this! Twice!
Thank you for the pins Jody! I really enjoyed the party! Going right now to link up again!
Amanda, this looks so nice!! I love it.
Thank you so much Elizabeth!
Love this! I really want to make a bench for the end of our bed but I haven’t been able to find anything quite right at the local thrift store and flea market. Here’s to hoping!
That is just more reason to visit the thrift stores more frequently! Not that you really need an excuse, but it makes a pretty good one!
I love this! I would love it if you joined and contribute your awesome posts at my link party at City of Creative Dreams, starts on Fridays 😀 Hope to see you there at City of Creative Dreams Link Party.
Your bench looks great! I love your choice of fabric. The glitter adds a little extra glam! Go husband for putting it together. Great job!
Thanks Donna! I am loving it!