Fabric Scrap Wreath

This post may contain affiliate links for your convenience. Read our disclosure policy.
I showed you my Fall Mantel yesterday and promised that I’d tell you how I made this fabric scrap wreath. Well, as promised, here is the simple tutorial.
What you’ll need:
Cardboard
Circle template (I used a laundry basket)
Box cutter, or craft knife. Scissors could be used too but are much more difficult
Scraps of fabric
I made this wreath late at night, in my bedroom, on the carpet, so please excuse my pictures. The lighting wasn’t so great, and the carpet is giving off a dingy cast.
We happen to have an abundance of cardboard boxes in our garage, so I took one of those big boxes to cut out a circle for this wreath. Thinking back on it now, I think a square wreath would be great too!
I traced a large circle using the top of a circular laundry basket we have. Then I traced the bottom of the laundry basket inside the larger circle to get a wreath shape.
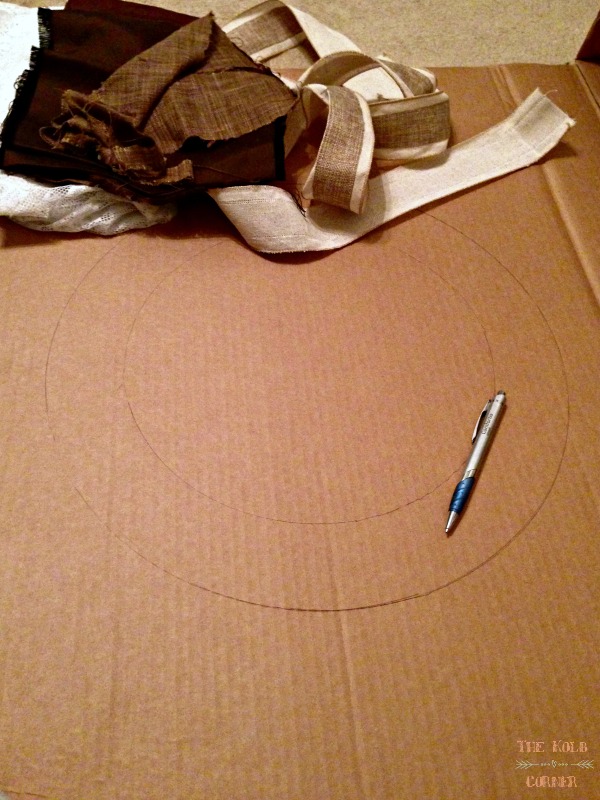
You could use anything you have, or just free hand it. I knew if I tried to free hand a circle at 11pm it wouldn’t turn out very pretty.
Next, using your box cutter or craft knife, cut out the circle. You can use scissors too, but it will be pretty difficult to cut through the cardboard. The box cutter made things go so much quicker.
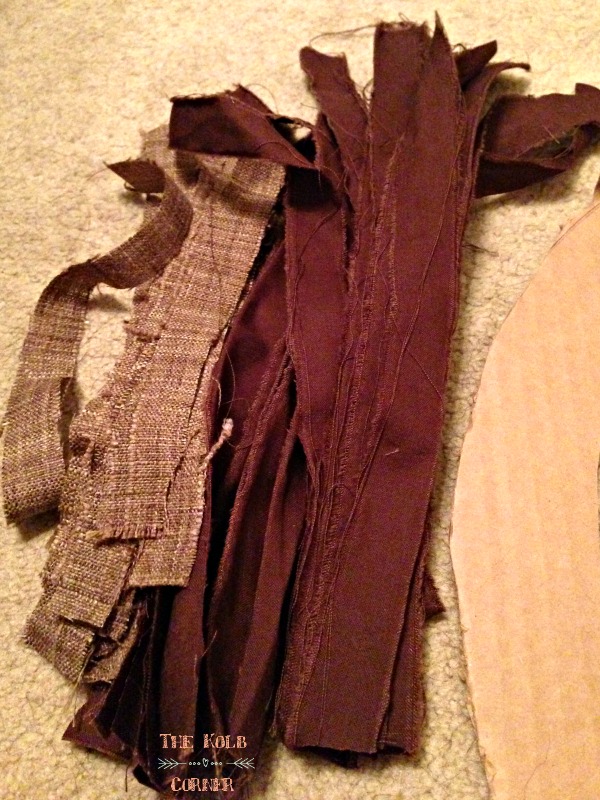
After I had my circle cut out, I started cutting up my fabric scraps. I had 2 different fabrics to use. First was the linen fabric that I used in my Fall Wreath. The next was a solid cotton sateen brown. I didn’t have much of the linen left, so I did a 3:1 ratio. Meaning for every linen strip I cut, I used 3 of the brown.
The cotton fabric was very easy to cut into strips. All I did was make a small cut about the width I needed, then I was able to rip the strips. For this project I made my strips ~1″ wide and ~10″ long. Your length will depend on how wide you made your circle, and how “scrappy” you want your wreath to look. Obviously, if you want a fuller wreath, you’ll want to make your strips longer. I was working with what I had.
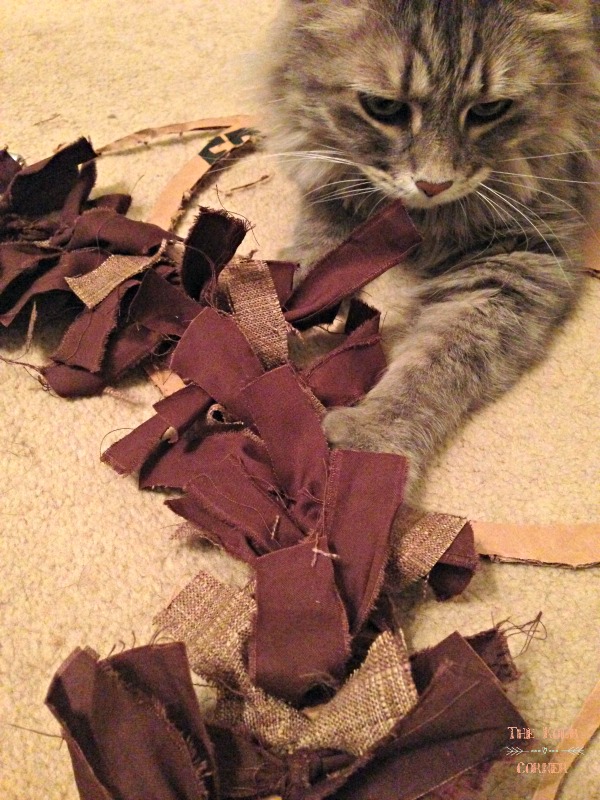
Afer I had all of my strips cut, I started tying them to the circle. I tied double knots to keep the strips from coming loose, or slipping. Make sure you tie the strips close together, or else your cardboard will show through. Unless you want to be fancy and spray paint your cardboard. I didn’t do this because it was late a night and I just wanted to finish it.
By the way, it is absolutely necessary you have a fluffy gray kitty to “help” you tie on the scraps. Essential.
Keep tying until you have the circle completely covered. When you are done you will probably need to fluff up the scraps so they aren’t just hanging there limply. <–is limply a word?
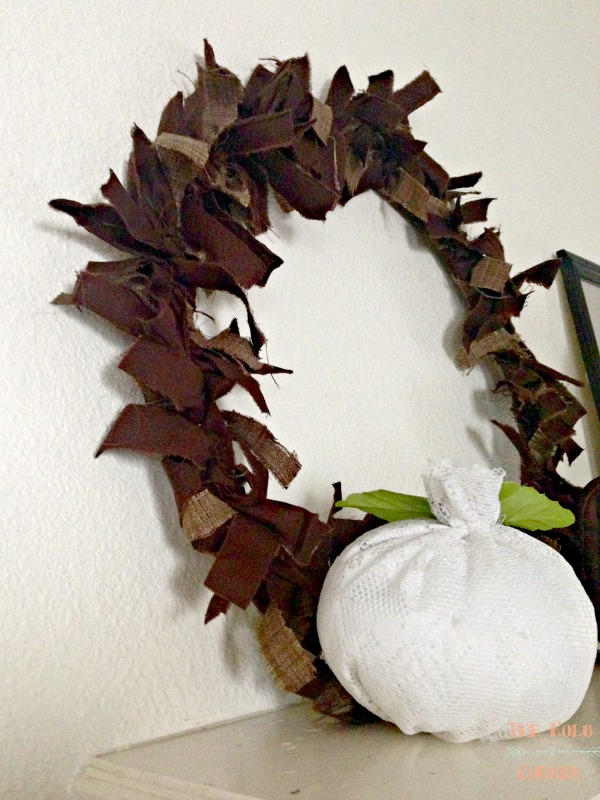
What do you think? I am loving it. Not only was it super easy to make, but it was FREE! Who doesn’t love free?? I’m already thinking of one to make for Christmas!
Hello beautiful! Your cute wreath was the most viewed at our last party! Woo Hoo! Pinned. We will be featuring it at our party tonight. I hope to see you there.
Happy Monday! Lou Lou Girls
Wow! That is great! Thank you so much, see you there!
It was nice of your cat to help you out with making the wreath. And it turned out great.
Thanks Heidi. He’s always hanging around waiting to lend a helping hand. Whether he’s actually helpful or not, the jury is still out. 🙂
I just love this fabric wreath. I recently made a couple of fabric scrap projects and they turned out awesome. Like you said, you can’t beat free, right? Great job!
Thanks Christie! Free is the best.