How to Make a Wooden Pumpkin for Fall
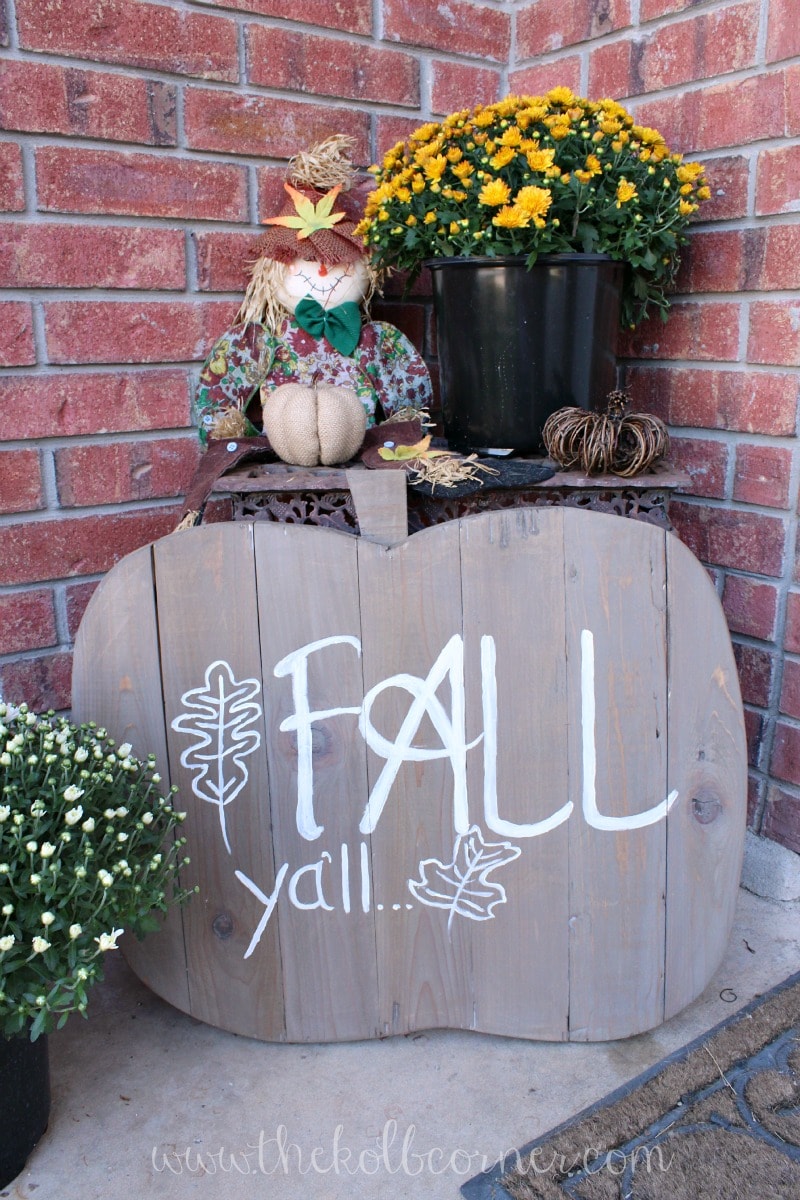
Create a welcoming wooden pumpkin fall sign for your front porch with just a few pieces of scrap wood and this step by step tutorial
Print
Pin
Calories:
Ingredients
- 6 1x4's cut to 24"
- 2 1x2's cut to 18"
- stain
- foam brush
- white acrylic paint
- small paint brush
- wood glue
Instructions
- Start by laying out the six 1x4s vertically together to form a rectangle. This will be the base of the wooden pumpkin sign.
- Now, draw the desired pumpkin shape on the wood, ensuring it fits within the dimensions of the 1x4s. Once you have the shape traced, flip the boards over to expose the backside.
- Apply a small amount of wood glue to one side of the 1x2s and press them down onto the backs of the 1x4s, creating a frame for the pumpkin shape. The 1x2s will serve as support for the sign.
- Once glued, use a nail gun or hammer and 1" nails to secure the 1x2s in place. Allow the glue to dry for about 2 hours before proceeding to the next step.
- Using a Jig Saw, carefully cut along the outline you traced earlier. Take your time and follow the lines precisely to achieve a well-defined shape.
- For the pumpkin's stem, use a scrap piece of wood and nail it into place from the back of the sign. This will add an extra touch of authenticity to your wooden pumpkin sign.