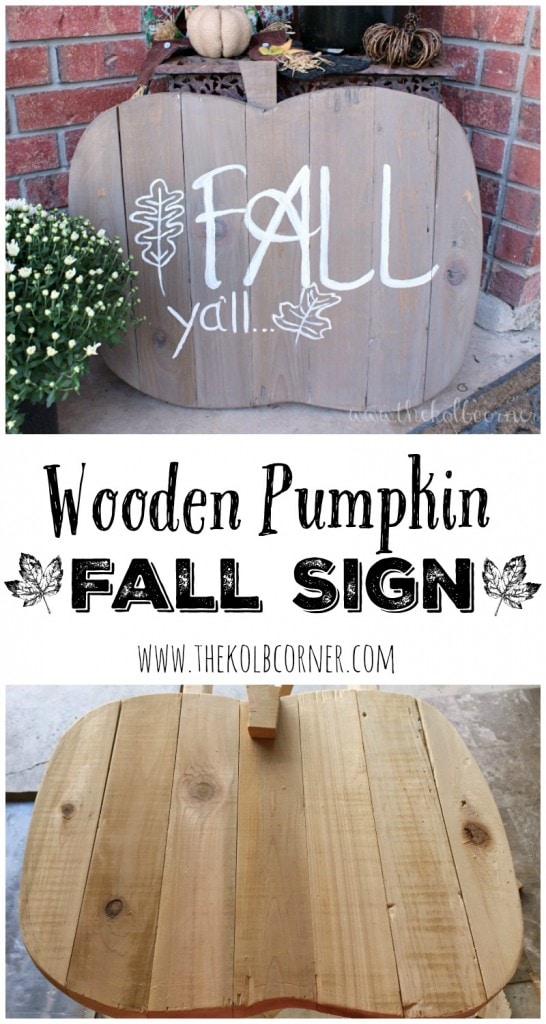
How to Make a Wooden Pumpkin Fall Sign

Here is an easy step-by-step guide to creating a rustic wooden pumpkin sign. Learn how to transform simple 1×4’s and 1×2’s into a charming fall accent that will add warmth to your home decor.
This post may contain affiliate links for your convenience. Read our disclosure policy.
A while ago, a friend of mine called me to ask if I had any need for a bunch of cedar fence pickets that had been cut to about 2′ in length.
Her husband had gotten them for a project but never got around to completing it. She was in the process of cleaning out her garage and wanted them gone.
I said yes to taking them, knowing that the poor fence pieces would probably have the same fate in my garage. I’m the type of person that likes to collect pieces of wood and other random crap though because you never know when inspiration will strike!
Well, inspiration struck last weekend. After seeing so many of these wooden pumpkins on Pinterest, I knew I wanted to make my own. My front porch is pretty boring, and I thought one of these would make a statement. Plus I’ve been needing a project to try out the new Jig Saw hubby got me for my birthday.
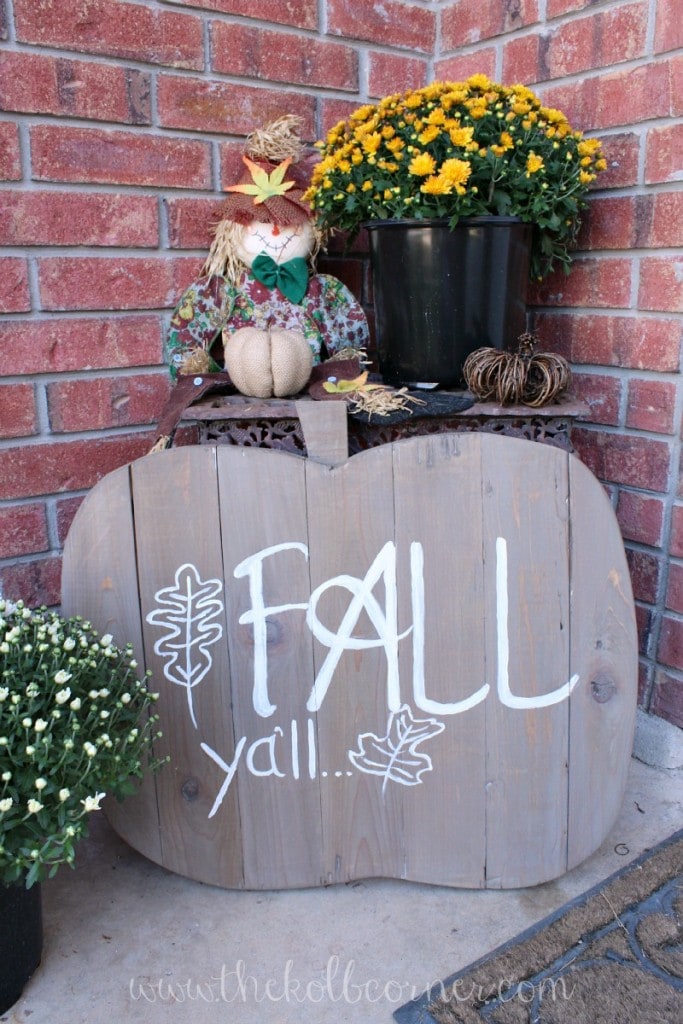
The cedar fence pickets were the perfect boards for this wooden pumpkin, and I used a little bit of stain to give it a sun-faded, worn look.
How to Make a Wooden Pumpkin Fall Sign
Before we dive into the steps to make a wooden pumpkin, let’s gather all the materials you’ll need for this project:
Materials Needed:
- 6 1×4’s cut to 24″
- 2 1×2’s cut to 18″
- Nail gun or hammer and 1″ nails
- Wood glue
- Jig Saw
- Stain in your desired color(s) (I used Varathane Sunbleached and Kona)
- Foam brush or rag
- White acrylic paint
- Small paint brush
Step-by-Step Instructions to Make a Wooden Pumpkin From Scrap Wood
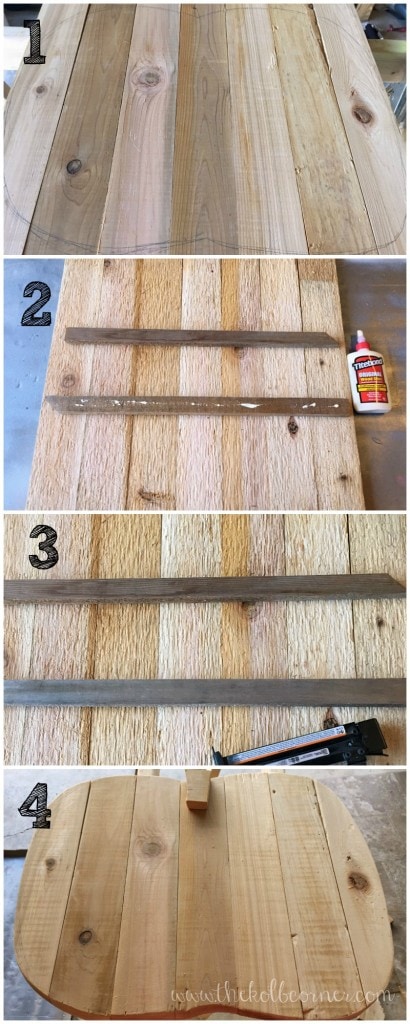
Form the Base: Start by laying out the six 1x4s vertically together to form a rectangle. This will be the base of the wooden pumpkin sign.
Now, draw the desired pumpkin shape on the wood, ensuring it fits within the dimensions of the 1x4s. Once you have the shape traced, flip the boards over to expose the backside.
Attach the Frame: Apply a small amount of wood glue to one side of the 1x2s and press them down onto the backs of the 1x4s, creating a frame for the pumpkin shape. The 1x2s will serve as support for the sign.
Once glued, use a nail gun or hammer and 1″ nails to secure the 1x2s in place. Allow the glue to dry for about 2 hours before proceeding to the next step.
Cut Out the Pumpkin Shape: Now, it’s time to bring your pumpkin shape to life. Using a Jig Saw, carefully cut along the outline you traced earlier. Take your time and follow the lines precisely to achieve a well-defined shape.
Add the Stem: For the pumpkin’s stem, use a scrap piece of wood and nail it into place from the back of the sign. This will add an extra touch of authenticity to your wooden pumpkin sign.
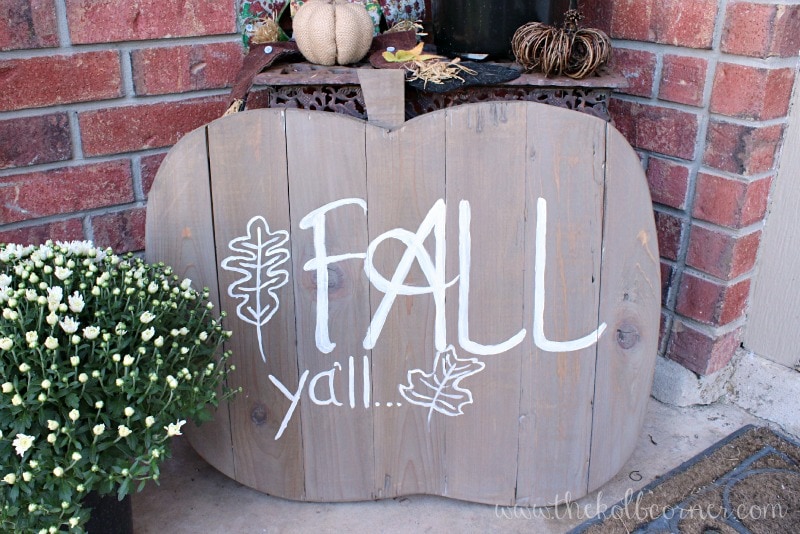
Stain and Weather the Wood: To achieve the rustic, weathered look, apply a coat of “sunbleached” stain to the entire surface of the sign. Allow it to dry before adding a second coat using the “espresso” stain. This combination will create an appealing worn effect on the wood.
For an even more weathered appearance, use a dry brush technique to apply white chalk paint sparingly over the surface.
Paint the Details: Once the stain and weathering are complete, it’s time to add the finishing touches. Use white acrylic paint and a small paintbrush to add details such as pumpkin lines and subtle highlights. This step will bring the pumpkin to life and enhance the overall charm of your creation.
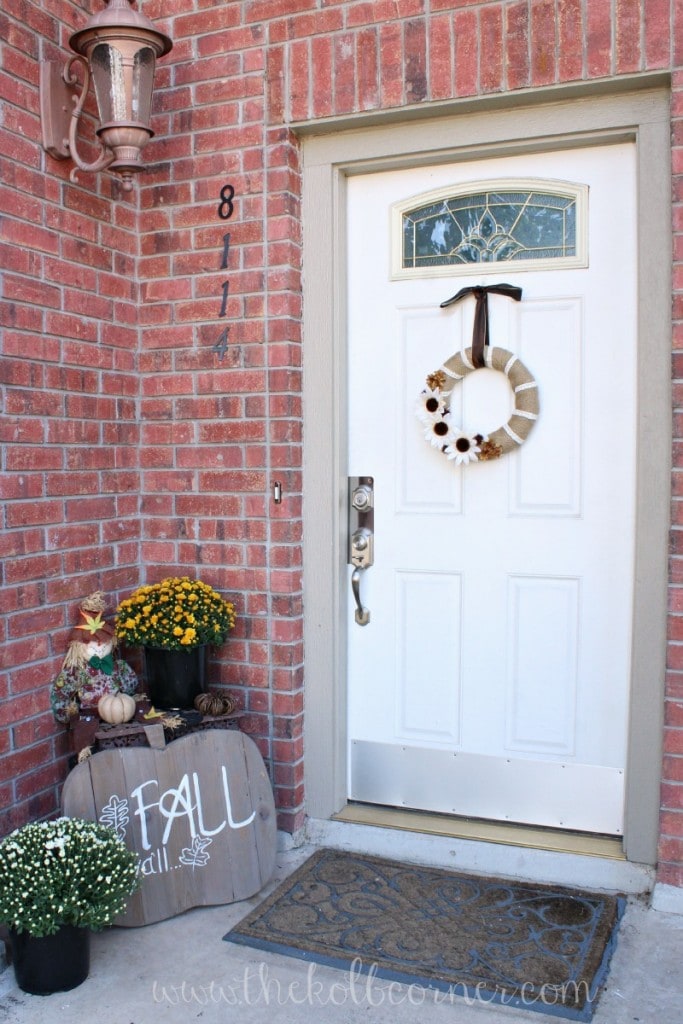
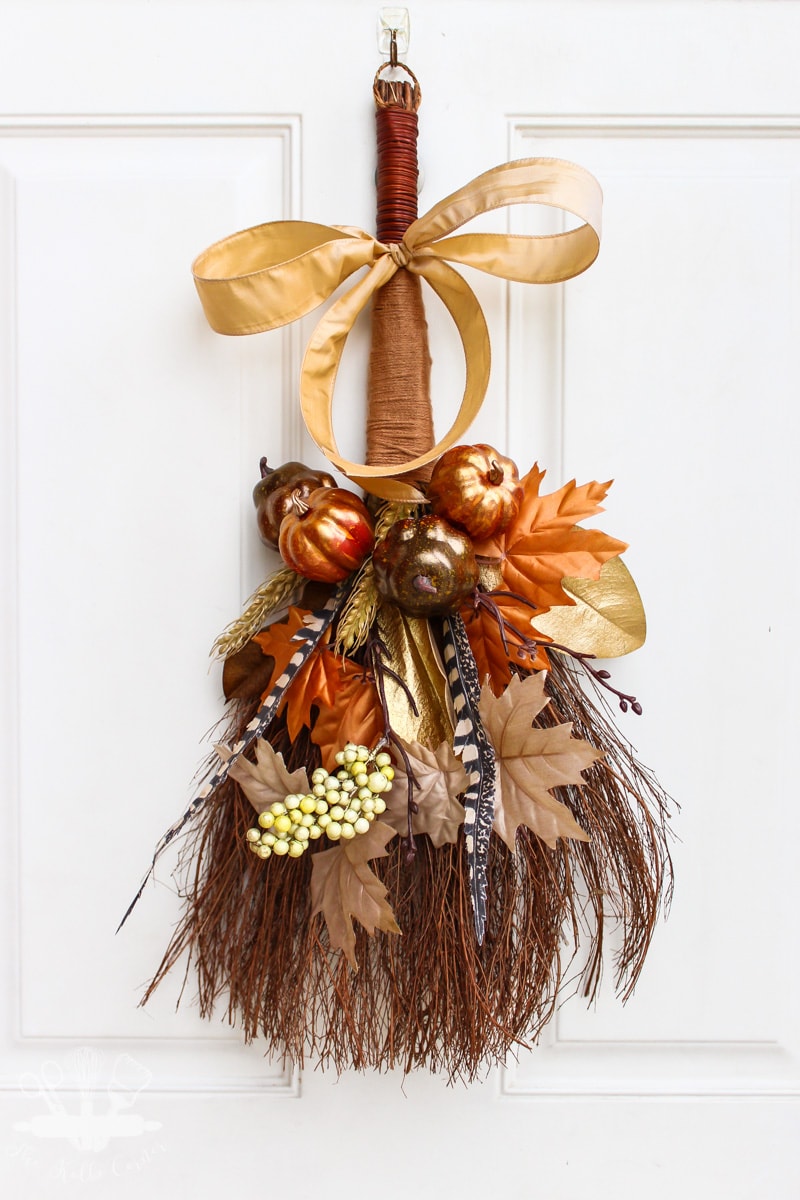
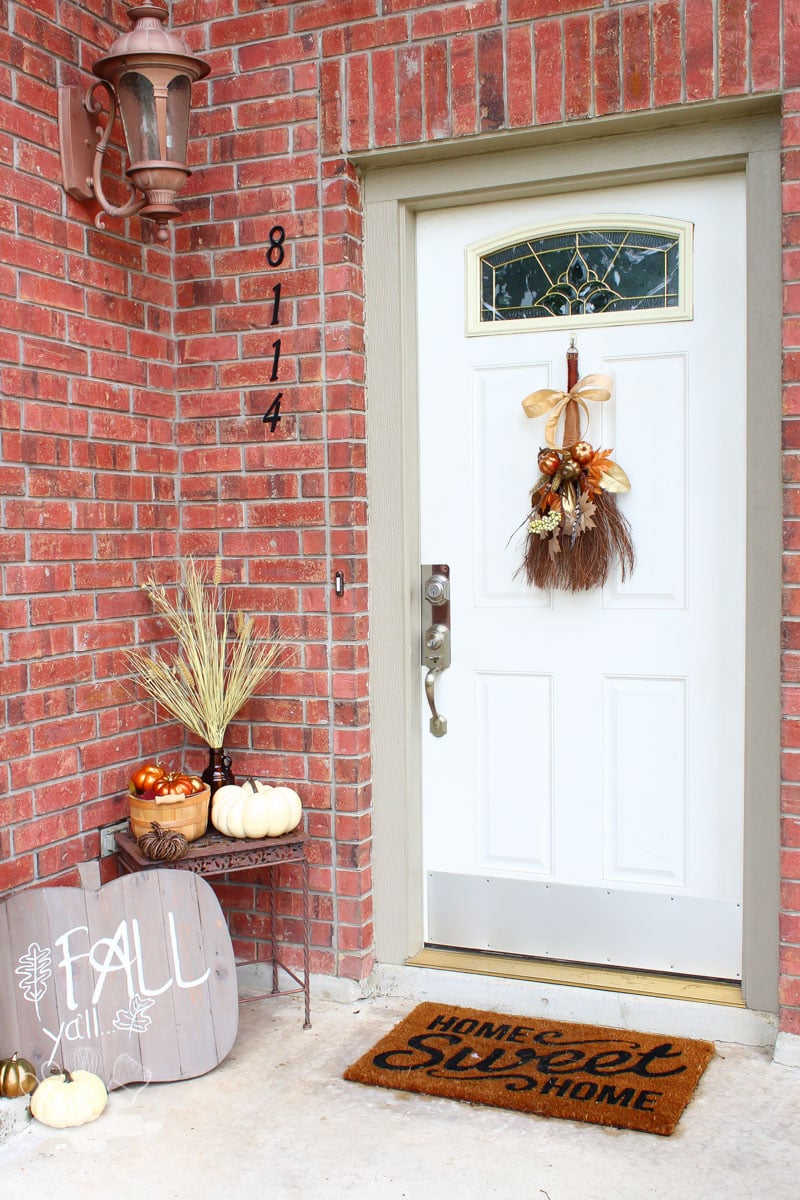
This wooden pumpkin adds the perfect finishing touch to my Fall front porch. I am usually not one to decorate the front of my house a lot, but I do like to buy some pretty mums each year. Of course, the burlap and lace fall wreath helps tie everything together too.
These DIY wood pumpkins add the perfect rustic charm to our front porch. I hope you’ll make one or a few for yourself too! Whether you choose to use reclaimed wood, pallets, or any other materials, your wooden pumpkins will reflect your creativity as every pumpkin will be different.
More fun Fall decorating ideas:
Don’t forget to pin it!
How to Make a Wooden Pumpkin for Fall
Ingredients
- 6 1×4's cut to 24"
- 2 1×2's cut to 18"
- stain
- foam brush
- white acrylic paint
- small paint brush
- wood glue
Instructions
- Start by laying out the six 1x4s vertically together to form a rectangle. This will be the base of the wooden pumpkin sign.
- Now, draw the desired pumpkin shape on the wood, ensuring it fits within the dimensions of the 1x4s. Once you have the shape traced, flip the boards over to expose the backside.
- Apply a small amount of wood glue to one side of the 1x2s and press them down onto the backs of the 1x4s, creating a frame for the pumpkin shape. The 1x2s will serve as support for the sign.
- Once glued, use a nail gun or hammer and 1" nails to secure the 1x2s in place. Allow the glue to dry for about 2 hours before proceeding to the next step.
- Using a Jig Saw, carefully cut along the outline you traced earlier. Take your time and follow the lines precisely to achieve a well-defined shape.
- For the pumpkin's stem, use a scrap piece of wood and nail it into place from the back of the sign. This will add an extra touch of authenticity to your wooden pumpkin sign.
This is the reason I hang on to wood scraps 🙂 Will be featuring this on tonight’s MM party.
Decorating with pumpkins is one of my fall favorites. Today I’ll be sharing your pumpkin decor at Merry Monday.
You could take just about the same shape and make it into an apple sign too.
Hi Jim! Yes you are absolutely right! My pumpkin has a little too much curve at the top so it could pass as an apple too lol.