6 Weeks of Organization–Week 4–Pantry and Fridge
This week I’ve been cleaning out everything in my kitchen and arranging/rearranging the pantry, fridge, and kitchen cabinets. It’s been in dire need for awhile now so I’m glad to finally be getting down to it
This post may contain affiliate links for your convenience. Read our disclosure policy.
Since this is a much larger scale project than what I’ve touched on previously, I’ve decided to break it up into 2 segments. This week I’ll show you what I did with the pantry and fridge, and next week I’ll show you the cabinets and the dreaded area under the sink.
So I started with my refrigerator. If you are going to be cleaning out your kitchen, I suggest you start here too. This is by far the dirtiest and unorganized place in my kitchen. How something can get that dirty, and in such a short amount of time, is beyond me.
I started by taking everything out of it and taking out all of the drawers and shelves. I wiped down all of the shelves, and sprayed out the drawers. Next, I wiped down all of the inside surfaces, and the door shelves. I also wiped down the doors, sides, and top of the fridge.
After everything had been wiped down and cleaned, I put the shelves and drawers back in the fridge. Next I went through everything that was in the fridge and threw away anything that was old, or any of the condiments that were expired, before I set to putting everything back.
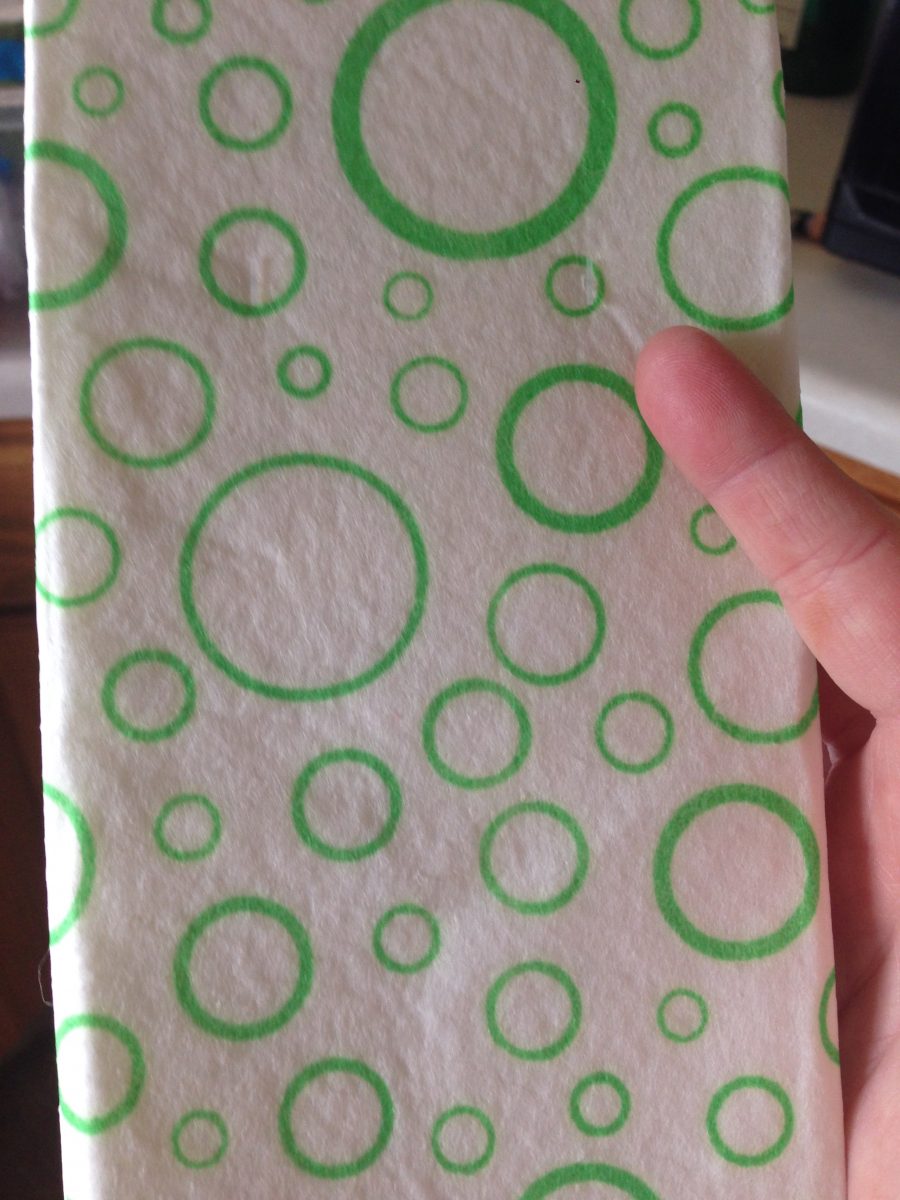
I found these absorbent towels at Walmart for $1 per pair and decided to try an experiment with one of my vegetable drawers.
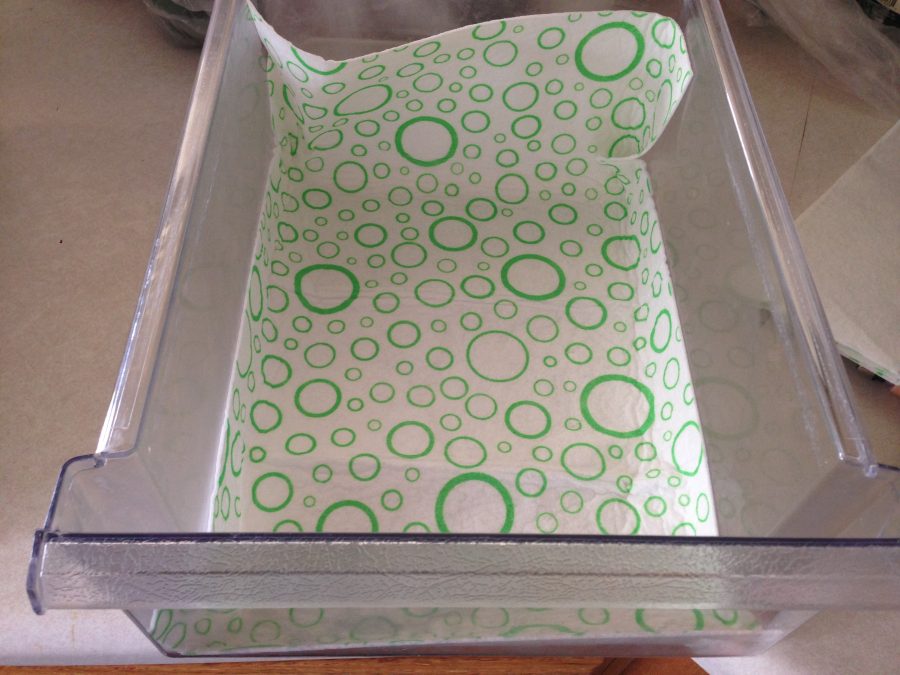
Instead of just putting everything in the drawer in their produce bag I bought them in, I decided to lay one of these out on the bottom of the drawer…
…and put my veggies on top of them. This way there is no extra moisture being trapped in the bags, and on the produce, making them go bad faster. I will let you know how my experiment works out. Has anyone else tried this or something similar??
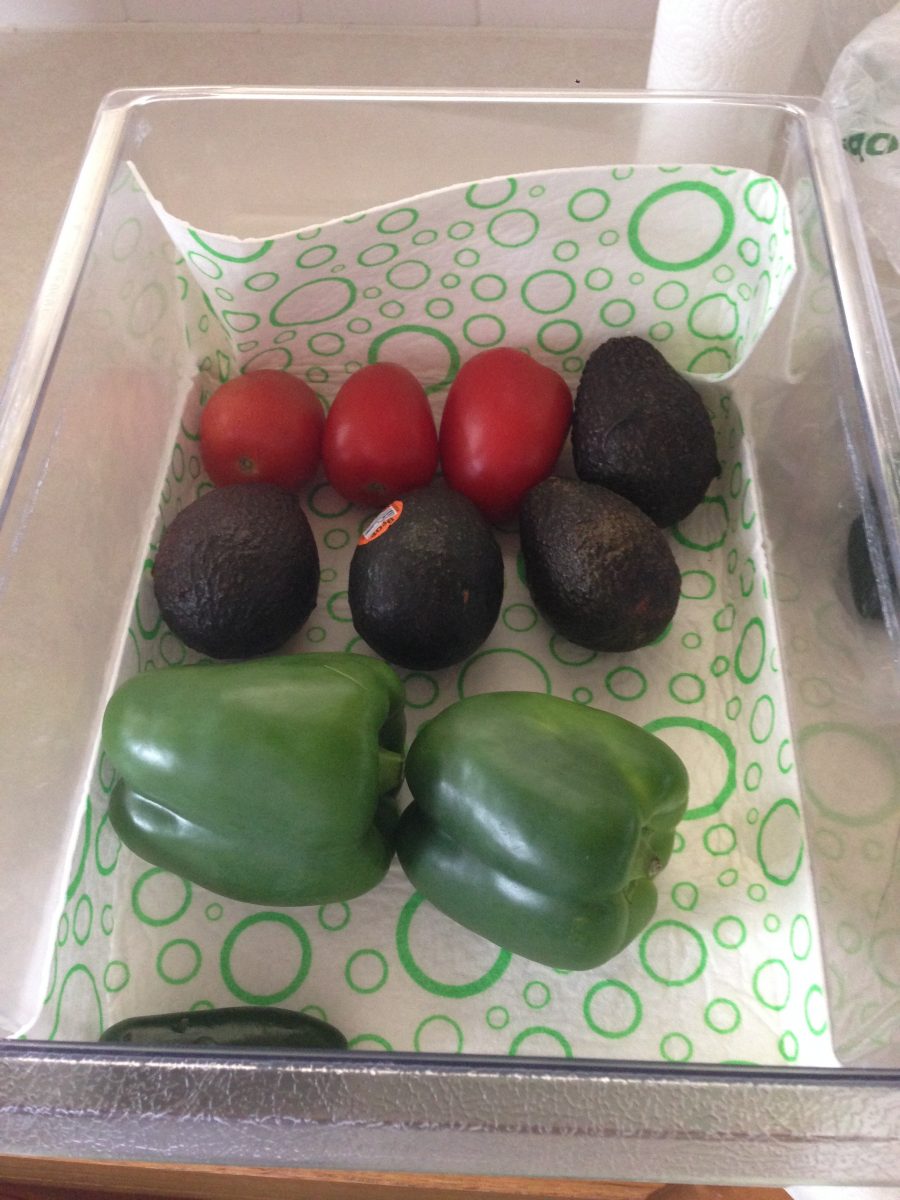
Since my husband and I always have a lot of fresh veggies on hand in the fridge, I currently am using both bottom crisper drawers for veggies instead of one for fruit and one for veggies–that’s right, I am such a rule breaker 😉
Because both crisper drawers are in use, I came up with a solution to house my fruits. I think we eat the fruits I buy better if they are easier to see anyway.
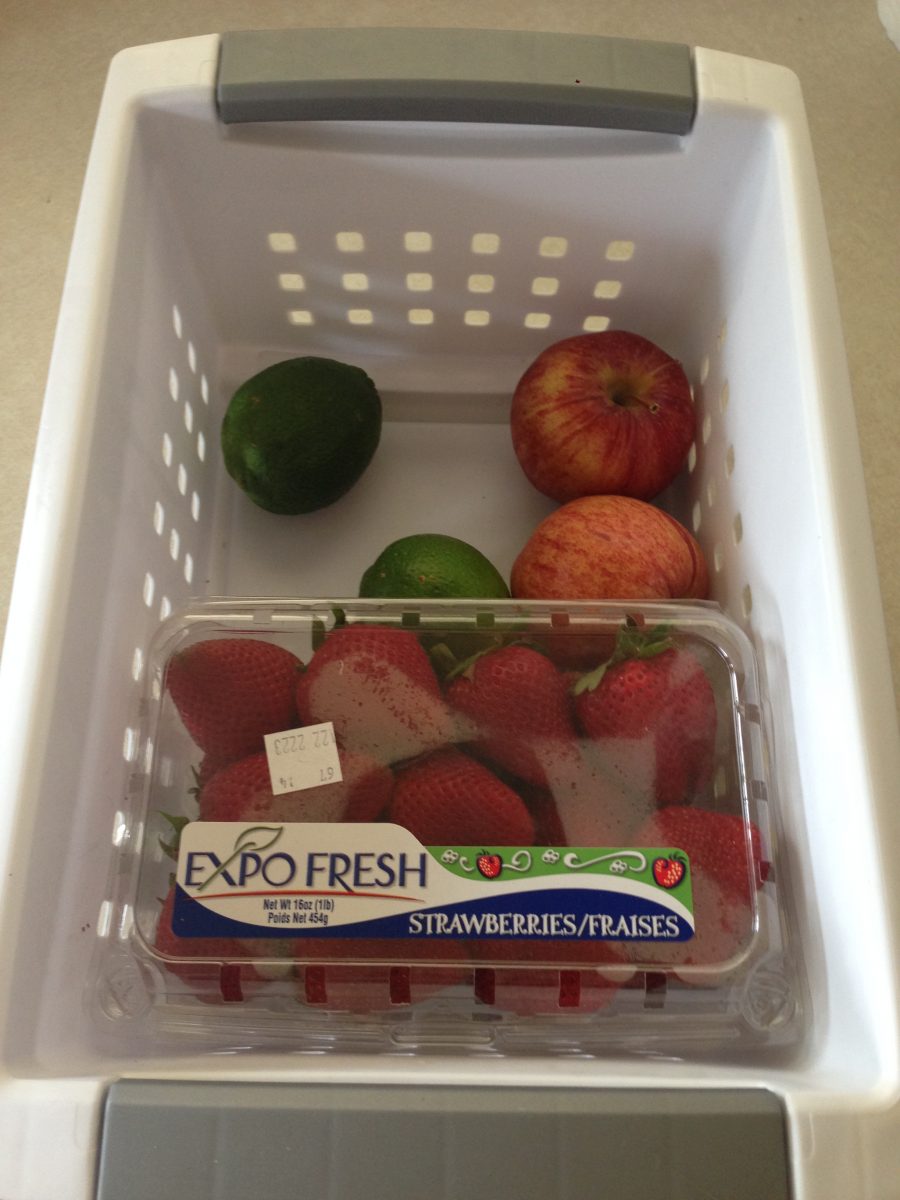
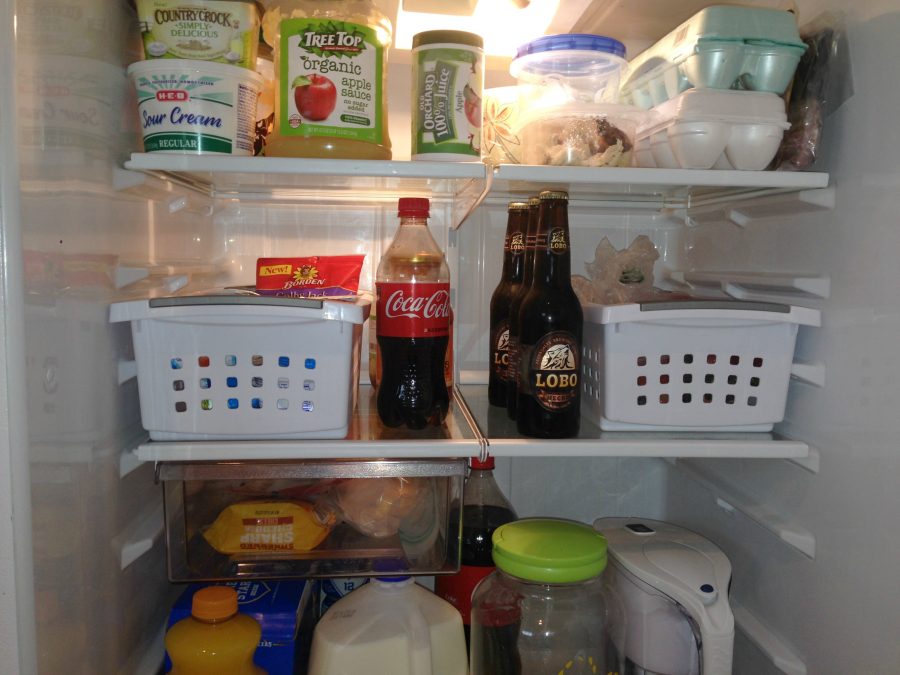
I bought these white rubbermaid baskets awhile back and have used them for various storage ideas. Lately, though, they have been living in my fridge. It’s easy to keep like things together when you have baskets. This way, some stuff doesn’t get pushed to the back of the fridge and goes bad before anyone can eat it.
So one basket houses our fruits, and the other, I’m using to keep my refrigerated lunch items in, like yogurts, puddings, and string cheese. It’s easy to put my lunch together in the mornings now–and that saves me from eating out, which saves A LOT of money.
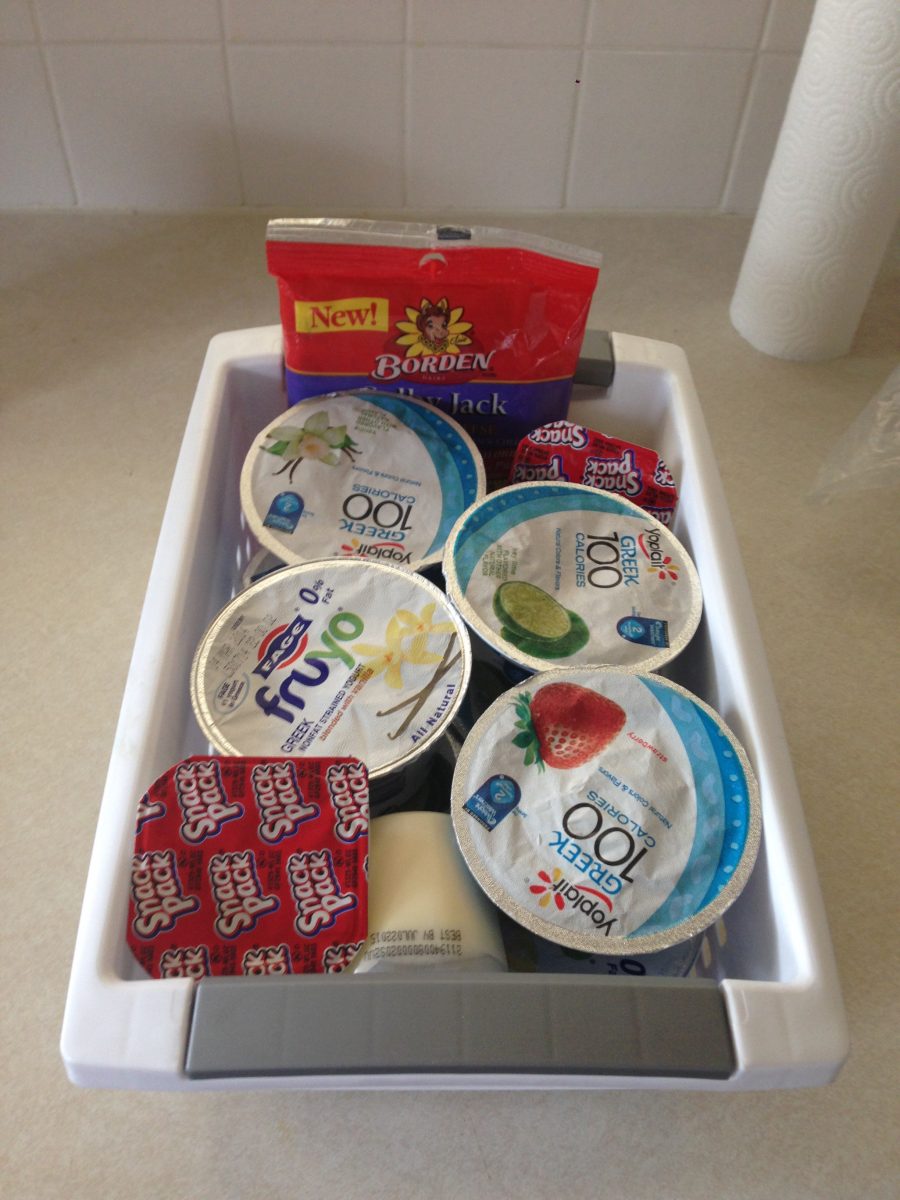
After getting everything organized, I put it all back into the clean fridge. While I have no before pictures to prove it, It looks TONS better–you’ll just have to take my word for it
Now let’s move onto the pantry <—my favorite part!
So here is what my pantry started out as
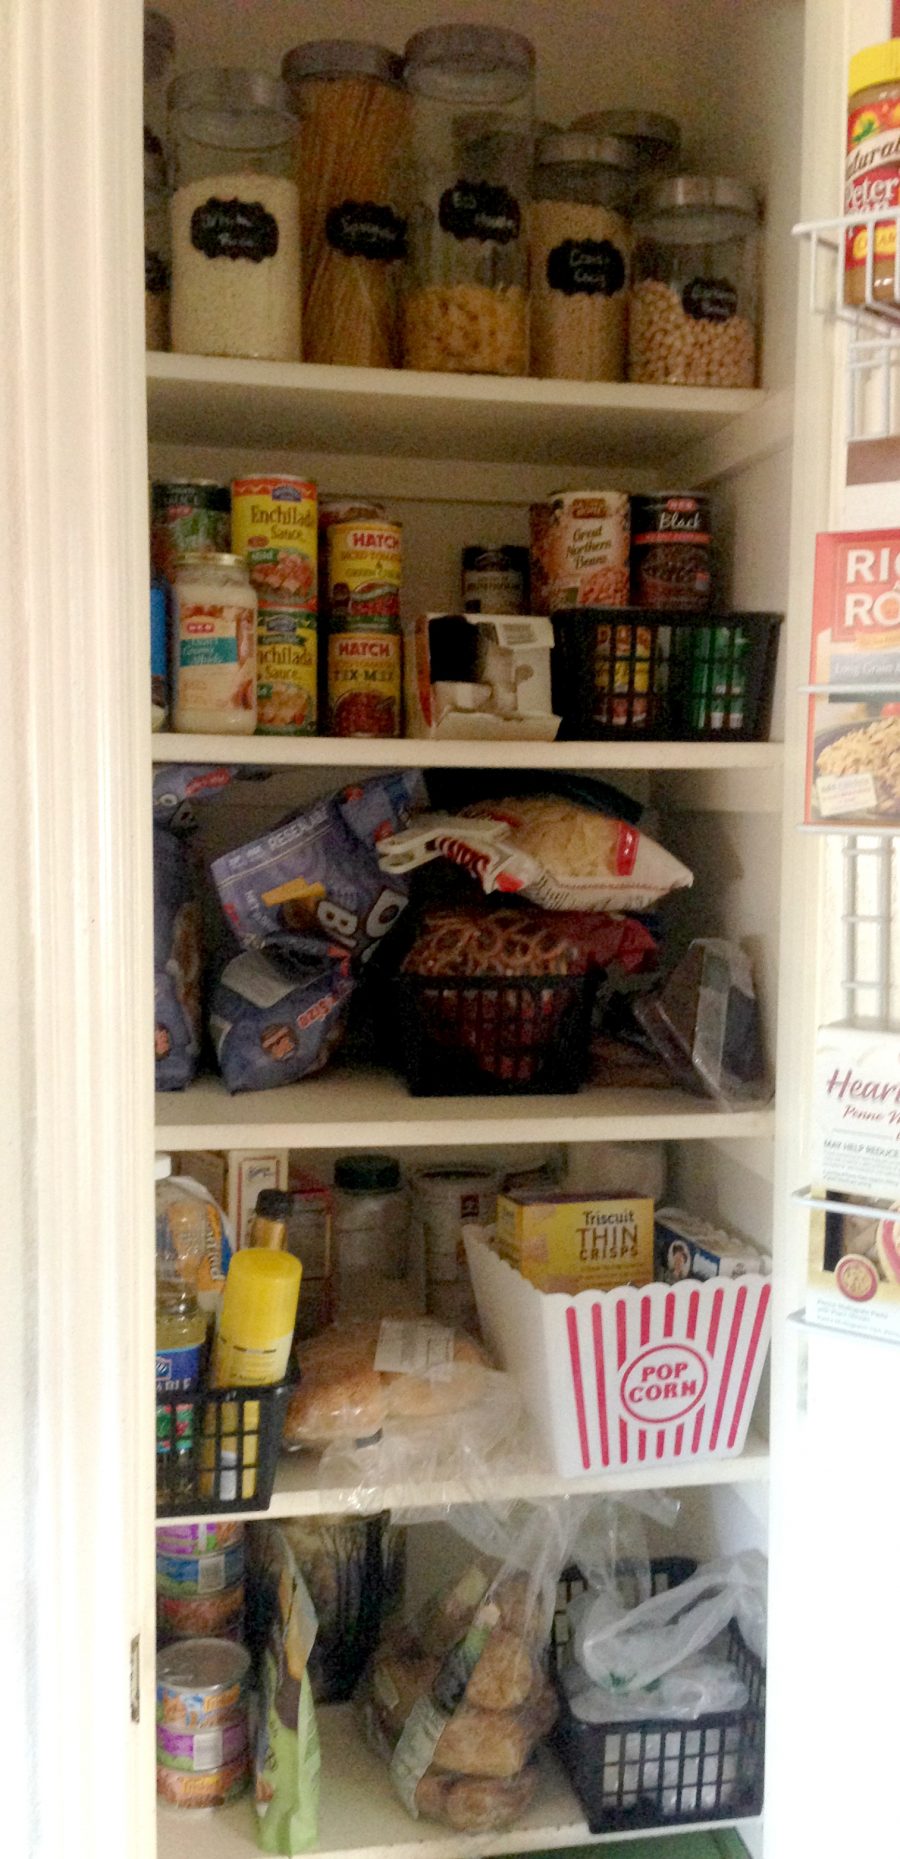
It has had several different variations of organization, but nothing I could come up with made it any easier to find things–especially on the canned good shelf. It was a nightmare.
SO I stopped in to Dollar Tree last weekend and found these UBER cute green baskets. They had them out with the St. Patrick’s Day things…I bought all they had, which was only 5
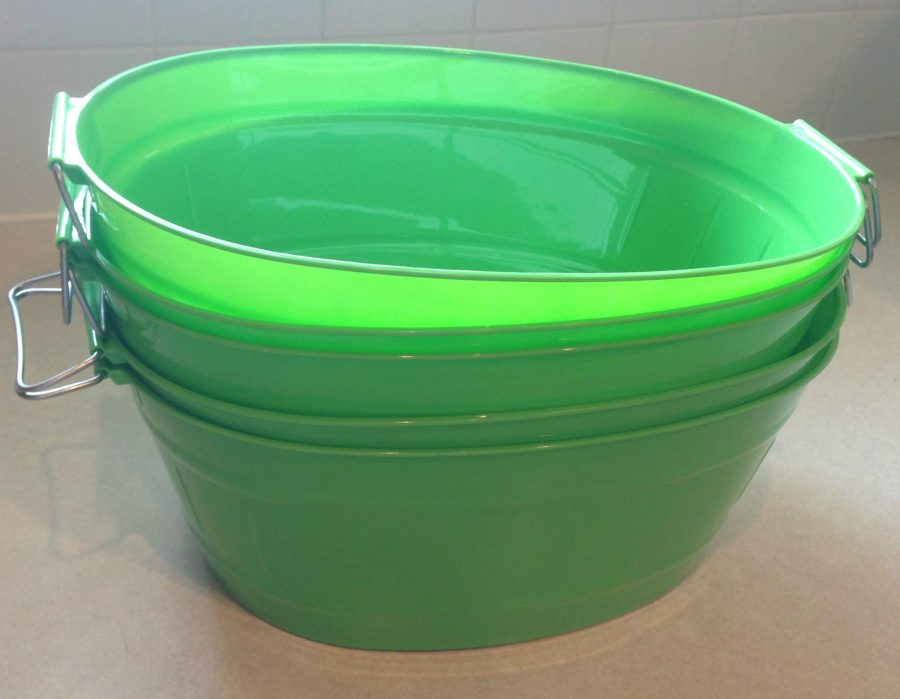
With these new bins, and the ones I currently had, I set to work. I went shelf by shelf this time, instead of clearing everything out.
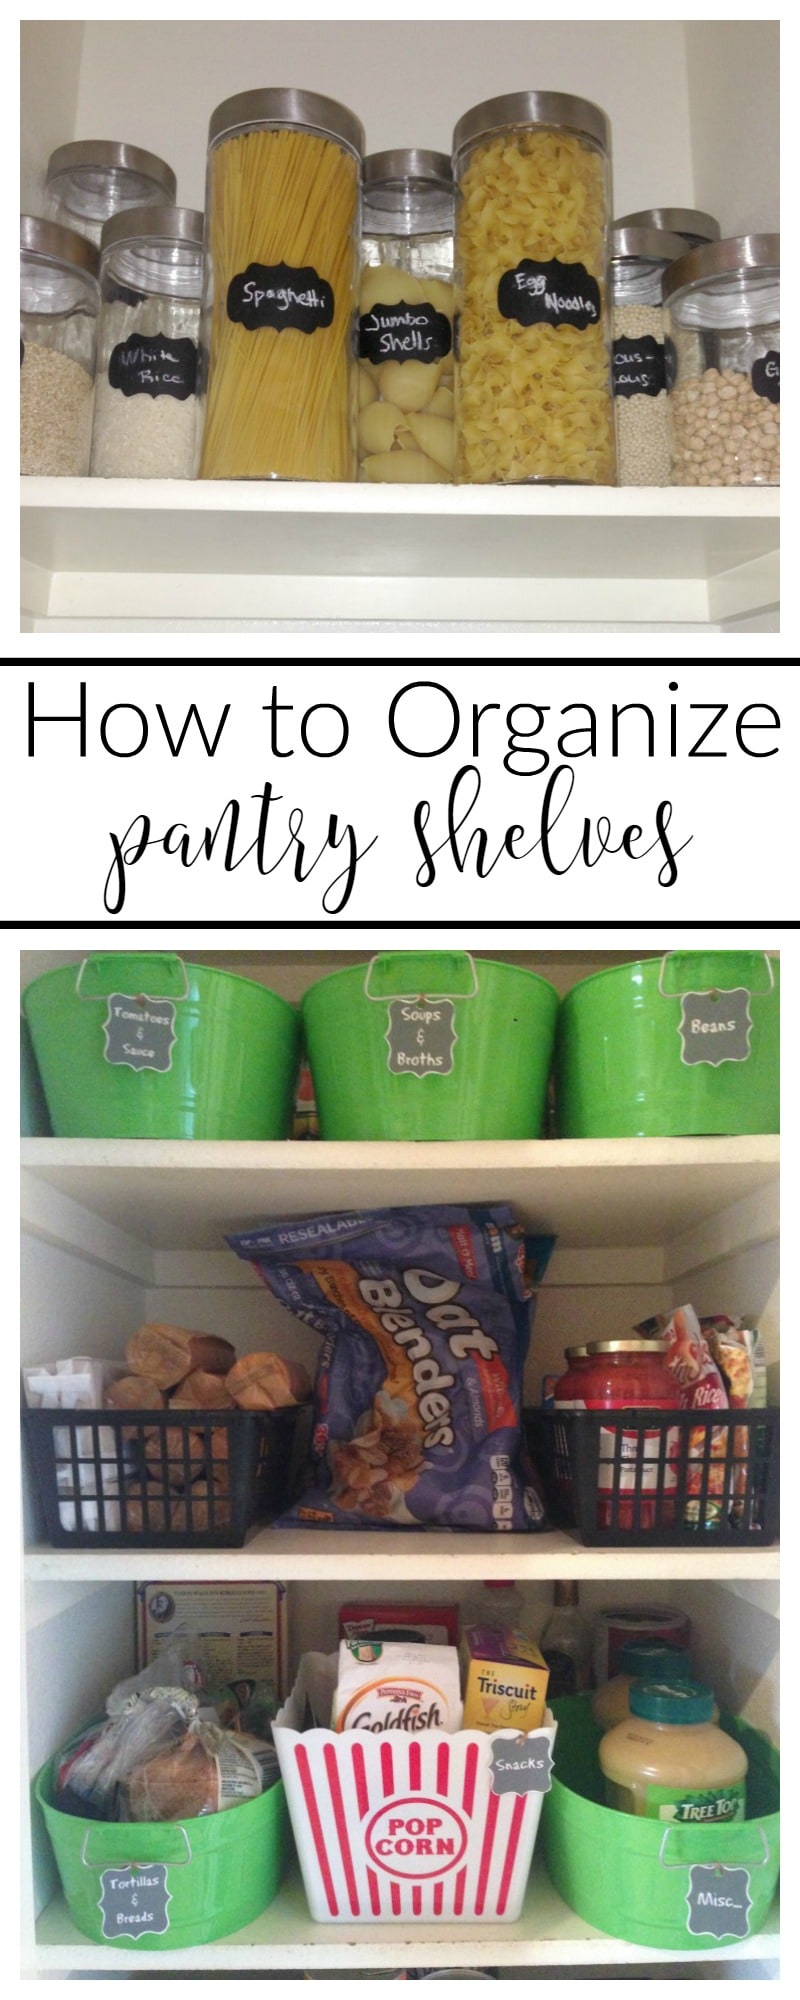
I started with all of my canisters on the top shelf. I didn’t do a whole lot to them, but wiped them down, wiped the shelf down, and re arranged them to make them easier to see and get to. I have things like spaghetti, egg noodles, rice, dry beans, and cous cous in them..among other dry goods. It’s easier than having boxes upon boxes of things and you see them better–which makes you use them more. Again–less waste
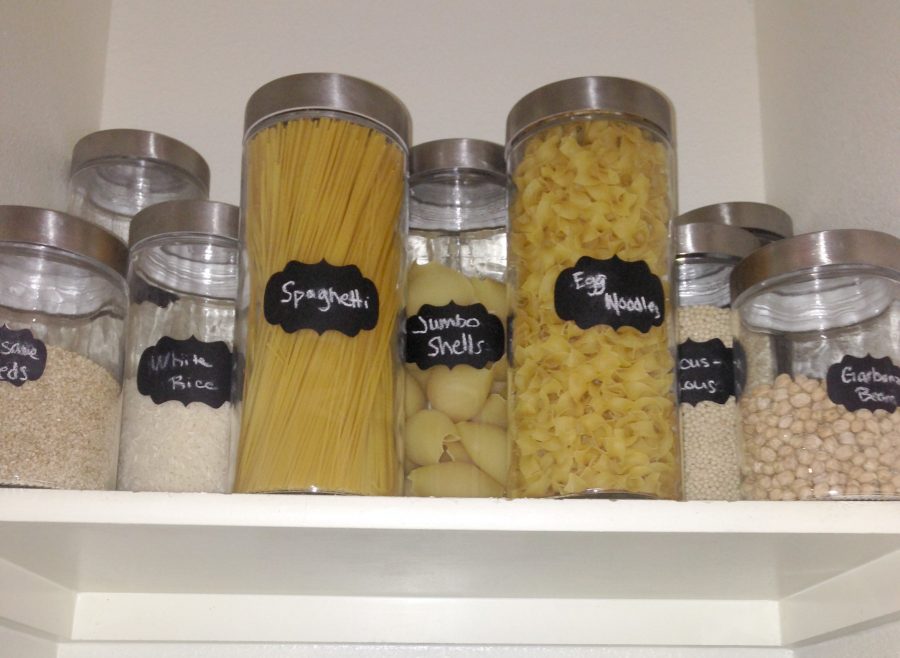
I’m in love with the chalkboard labels I got last year from BelleChic! I wish I had gotten another pack of them. The canisters I got at Big Lots. Each set was $9 for 4 canisters. I love a good deal!
Next I moved onto the canned goods. I could only fit 3 baskets across on the shelf, so I broke the cans down into 3 categories–beans, tomatoes/sauce, and soups/broths. The rest of the canned goods I made a single stacked row at the back of the shelf.
I separated my snacks into a Popcorn bucket my husband got from a gift at work–he got the goodies inside and I called dibs on the bucket!
I put our bread and tortillas in another bucket, crackers in one basket, and pre-packaged dinner products in another basket we already had on hand. I had one green bucket left over and decided to put all of the miscellaneous things that didn’t have a home elsewhere in this one.
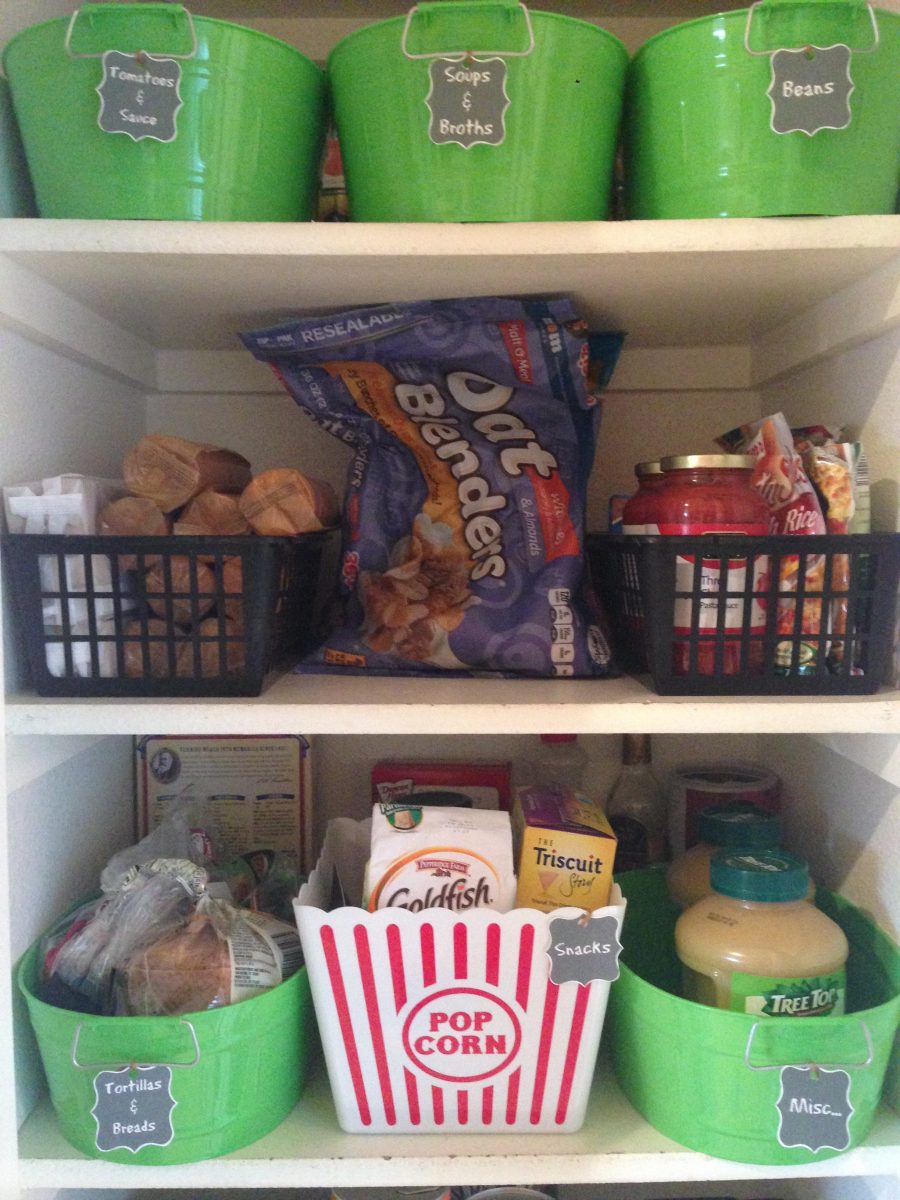
I decided to label the bins as well, to make things easier for my husband to find. I used Pic Monkey to make the labels, then printed them on white Cardstock I had on hand. I used a hole punch and tied some yarn through the hole to attach them to the buckets. I wanted to keep with the chalkboard theme.
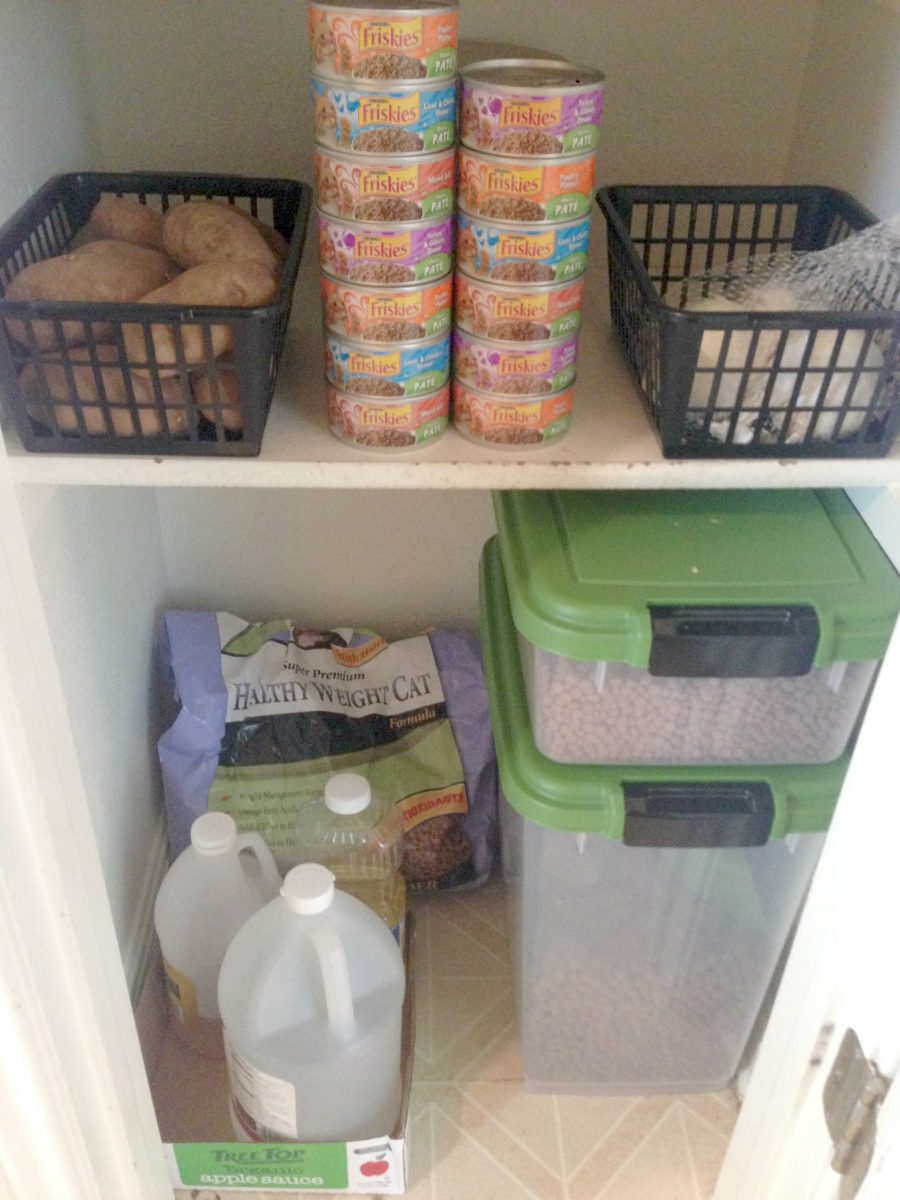
And finally, the bottom shelf–which isn’t too exciting–houses our cat food, potatoes, onion and garlic. Then on the floor is the dog food, and my big jugs of oil and vinegar that is too tall to fit on a shelf.
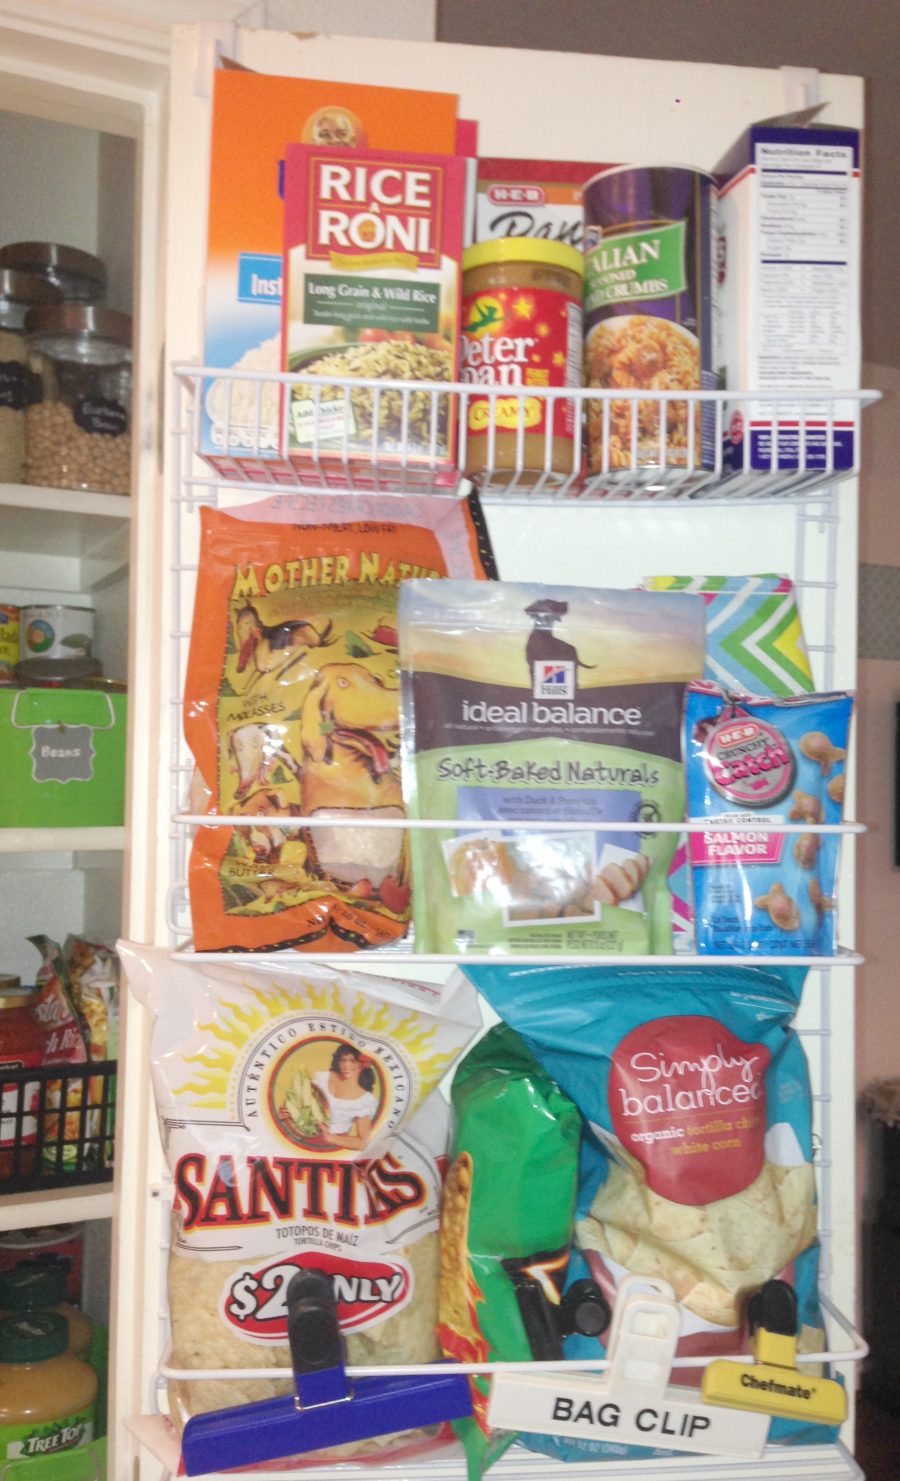
For the door of the pantry, I hung half of an over the door pantry organizer I got last year. I originally was using the whole thing in our previous house to hold craft and gift wrap supplies. I still use the other half of this organizer for that purpose, but needed just a little more space for the pantry. It works out great to hold some lighter things, like bags of chips, treats for the animals, and miscellaneous items we use once in awhile
I love how it turned out, and it is so much easier to find things when I’m cooking now!
