Modern Farmhouse Kitchen Makeover on a Budget
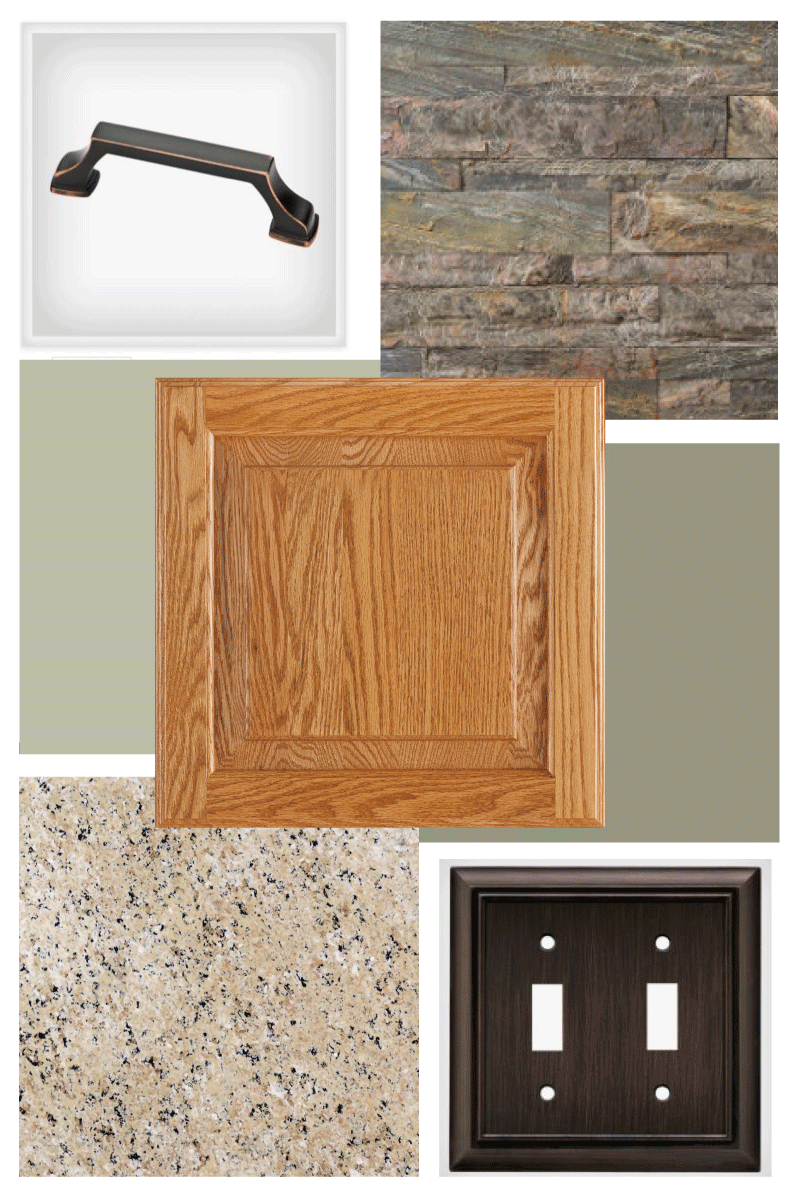
Thank you to Liberty Hardware, Behr Paint, Aspect Tiles and Giani Granite for sponsoring this modern farmhouse kitchen makeover and helping me create a warm and welcoming space for my parents to enjoy!
This post may contain affiliate links for your convenience. Read our disclosure policy.
I spent an entire week giving my parent’s kitchen a much needed makeover and today is the day I’m sharing the whole thing! If you’ve been following me on Instagram, you may have caught some of my stories showing a little bit about the projects I did for this kitchen makeover on a budget.
Before we dive in, let’s all get a good look at this before photo. I shared the details of what we had planned for the space a few weeks back and told you exactly why we were planning this budget friendly kitchen makeover in the first place.
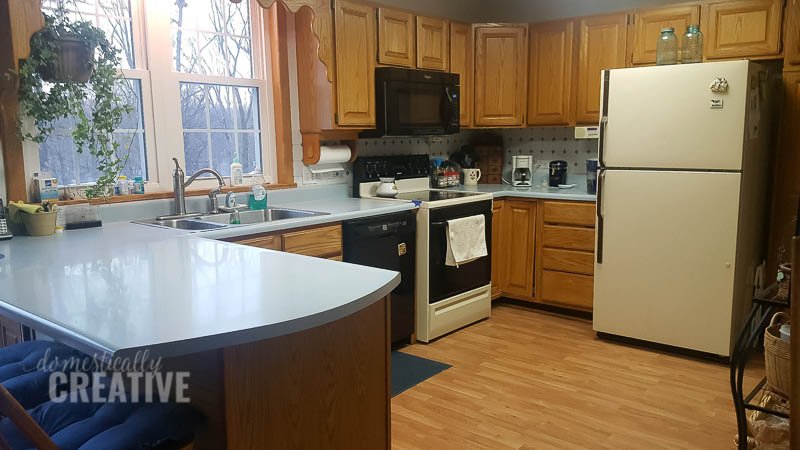
And don’t forget the lovely wallpaper! Mom gets all of the credit for taking all of it down before I arrived. I’m glad I didn’t have to be involved in that ordeal, or I may have needed more than a week to finish.
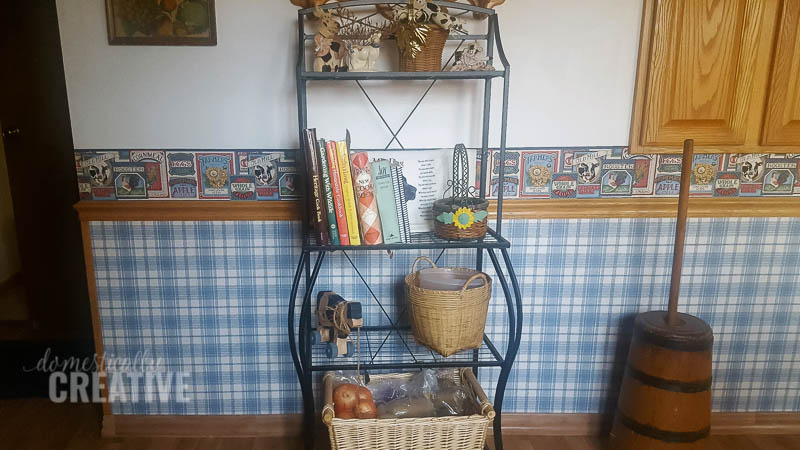
Before I jump into the after pictures, let me tell you a little back story. This kitchen has been decorated in blue gingham, cows, and chickens for as long as I can remember. When I first talked to my mom about doing this kitchen makeover on a budget, she told me she was done with blue and done with cows and didn’t want either in her new kitchen.
She picked out some cute throw rugs to go in front of the sliding door and in front of the sink with a vintage fruit crate vibe, and I assumed that was the route we would go with the rest of the decor. Then we went shopping, both at the store and in her house, and, well I’ll just let the pictures speak for themselves.
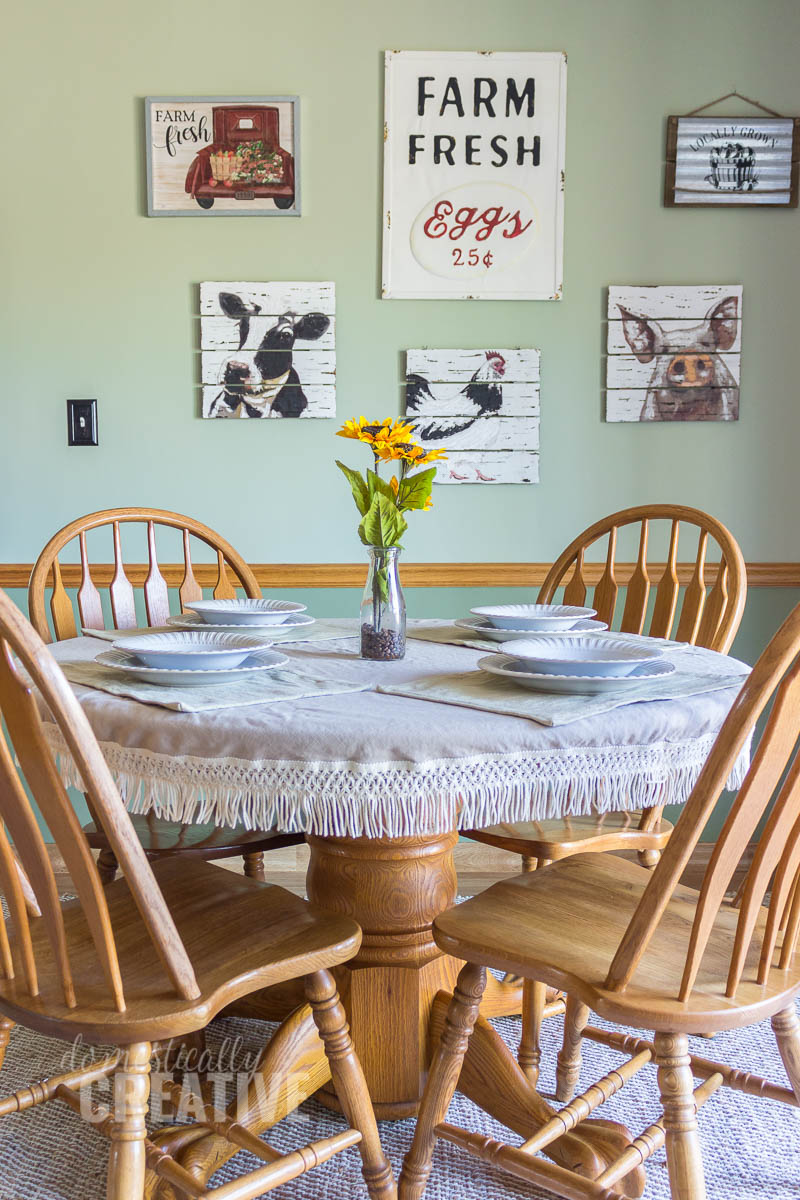
Yep, there are cows. But in her defense, the cows and farmhouse vibe is a lot more modern than it was previously, so it should at least carry them through for the next 25 years right?
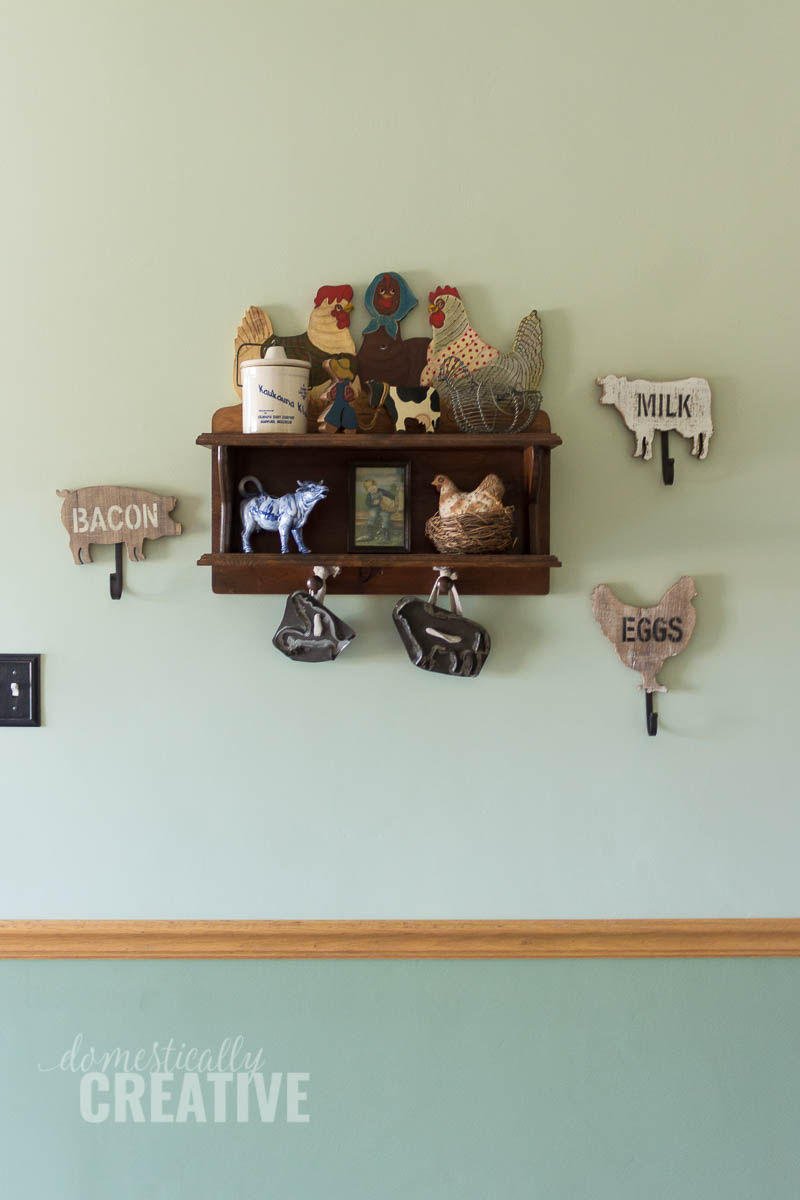
My mom has a lot of antiques that we wanted to keep in the new modern farmhouse kitchen, like these metal cookie cutters and basically everything on that chicken shelf. Oh, and that shelf? She painted those chickens when she was younger! I definitely did not get her painting talent. I think she gave all of those genes to my brother.
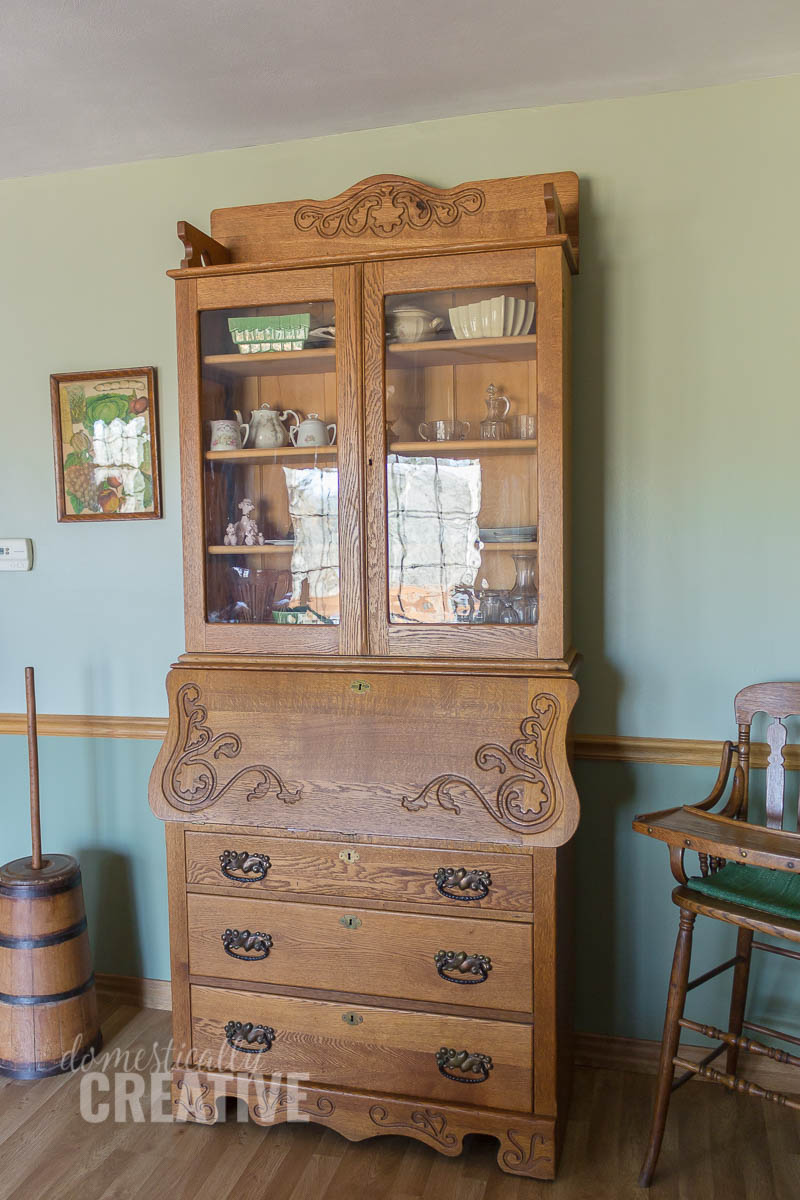
This hutch is filled with family heirlooms and other antique dishes. The hutch itself is actually a furniture makeover that she did back before I was even born.
She rescued it from an old farmhouse they lived in previously. It was covered in green milk paint that she stripped off and refinished with stain. She even joked with me about painting furniture saying that her generation removed all of the paint my grandma’s generation put on furniture, and now mine is coming in and painting it again.
I can’t imagine stripping paint from something like this, can you?! Kind of makes me rethink painting wood furniture.
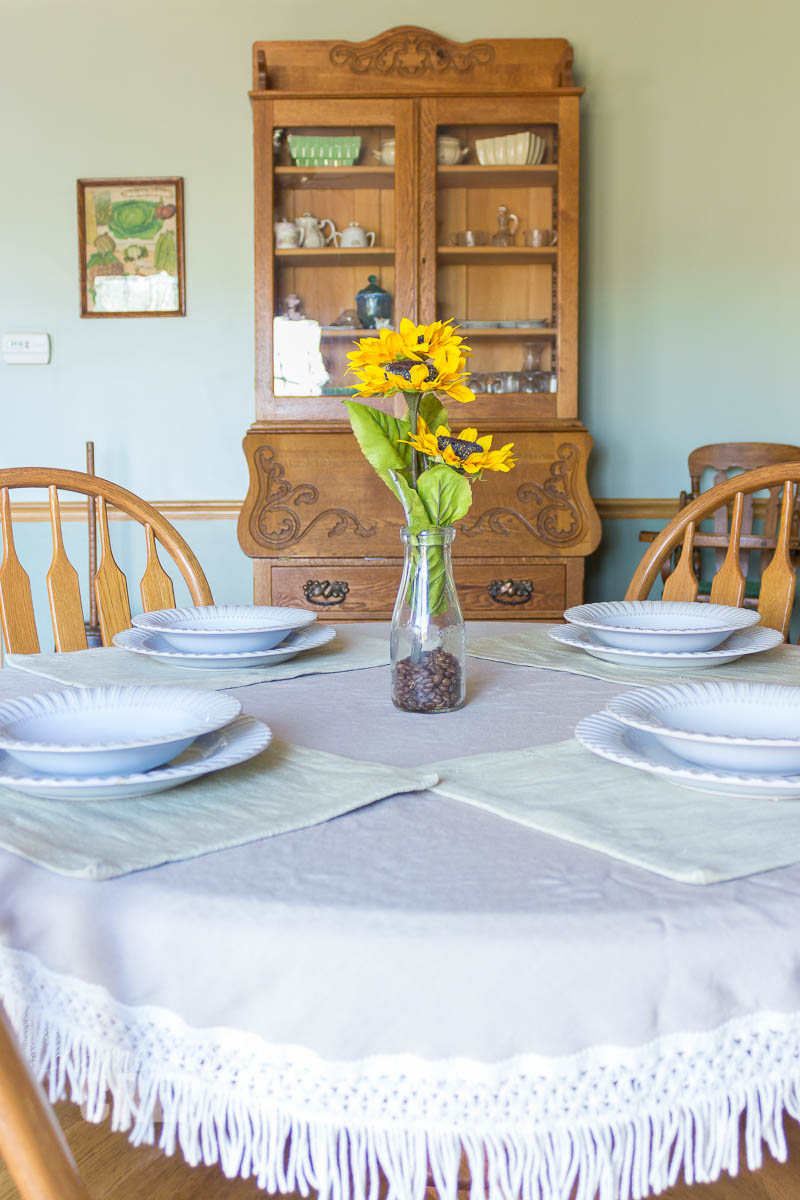
The artwork next to the hutch is actually made from pictures of vegetables she cut out of old seed catalogs. It was hanging in the kitchen originally too, but found a new home in the dining area.
Next to the hutch is a vintage highchair that my grandpa pulled out of a dumpster years and years ago! On the other side is an old butter churn.
Ok, enough of the dining room area lets move on to the fun part–the kitchen makeover! If you haven’t been able to tell, the kitchen and dining room is all one big open space.
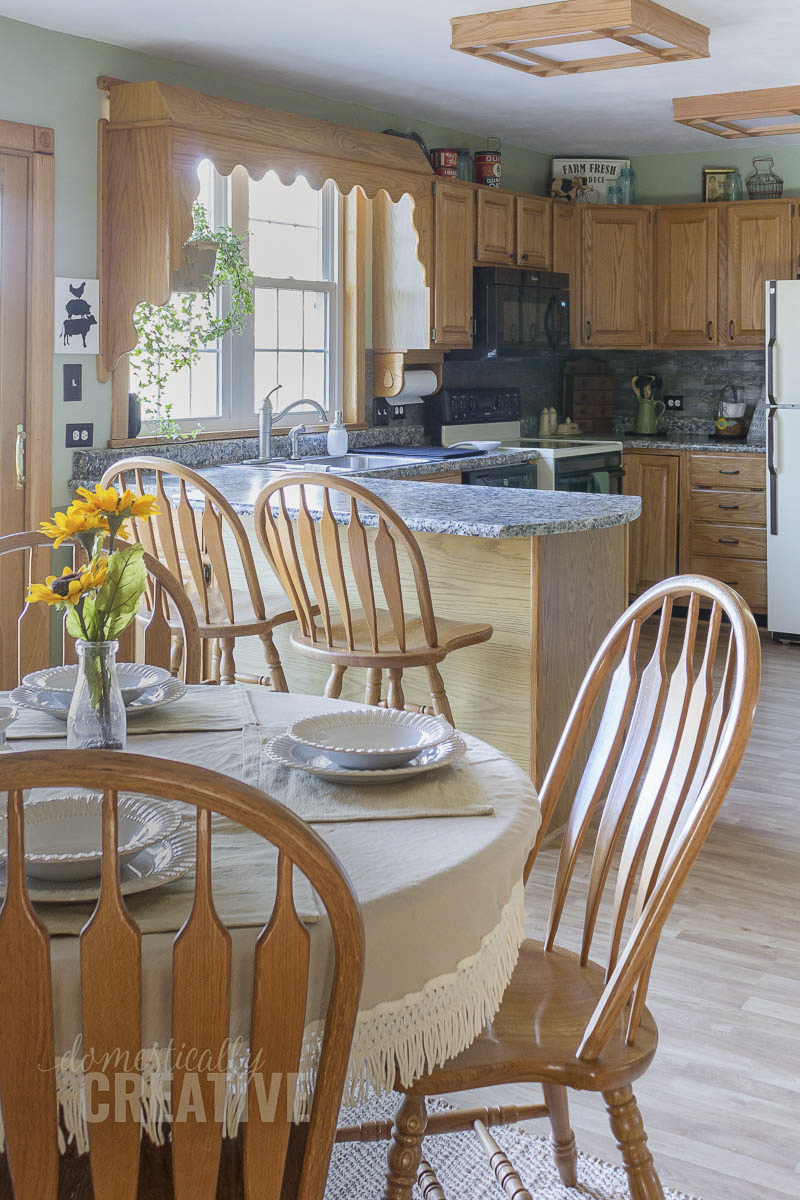
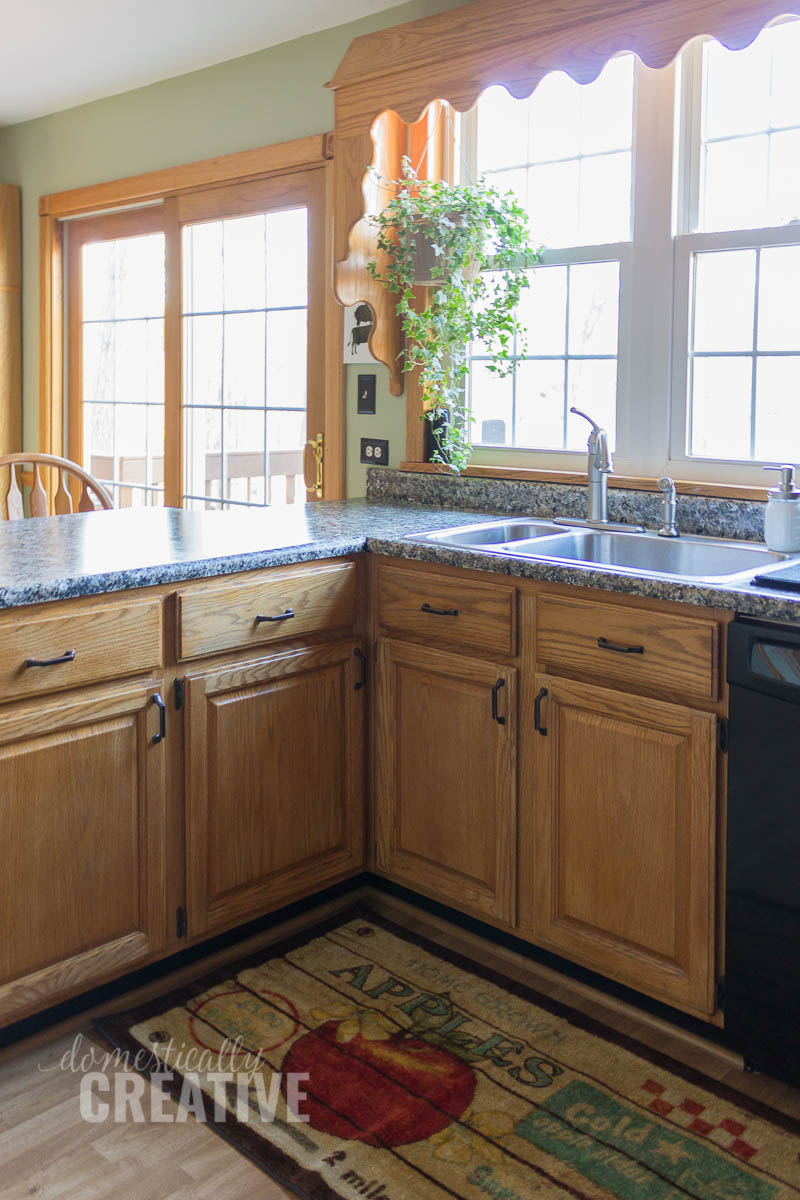
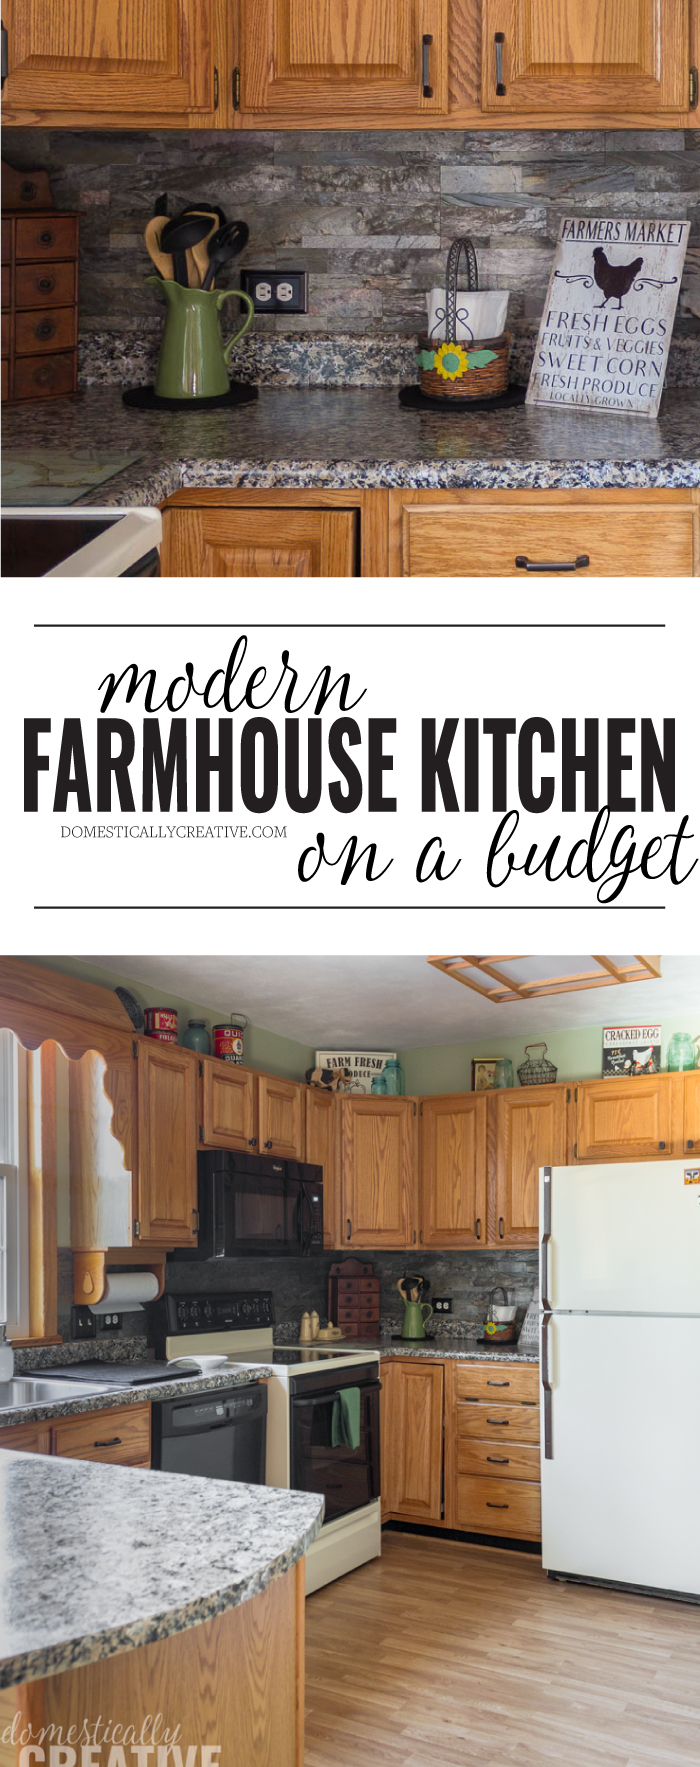
What a transformation right?! Of course we gave the walls some color with Behr paint in Urban Nature and Milkweed Pod. I really love how rich the Milkweed Pod is on the bottom.
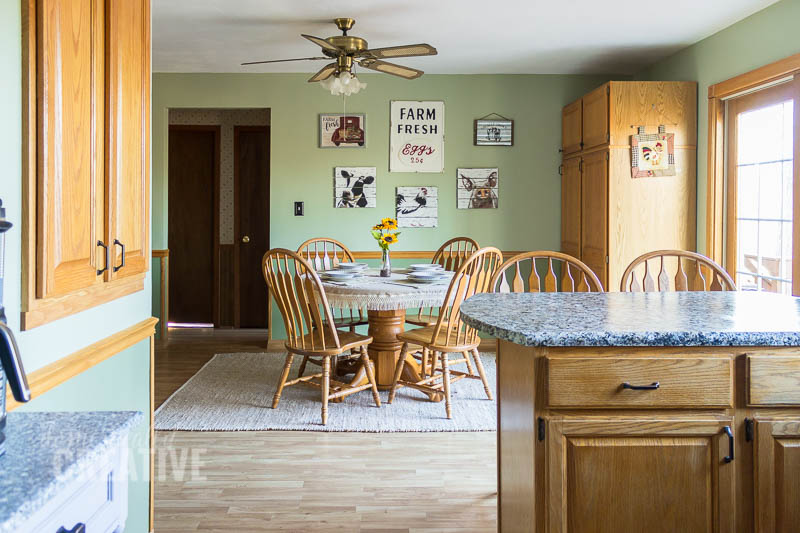
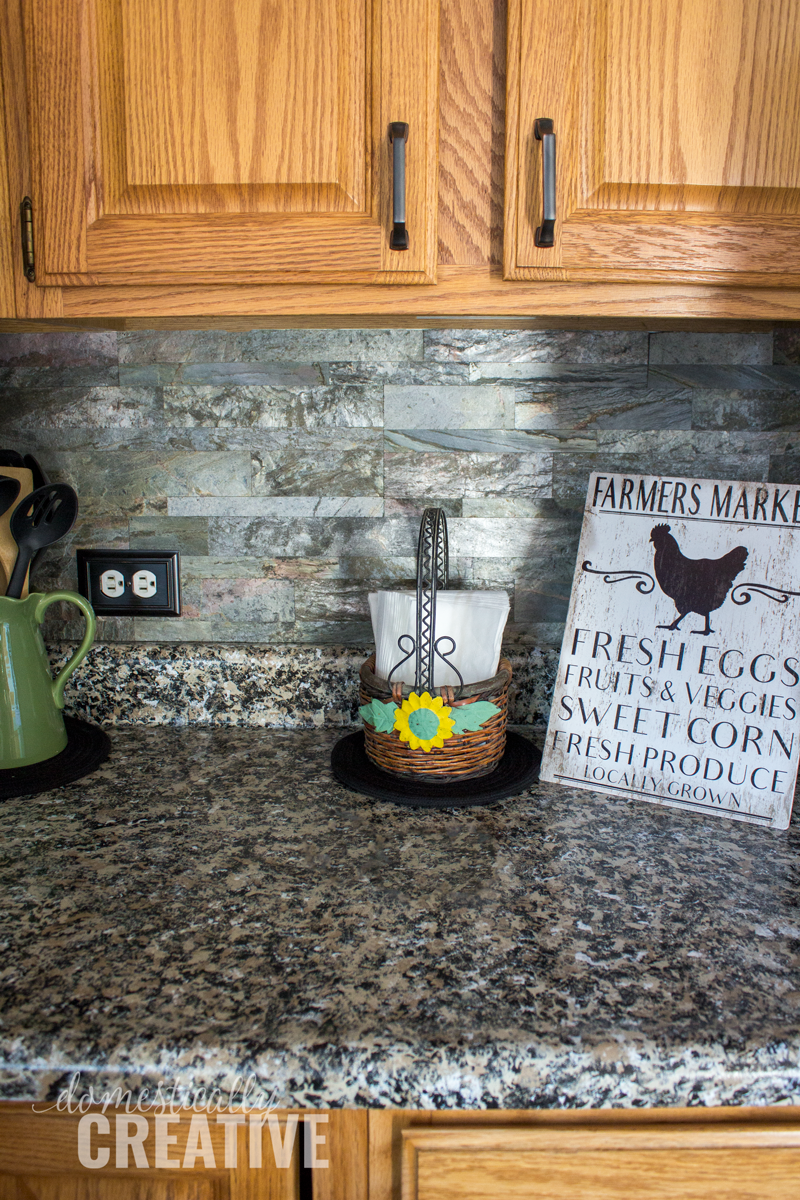
We gave the counters a new lease on life by painting them with Giani Granite. I’ll have a whole post on the details next week, but seriously better than the blue right?
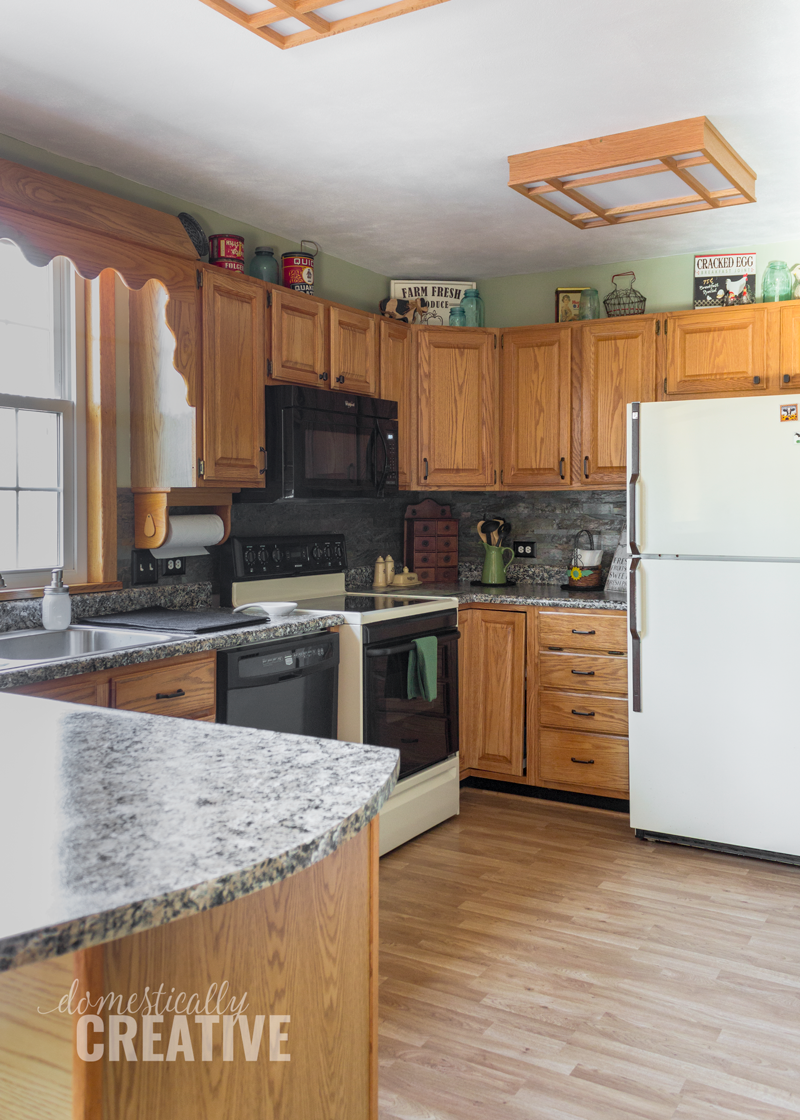
We also added Liberty hardware to all of the cabinets and drawers and new switch plates as well. It’s amazing how something so simple can really make a huge impact.
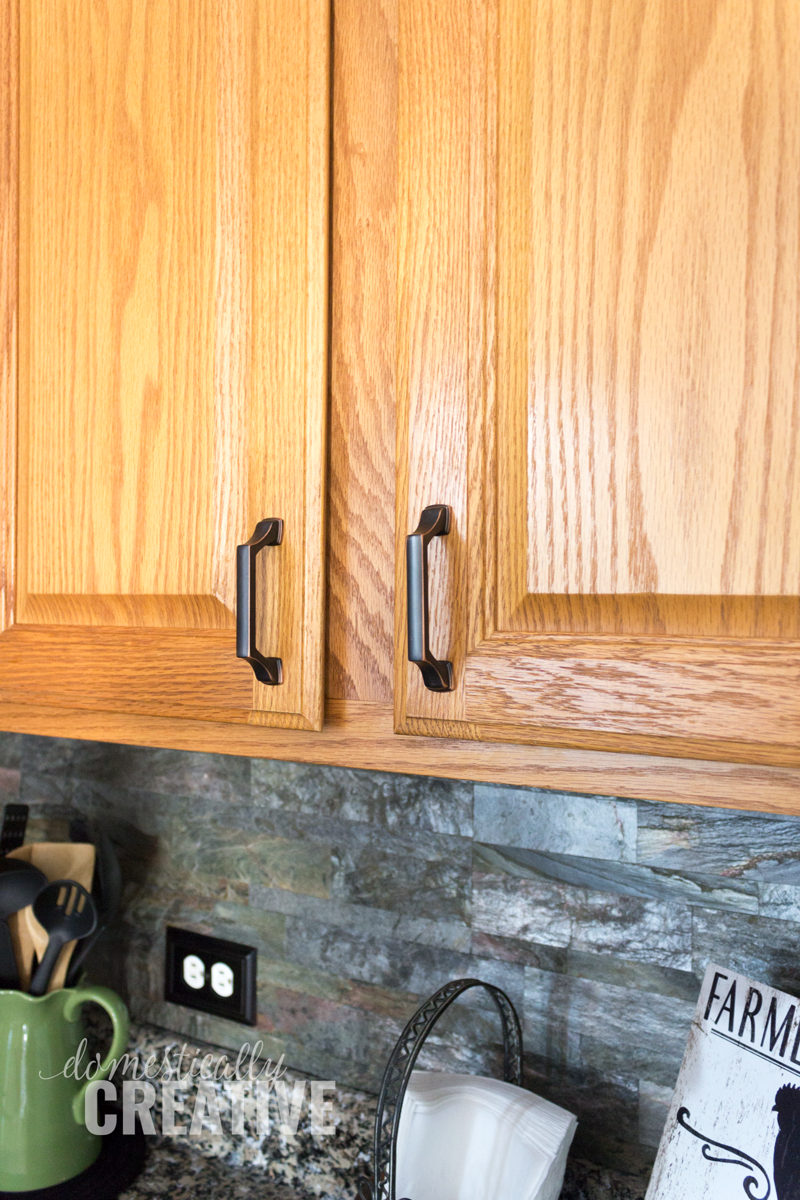
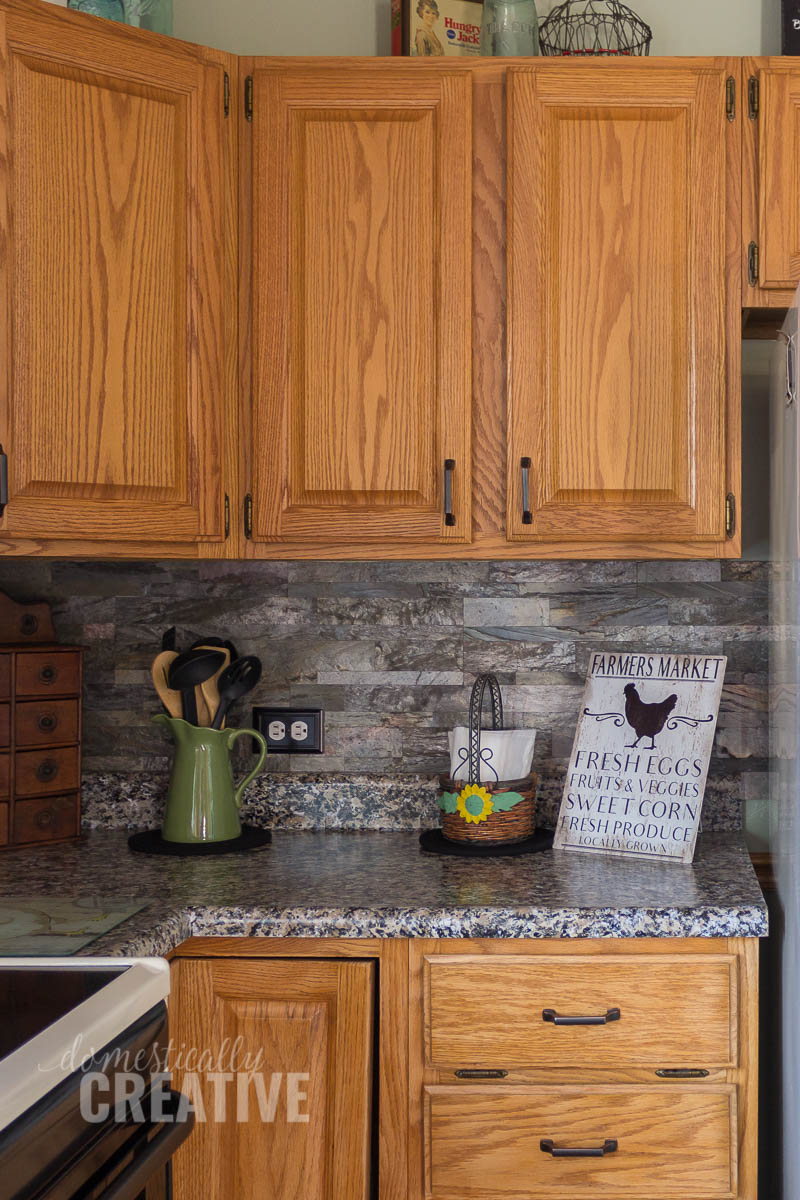
Then we went over the existing tile back splash with peel and stick Aspect Stone Tiles. It’s real stone!! I did this transformation in about 2 hours and it was so easy to do!
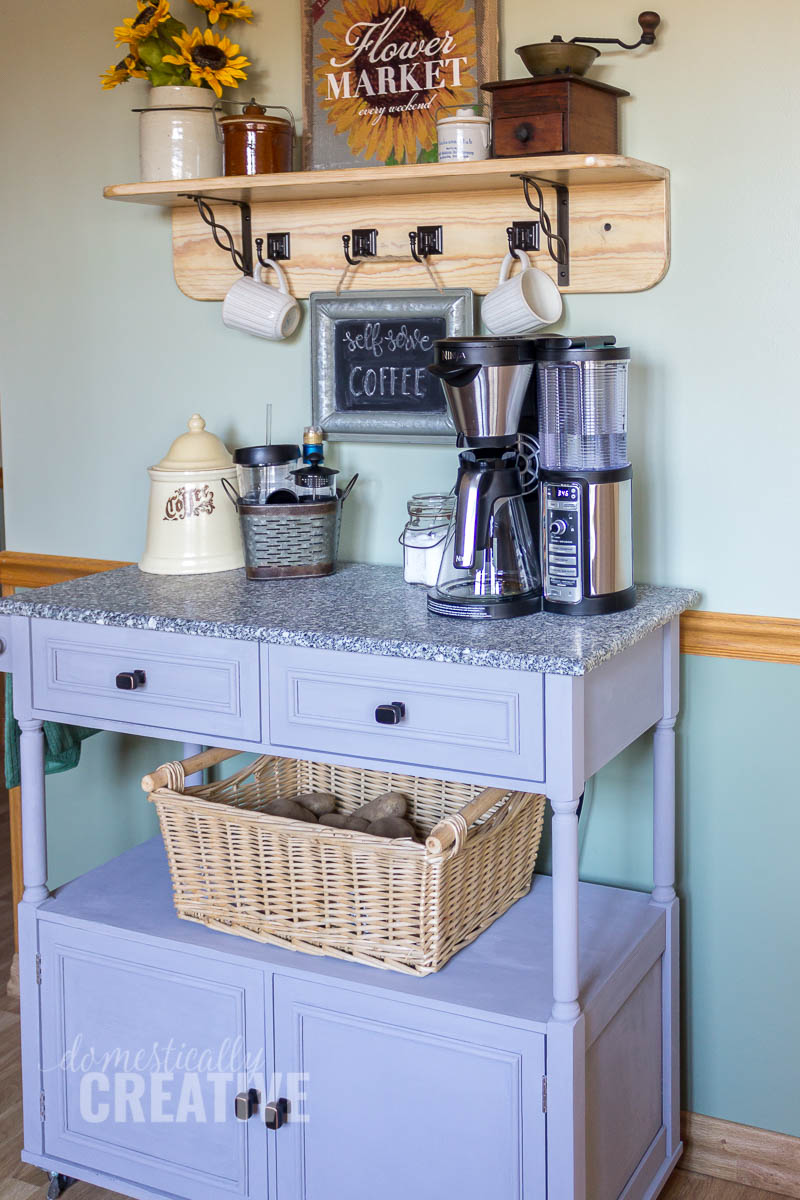
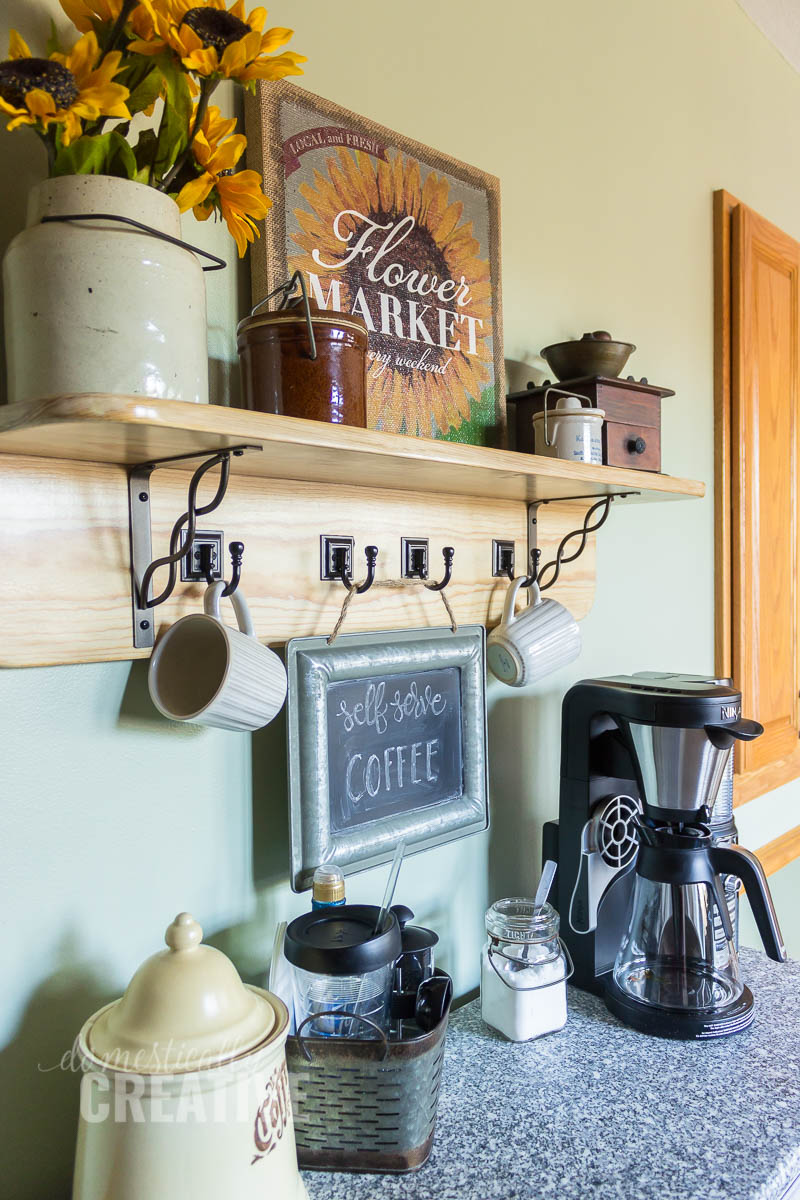
We added a coffee bar area to this wall to get their coffee pot off the counters. This frees up counter space next to the stove for prep, plus it adds another little place for decor. I added some hooks from Liberty Hardware to the shelf dad built to hang some mugs and this cute chalkboard from.
Maybe one day I’ll tell you the story on the coffee bar itself (it was originally white) but right now I’m still too angry at it. It’s actually more gray looking in person, but the afternoon sun was not kind on my photos so the color looks very blue.
You can see more antiques on this shelf, like the crocks. That is a vintage coffee grinder!! Oh, and that Ninja coffee station is pretty incredible! You have the ability to make regular coffee, specialty, or iced coffee and it even came with a little milk frother. I’m more than a little disappointed I didn’t get to use it the entire time I was there.
Overall my mom loves the way the kitchen turned out, and my dad was just happy he didn’t have to do it all (although he did help out a lot!)
Shop this look:
- Small rugs
- Large woven rug (similar)
- Cabinet knobs
- Cabinet pulls
- Switch plates
- Coffee bar hooks
- Giani Granite Sicilian Sand Countertop Paint
- Aspect Tiles Weathered Quartz
- Ninja Auto IQ Coffee Maker
- Artwork from Hobby Lobby
Love this? Pin it for later!

Such a beautiful transformation Amanda! It is always amazing what a huge difference paint can make. Those counters!!! It looks like a new kitchen. Love the hardware, counters and backslash.
Apparently your parents and I are from the same generation because I could relate to all of their vintage possessions.
I love the new painted counter tops and the back splash. Definitely brings the kitchen into the present. Shows that there’s hope for those will super small budgets.
Thanks Erlene!
This looks so good! I love the backsplash and you both did a great job curating and displaying the antiques. A nice fresh makeover, but still your Mom’s style. Love it!
I’m still in awe how spectacular this turned out. I can never thank my wonderful daughter enough for doing this. From the planning stages up until the final decorating, this project has been so much fun. And to do it all with my daughter who grew up in the former 90’s kitchen makes it even better. Now I’m definitely motivated to tackle more room makeovers. Thank you again our awesome daughter!