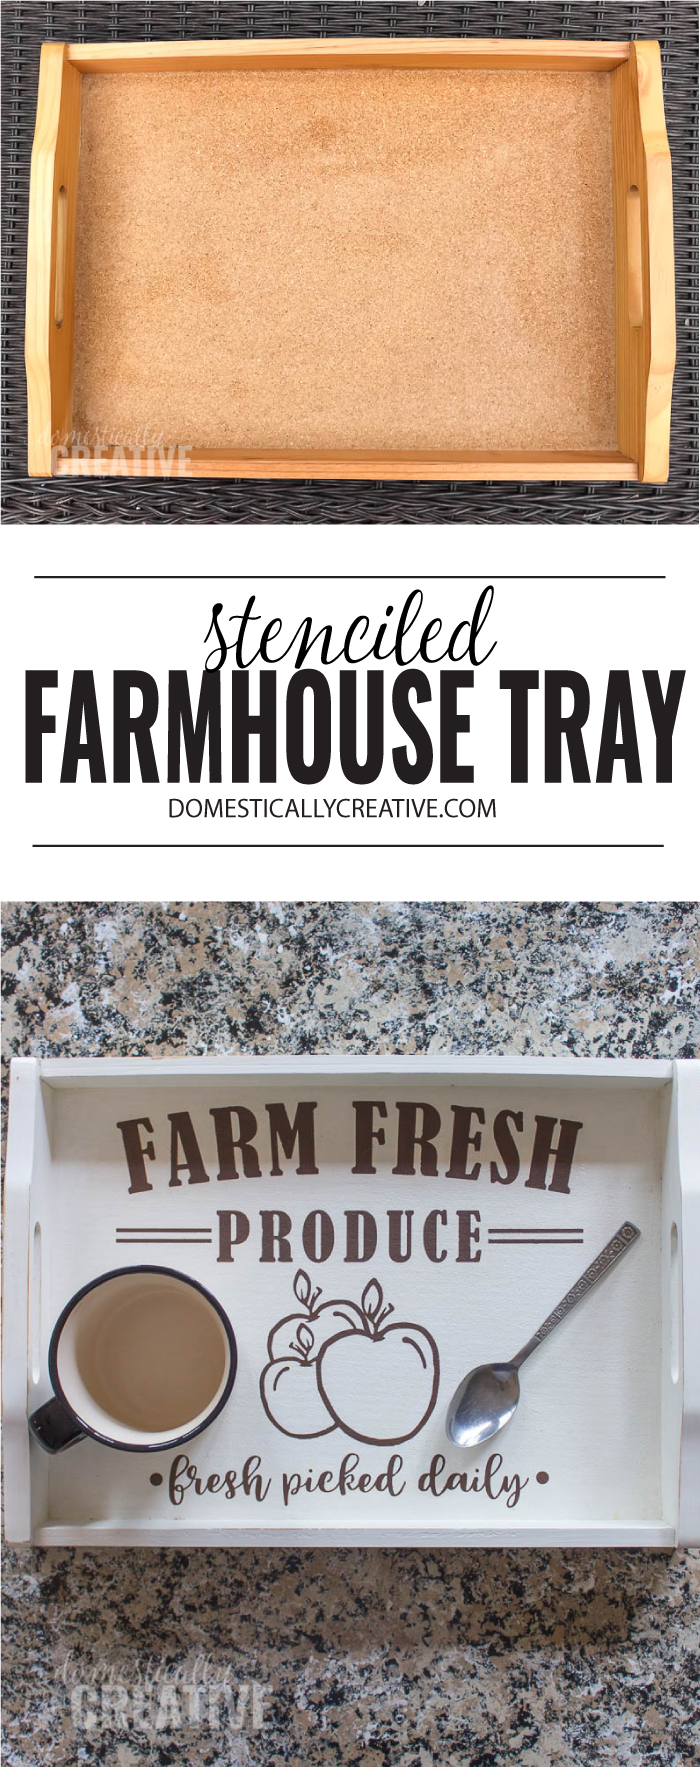
Stenciled Farmhouse Style Tray
Take any ordinary wooden tray from a thrift store or resale shop, and give a whole new life as a stenciled farmhouse style tray.
This post may contain affiliate links for your convenience. Read our disclosure policy.

For this month’s thrift store challenge, I was on a mission to find something decorative for my mom’s new kitchen. We are going to set up a coffee bar, so when I spotted this wooden tray, I thought I could give a little bit of a facelift to make it fit in with her new decor.

The Rules:
- Upcycle an item(s) from a thrift store, resale store, or garage sale into a new piece of decor.
- There’s no monthly theme.
- There’s no budget to stick to.
Meet the Hosts
Amanda | Domestically Creative
Angela | Simply Beautiful by Angela – Jeanie | Create and Babble
Molly | Just a Little Creativity – Victoria | Dazzle While Frazzled
Marie | The Inspiration Vault – Michelle | Michelle James Designs
Shirley | Intelligent Domestications – Gail | Purple Hues and Me
Jennifer | Cookies Coffee and Crafts – Ann | Duct Tape and Denim
Michelle | Our Crafty Mom – Debra | Shoppe No. 5
Denise | My Thrifty House – Chelsea | Making Manzanita
Deborah | Salvage Sister & Mister – Habiba | Craftify My Love
Kathleen | Our Hopeful Home
Make sure you follow our board on Pinterest for more upcycled decor inspiration!
Stenciled Farmhouse Style Tray
Items You’ll Need:
- Thrifted wooden tray
- Murphy’s Oil Soap (to clean)
- Americana Decor chalky paint
- Paint brush
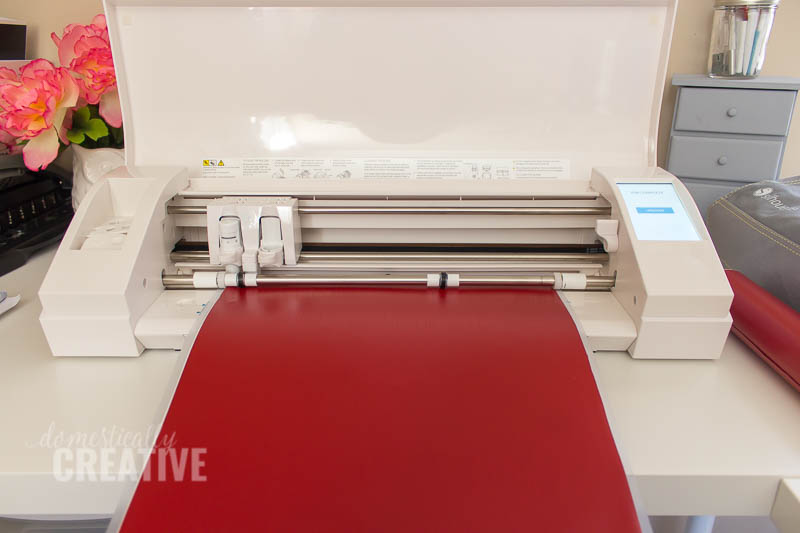
- Silhouette Cameo
- Vinyl
- Transfer tape
- brown craft paint
- foam pouncer
- Americana Decor clear wax
- Wax brush or old rag
As always I like to clean any thrifted item I come home with really well before getting started with it, especially for items I’m going to paint. Murphy’s Oil Soap works really well on wooden items, but you can use any household cleaner you may have.
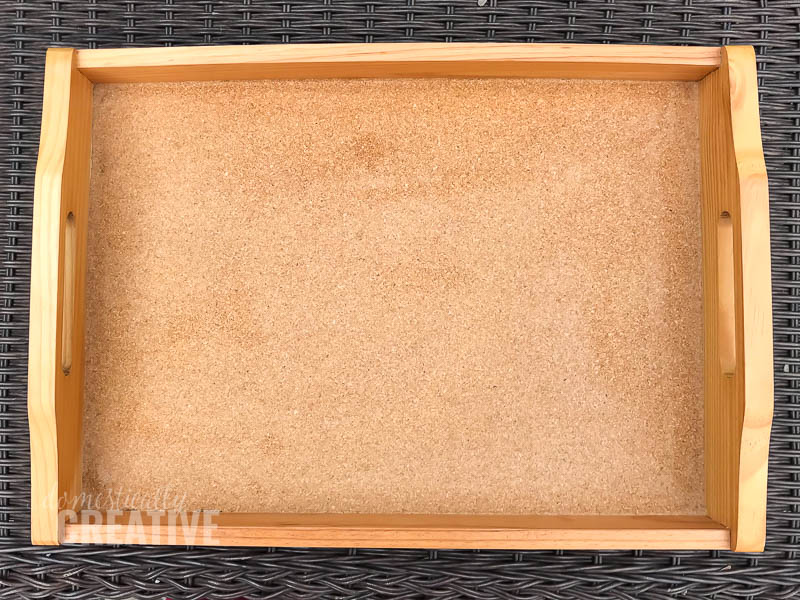
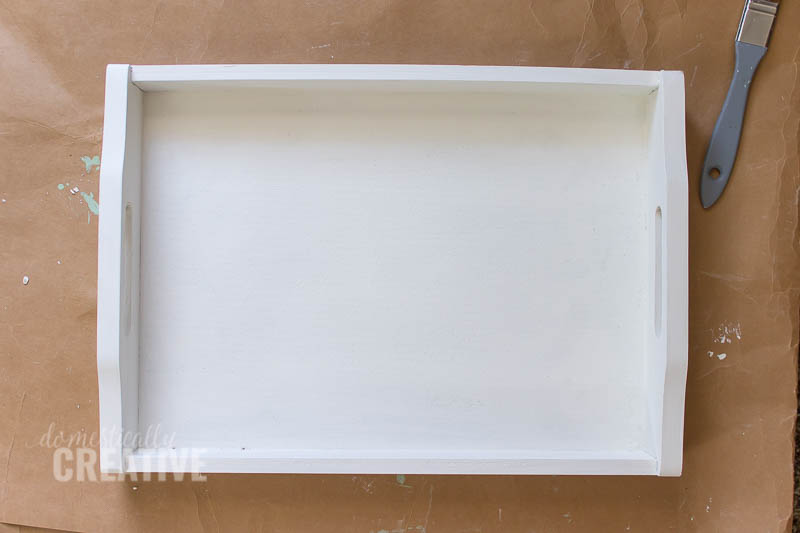
After my thrifted tray was shiny clean, I gave it two coats of Americana Decor chalky paint in “Everlasting”. The bottom part of this tray is actually cork, but I went ahead and painted it anyway.
Next, I cut out the Farm Fresh Produce design onto vinyl. You could also use stencil vinyl, but since I was putting this onto cork, I chose not to use contact paper. I didn’t want the paint to bleed through.
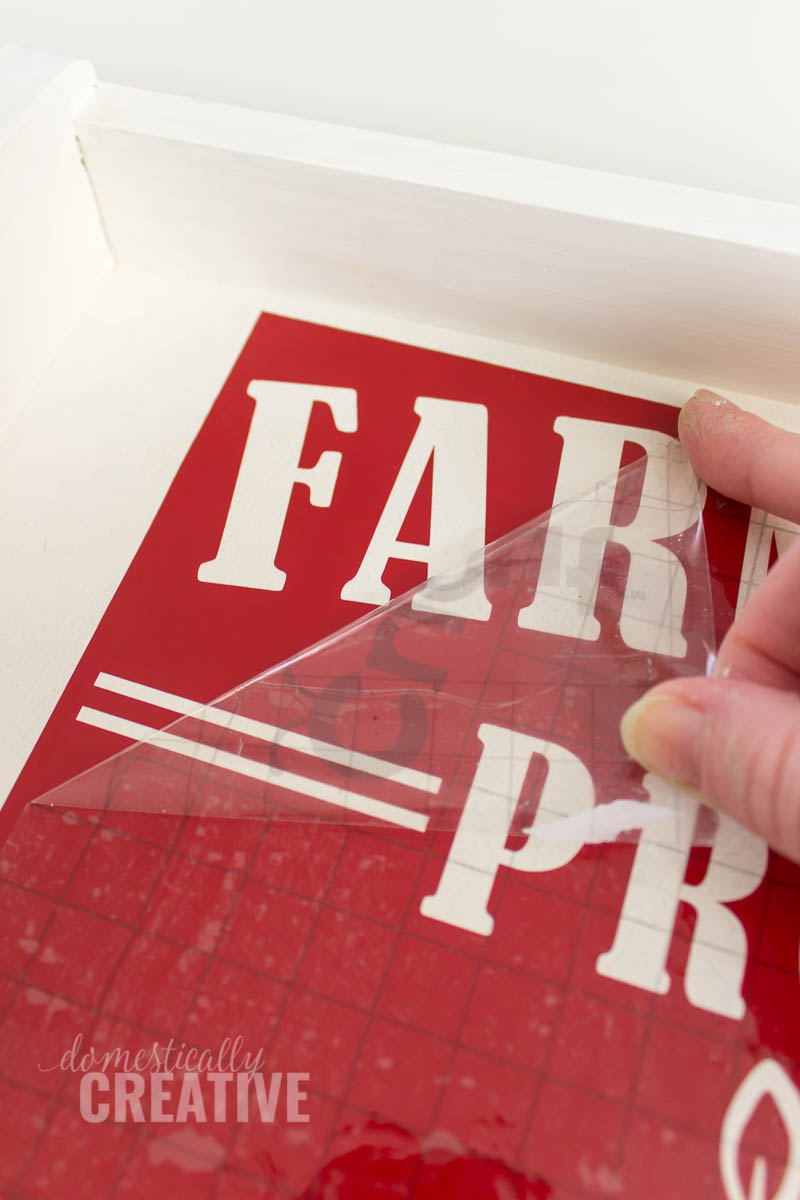
After weeding the design, I used transfer tape to move the vinyl onto the tray.
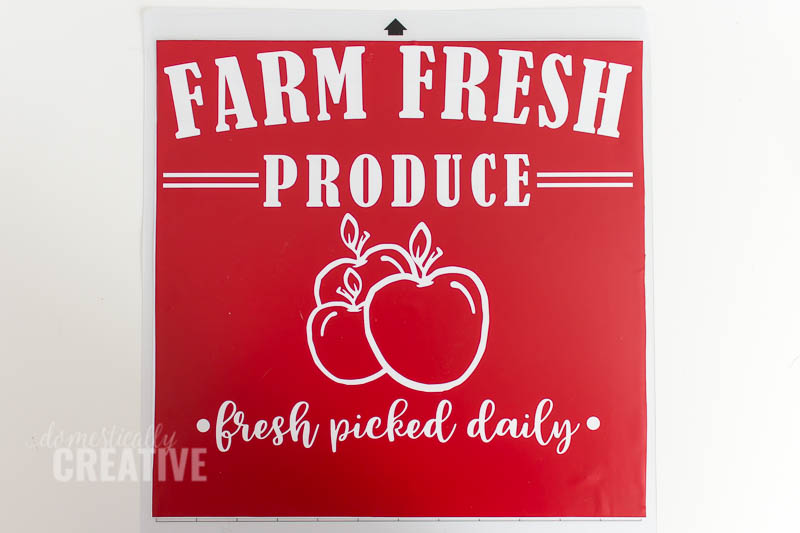
Then after it was placed, carefully peeled the transfer tape up. Since this was sticking to cork, I did have a little bit more difficulty, but with some patience got it up just fine.
Then using a foam pouncer I sponged on a little brown craft paint on the stencil. It took two coats to cover everything.
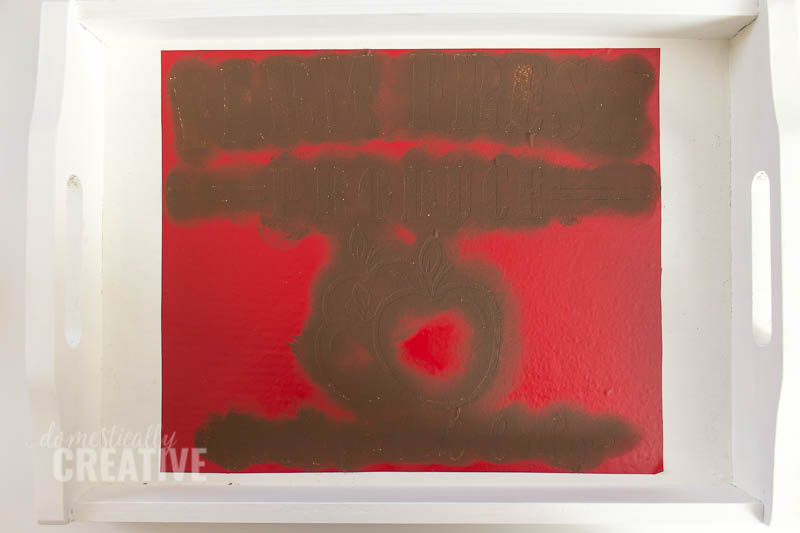
Once the craft paint dried, I peeled up the vinyl to reveal the beautiful stenciled detail, then used the clear wax over the whole piece.

Doesn’t it look great on my mom’s new faux granite counters? Details on that soon!
Love this? Pin it for later!
And now for more thrifty goodness!
Check out what my fellow upcyclers created below!
This came out really well and it looks expensive. Thank you for sharing with us this week at Celebrate Your Story and we hope you will join us again next week.
This is so awesome! I love the design that you put on there. Trays are one thing I can never have enough of 🙂
Love love love your little project. I am dreaming of owning one of these cutting mashines so I get to make my own stencils, like you! I bet your mom is very happy to have a creative daughter like you are. Thank you for sharing this tutorial.
The tray is perfect for the coffee bar. It can work for serving and as a decoration. This is a great upcycle.
Amanda, I absolutely love this farmhouse style tray! Great update!
I always see wooden trays at thrift stores. I love what you did with it!!
Your Mom will love this pretty tray in her shiny new kitchen you have helped to create! I love the stencil you created. I have to get over my fear and learn to use my Cricut so I can make pretty things like this too!
I have heard the Cricut is much more user friendly when you are first learning so I’m sure you will have no problem at all 😉 Plus there is always Youtube!!
Oh your tray is perfect.
One can always use more trays and this one is very cute! Visiting from Thrift Store Challenge.
Wow! It is amazing what a little paint can do. This looks fantastic and so much better than it did before. I love it!
This looks awesome, Amanda, and perfect for your mom’s coffee bar! I’m sure she loves it! It blends in so well with that beautiful countertop!
I love this tray! I have been on the hunt for one at the thrift store as we redo our kitchen into a farmhouse kitchen. It’s perfect! Pinning!