6 Weeks of Organization–Week 2–Bathroom
Last week I showed you how I re organized our Linen Closet. This week I’ll show you how I organized our Master Bathroom to make it more functional, and less cluttered, while spending less than $8!
This post may contain affiliate links for your convenience. Read our disclosure policy.
As many of you already know, we currently are renting a small 3 bedroom home. While it’s smaller than the 4 bedroom house we left in Tennessee, the space is much more functional, and includes things we didn’t have in TN, like an actual pantry, a LARGE walk in closet–I mean seriously, this thing could be another bedroom!–and a Master Bathroom! While I love older, historic houses, you just can’t beat the closet space and bathroom space you get in a newer home.
Alright, back to the topic. The layout of our bathroom is typical–stand up shower, garden tub, double vanity, and of course..toilet. Nothing too fancy with the typical builder oak cabinets–which I HATE but that’s another story.
When we first moved in, I tried to organize the bathroom drawers and cabinets when I was putting things away. Unfortunately in this house, things don’t stay organized for very long, so after 6 months my cabinets and drawers looked pretty messy. I was sick of digging around in baskets for things I knew I had *somewhere* Not to mention, I had more collections of body lotion, wash, and bubble bath than a Bath and Body Works store. And don’t even get me started on finger nail polish–which I am wearing none of on my nails currently.
So here’s the dreadful BEFORE pictures of our upper cabinet and under the sinks
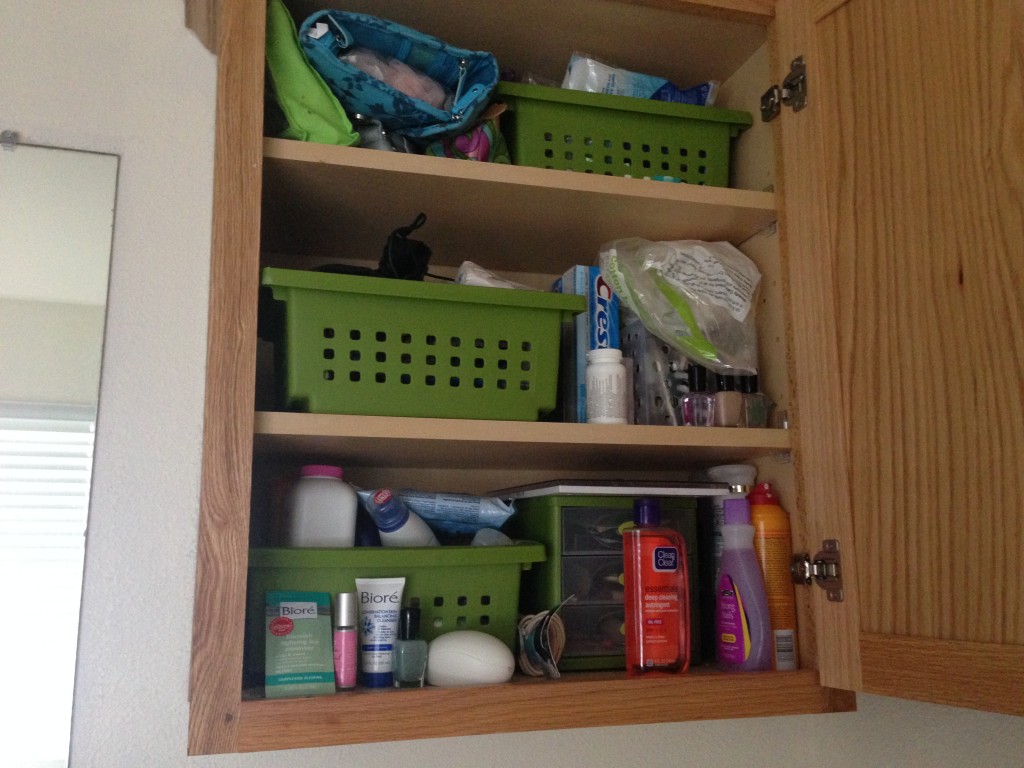
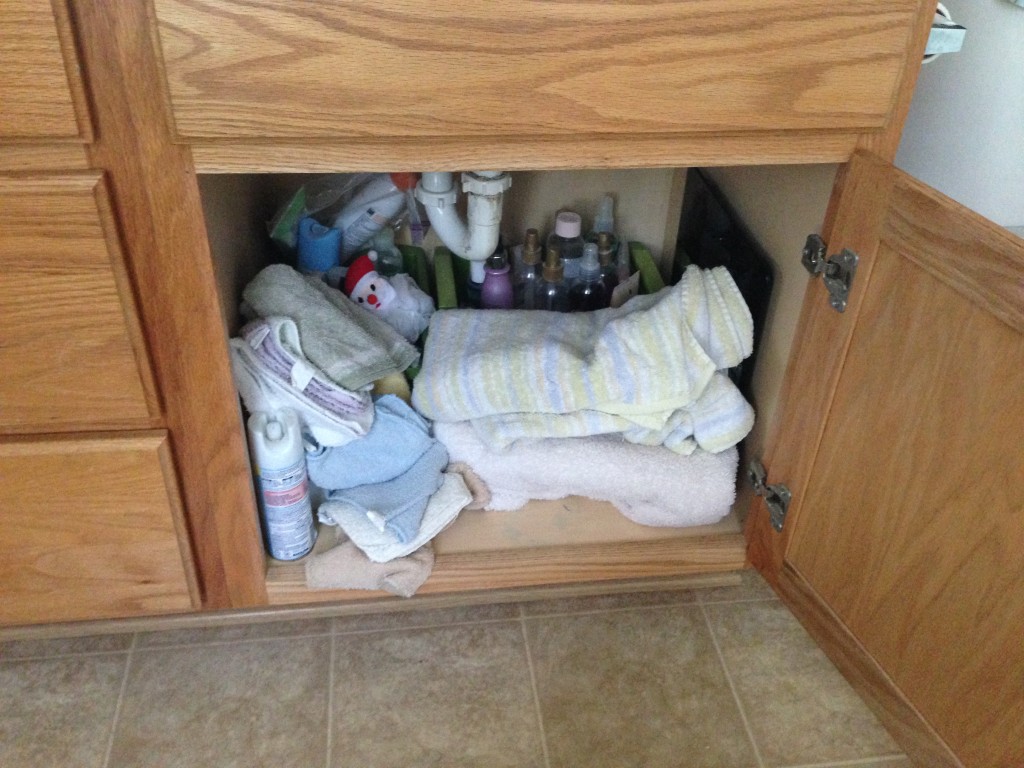
Finally deciding to scale down on the amount of product I had, I set to work throwing away sets of lotion, wash, and bubble bath that I knew I would never use–like the Chocolate Chai spice set (sorry if you were the one who bought it for me) and bottles that were just about empty. I went from 3 baskets—yes 3–to ONE basket.
I put all of my nail polish, nail files, and any other nail accessories in an old basket that housed some of the afore mentioned bath sets. All of the hair products went into another basket, hair accessories like ties, pins, head bands etc went into their own basket.
To give the upper cabinet a final touch–I filled mason jars with our Q-tips, cotton balls, and make-up wedges.
Here’s what it looked like when I was finished:
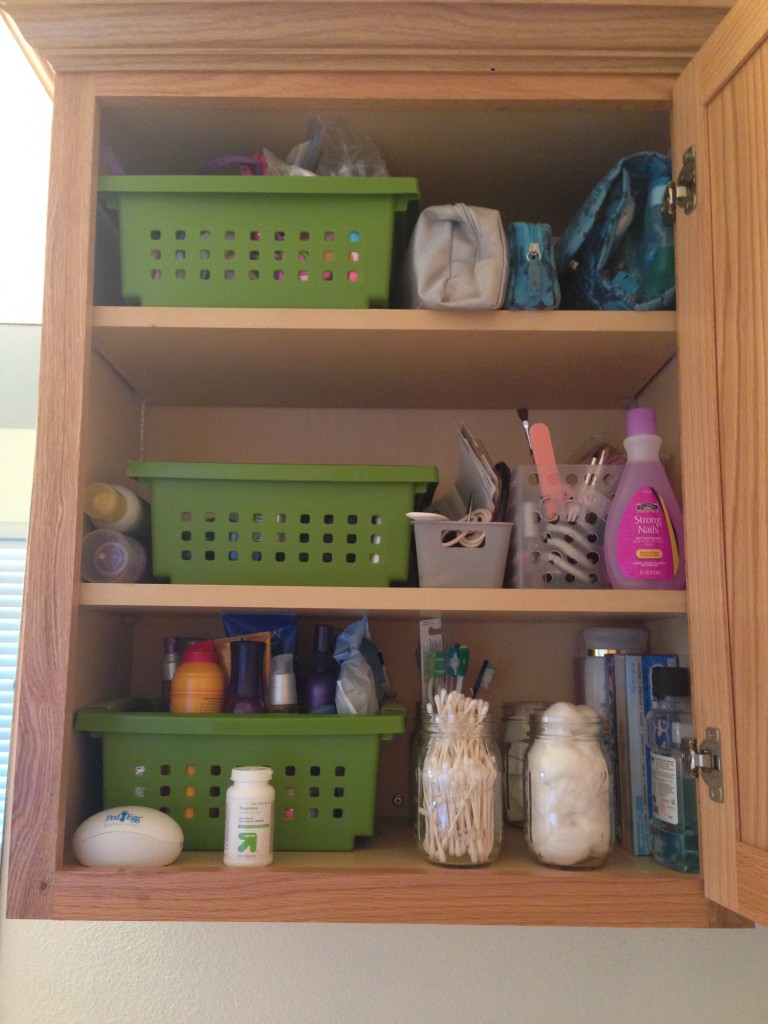
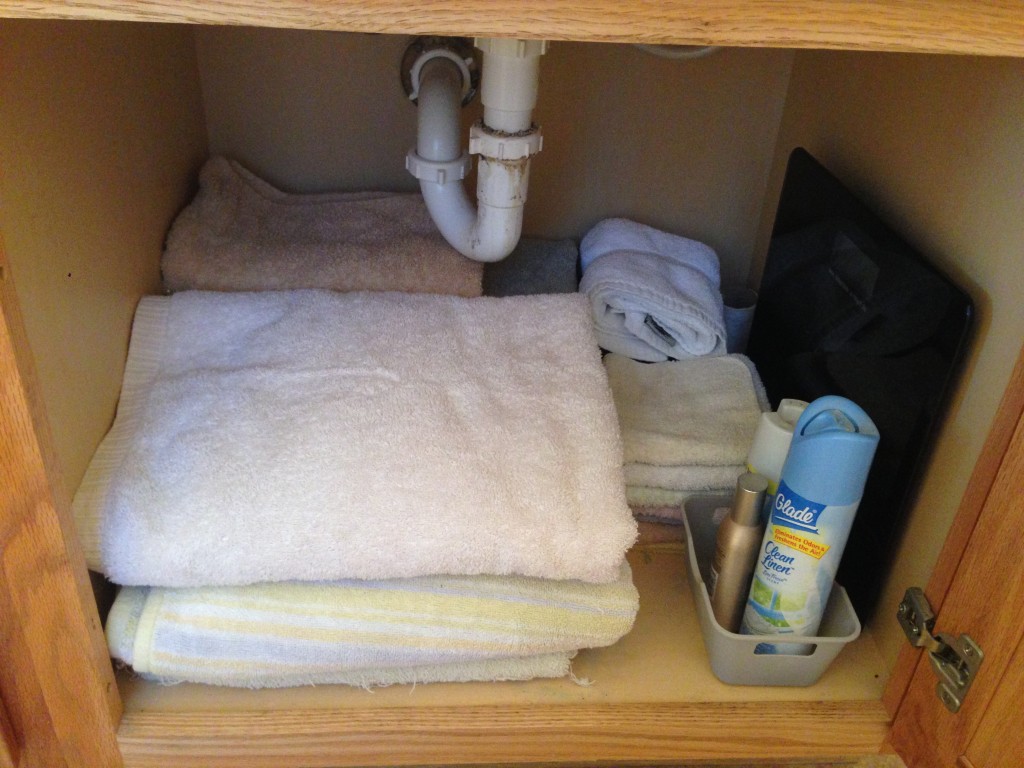
MUCH better, right? Now my towels and washcloths have their own cabinet and aren’t just getting shoved in whatever little space was left
Next I tackled our drawers. Here’s some quick before pictures. Let me warn you, it’s not very pretty
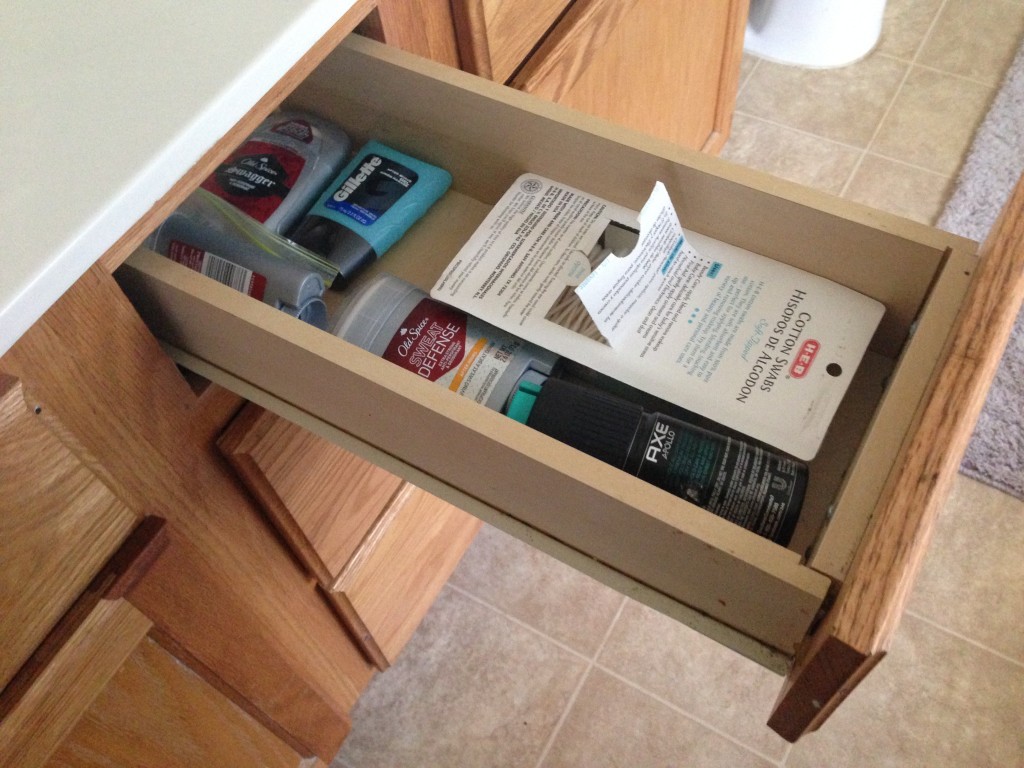
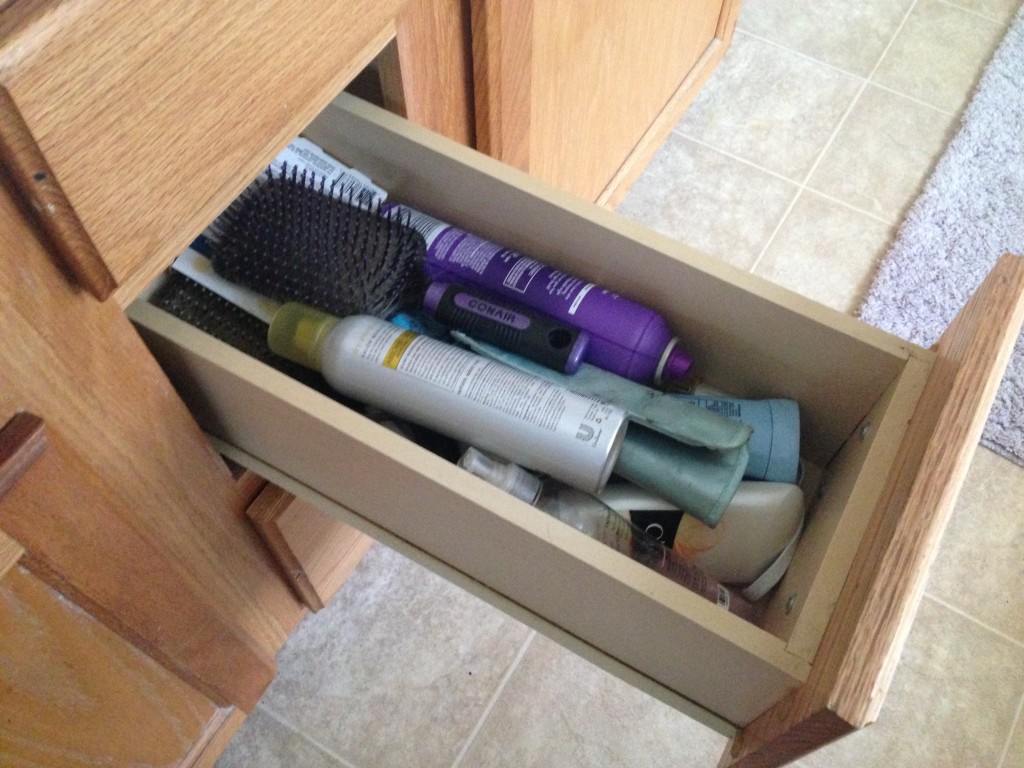
My husband and I have our own drawers and as you can see in the picture–he is much better at keeping his things organized than I am.
So here’s where that $8 I mentioned earlier comes in. A few weeks back Target had some nifty little baskets, and magazine holders in their dollar spot. I bought 7 pairs of the small baskets and 2 magazine holders at $1 each. I used the 20% off Dollar Spot coupon on my Cartwheel app making everything $7.20! I LOVE a good deal, especially on things I can use to organize with! I ended up only using 1 magazine holder and 4 pairs of baskets. The rest of the baskets will be used in a future post.
Here are all of my supplies. The square bin with the dividers in it was actually a box that held small blood collection tubes I brought home from work–empty of course–and covered with a scrap of fabric I had.
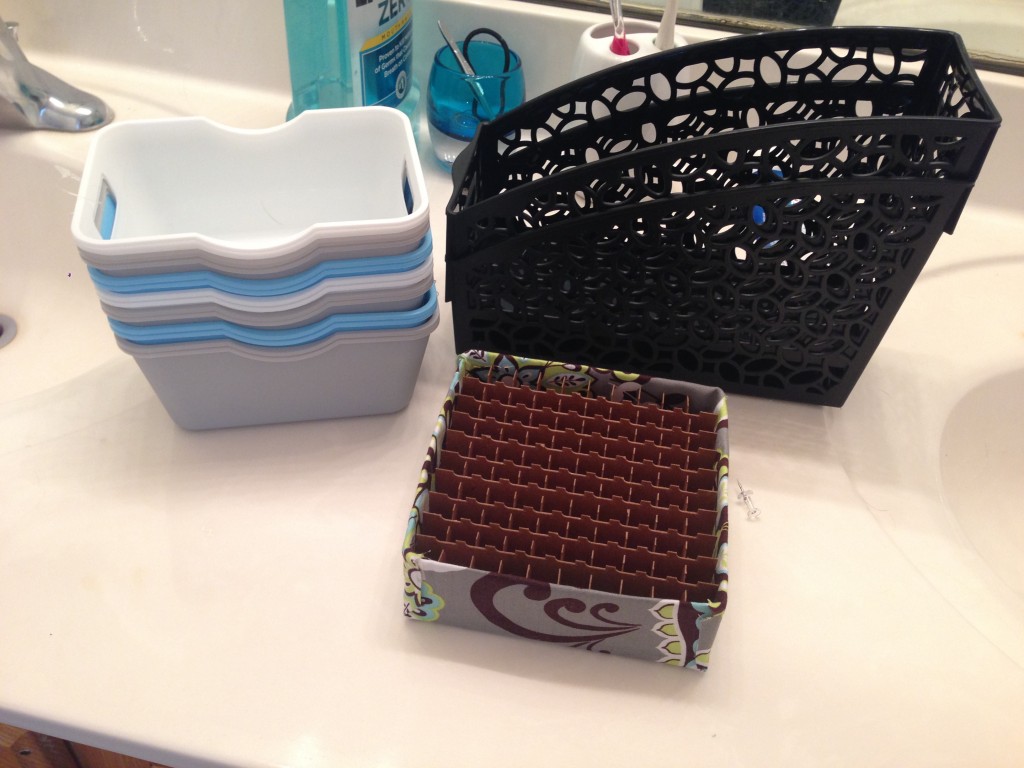
Armed with my arsenal of baskets and bins, I set to work arranging and re arranging until I got just the right set up. I used the old blood tube box to store all of my make-up brushes, eyeliners, mascaras and other grooming tools, like tweezers. The baskets now house our deodorants, sprays, and my everyday makeup. The magazine holder I hung on the inside of a cabinet door with 2 thumbtacks to hold my hair straightener and curling iron
See the after only my organized bathroom drawers!
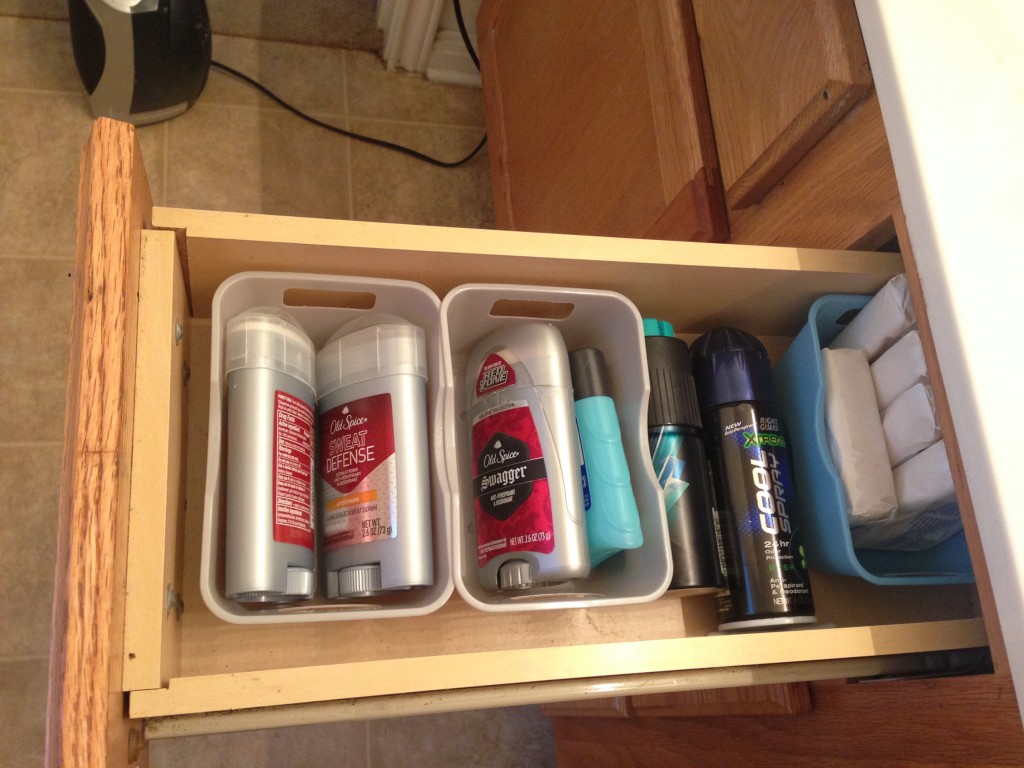
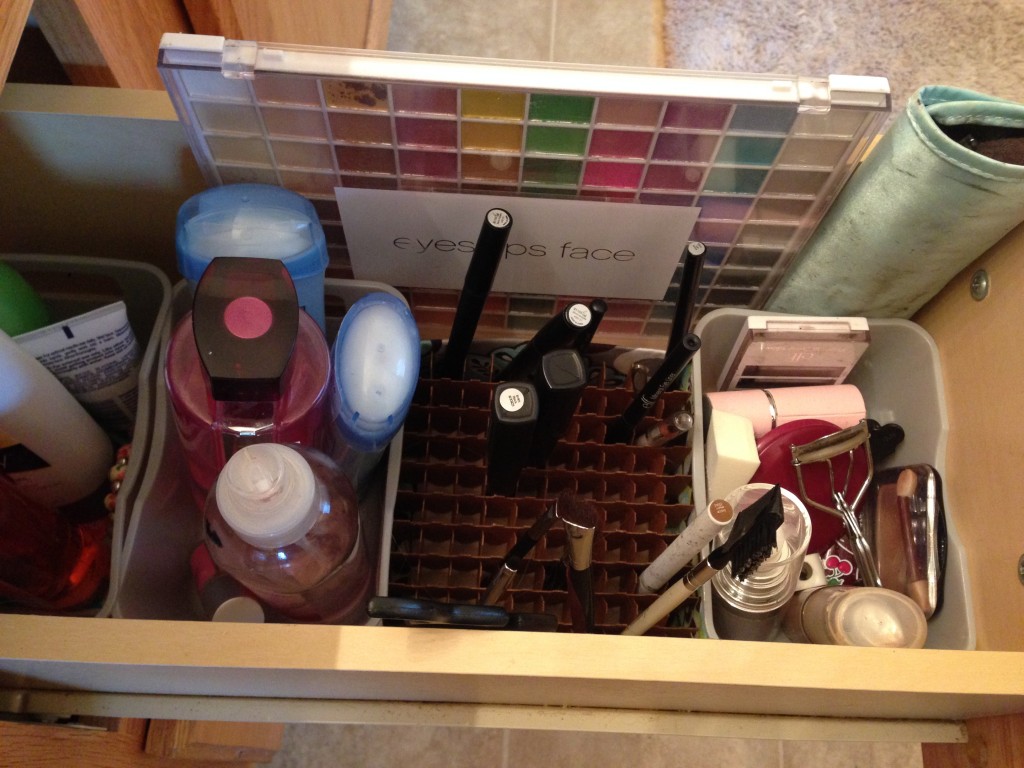
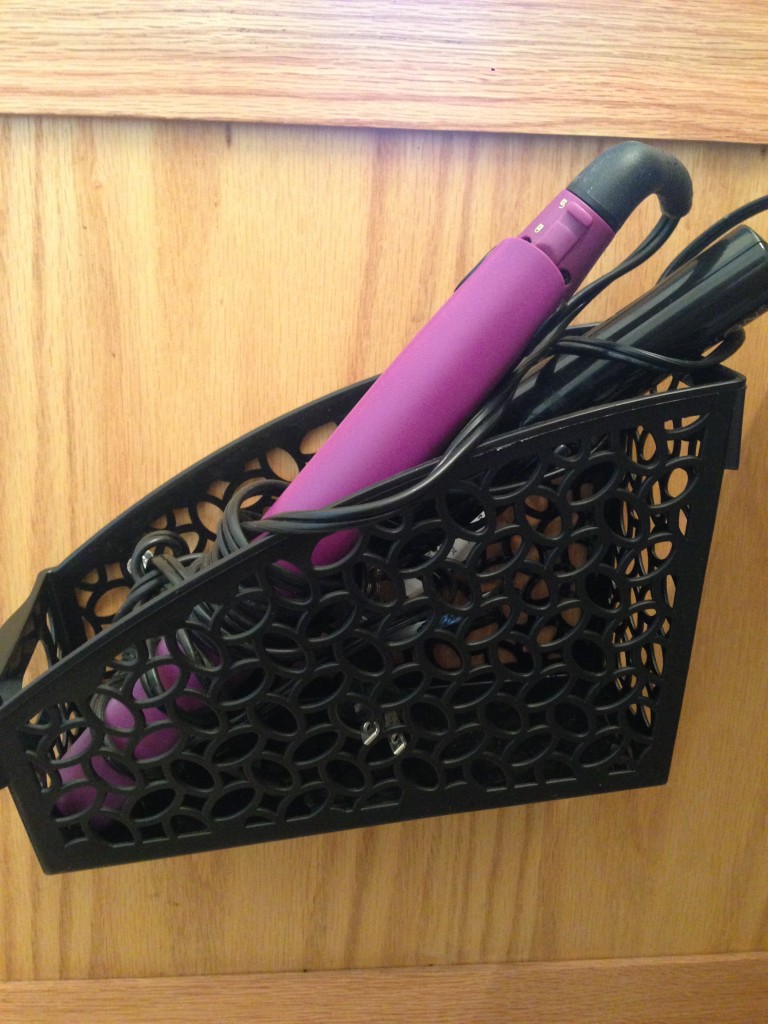
Much better! No more digging around in the drawers trying to find something. Everything is in it’s own place and can be easily found.
Next week I’ll tackle our Master Closet. If you’ve thought my before pictures thus far have been scary…just wait


One Comment