Framed Scrapbook Paper Ornament
I’m participating in the 2015 Ornament Exchange that went live just a few days ago. Erlene at My Pinterventures partnered 80+ bloggers to exchange ornaments. The rules are simple–spend no more than $10 on a new ornament, or on making one based on your partner’s style. How exciting!
This post may contain affiliate links for your convenience. Read our disclosure policy.
Here is what I came up with for my partner–a simple framed scrapbook paper ornament.
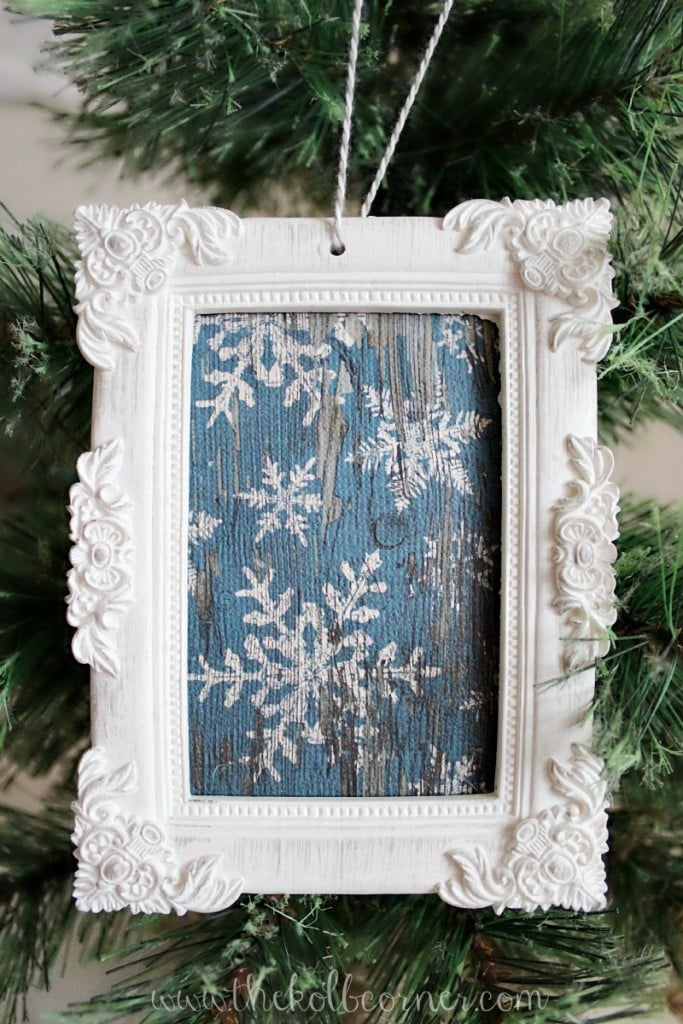
I just so happened to be at Hobby Lobby last week (ok so I’m there just about every week) and found these adorable hard clay frames on clearance. They came in a set of 2, one large and one small. As soon as I saw these I knew exactly what I wanted to create.
This book of vintage Christmas/Winter scrapbook paper had so many great designs, it was hard to choose the perfect paper to use for this project. I finally settled on this snowflake design, that way the ornament can be displayed not only for Christmas, but all Winter too.
Here’s what you will need to make this Framed Scrapbook Paper Ornament:
Small frame (Hobby Lobby and Michael’s both sell wood frame ornaments)
Scrapbook paper of choice
Exacto knife or scissors
Cardboard or Foam board
Mod Podge
Hot glue gun
Drill and drill bits
Ribbon or twine
*Optional-acrylic paint and brush
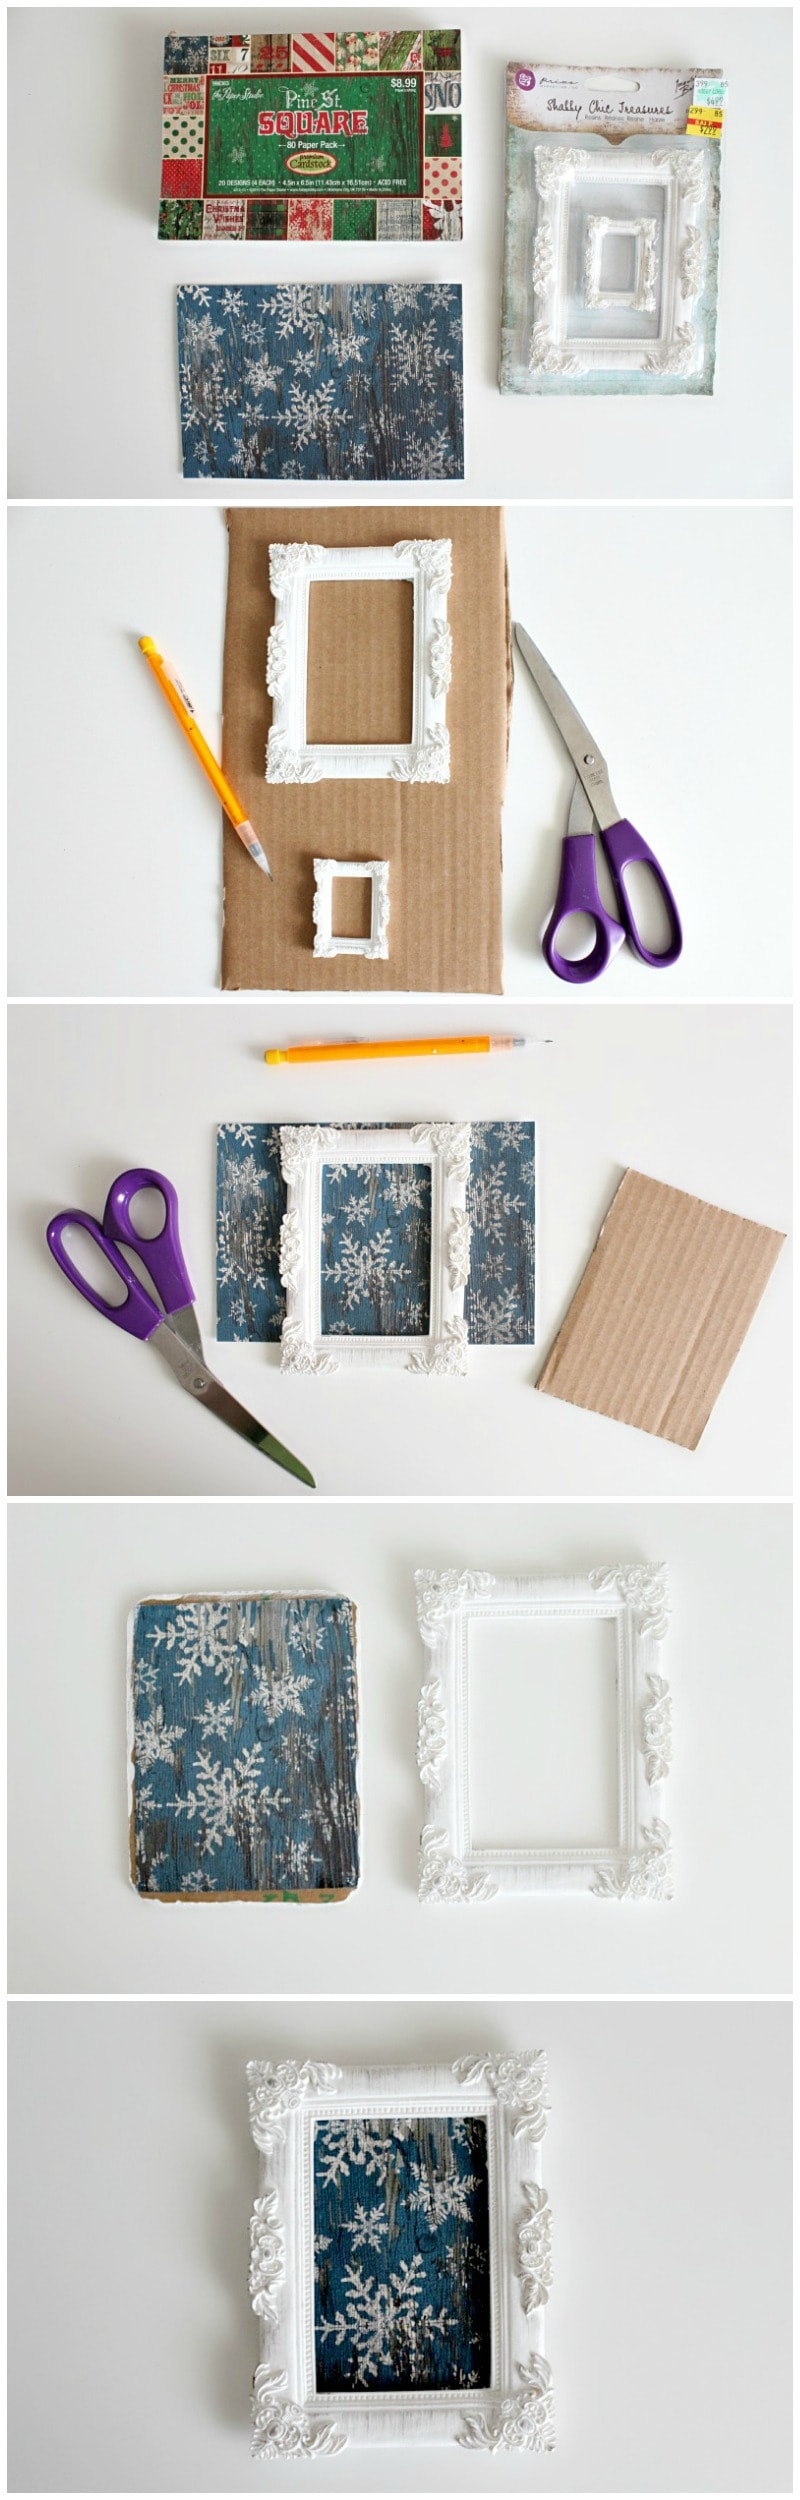
- Start by cutting a piece of cardboard to fit the frame. Make sure the cardboard lines up with the outside of the frame, rather than the inside.
- Next, cut the scrapbook paper just slightly wider than the inside measurements of the frame.
- Then, using Mod Podge, apply the paper to the cardboard. Let it dry completely before the next step. *If you desire, paint the back of the cardboard to match the frame at this time too.
- Using a hot glue gun, glue the cardboard to the frame.
- Last, drill a hole through the frame and cardboard, and thread string or ribbon through to hang.
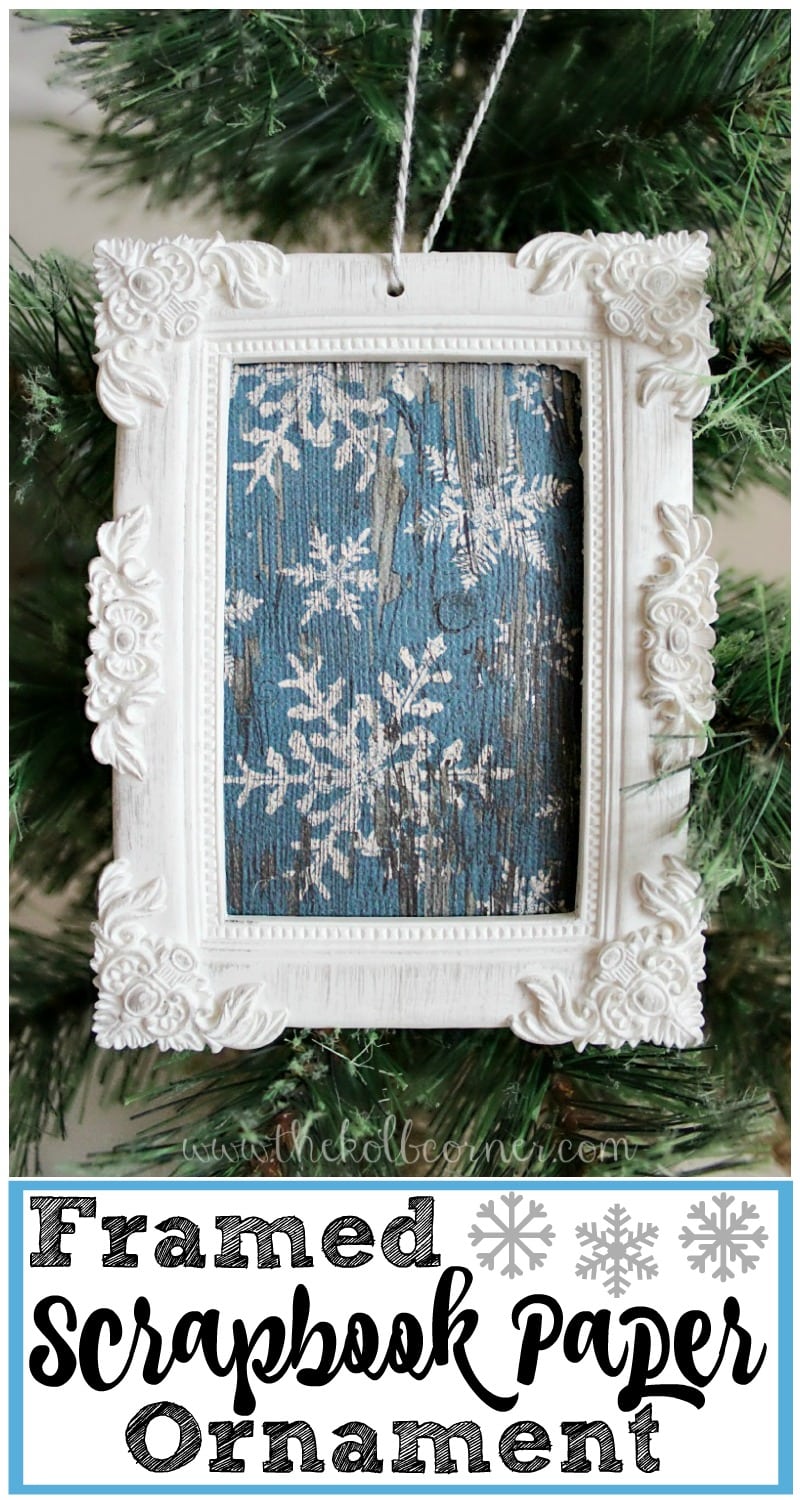
There you have it-a framed scrapbook paper ornament! Very simple, and can be made in 15 minutes.
I’m so happy with how this turned out that I want to make a few for my own tree!
Don’t have time to make your own ornaments this year? I’ve got you covered! Check out my Etsy shop and have handmade ornaments shipped right to your doorstep! Use code 12DaysofChristmas for 10% off your order!
Be sure to check out these ladies’ posts today too to see what they’ve come up with. Click over to the 2015 Ornament Exchange Blog Hop page to see who will be posting and when.
Kentucky to Cali
I have some tiny frames! Love this idea. The ornament exchange has been an amazing amount of fun!
I have a black mini frame that’s just sitting around and this has sparked an idea. Thanks for sharing your super easy tutorial on the ornament exchange.
Hello I am a fellow ornament exchange participant popping by. Your ornament is so clever and cute!
Have a wonderful day.
Thank you Laura!!
This is adorable and so different! Love it!
This is really pretty and it looks so special when hung from a tree. Great idea, one I’ll have to try.
Thank you Mary! I love how easy it was to make.
What a simply beautiful way to use up some of the paper stash I have lingering in my studio 😉 Very cute ornament!
It’s always nice to use up that paper stash–makes room for more 😉 Thank you for the sweet comment Ellen.
So cute, such a pretty little frame too. Very vintage looking. Have a Happy Holiday!
Thank you Joy! Glad you liked it.
This turned out really pretty, Amanda. I love projects like this that can be recreated to any match any decor.
Yes, I love that it’s so versatile. Thank you Beverly!
This is so pretty! I love the scrapbook paper you chose 🙂
Thank you Emily!
WOW… Gorgeous ornament! Love the idea of making ornament 🙂 Perfect gift for your friend.
Thank you Helen!
Hi Amanda, this turned out really pretty! I’ll be posting my ornament in a couple of days – I just love using picture frames to decorate, too. Great work!
Thank you Katie! Can’t wait to see yours!