How to Make a Rustic Wood Slice Garland
Got some wood lying around or some slices? You can easily make this “thankful” rustic wood slice garland for Fall in just a few steps!

This post may contain affiliate links for your convenience. Read our disclosure policy.
Back in the Spring one of our trees decided to drop a pretty large branch in the front yard. My husband chopped it up and saved the wood for me without me even asking. He’s such a wonderful hubby!
Well, the wood pieces sat in the garage until now, when I finally decided what I could do with it all. And believe me when I say this is not the last you will see of this branch. I have a few ideas up my sleeve for the holidays.
My first thought was always to make something out of slices of the wood, but I couldn’t quite come up with what I wanted to do. Then the idea of a “Thankful” garland from the wood slices came to mind.

I don’t usually decorate for Thanksgiving. I tend to stick with generalized Fall decor, but I just couldn’t help myself with this cute little project.
In reality, this rustic wood slice garland could be displayed year round. After all, Thanksgiving isn’t the only time of year you should be reminded of what you are truly thankful for.
Items you will need:
- Large branch or small log* (or wood slices)
- Circular, Miter or Table saw
- Drill and drill bits
- Twine
- Ribbon, burlap or lace scraps
- Printer
- Sharpie
- Pencil
*You can also buy wood slices if you don’t want to bother cutting wood–but the branch was FREE and free is my favorite!
How to Make a Rustic Wood Slice Garland
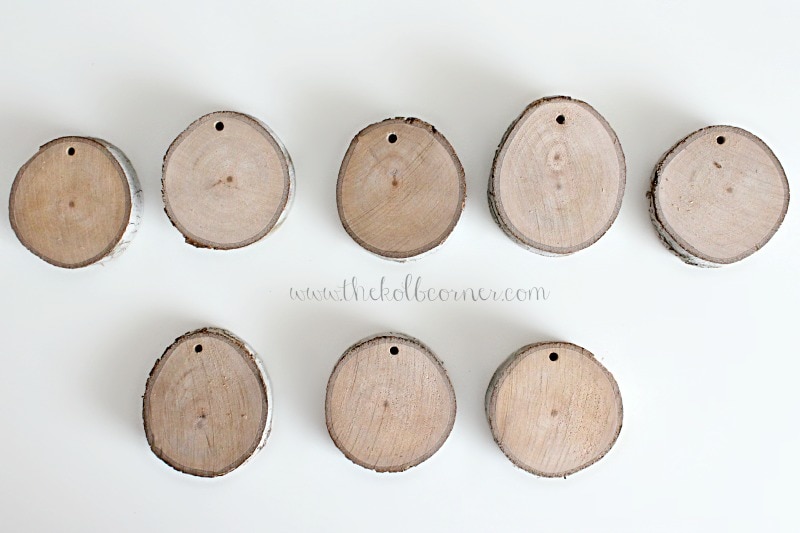
- Cut wood into slices 1/2″- 3/4″ in diameter
- Using drill bit, drill a small hole at the top of each slice for threading onto twine later
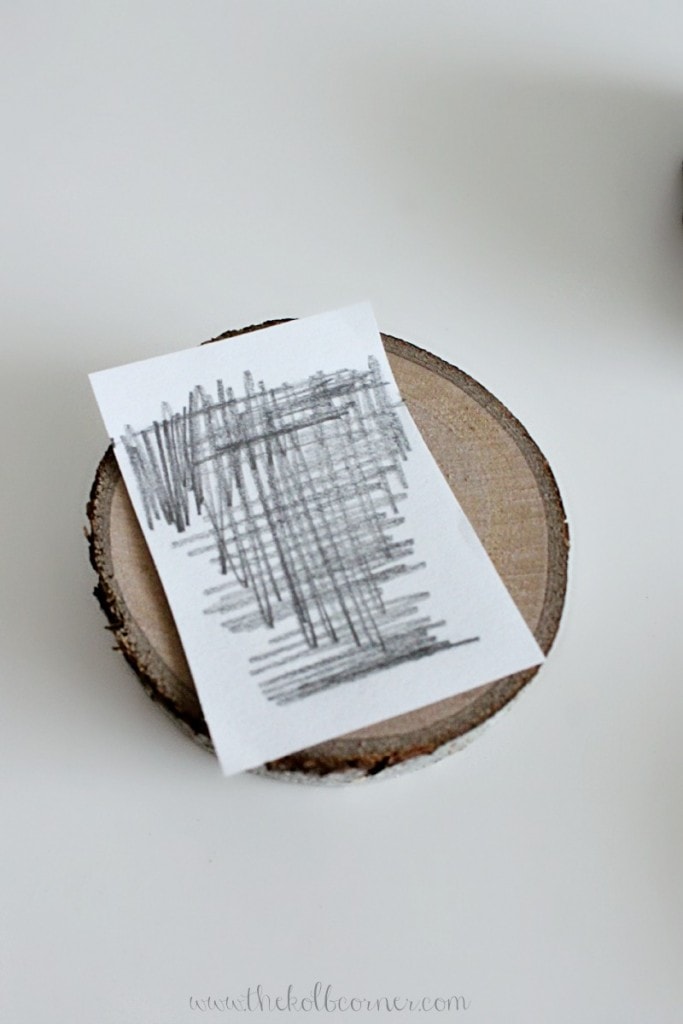
- Print out “THANKFUL” (grateful or blessed works too) in large font, and cut each letter out individually.

- With a pencil, shade all over the back of each letter cut out.
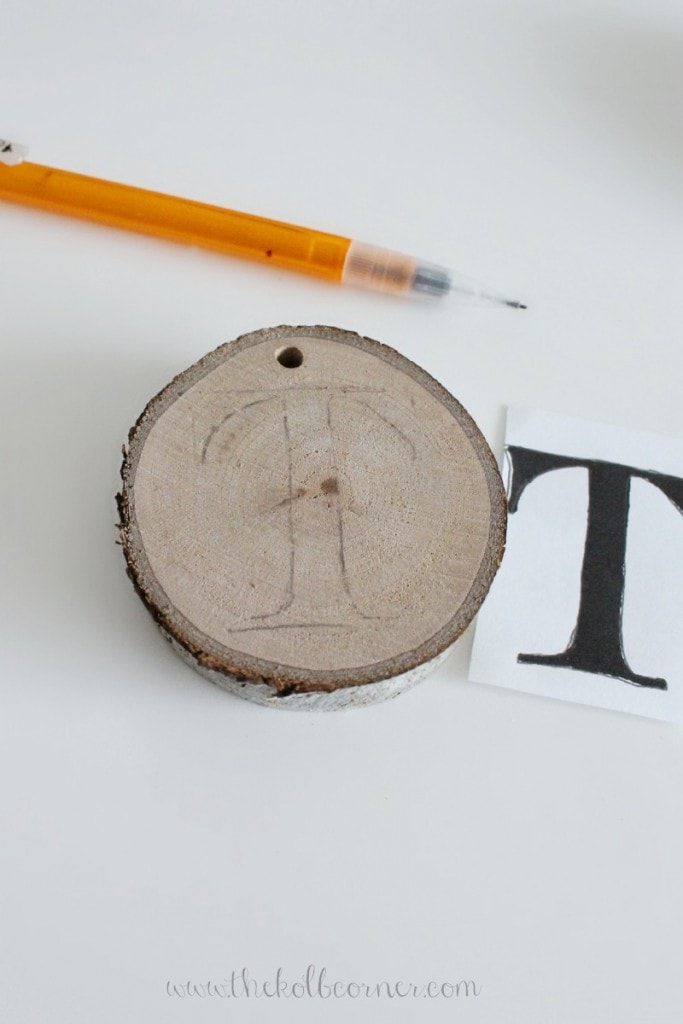
- Pressing firmly, trace around the outlines of each letter to transfer the graphite onto the woodslice.
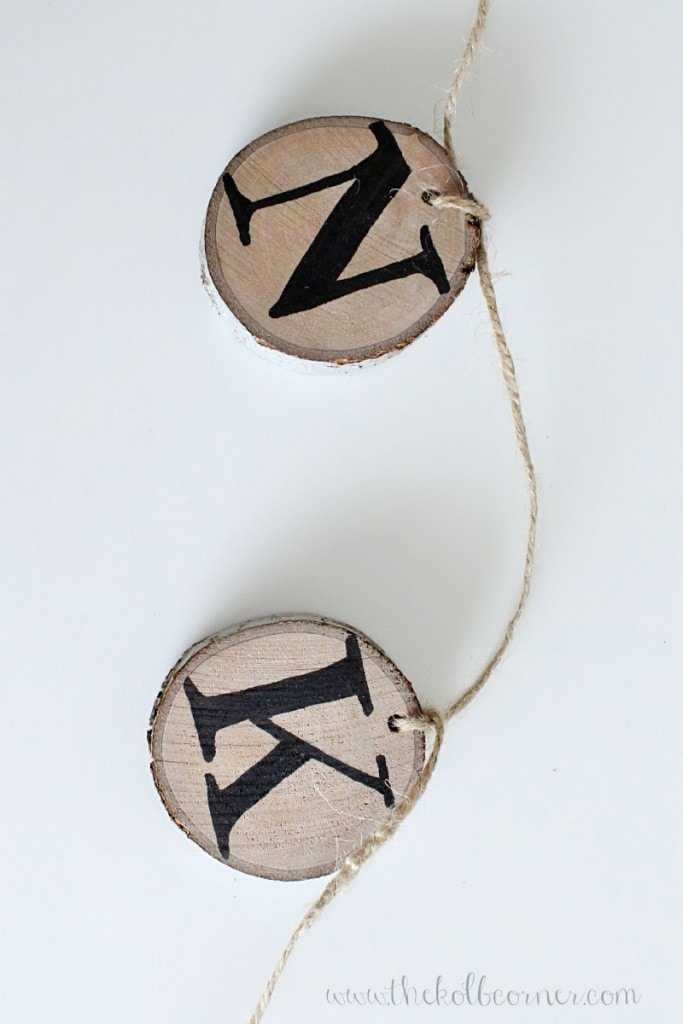
- Using a sharpie, draw over the outline and fill in completely.

- Cut desired length of twine or ribbon to thread on wood slices.
- Thread one wood slice on, and tie a double knot at the top before threading on the next slice. This will allow you to manipulate the wood pieces to face front, rather then face the side.
- After each piece is threaded onto the twine, tie on ribbon, lace or burlap scraps.

- Put it on display to ogle over until Thanksgiving! (or year round for that matter)
I love how it looks against my 1940’s Armoire that sits in the formal living room. One of these days I will refinish it and turn it into a glass cabinet, but for now I’ll admire all of it’s imperfections and character.

Do you decorate for Thanksgiving? Tell me how in the comments!
More Fall Decor ideas:
- DIY Painted Gather and Feast Sign
- Thanksgiving Printables
- FREE Give Thanks Printable
- Creative Thanksgiving Crafts
Don’t forget to Pin it for later!

.Loving this awesome staff and all the information. Thanks!! Highly recommended
This is so pretty, Amanda!! I don’t have a staircase but it can look good on my window too. Thanks for sharing how to do it!
Thank you so much Pili!
This is so sweet- such a simple, lovely project.
Thank you Ashlea!
How cute! I am SO loving wood slice crafts right now!! I wish we had better access to FREE branches here in FL. Our trees are not so much the crafty kind. I did find some good birch slices on sale at Joann’s. So, that is another good place to look.
Free is good, but when lacking Michael’s Joann’s and Hobby Lobby to the rescue! Thank you for stopping by Crystal!
This is so pretty and elegantly rustic at the same time. Thanks for the great tutorial. I really like the lace touches.
Thank you Mary! So glad you like it. Have a wonderful week!