Hand Painted Christmas Tree Sign
Take a simple bare wood Christmas tree sign, and turn it into a custom piece of art for your home or front porch this Christmas season!
This post may contain affiliate links for your convenience. Read our disclosure policy.
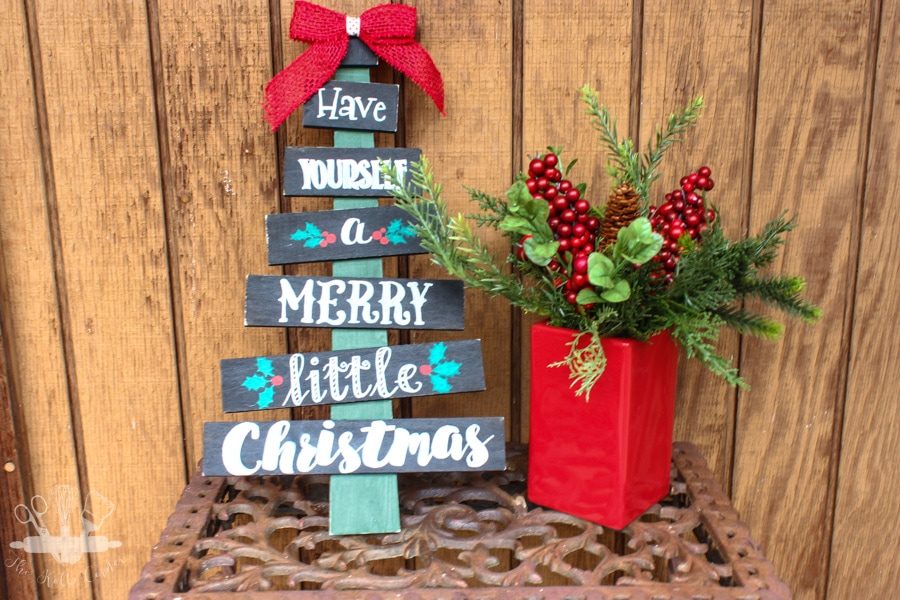
You all know just how much I love crafting for Christmas, and how much I love chalkboard art. I’ve shared a TON of chalkboard projects in the past years, like this Chalkboard sign, this DIY Chalkboard, and this Christmas chalkboard sign. But what’s one more chalkboard project between friends? You can never have enough in my book.
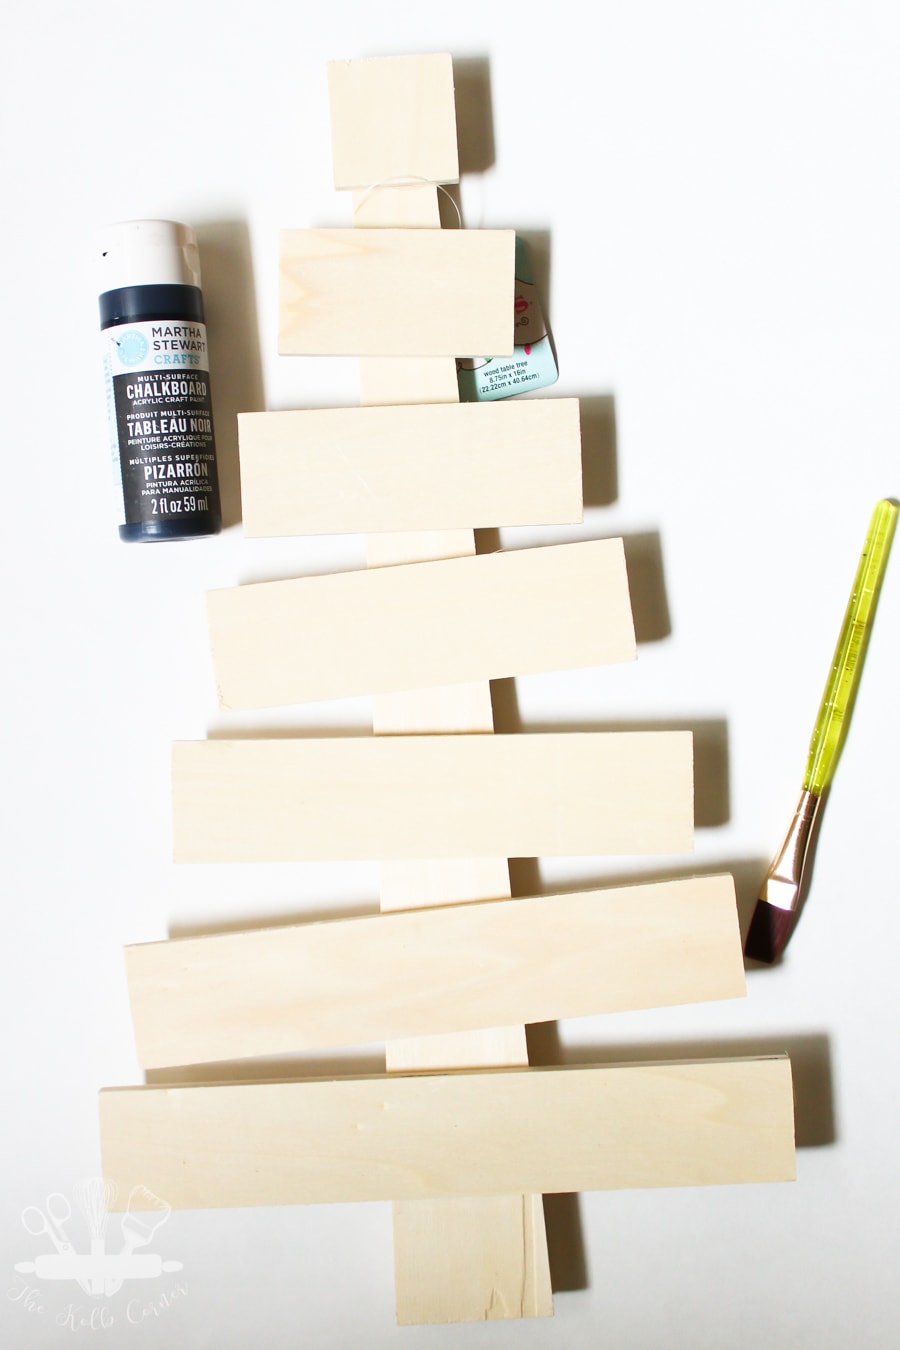
I picked up this unfinished wood slat tree from Hobby Lobby several weeks ago, but I just now got around to finishing it. Have I mentioned just how stressful moving cross country can be? And instead of spending the last two weeks unpacking, I’ve been finishing up projects.
How to Make a Hand Painted Christmas Tree Sign
Item’s You’ll Need
- Bare wood Christmas tree (I got mine from Hobby Lobby but you could make one from unfinished craft wood slats)
- Printer/Paper
- Scissors
- Pencil
- Painter’s Tape (Washi Tape works too)
- Chalkboard Paint
- Paint Brush
- Chalk markers
- 150 grit sandpaper
- Burlap Ribbon
- Hot Glue gun
Start by painting 2 coats of chalkboard paint onto the bare wood tree. I used dark green acrylic paint on the vertical.
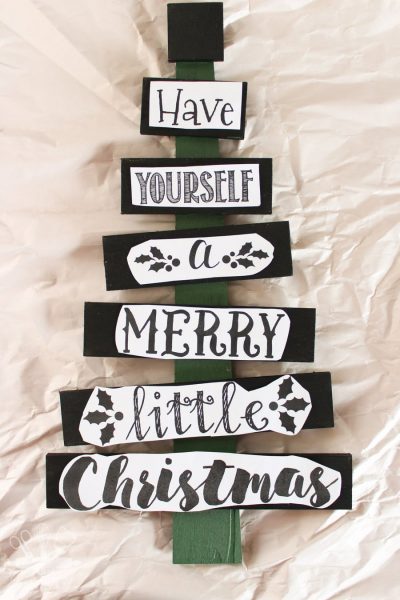
Then type out the quote you’ll be using in Word and print it out. You could use Canva, Photoshop or another software too. I chose “Have Yourself a Merry Little Christmas” because it was the perfect amount of slats to words for my Christmas Tree Sign.
Cut each word out and configure them on each slat of wood. Next, use this easy font transfer method to get the quote onto the slats of wood.
Shade the backs of each piece of paper with chalk, then flip them over and tape the paper to the slats. After they are secured, trace over each word with a pencil, pressing firmly but not too hard to leave indents in the wood. Peel the paper back and you’ll be left with a chalk outline of each word.
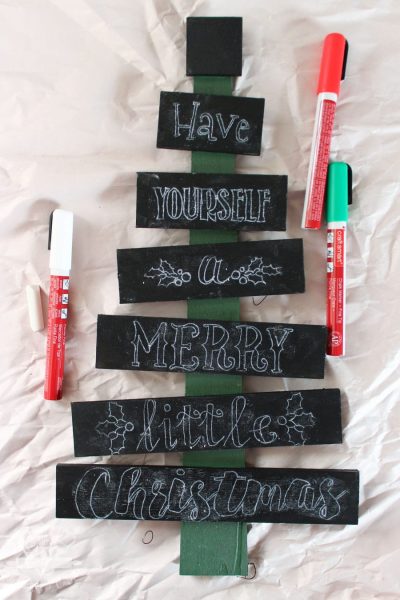
Next fill in all of the outlines using chalk markers. You could also use paint markers, but since I change my mind frequently I wanted the option of erasing them in the future. You can wipe them away with a damp cloth (as long as you are on an erasable surface like chalkboards, dry erase, or glass).
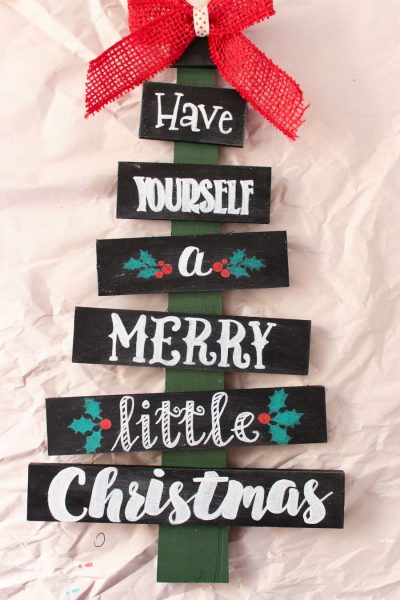
For a finishing touch, cand the edges a bit for a distressed look. Then, place a red burlap ribbon to the top and secure using some hot glue.
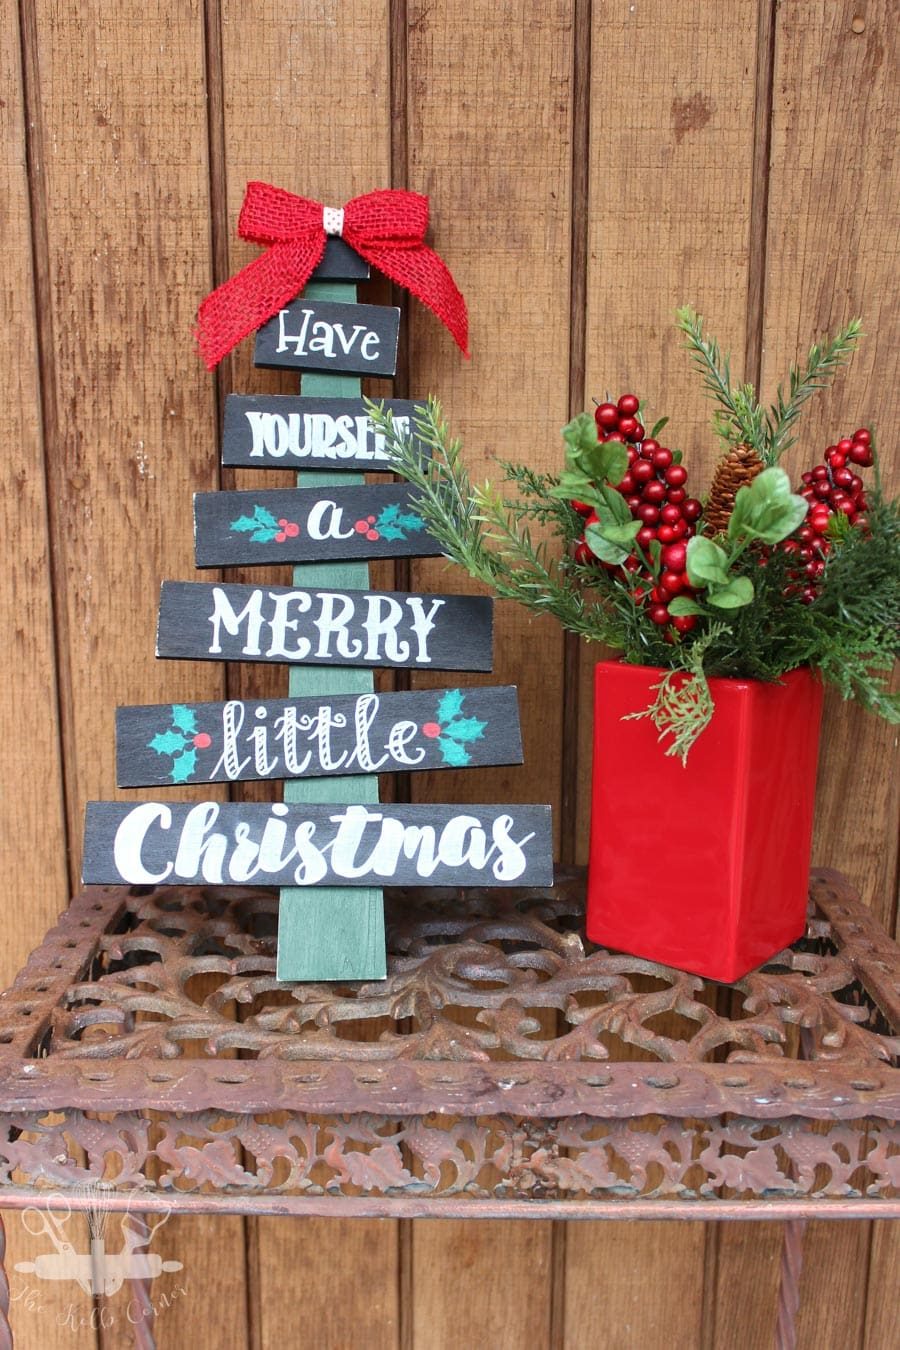
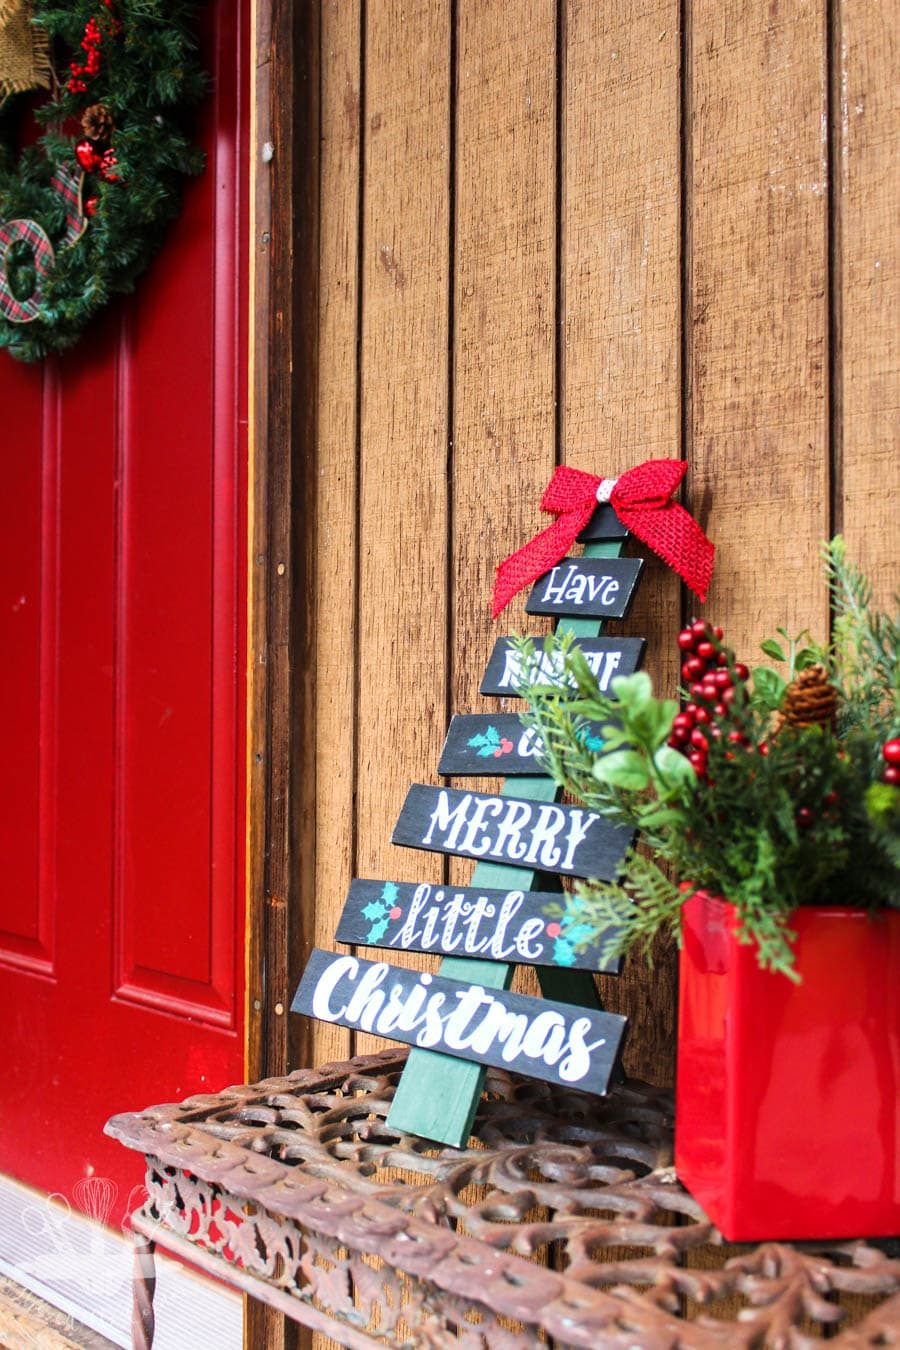
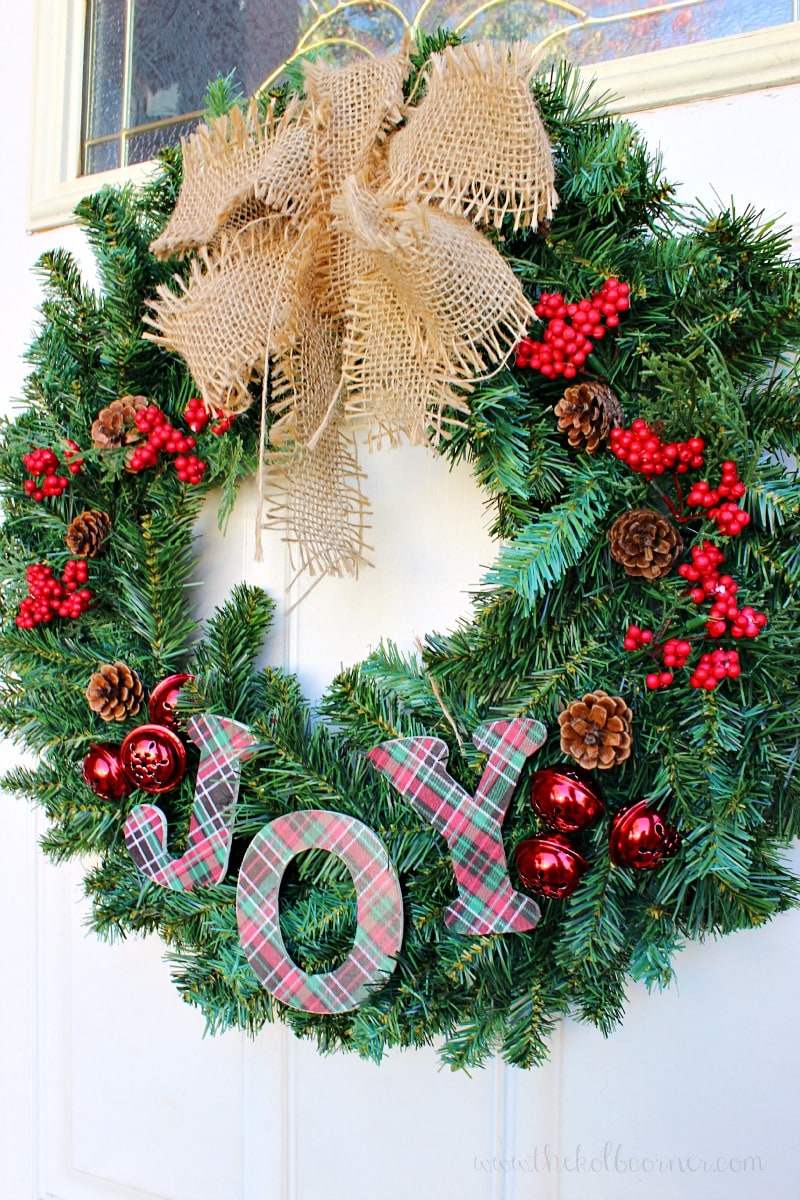
My new hand painted Christmas tree sign looks pretty cute on my new front porch. And it fits in nicely with my Joy Wreath from last year!
Don’t forget to pin it for later!
Looking for more Christmas ideas? Check out these below!

What size was this tree? I would like to make this tree and put different sayings on them.
Love this sign! I saw it on Pinterest and made one myself. I wanted to thank you for sharing the idea and went to your blog, but saw just now that I could have used fonts and transfer them onto the wood, lol. Would have been such a time saver. I did all by hand.
Thanks for sharing this idea! Have yourself a merry little Christmas!
Do you sell this Christmas tree sign?Have yourself a little merry Christmas ?
I am not selling this sign at this time
Hi! I loved this idea and want to make a similar sign 🙂 Can you tell me what was the font that you used? I really liked it!
Thank you 🙂
I’m glad you like it Debora. As this was from last year, I don’t remember all of the fonts used. I do believe that “Remires” and “Return to Sender” are two that were used but I am not 100% sure.
I love this sign, the fonts are perfect! How nice that you can mix it up next year if you want to!
Thank you Megan! I’m sure I will change my mind next year, so it’s perfect lol.
I just love this sign! I have a thing for wooden trees, so I need to try this! 🙂
Thank you Dee! And thank you for choosing it for your feature this week. I absolutely love how the sign turned out, and wish I would have picked up a few more wooden trees!