Merry Christmas Chalkboard Sign
I have a super easy little project to share with you guys today!
This post may contain affiliate links for your convenience. Read our disclosure policy.
Back in the Spring I picked up this cute little chalkboard sign from the Target dollar spot. It even made it’s debut on the blog back then too as an actual chalkboard!
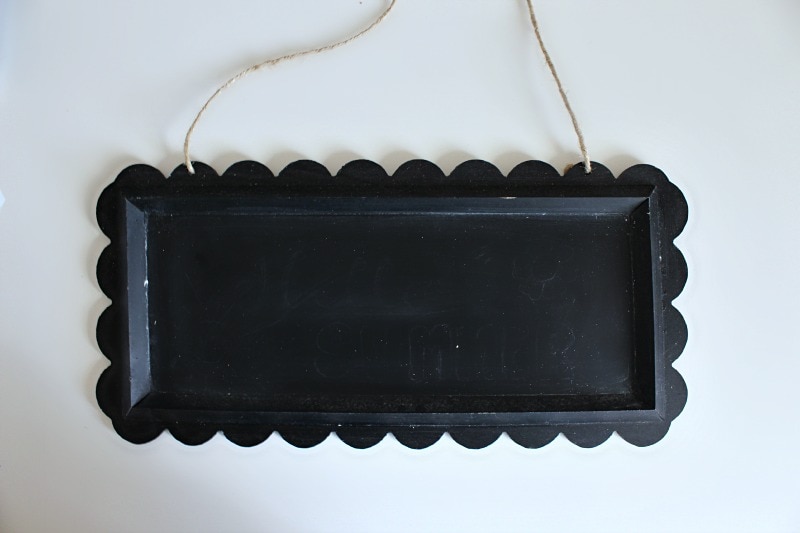
Little did I know that it wasn’t exactly meant to be used as an erasable chalkboard.
Yea, I didn’t know those kind existed either.
You can still see evidence of prior greetings, but that’s alright. Gives it a little character, am I right?
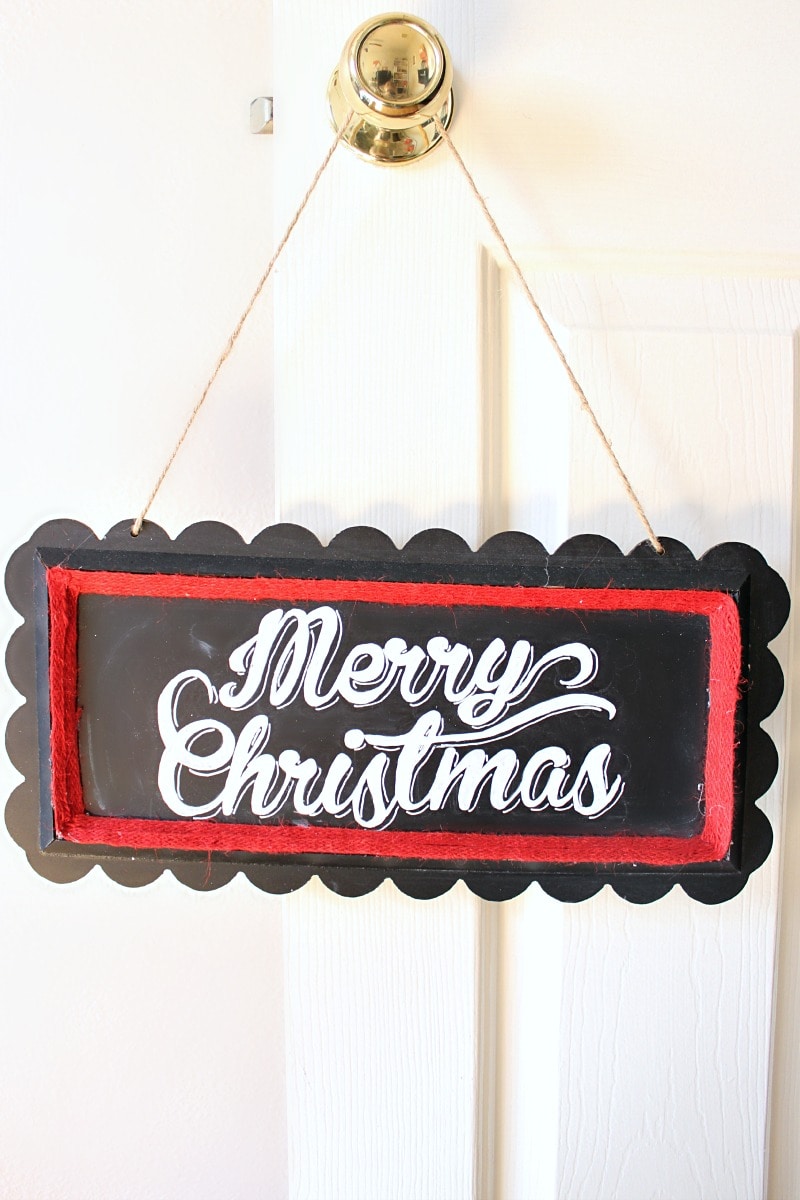
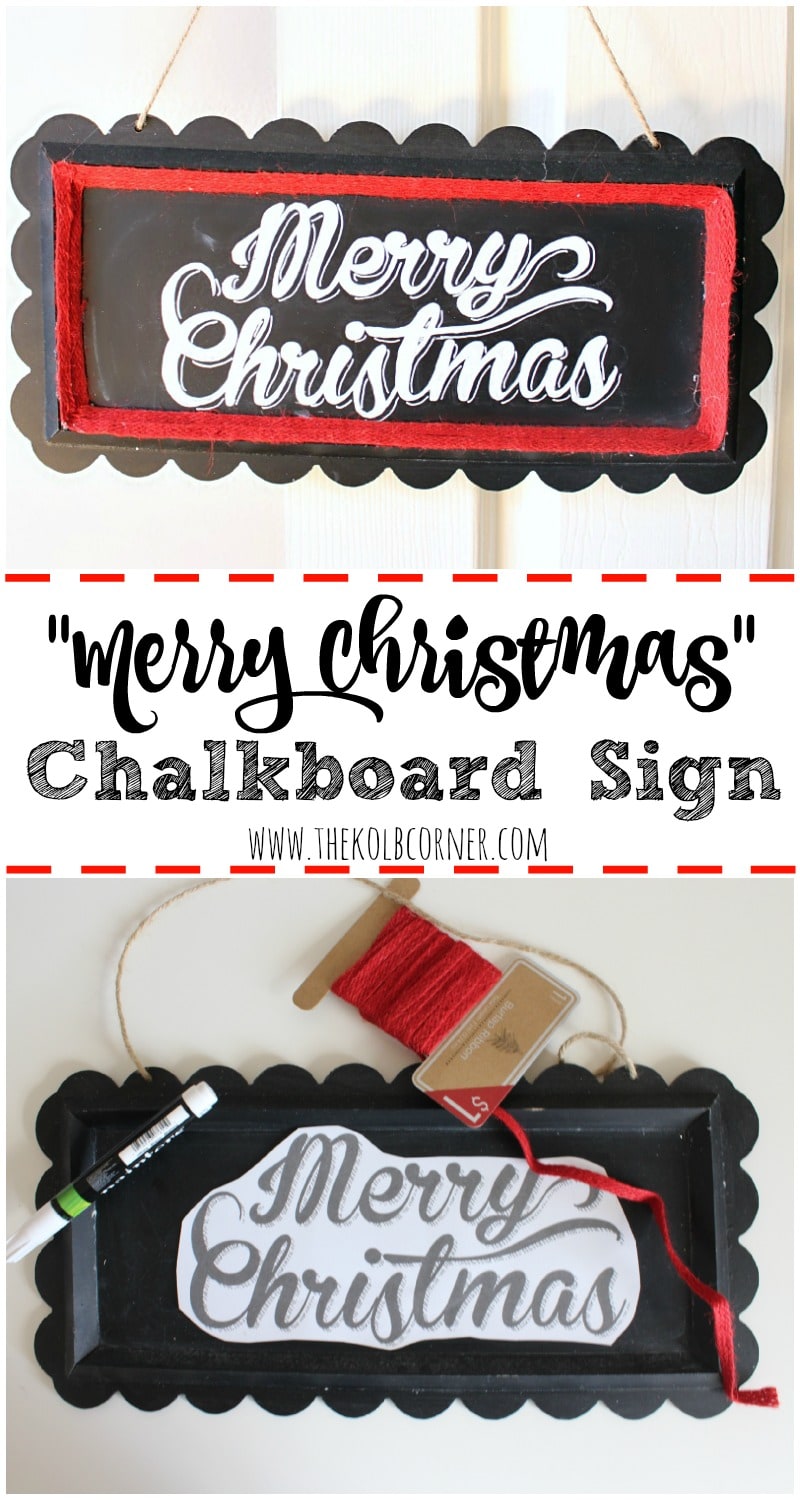
So, instead of just letting it stay in my craft closet being completely useless, I decided to turn it into a Merry Christmas chalkboard sign.
And it was really easy to do!
Here’s how:
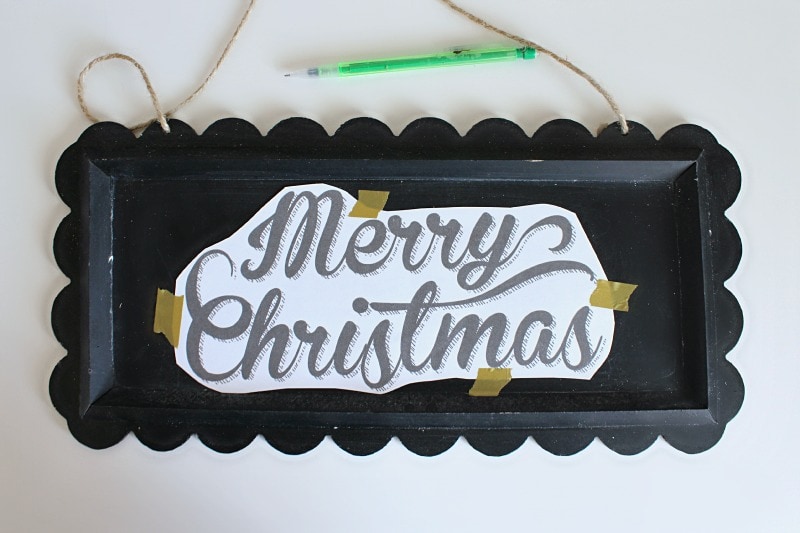
Print out “Merry Christmas” in font of choice and cut it out.
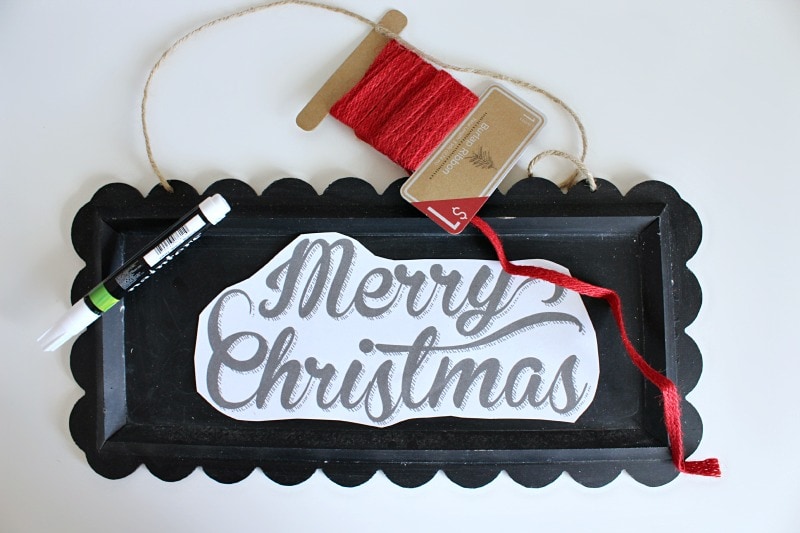
Shade over the backside of the paper with chalk and tape it down onto the sign (I used washi tape)
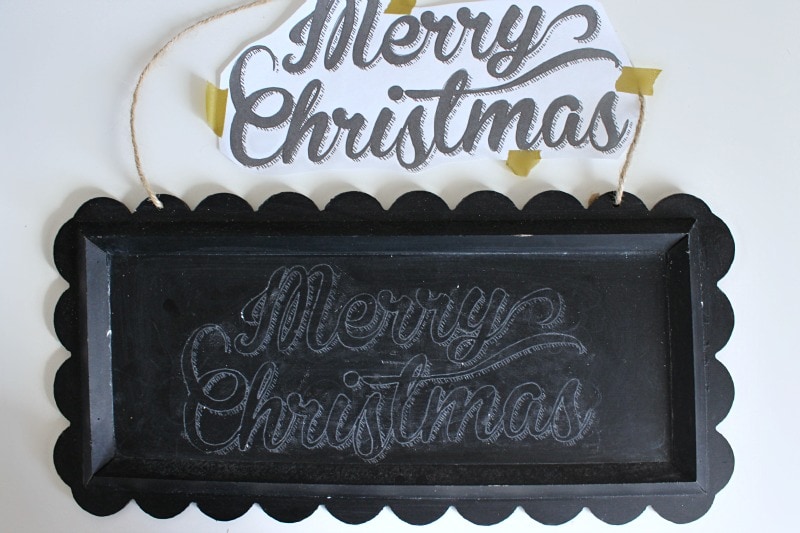
Trace over the outline of the letters with pencil, making sure to press hard so the chalk transfers.
Lift up the paper and make sure everything transferred right.
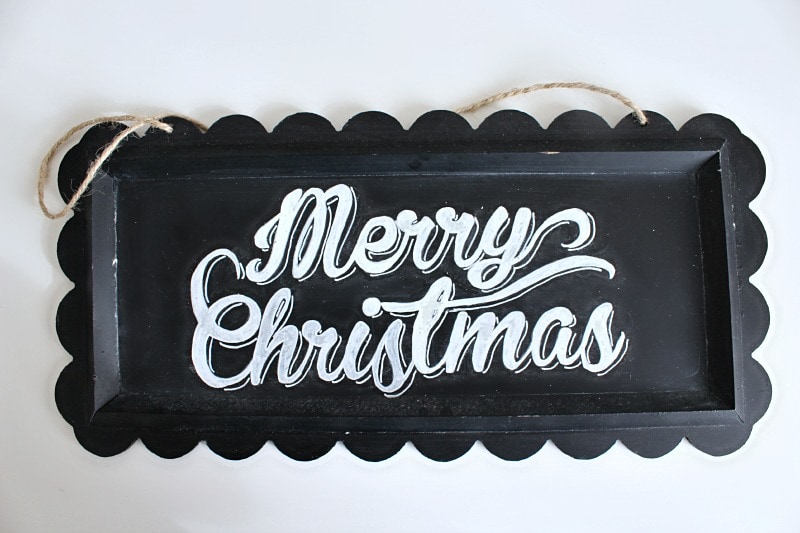
Using a paint pen, go over the letters and fill in to desired effect. Once the paint has dried, erase any extra chalk marks.
To finish it off I hot glued on some thin red burlap ribbon. The red really makes this Merry Christmas chalkboard sign pop!

Now I just have to figure out where I am going to put it!
What are you crafting up this week??
I love this, and I think your font choice was perfection! I’m lazy, so I’d have probably cheated and used vinyl, but it wouldn’t have had the same pretty chalkboard effect.
I do like the chalkboard look, but man if I had a cutting machine I’d be using vinyl too. Although, in reality, it would probably take me the same amount of time to figure out how to use the machine as it did for this project lol.
It is lovely Amanda, I love handwriting on chalkboard and this is a good trick to have it perfect!
Thank you Pili!