DIY Craft Room Storage and Decor Piece
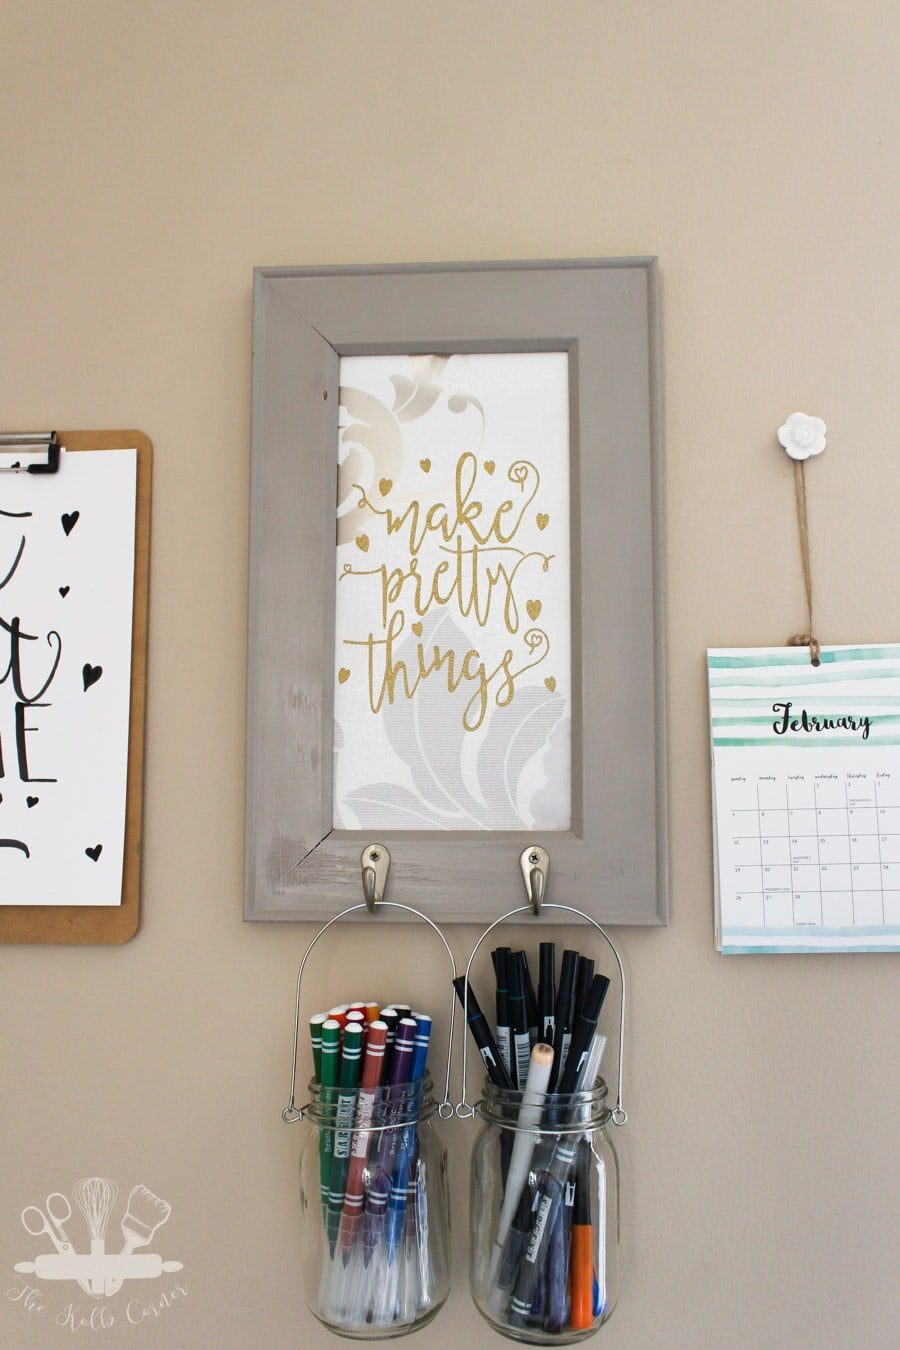
It’s that time again! Time for another thrift store upcycle challenge! This month I took a plain mirror and transformed it into a custom craft room storage and decor piece with just a few items I already had at home. Now I have a beautiful inspirational piece of art as well as a little place to store my brush pens and markers.
This post may contain affiliate links for your convenience. Read our disclosure policy.
And of course, I’m pairing up with 30 other DIY/Home bloggers to give you tons of inspiration for when you hit the thrift stores next. There is so much talent in this group of ladies and I’m always so inspired after seeing their projects!
The Rules:
- Upcycle an item(s) from a thrift store, resale store, or garage sale into a new piece of decor.
- There’s no monthly theme.
- There’s no budget to stick to.
Meet the Hosts
Amanda | The Kolb Corner Maureen | Red Cottage Chronicles Kim | Made in a Day
Dru | Polka Dot Poplars Erlene | My Pinterventures Colleen | Life on Kaydeross Creek Pili | Sweet Things
Shirley | Intelligent Domestications Debra | Shoppe No. 5 Marie | DIY Adulation
Chelsea | The Johnsons Plus Dog Jes | My DIY Envy Lindsay | Crazy Organized Megan | C’mon Get Crafty
Molly | Just a Little Creativity Ashley | 3 Little Greenwoods Kimm | Reinvented Michelle | Our Crafty Mom
Jeannee | Shepherds and Chardonnay Sue | A Purdy Little House Sara | Twelve on Main
Claire | Pillar Box Blue Chelc | Inside the Fox Den Kim | Farmhouse Made Victoria | Dazzle While Frazzled
Sherry | Savvy Apron Jennifer and Vicki | 2 Bees in a Pod Lora | Craftivity Designs
Denise | My Thrifty House Toni | Small Home Soul Ann | Duct Tape and Denim
Make sure you follow our board on Pinterest for more upcycled decor inspiration!
How to make a DIY hanging craft room storage and decor piece:
What you’ll need:
- Thrift Store frame (I used a mirror that had attached hooks already)
- small hooks
- paint and paint brush
- decorative paper
- Drill
- buckets or glass jars with handles (1 for each hook)
- Optional:
- Silhouette or cutting machine
- vinyl
- transfer tape
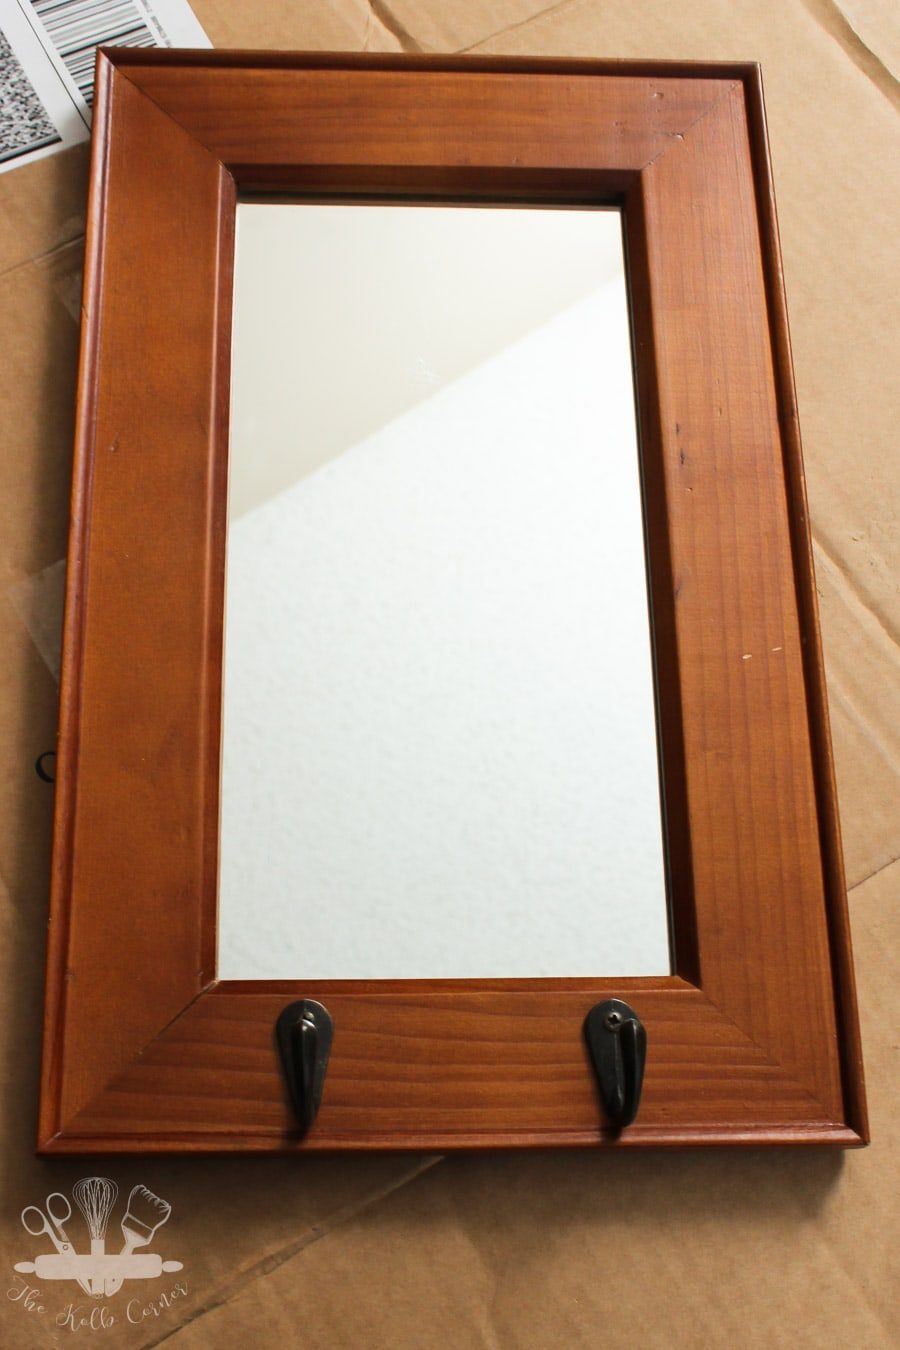
First start by cleaning the frame really well. Remove any hardware that may be on it and set aside. Take the back off and remove the insert and set aside. Now it’s ready for paint!
For my project, I used a latex paint in a stone grey because that’s what I had, but use any paint that you would like. Since I used latex I did sand my frame first to make sure the paint would stick to the surface. You will also want to sand it if the surface of the frame is rough or uneven.
While the paint dried on the frame, I gave the two hooks a quick coat of gold spray paint.
Next, I cut a piece of paper to fit the inside of my frame. Originally I had planned on painting the mirror white and putting a piece of plexiglass over it. Then I decided maybe I didn’t want to paint the mirror because what if (a huge what if) I want that mirror again in the future?
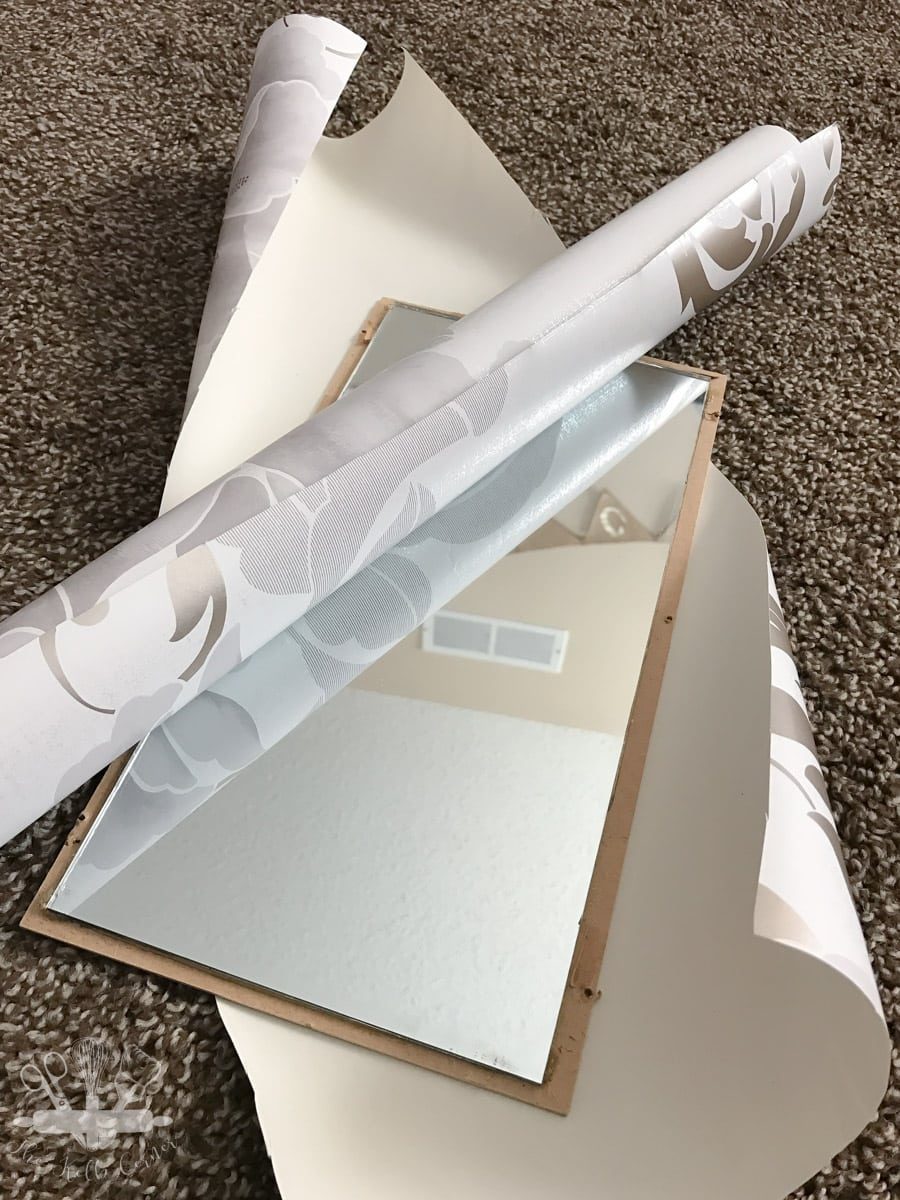
So then I was going to use a gold and white dotted cardstock, but since the frame I used is such an odd size I would have had to cut the paper and piece it together. That wouldn’t have looked good. Instead I used some leftover wall paper from Graham and Brown that I used to recover a bookcase in my original office reveal. It fits in with the rest of my office and it looks pretty with the gray on the frame.
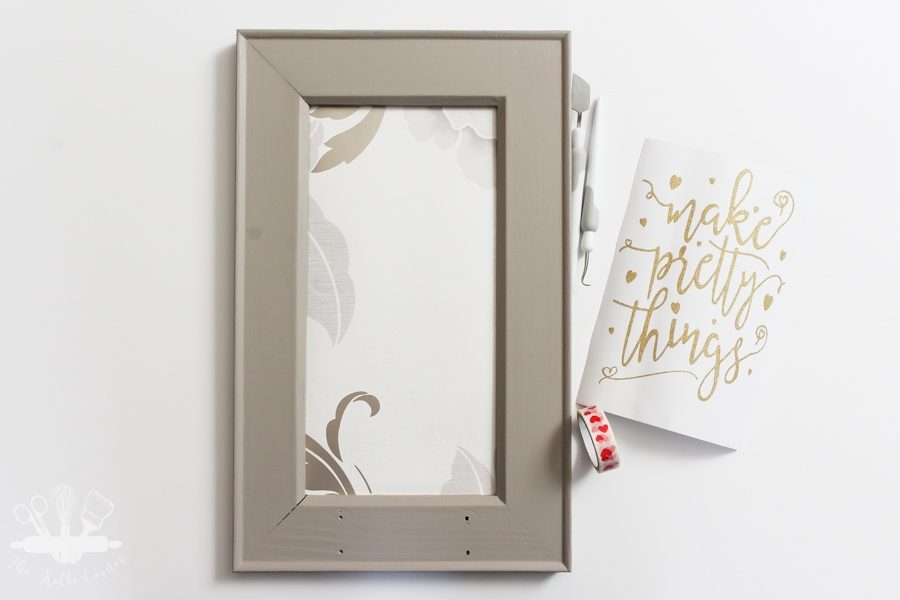
Once that was done, I put the now wrapped mirror back inside the frame.
Next, I re attached the hooks in the existing holes. If your frame does not have hooks already, you will want to pre drill holes for each hook. You don’t have to drill in too far, just enough to get you started. Then after the holes are drilled, attach the hooks using either the drill or a screwdriver.
Optional step:
Because I cannot leave well enough alone, I decided to add some gold glitter vinyl to the inside of my frame. It says “Make Pretty Things” in a pretty whimsical font called Aintzane.
Once the vinyl was cut, transferring it to the paper was a tedious task. I started by trying to use Washi Tape–umm nope. That didn’t work in the slightest. So I bit the bullet and purchased actual transfer tape. I thought all of my transfer problems would be over. They weren’t.
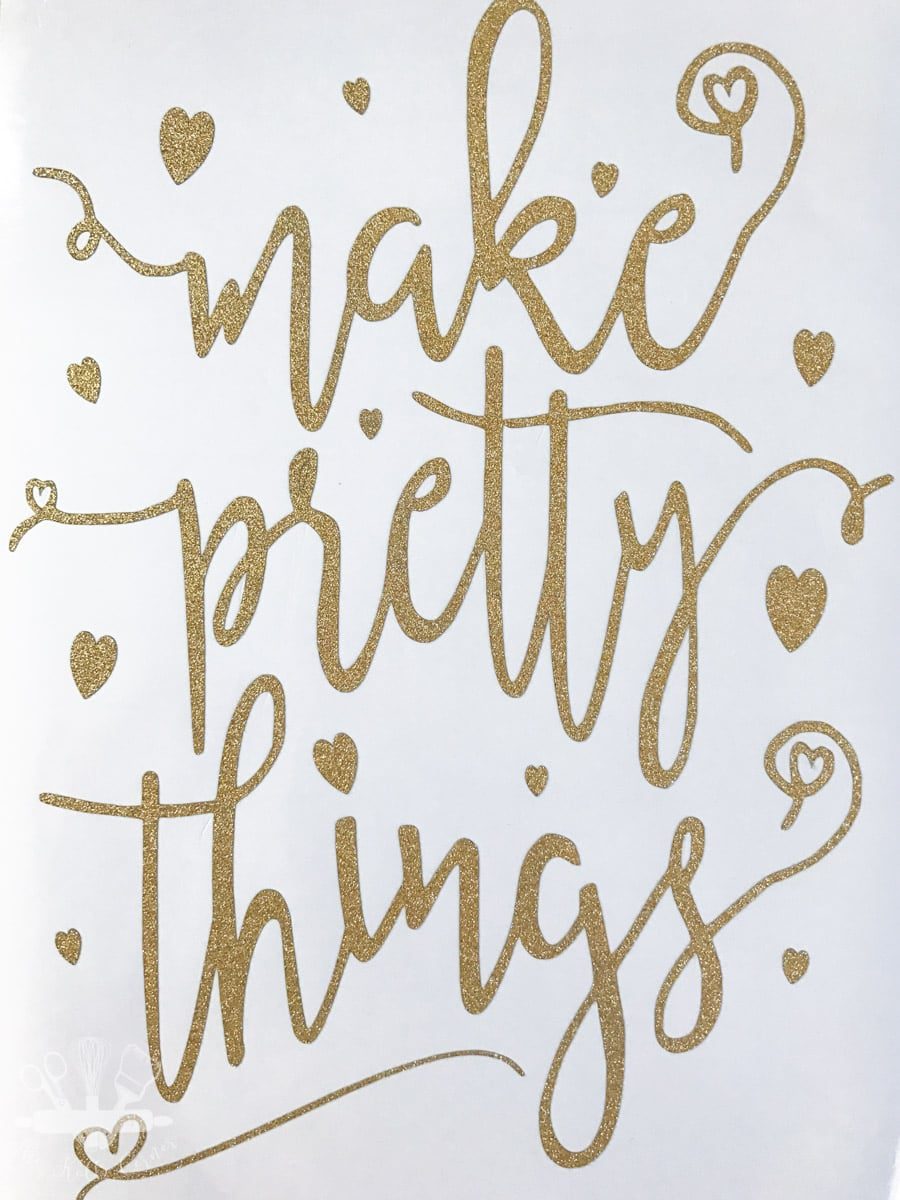
The problem was that the gold glitter surface of the vinyl does not want to stick to anything, so it was very hard to get it to stick to the transfer tape enough to pull the backing from the vinyl loose. It was about a 30 minute process but I finally got it loose. Then I simply placed the vinyl and transfer tape on the paper. Since it is paper I didn’t press the transfer tape onto the surface very firmly because I was worried about it peeling the paper back up with it.
After all of that, I finally hung it up and used two jars with long handles I got from Dollar Tree to hold some of my markers and my beloved Tombow Brush Pens (and one lonely Copic marker from my college rendering class days).

This DIY craft room storage and decor piece would also work well as a little command center, or you could customize it for a laundry room too! Each family member would have their own jar and whatever is found in pockets would go in their jar.
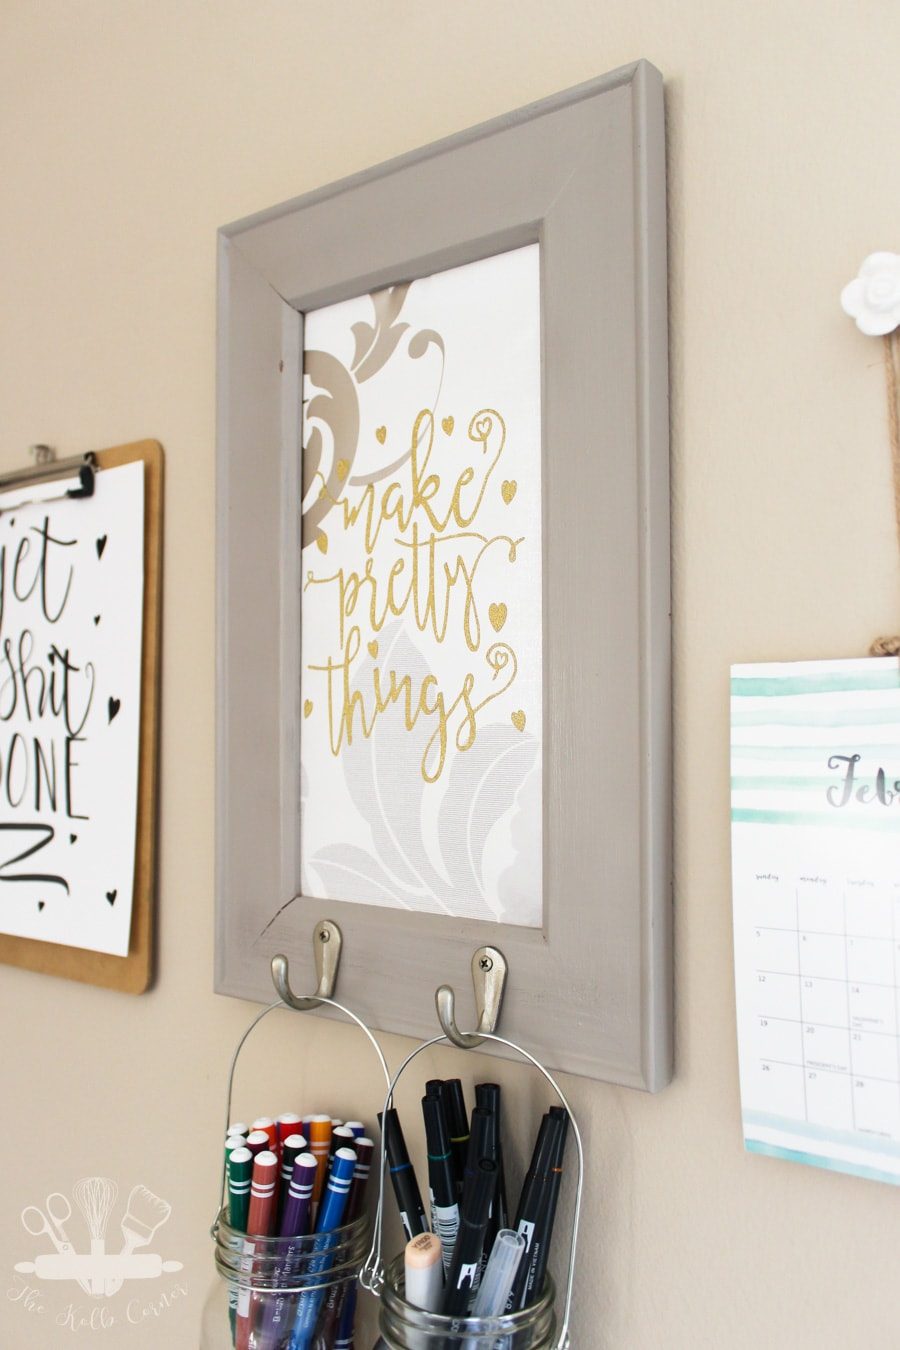
There are so many possibilities and it only cost me $3 for the frame! The paint and paper were things I already had. Now it serves as inspiration for my everyday. because “make pretty things” should be everyone’s mantra.
And now for more thrifty goodness!
Check out what my fellow upcyclers created below!


This is such a great upcycle! The hanging mason jars are so smart!
Thank you Emily! I love having my markers readily available
Very creative and very practical 🙂
Thank you Katy!
What a pretty way to be organized. And as you say, it is a versatile project and will work all around the house.
Thank you!
I love this so much Amanda! What a perfect piece of art that is also useful for your craft room!
This is adorable!! I love the cutout you made !
That’s such an awesome new piece for $3! I love that you were able to use up some of your craft stash too 🙂
Oh my gosh, that is a brilliant idea! I may have to make something like this for my classroom!
It would be so cute in your classroom!
Amanda….love this idea….functional and super cute too.
Thank you Denise 🙂
This is fabulous. Grey, cream and gold are my favourite colour combination, and this is so inspiring. And that wallpaper!!! Gorgeous.
Thank you Sue!
Love this! I’m always collecting unique frames and now I know what to do with one of them.
So many possibilities!
Gotta love an upcycle that is both pretty and functional! Great job!
Thanks Megan!
That turned out great, I love the glilttery words, sorry it was a bit of a pain but it was so worth it! The hanging jars are cool, I’ll have to search my Dollar Store to see if I can score some of those!
Thanks Toni! I was surprised to see those jars at Dollar Tree as I hadn’t seen them before. They do have some online but in red. I hope you are able to find them!
That is so pretty! I It’s a bonus that it is usefull too! So creative to hang jars of pens on it!
Jeannee
Thank you Jeannee
Such an awesome way to makeover an ordinary mirror. I love the design and phrase you used! I’ll definitely be on the lookout for a frame with hooks to upcycle soon.
Thanks so much for the DIY inspiration!
{BIG hugs}
~ Ashley
Thank you Ashley!
What a great use of an old frame! I think the extra effort you put into the lettering was well worth it! Looks fantastic.
Thank you Maureen!
The paint color on the frame is really pretty! I love using frames for hooks — so handy!
Thanks Lora! Gotta love a clearance paint sample!
Love this! Super pretty and practical. Visiting from Thrift Store Challenge.
Thank you Victoria!
Very cute, I could do with making one of these for myself.
Thanks Claire!