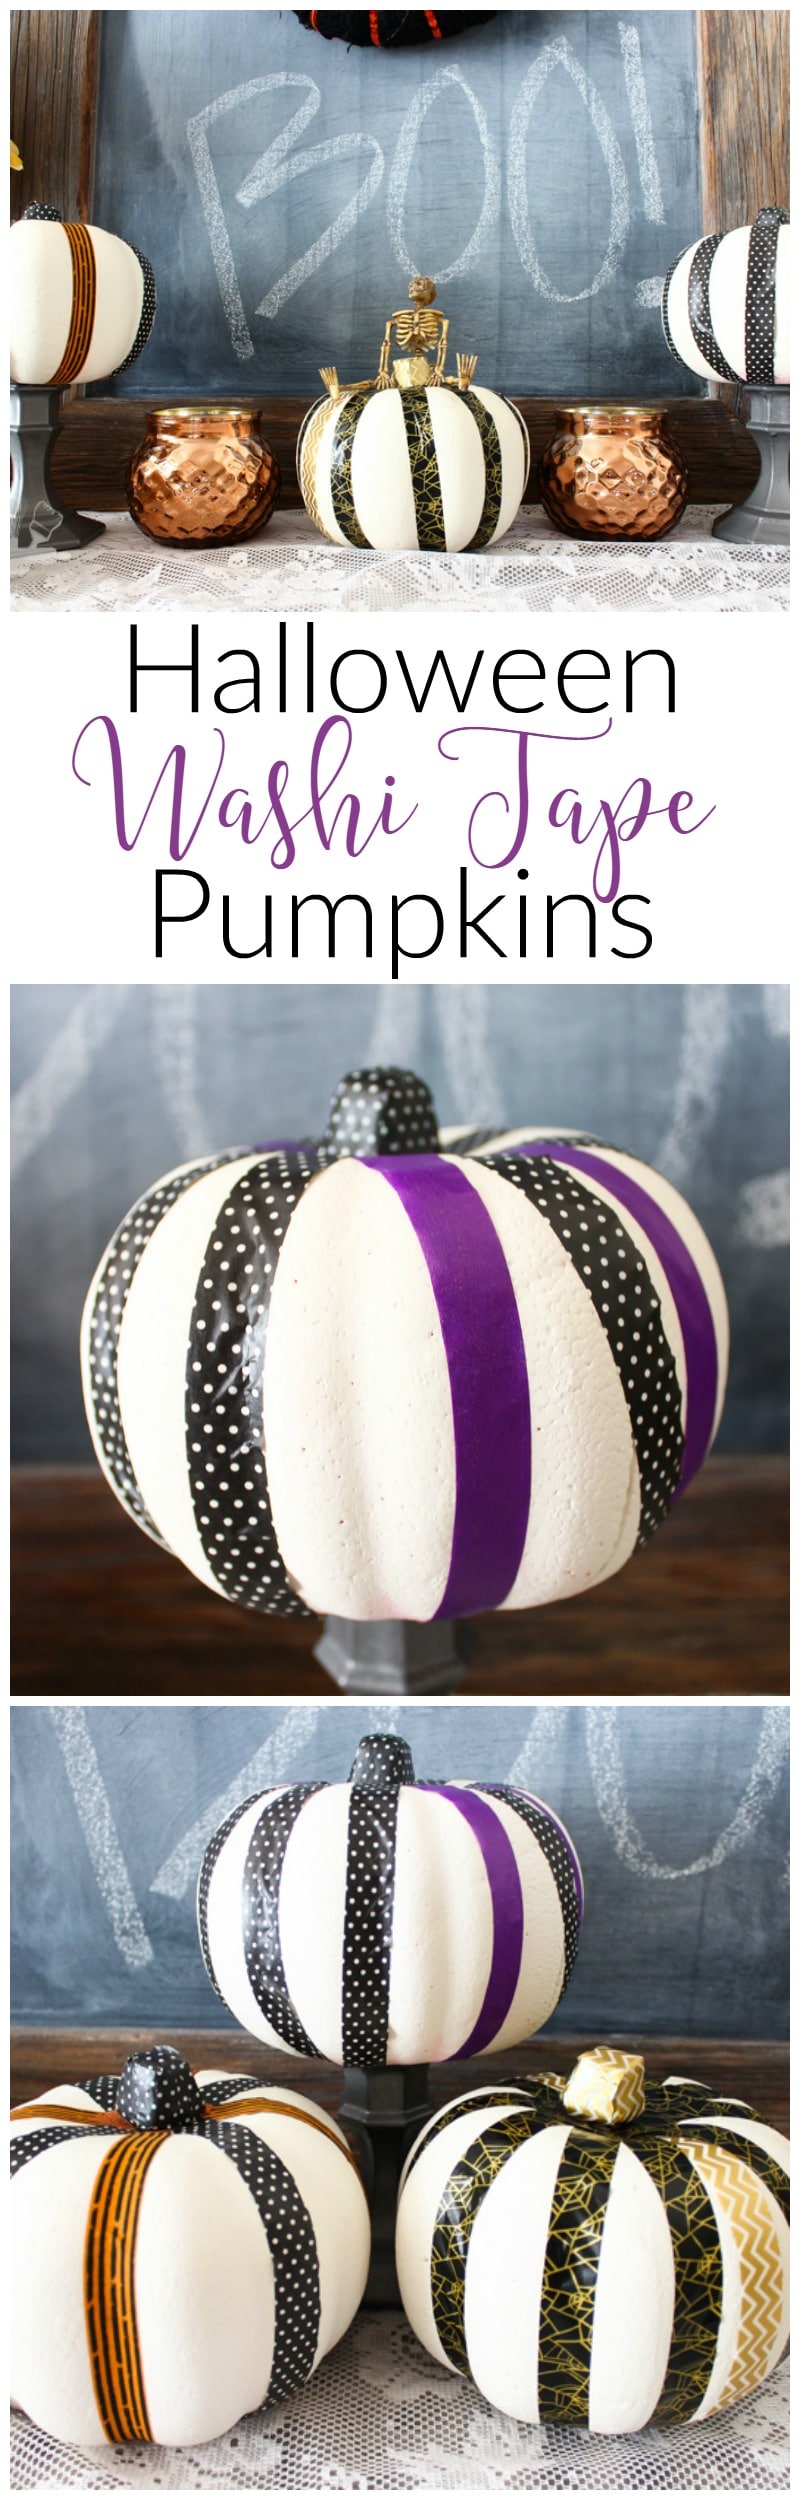
Halloween Washi Tape Pumpkins
Turn ugly foam pumpkins from the Dollar Tree into beautiful Halloween Washi Tape Pumpkins with a little bit of chalk paint and washi tape.
This post may contain affiliate links for your convenience. Read our disclosure policy.
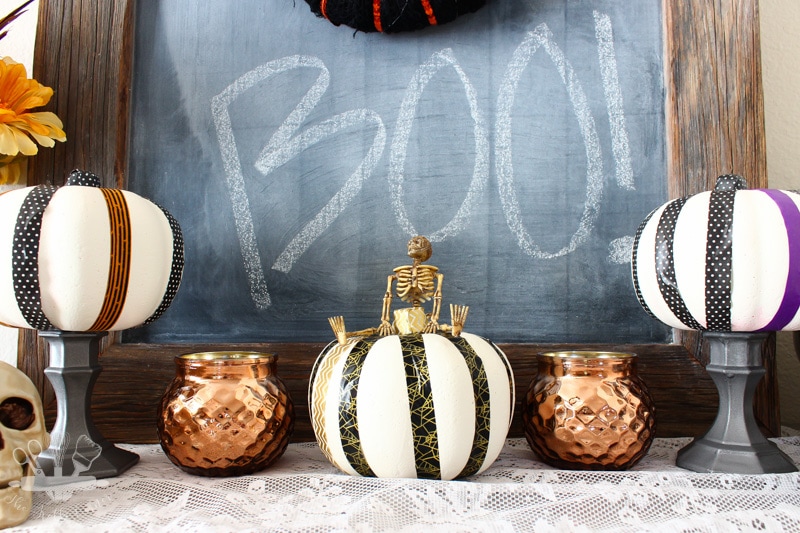
If you like the idea of decorating for all of the holidays or seasons but hate spending a ton of money, then you are at the right place! These washi tape Halloween pumpkins make a great craft to put on display, but it costs so little and takes next to no time.
This tutorial is so easy I almost didn’t even include numbers in the steps. It’s literally as simple as painting some foam pumpkins and laying on Washi Tape. I have been collecting Halloween-inspired washi tape for the past year, and now I finally have an easy Halloween craft project to show for it.

Halloween Washi Tape Pumpkins
What You’ll Need:
- Foam pumpkins
- Chalk paint (in your color of choice)
- paint brush
- Washi Tape (in Halloween colors)
- Scissors
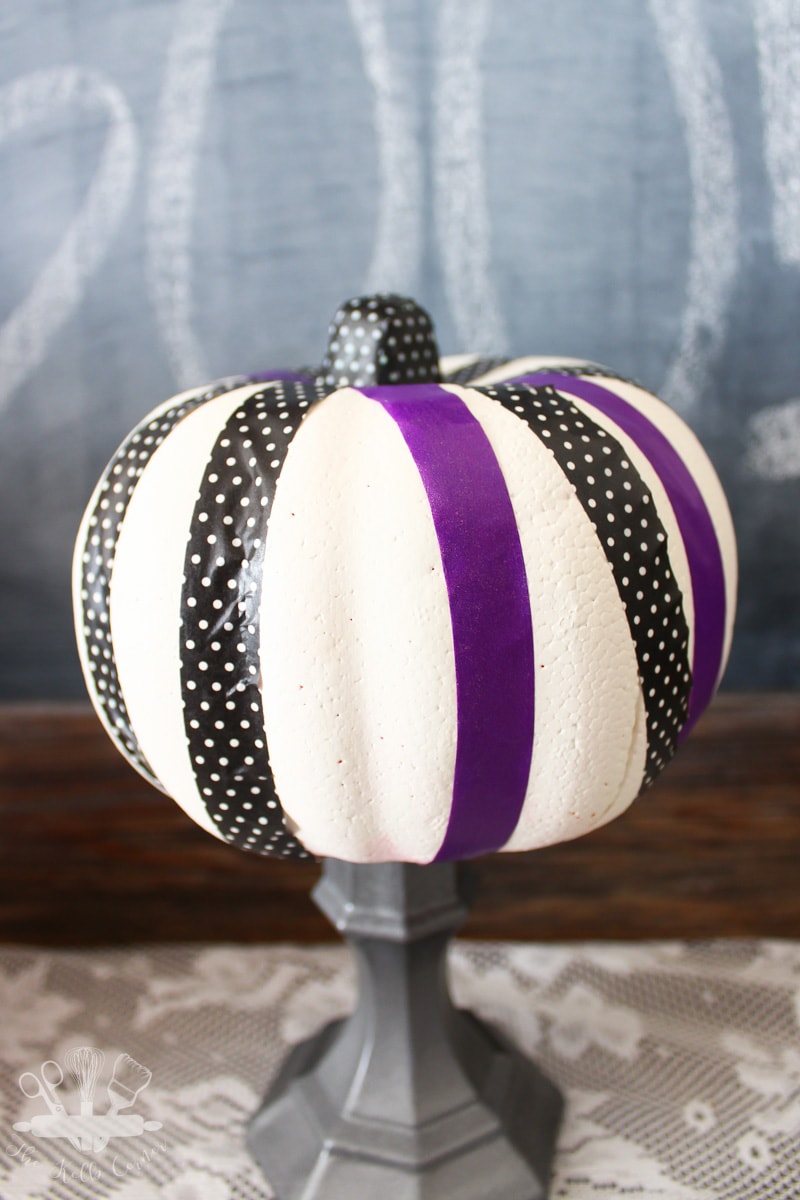
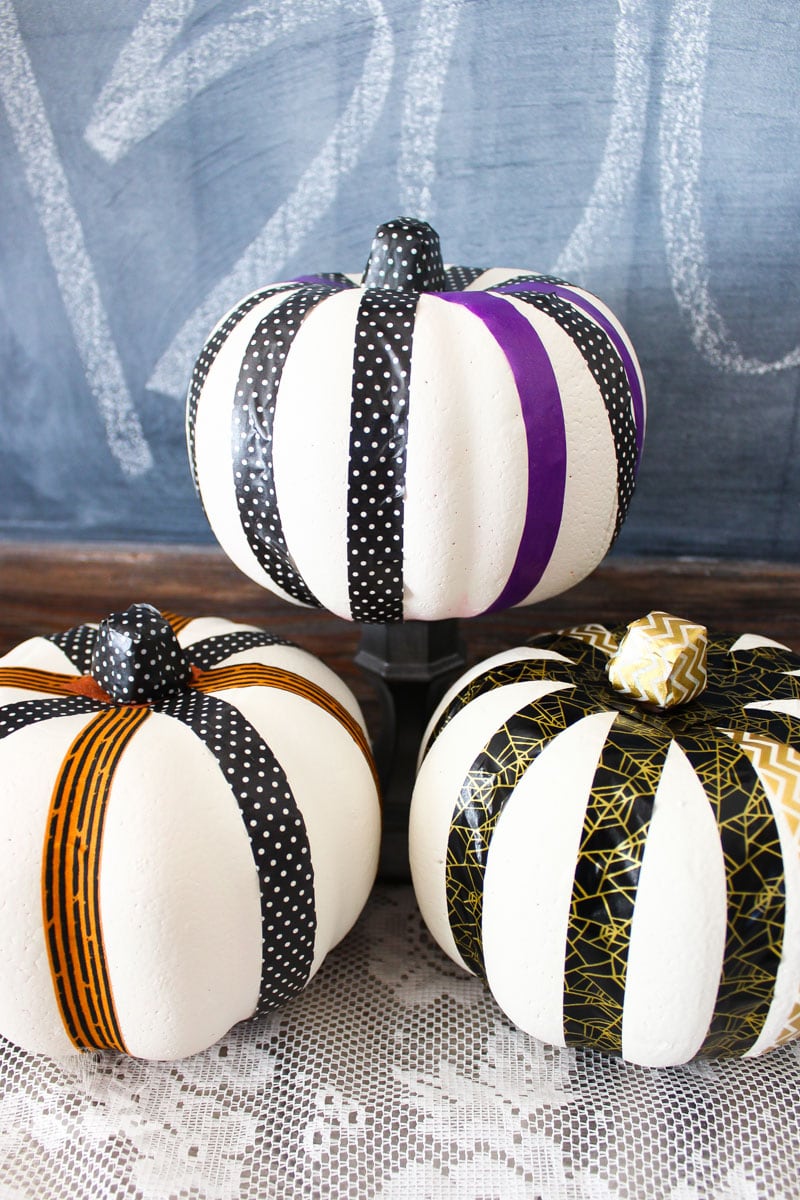
- Start by painting the foam pumpkins. I chose Sheepskin from FolkArt
- Once dry, apply washi tape in your desired pattern and colors.
- That’s it!
Note: If you wanted the pumpkins to be permanent Halloween washi tape pumpkins you could paint on a layer of Mod Podge. I didn’t.
I have HUGE commitment issues when it comes to my decor. Seasonal or not. I’ll most likely change my mind about these Halloween washi tape pumpkins next year.
More Halloween goodies:
These are seriously fantastic! Cheap, quick, and easy…right up my alley! Pinned because I don’t ever want to forget this.
Thank you!
Gotta love these dollar store pumpkins. I always pick up a few to decorate with and this is a super way to keep it ultra affordable.
Thank you Erlene! I have refrained (so far) from buying more pumpkins this year lol
These little Dollar Tree pumpkins are the greatest. This pumpkin makeover is so darn cute.
Thanks Debra. I love those little Dollar Tree pumpkins because you can do just about anything to them!
I absolutely love these! I’m going to show these to my daughter, who is a washi tape fanatic! 🙂
My goodness, these are cute. Thanks for sharing!!
Thank you Angela!!