Stenciled Anniversary Date Art
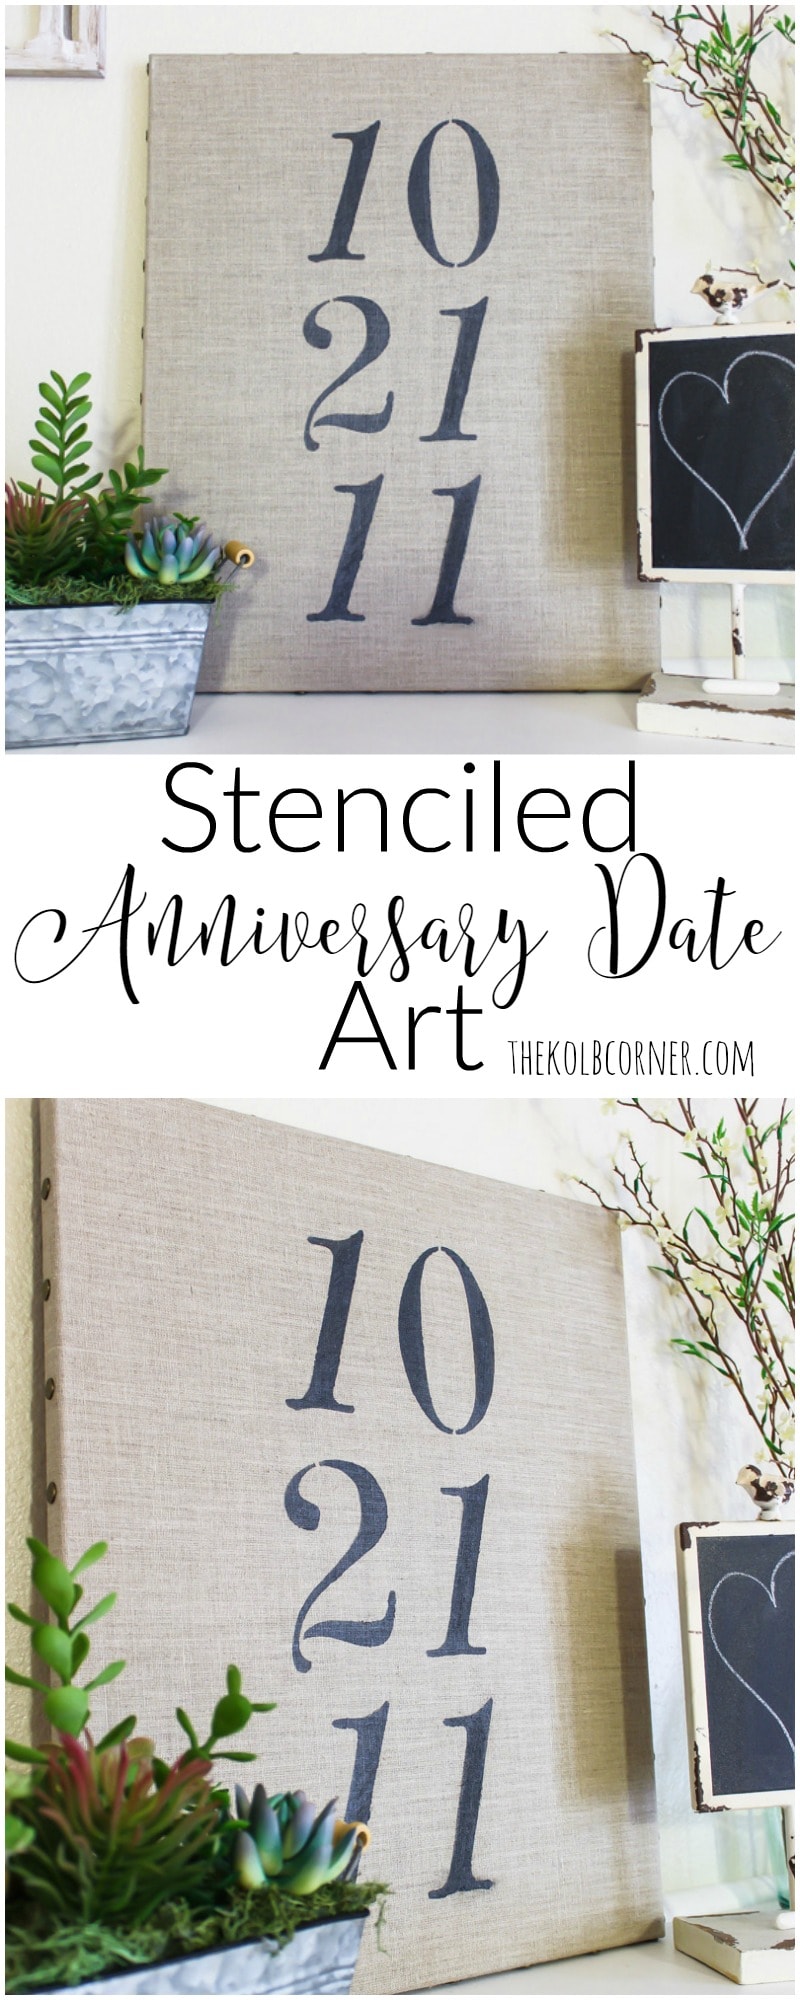
This stenciled anniversary date art is a project that has been swimming around in my head for awhile, but I just couldn’t narrow down how I wanted to do it.
This post may contain affiliate links for your convenience. Read our disclosure policy.
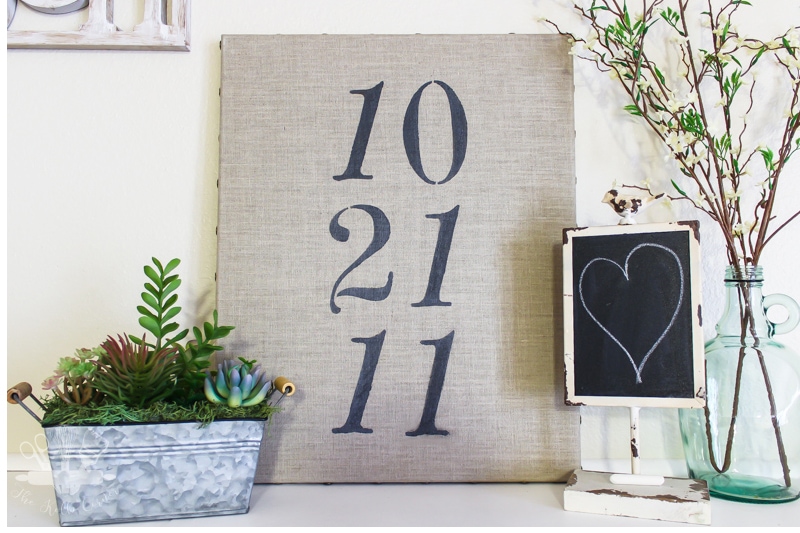
I know, I know. You’re saying to yourself “boy that sure looks pretty easy so what was there to narrow down?” Well you see…
I am not a black and white art girl so having black letters on a white canvas did not appeal to me. Then I had thought about painting the canvas one color and doing the letters in a different color, but that seemed too clean and sterile still.
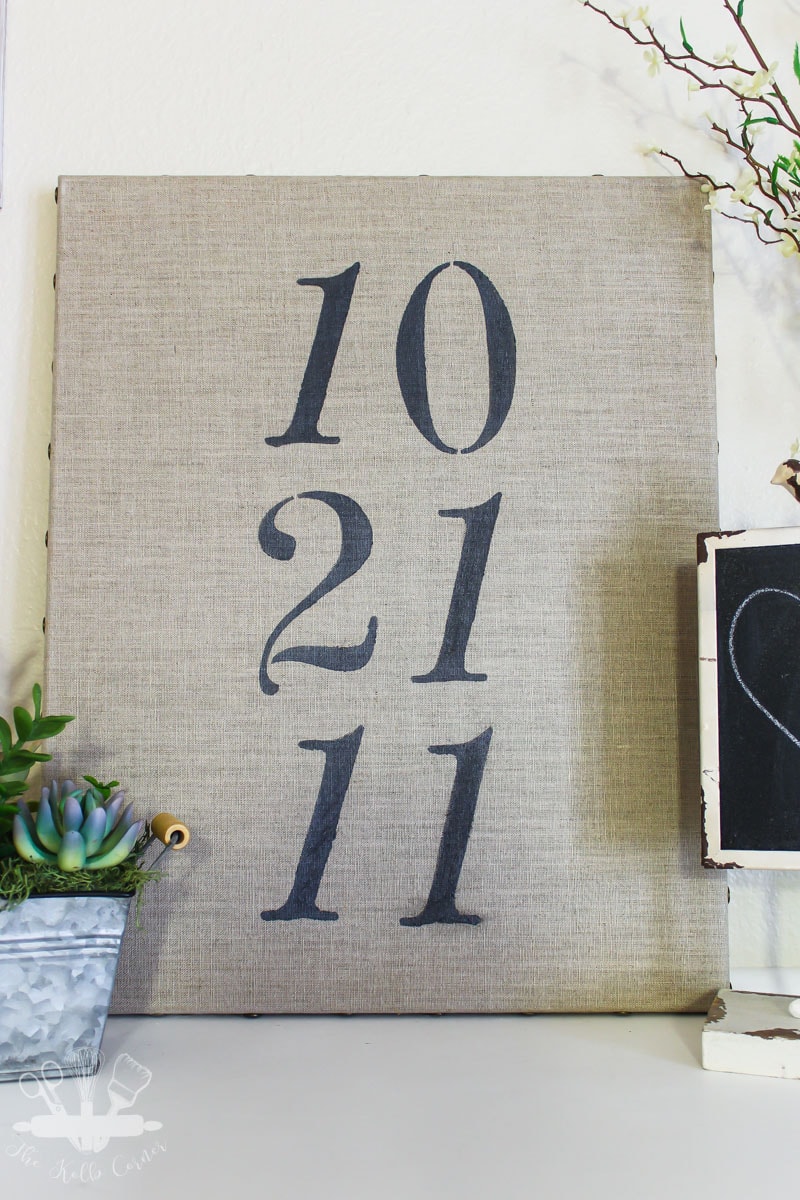
So I put the project on the back burner, until I saw these decorative linen canvases at Michael’s. I knew that look was just the right amount of old world I was aiming for but would still fit in with my other living room decor. Win win I say.
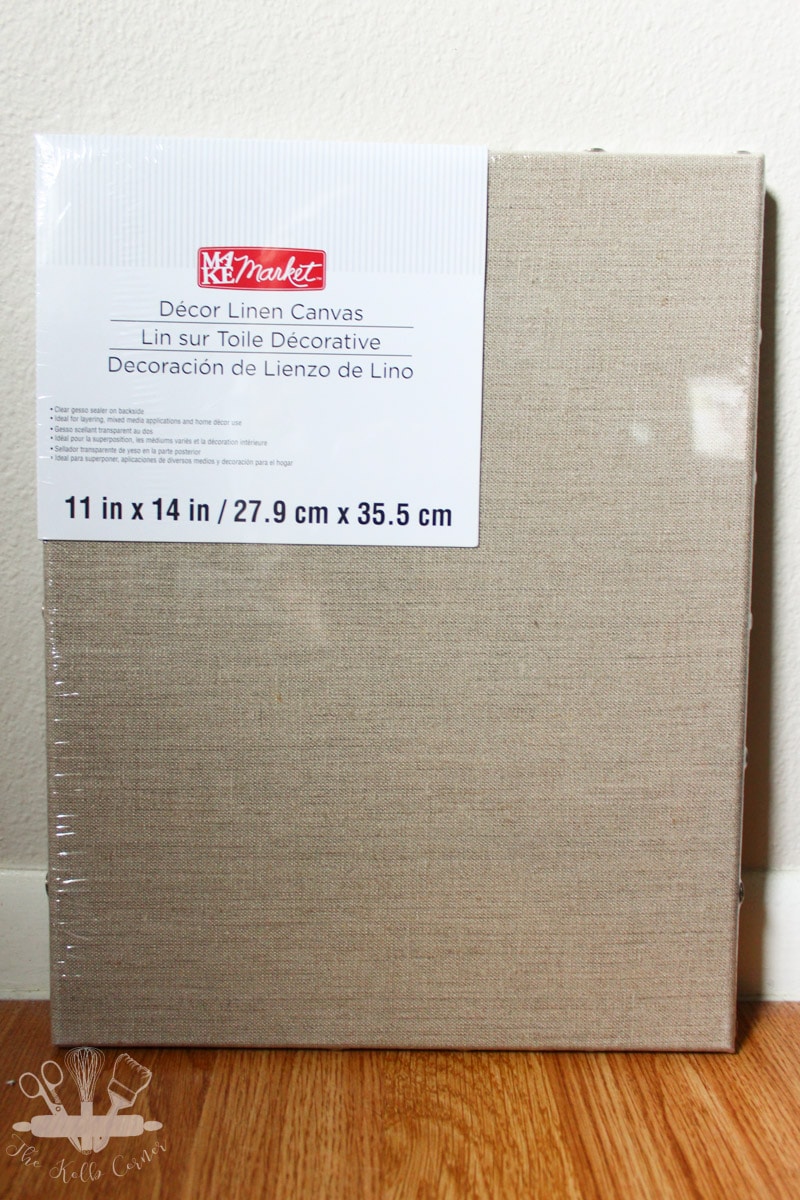
Plus they were 70% off last weekend! I already have so many blank canvases at home begging to be made into something pretty that I really didn’t need to buy these, but at $5 each I just couldn’t say no. Plus there is even a little decorative flair to the edges.
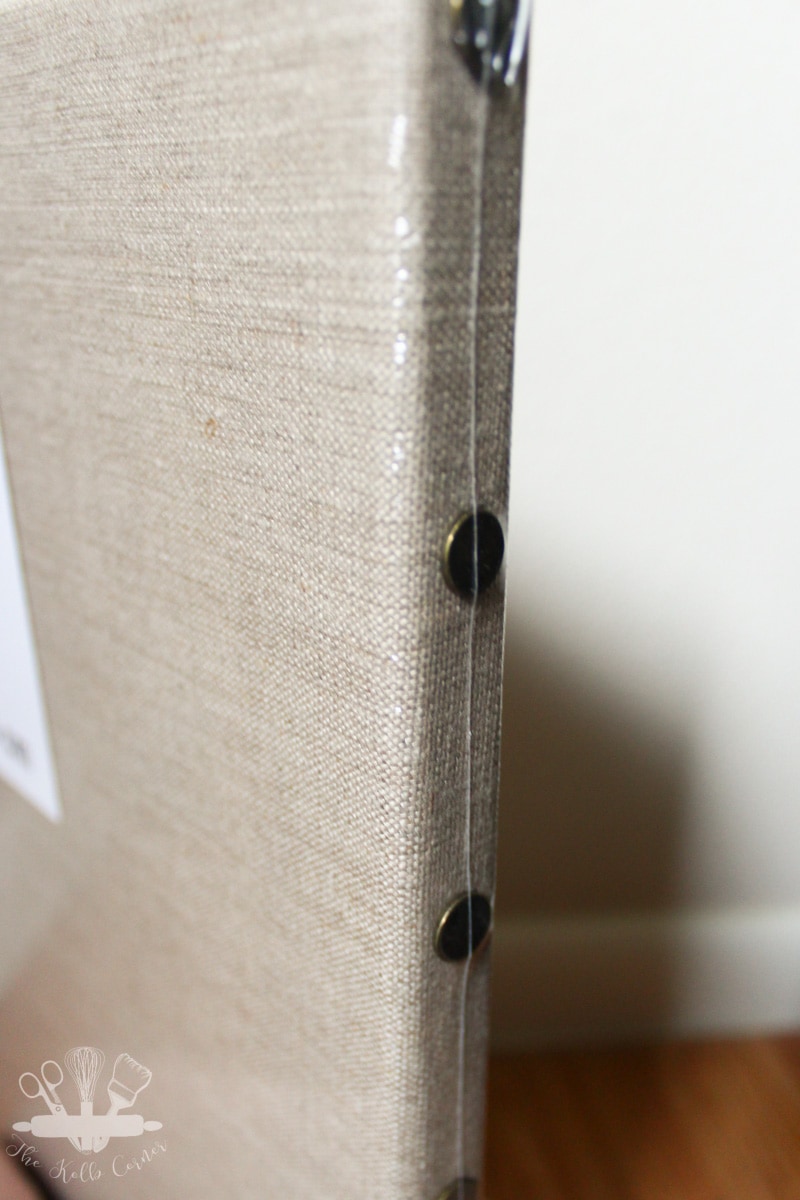
Perfection.
The following tutorial includes affiliate links to products used for this project. But don’t worry! I only recommend products I have personally used and loved. You can read my full disclosure policy here for more information.
Stenciled Anniversary Date Art
Supplies needed:
- 16×20 Decorative linen canvas, or a regular one (Michael’s does not have their decorative linen canvas on their website)
- Paint in color of choice (I used a mixture of black and silver to get a dark metallic grey)
- Paint brush
- Painter’s tape
- 5″ tall Number stencils
- A hard cover book
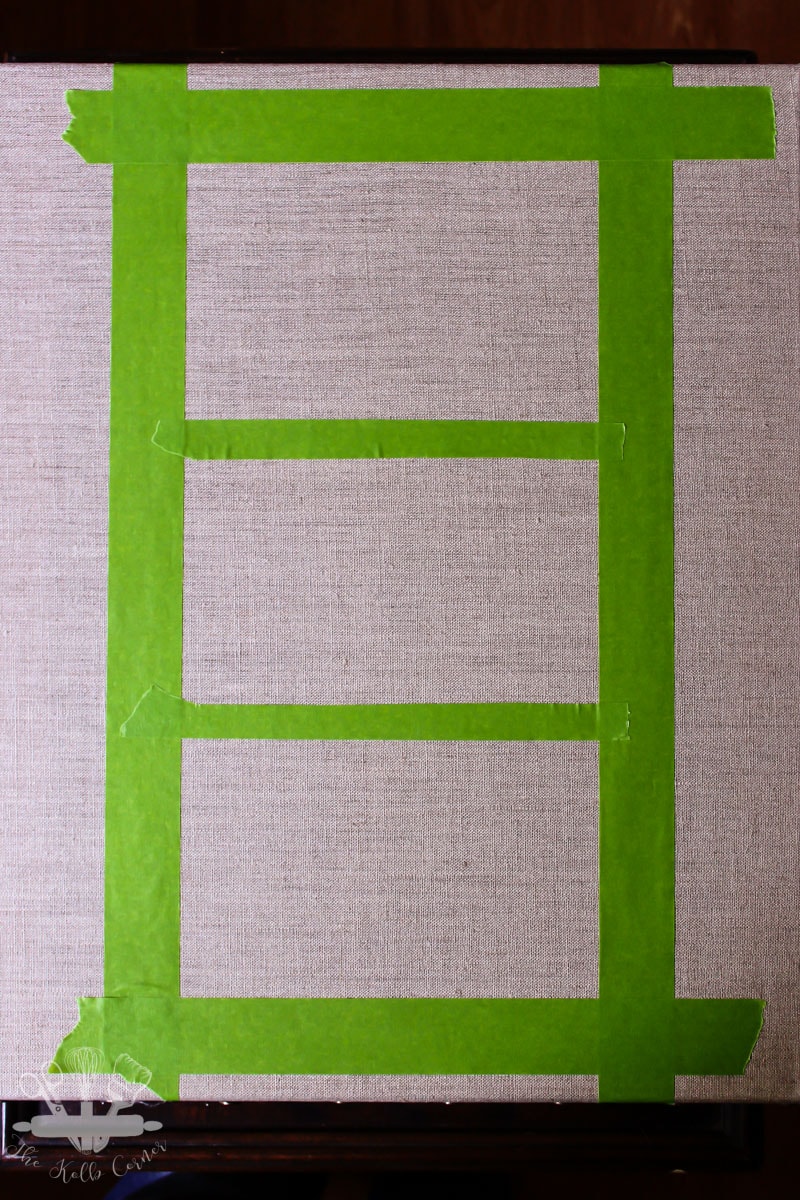
- Start by taping off the canvas into 3 equal squares. This will help you line up the numbers so that everything is equal. If you are like me and think you can just eyeball it and get it right, you will be sadly mistaken.
- Next, tape down the number stencil you will be using first. Make sure it is lying flat and straight on the canvas. It also helps to put a book or something underneath the canvas so that when you press down to paint the middle doesn’t give.
- Lightly and precisely start painting in the stencil. I found it helped if I used one hand to paint and the other hand to hold the stencil flat. Let dry completely before lifting up the stencil.
- Repeat steps 2 and 3 until all numbers are painted on.
- Stand back and admire your hard work!
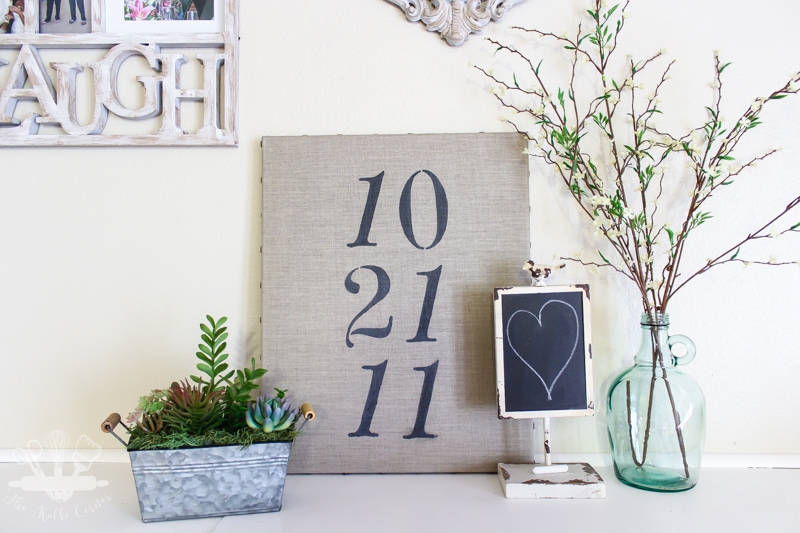
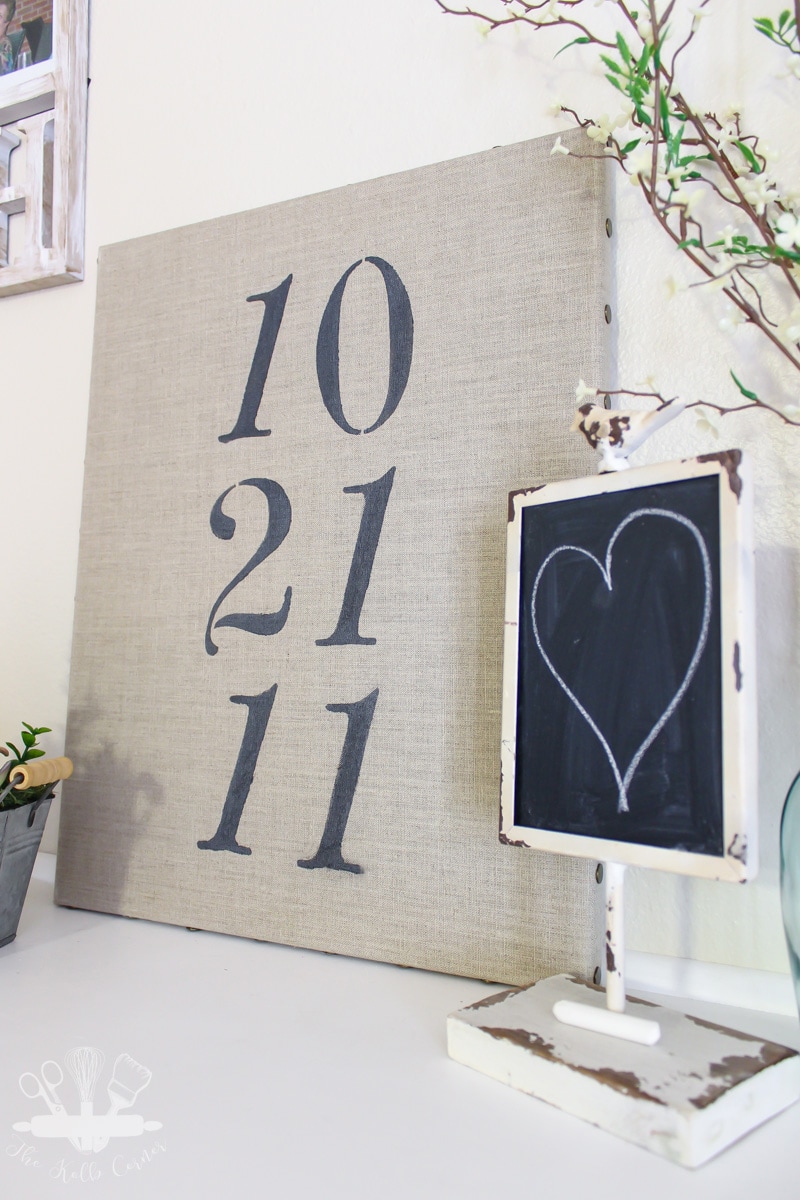
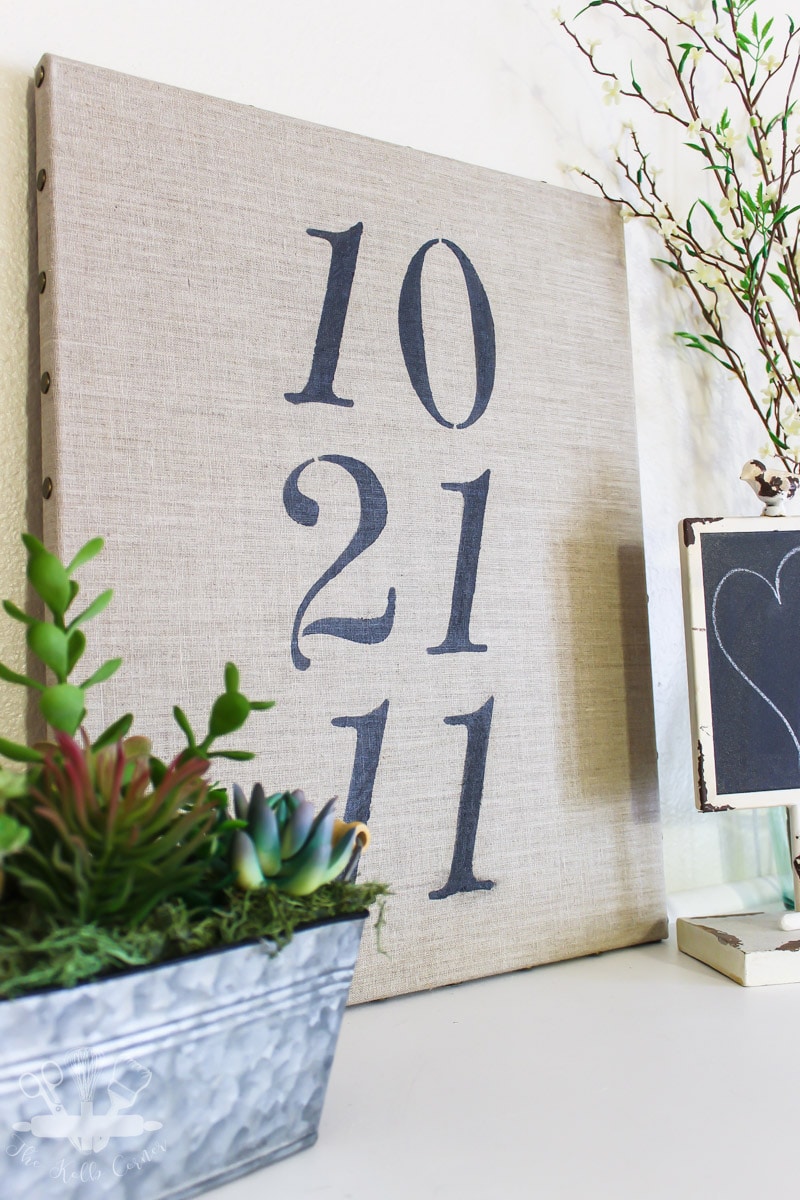
Now we have a pretty piece of artwork in our living room that is custom made, has sentimental value, but didn’t cost much in the way of time or money. You just can’t beat that.
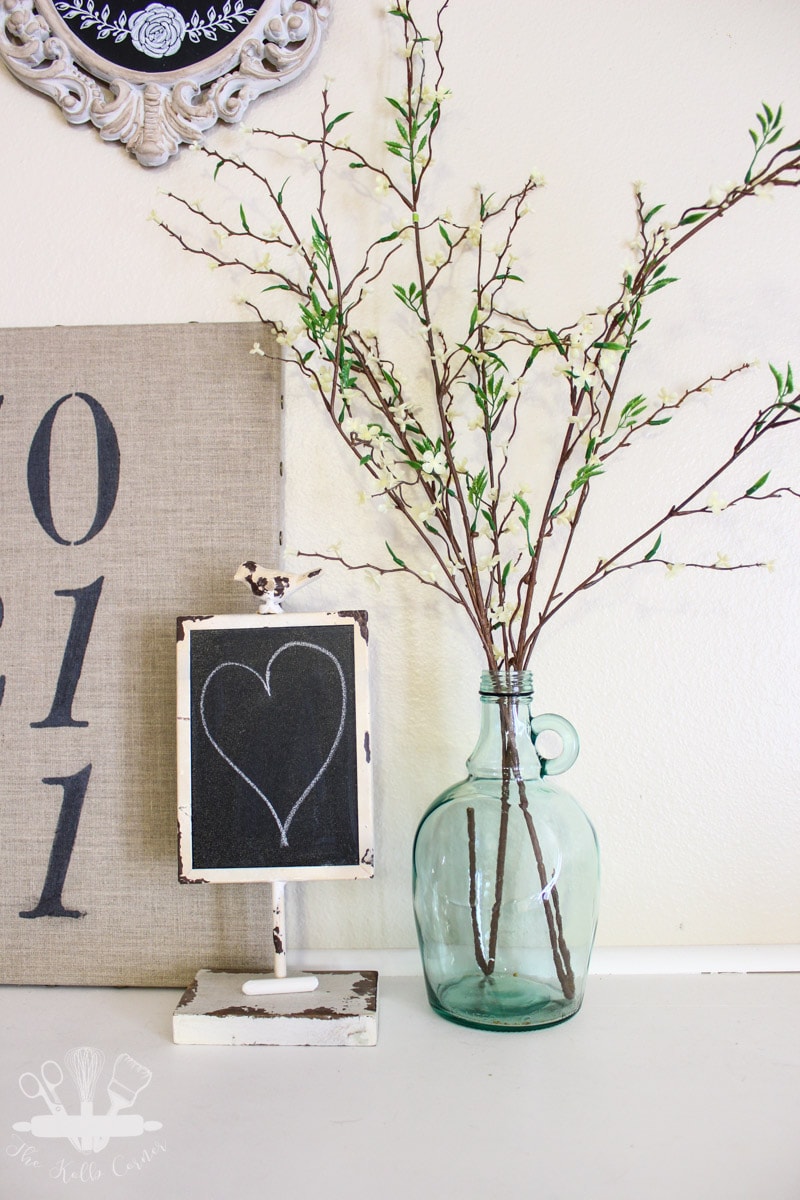
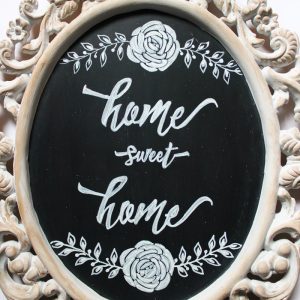
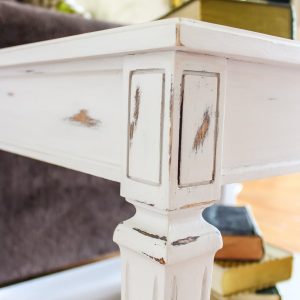
Here’s some more decor I’ve made for our living room:

I did this today, love the piece!! I used a cork board backing I removed from a frame, wrapped in burlap. I put Kraft paper on the back doe finishing, and then antiqued a handful of thumb tacks around face of the front. to mimic the look. I had a fail with using rolled on chalk paint blending dispute first layer of mod podge. Round two with spray paint worked perfectly. I put a bunch of coats to get a rich black but but after removing stencil, it was too dramatic being so dark on the farmstyle burlap. I softened it a bit by dry brushing a mix of waverly white and antique, and this actually worked worked great. I love the finished product! Just starting Diy’s so a trash to treasure project was so satisfying! Thank you for sharing your awesome project!!!
This is lovely in its simplicity – I don’t mind the black and white look, but I think the burlap is even prettier here.
Great project! I really love the idea! thanks for sharing it
Beautiful! Pretty way to remember a special day!
(Would love it if you shared it at the party on my blog if you’d like please 🙂
Love this! What a great way to display your anniversary date!
Thank you Sara! I am loving the the simplicity of it.
I really like this. Believe it or not, I had two of the same style burlap canvases (but smaller sizes) in my hand and planned to paint our initials on them. I put them back because there was something about the edges I didn’t love. Now I’m thinking maybe I should go get them after all.
Yes you should go back and get them! The sides are actually what sold me because I didn’t want just a plain ol’ canvas with stenciling on it.