DIY Mason Jar Wall Vases – Thrift Store Upcycle
I’ve paired up with 19 other talented ladies to bring you a monthly Thrift Store Decor Upcycle Challenge. Each month we will create a new home decor piece from an item(s) we’ve found at a thrift store, yard sale, resale shop etc. There is no budget or specific theme so we are free to let our creativity run wild!
This post may contain affiliate links for your convenience. Read our disclosure policy.
Meet the Hosts

Amanda | The Kolb Corner Chelc| Inside the Fox Den
Erlene | My Pinterventures Kim | Made in a Day Sara | Twelve on Main
Debra | Shoppe No. 5 Shirley | Intelligent Domestications
Marie | DIY Adulation Lindsay | Crazy Organized Michelle | Our Crafty Mom
Julie | Live From Julie’s House Dru | Polka Dot Poplars
Maureen | Red Cottage Chronicles Pili | Sweet Things Channell | Hobnail House
Colleen | Life on Kaydeross Creek Ann | Duct Tape and Denim
Paula | Virginia Sweet Pea Sherry | Savvy Apron Stacy | Anastasia Vintage
You can also follow our board on Pinterest for more upcycled decor inspiration!
DIY Mason Jar Wall Vases
For this thrift store decor upcycle challenge (whew! That’s a mouthful huh?) I decided to tackle a project I have had on my to-do list for well over a year and a half. It was on my list even before we bought our home. Yea, you know me–the QUEEN of procrastination.
Before we get started though, I must warn you, the dreaded iPhone photos are back. Not all of the photos, but a good majority of them. I was so in the zone and covered in paint and stain during this project that I just couldn’t make myself clean up to grab the fancy schmancy camera.
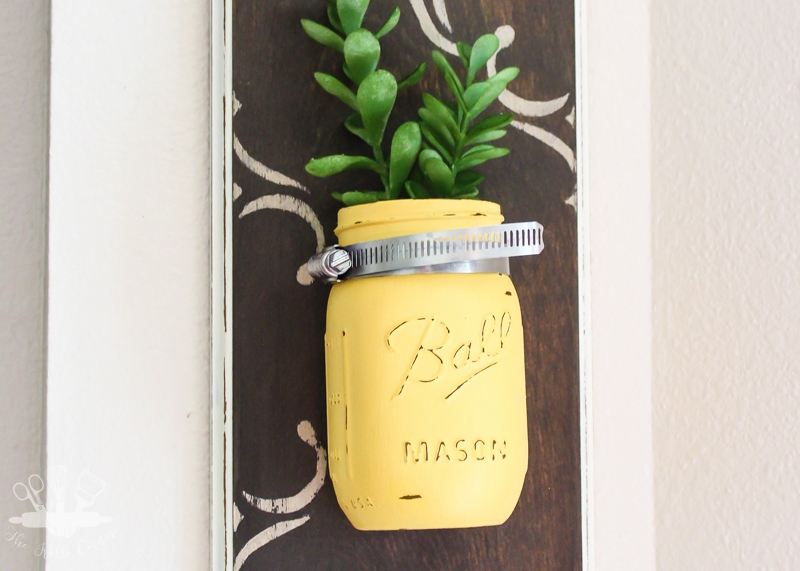
So I guess what I’m sayin’ is– sorry not sorry.
Alright, so here’s where I started. I picked up these hand painted plaques at a Salvation Army almost 2 years ago! Basically, I bought solid wood plaques that were already decoratively beveled, and were ready to hang for $1 a piece. Really you can’t beat that!
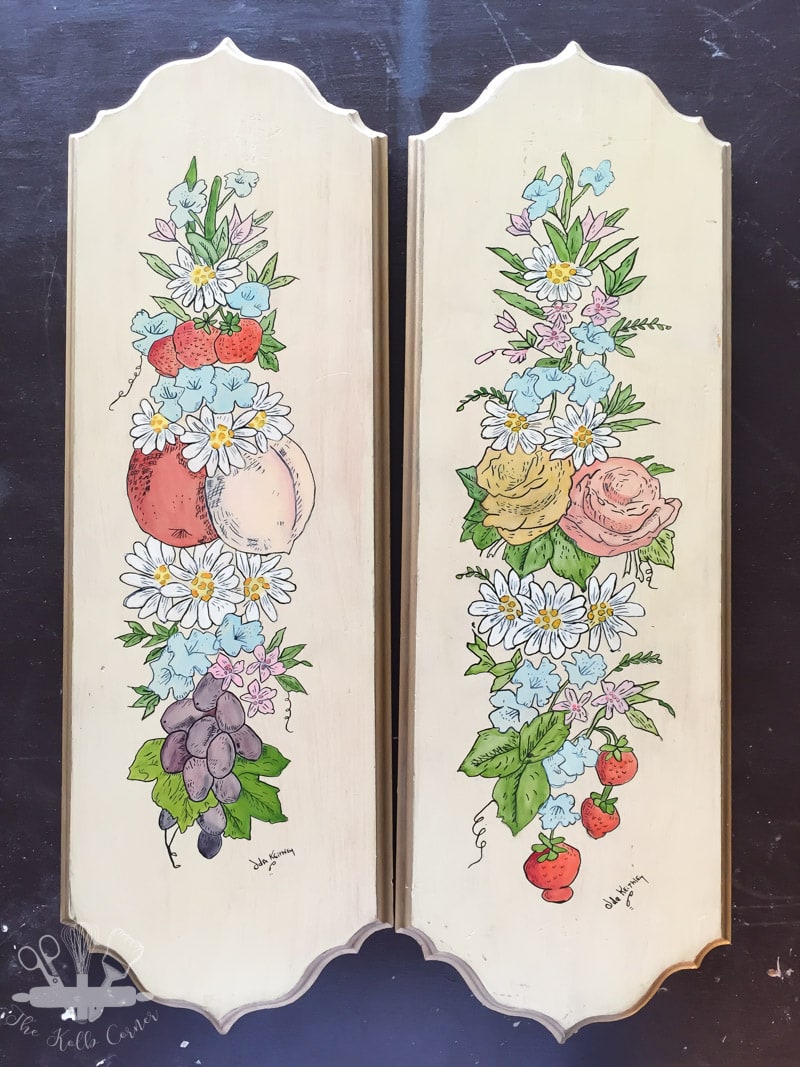
When I bought them I had these DIY mason jar wall vases in mind, but as time went on, the hand painted graphics on them started to grow on me. I just couldn’t bring myself to paint over them!
Cut to a few weeks ago, and I finally talked myself into finishing this project. No matter how much time the artist put into these plaques, they would never fit into my decor.
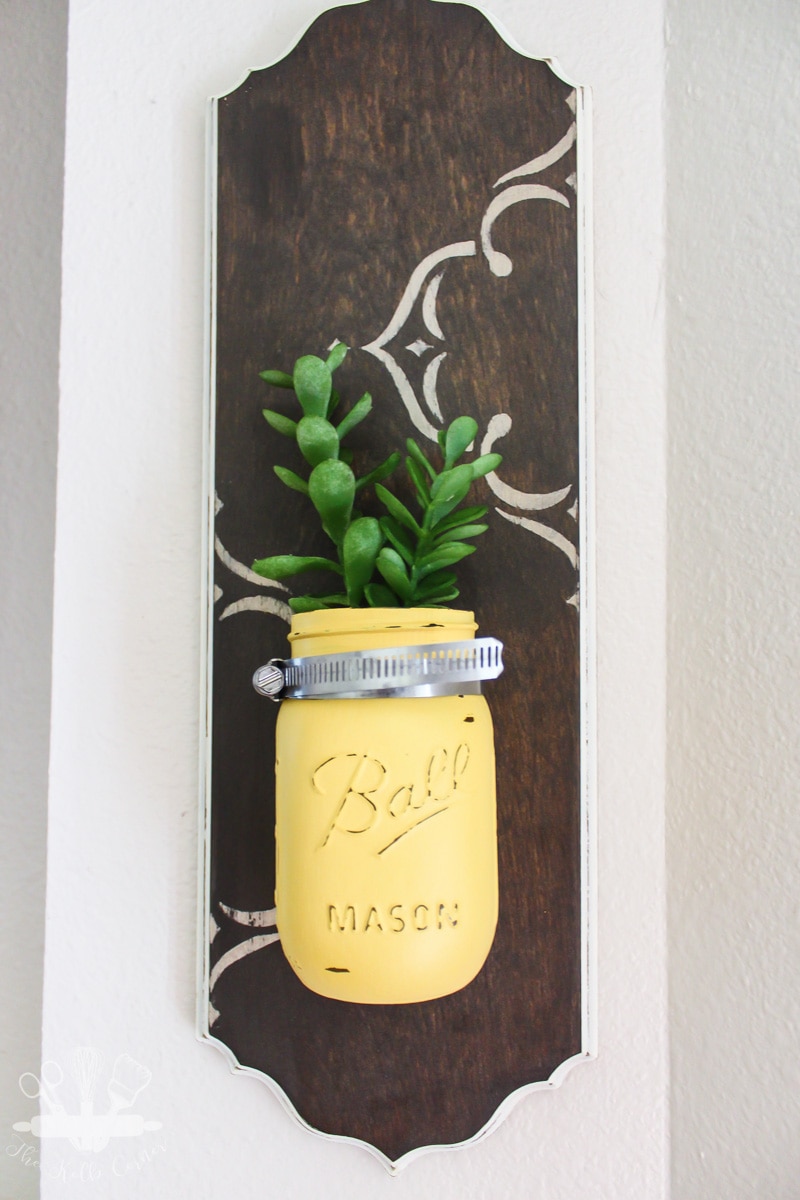
The following tutorial includes affiliate links to products used for this project. But don’t worry! I only recommend products I have personally used and loved. You can read my full disclosure policy here for more information.
DIY Mason Jar Wall Vases
What you’ll need:
- wooden plaque (I used thrift store finds but these are similar)
- hose clamps
- mason jar
- Sand paper in various grits
- Chalk paint
- Varathane stain in Weathered Gray
- Varathane stain in Dark Walnut
- Foam brushes
- rags
- Drill and drill bits
- 1/2″ screws
- picture hangers
- Optional: Stencils
I started by sanding down the wood plaques. Since there was original artwork hand painted on, I used 60 grit sand paper to get the paint off. Then I used 100, 150 and 220 grit sand paper in that order to get it as smooth as possible. Obviously if you are using an already bare wooden plaque, 150 and 220 grit, will suffice.
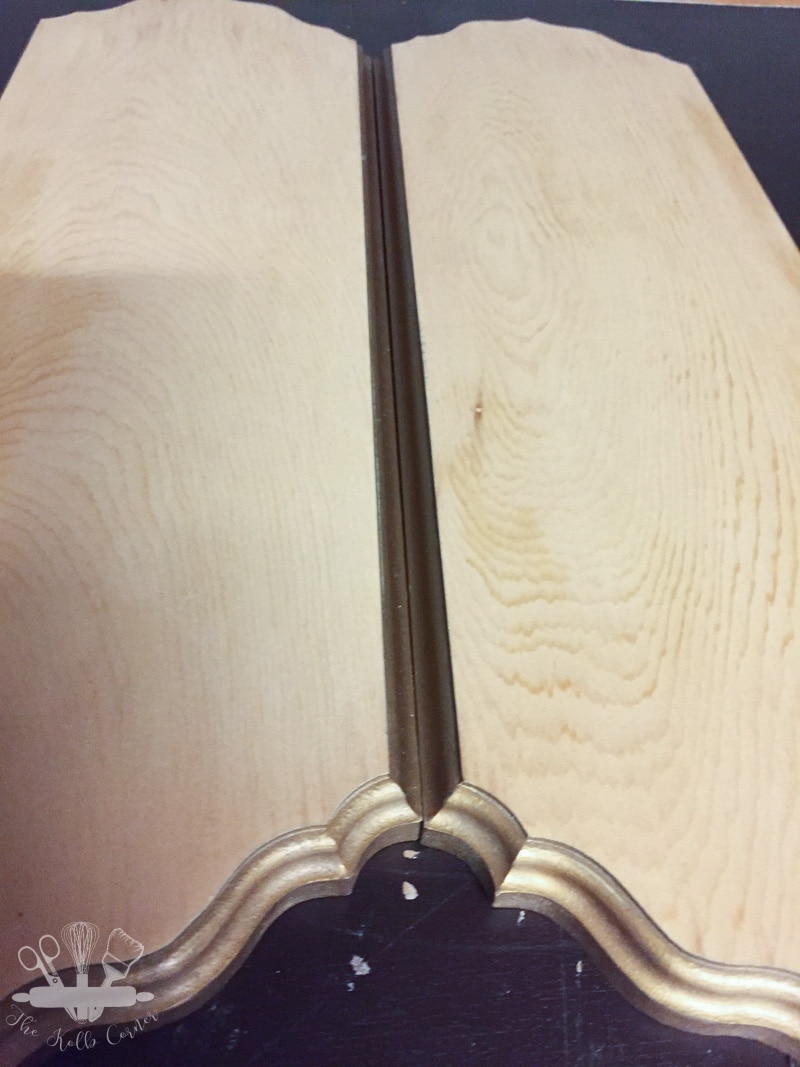
To get the grungy hue that I also used on my farmhouse dining table, I used a combination of two different stains. I used the Varathane Weathered Gray first, and after it dried, used the Dark Walnut.
At first I was going to leave the sides the original gold, but once the stain was finished I didn’t like it. Instead I used a cream chalk paint on the sides to really make the stain stand out.
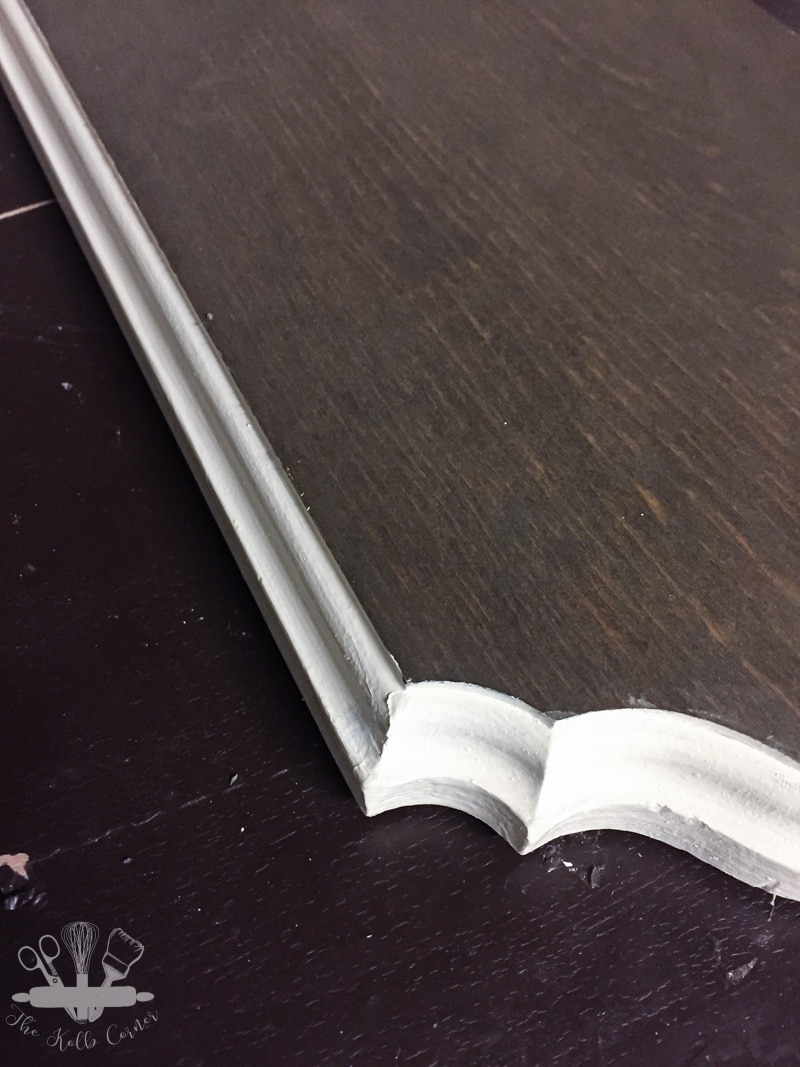
Once that dried, I still didn’t like the look of it. Something was missing.
That’s when I remembered I had some stencils in my stash that had never been used. I quickly decided that was the missing element and set to work. I will admit that it was a little tricky getting the paint to not bleed under the stencil.
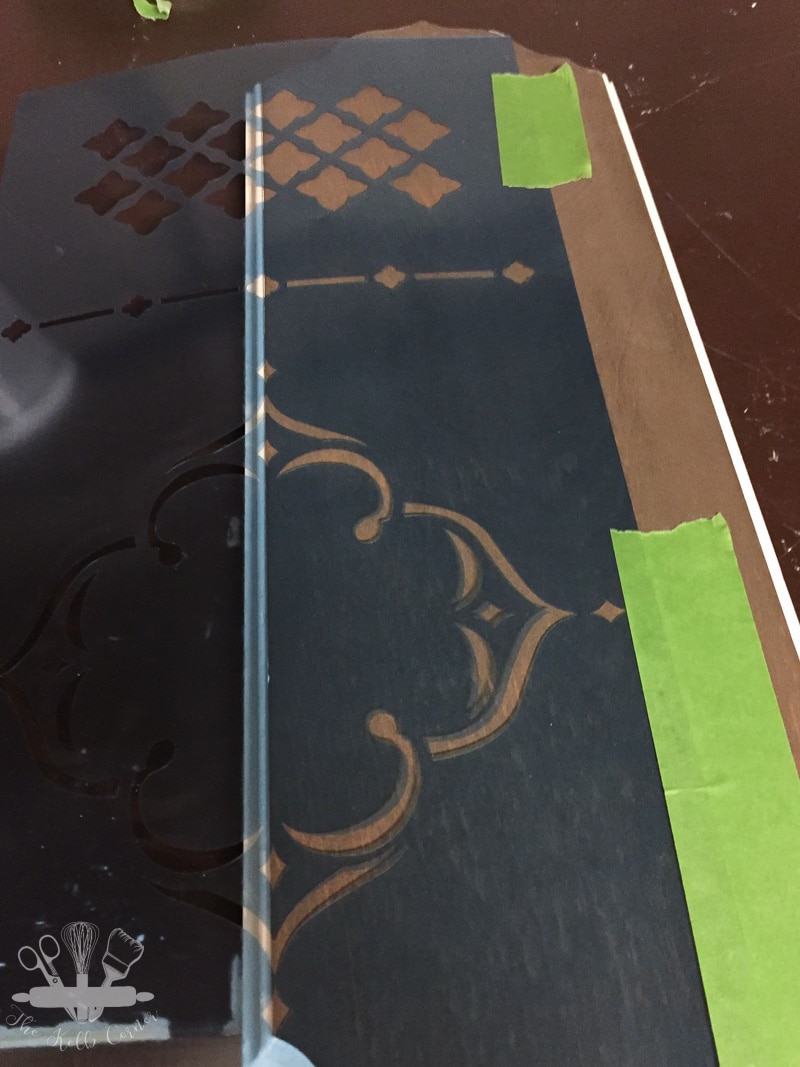
When the paint was finally dry, I still didn’t like the look of it. It was too bright and perfect. So I distressed it…alot.
I distressed the sides, bringing out the gold underneath, and distressed the stenciled area. Once I was finished distressing, I applied one more layer of Walnut stain over just the flat surface to really give it a weathered look. I left the sides.
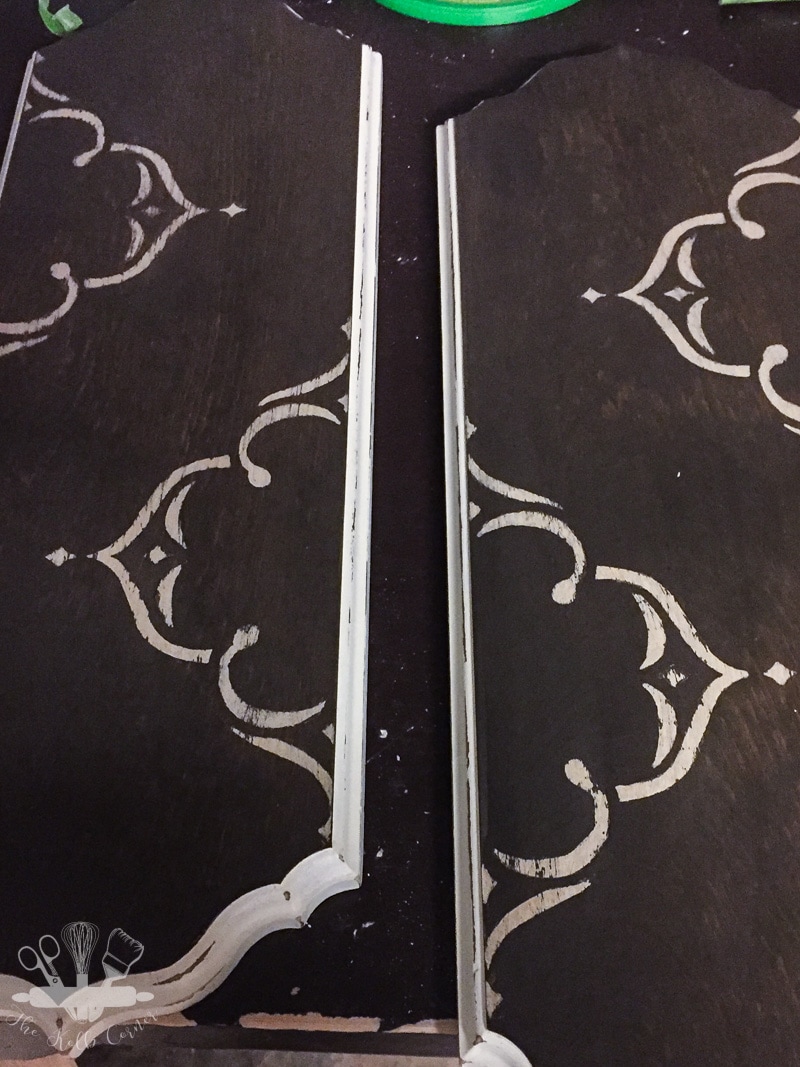
So much better!
While the plaques dried, I painted the mason jars. This was the easiest part of the whole project! Three layers of yellow chalk paint, a little bit of sanding to distress the paint, and sealing with a clear wax took about 2 hours, where as the rest of the project took 3 days!
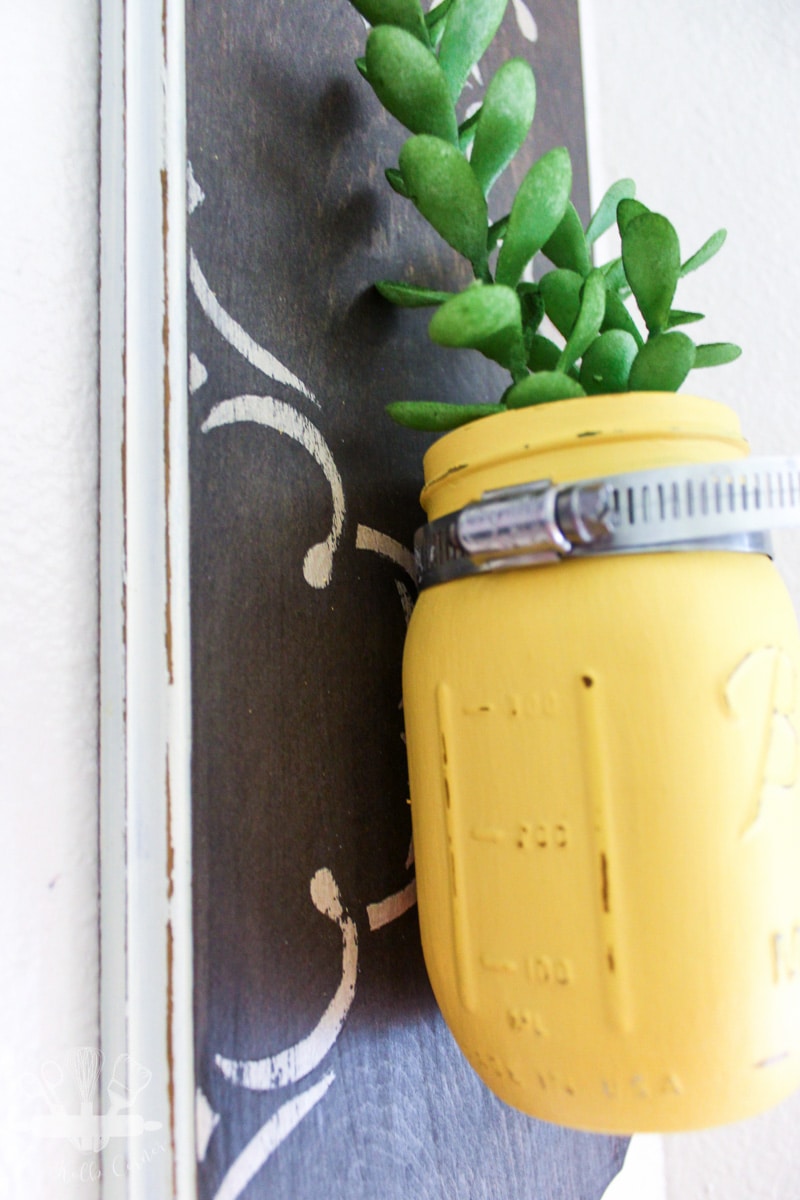
When everything was dry, I had to attach the hose clamps to the plaques. I started by drilling a pilot hole in the plaque to make screwing it into place easier. Then I had to drill a hole through the hose clamps. This was a little tricky and took some elbow grease, but was totally doable. After both holes were drilled, I screwed the hose clamp to the wood plaque using a 1/2″ screw.
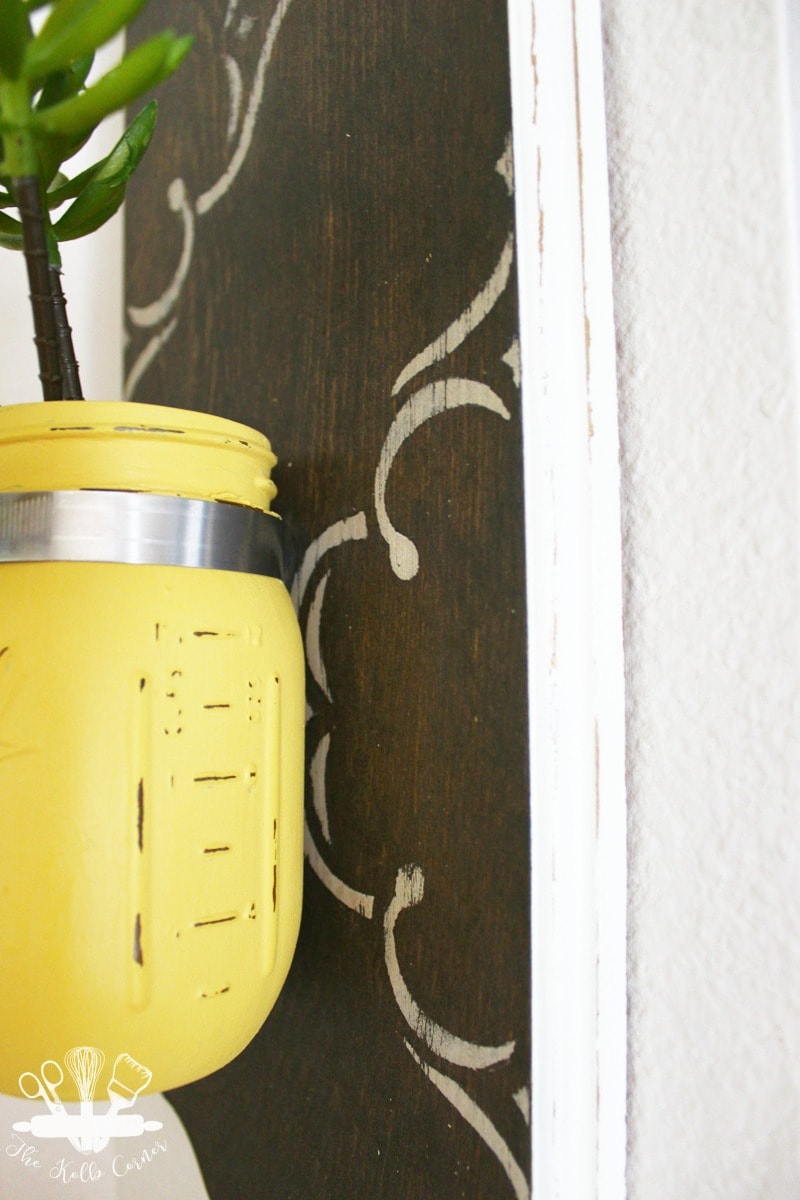
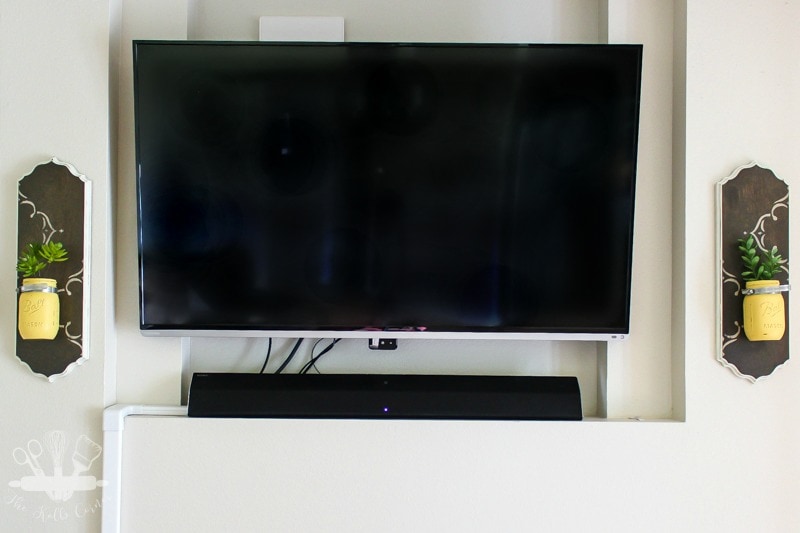
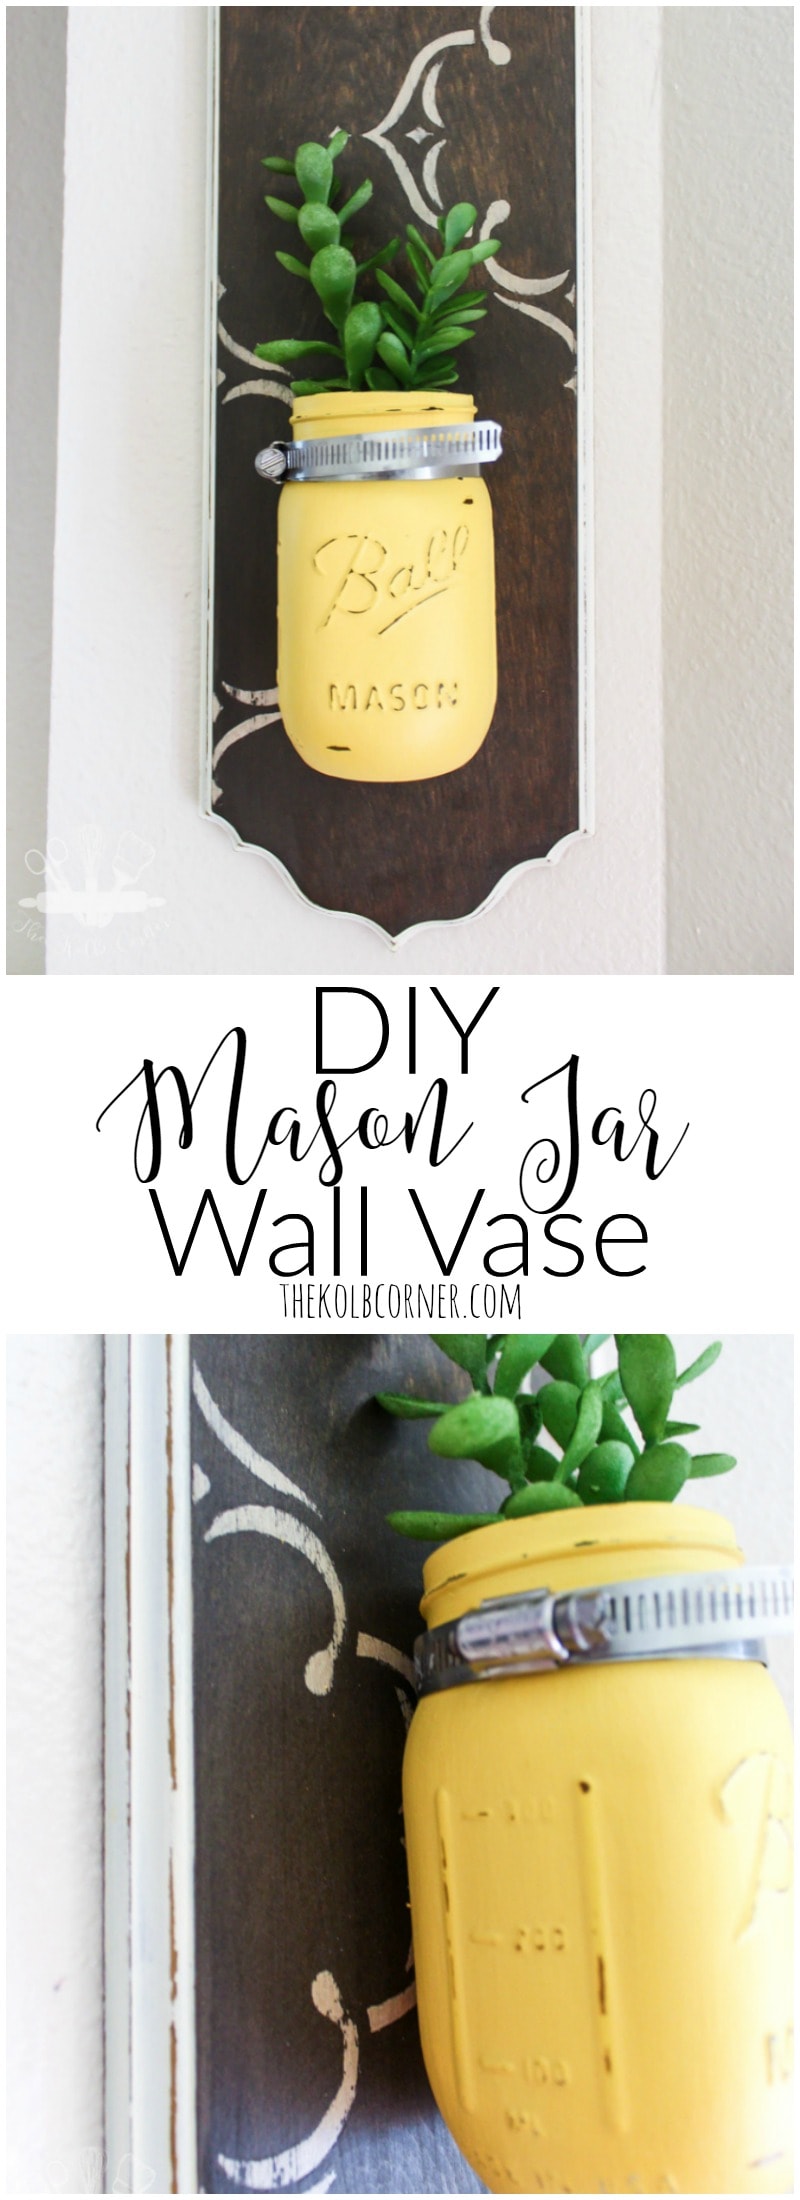
Then all I had to do was tighten the clamps down around the mason jars and hang them up. For now I just have a few faux succulent stems in them, but I plan to change that out for fresh flowers soon! My fireplace and TV area have been really lacking personality, but these DIY mason jar wall vases really help add a little bit of flair.
Be sure to check out all of the other creative upcycle projects my fellow bloggers have come up with!
<!– end InLinkz script —

I am in love with this! Perfect accent pieces!
It would be great if you wanted to come over to my weekly link party and share this post:
Hope to see you there! : )
Love these Amanda! Great choice using yellow on the jars too! Sharing on FB! #merrymonday
Thank you for the share Kim!
These are so pretty and they would look great in any room!
Thank you Colleen. I’m really happy with how they turned out!
Those wood plaques were a great find for a $1 and you’ve transformed them into such beautiful pieces.
Thank you Erlene!
Great update Amanda! I love the addition of the stencil! Thanks for organizing!
Thank you Michelle!
These look terrific! I love that you were able to use thrift shop plaques that cost so little to make this. I’ll bet if you had to purchase the lumber to make two plaques that it would have cost a lot more than the $2 that you spent. The yellow paint on the mason jar is going to look so pretty combined with fresh flowers and it also looks great with the faux succulents. Great upcycle!
Thank you Paula!
I love the color of the vase, I love the stencil, and I love how you placed them on the wall! I also do the iPhone trick, especially if it is late at night.
Thank you Sherry. Glad to know I’m not the only one who grabs the iPhone for blog photos!
Love the yellow paint on your Mason jars! I also find it hard to paint over cute designs like your plaques had. They are so much nicer now though especially with the succulents!
Thank you Shirley! The yellow really looks great in my living room. I knew that the original plaques wouldn’t fit so the design had to go.
Holy cow, what a difference! I really like the way you did the stenciling on this project.
Thanks Julie! I think the stenciling makes it.
Fantastic idea. I will be on the lookout for the plaques to try this.
Thank you Debra!