DIY Farmhouse Style Dining Table
Last week I posted 5 Farmhouse style dining rooms for you to drool over. This week, I’m going to show you my version of a farmhouse style dining table.
This post may contain affiliate links for your convenience. Read our disclosure policy.
This post gets a little long, so bear with me!!
My husband and I started this project way back in February. The weather was just starting to warm up a bit, so my husband started tackling some projects. He actually built the table in one weekend, the same weekend he built our smoker. He’s pretty handy, that one 😉
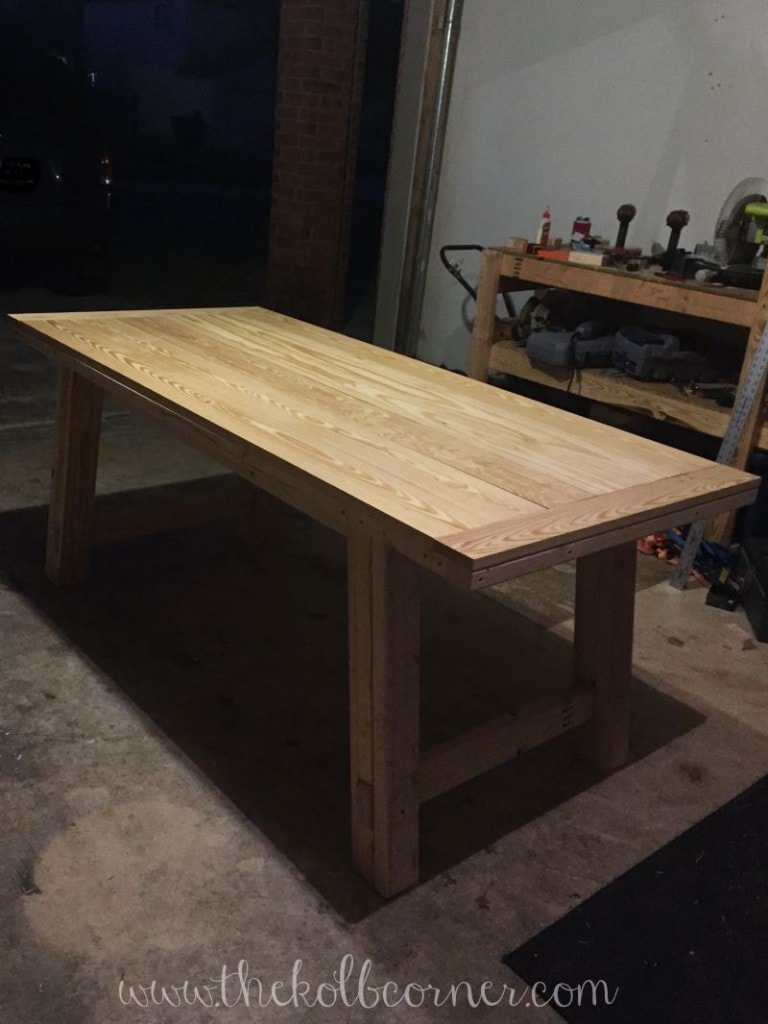
We used these Ana White plans, but did a few alterations. And, I have no step by step photos, as I wasn’t really involved in the building. I do know that we didn’t use the metal pipe running through the bottom, and my husband did some alterations to the legs and stretchers as well. Either way, the directions were pretty easy to follow (so he says).
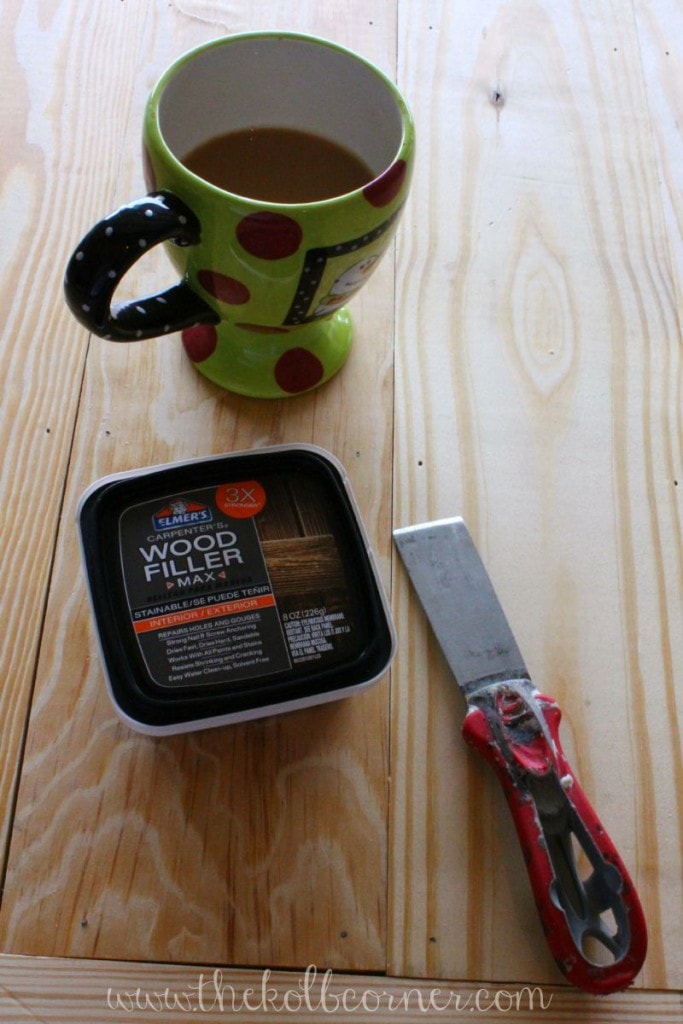
The finishing of the table was completely up to me. I spent a few mornings sticking wood putty in the nail holes, and sanding. I did A LOT of sanding.
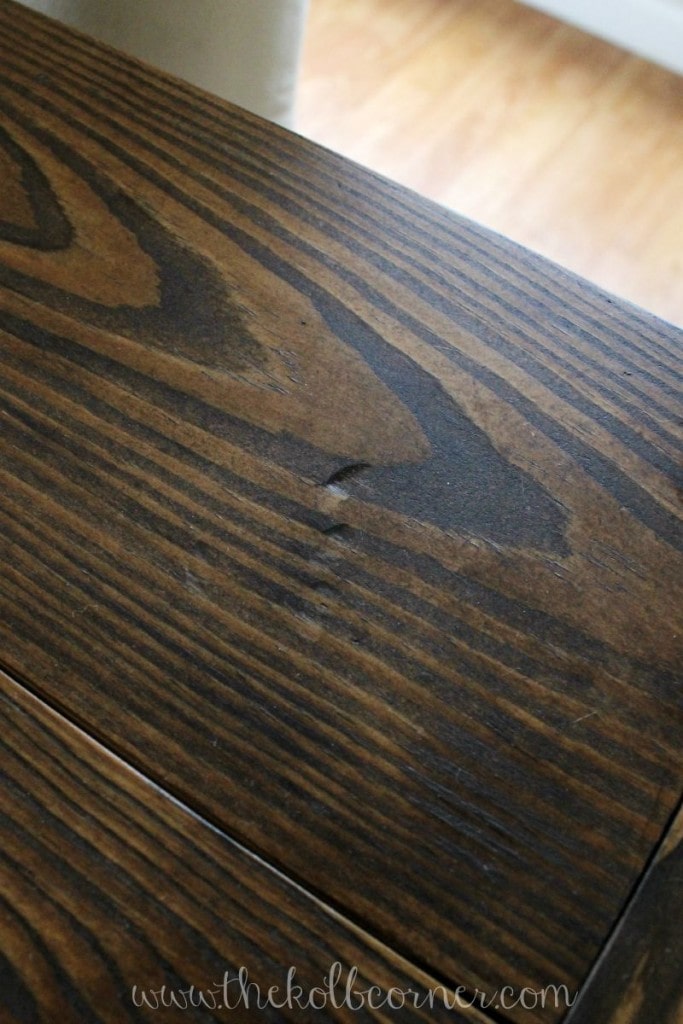
When I got to the top planks of the table, I really wanted to beat them up to make them look a little bit old and worn. When we chose the 1x6s at The Home Depot, I made sure to pick ones that had different grain patterns, holes, and knots. The last thing I wanted was it to look like a brand new table.
I ended up taking the planks off, so I could sand the edges and rough them up easily. Had I thought things through before the building started, I would have done this then. Live and learn.
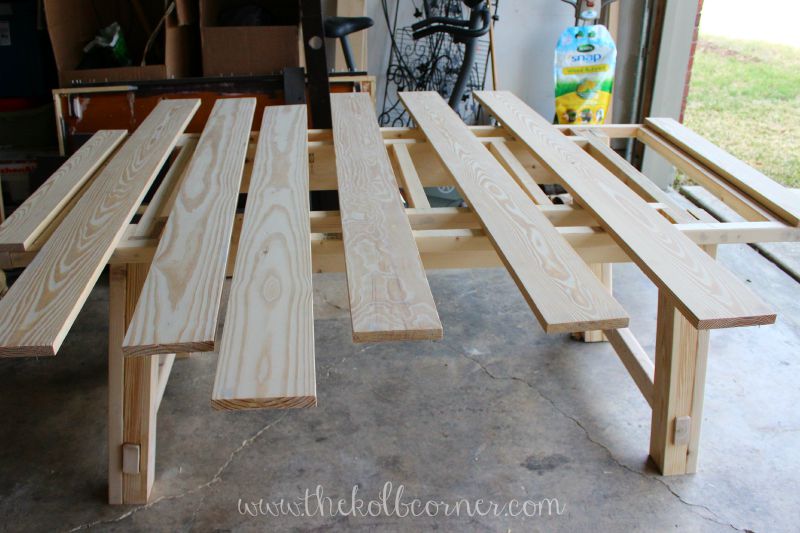
Once I had them off, I used 60 grit sand paper followed by 150, then 200 grit, to round the edges and corners just a bit. This gives it a more roughed in look, rather than looking like brand new, hot off the mill, boards.
Then I had fun!
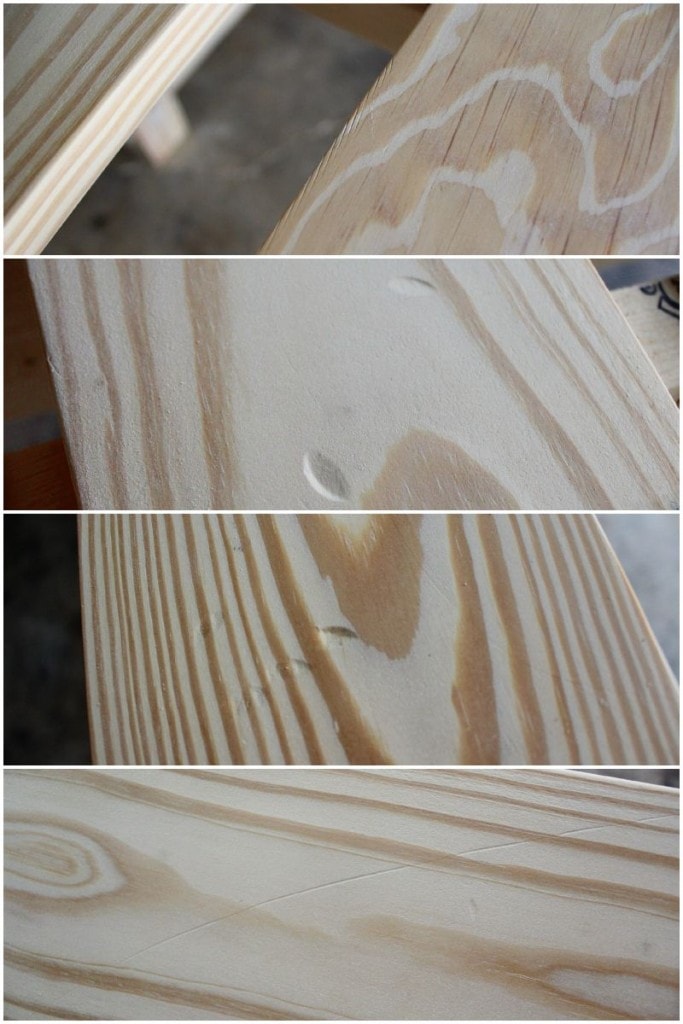
I used anything I could find to beat up the boards. I took nails and hammered them in upside down to create interesting holes. I used the hammer to dent the wood. I used a chain we use to keep the dog in the yard when we are out front, and beat the planks. I took the biggest bolt I could find and pressed it into the wood. It was fun to see what different tools would do to new, soft wood.
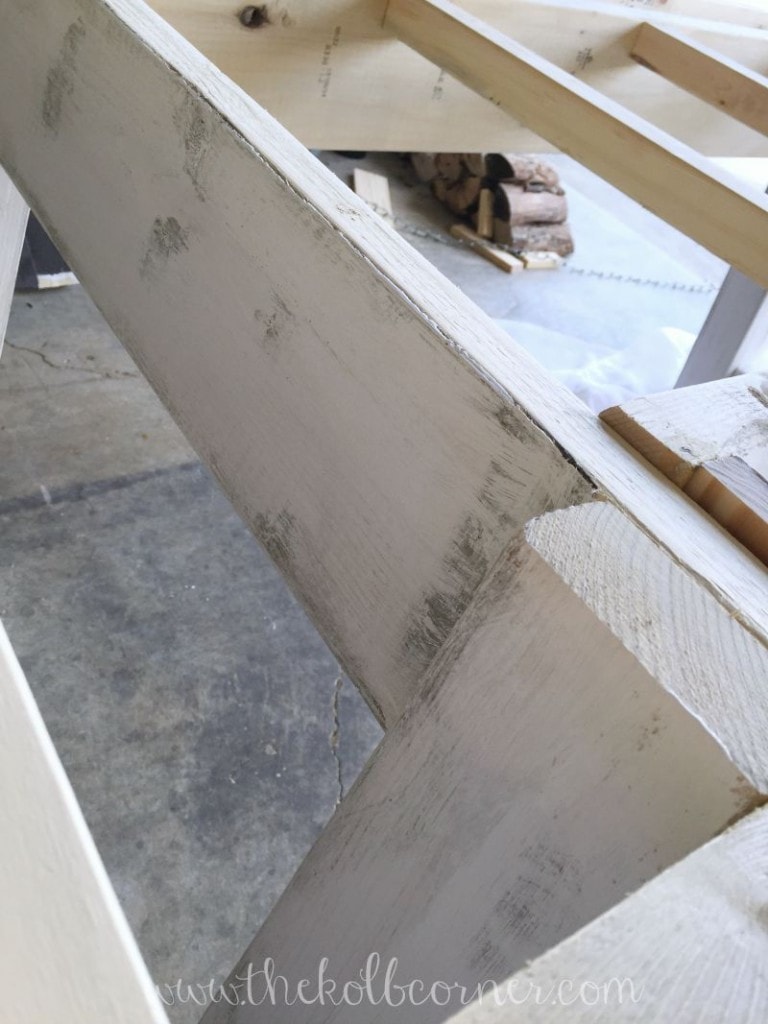
After the planks were sanded and beat up, I left them off the table to paint the bottom and legs.
I decided on a two-tone table, rather than staining the whole thing. My original plan involved an off white chalky paint on the bottom, and a weathered looking stain on the top.
Let me just say, this was my first time working with chalk paint, and it didn’t go as I had planned. AT.ALL.
First off, bare wood soaks up chalk paint just as much as it does oil or latex paint. I didn’t realize that.
I also had the bright idea to put a little stain on the edges of the legs and other areas that I would distress later on.
I posted this photo on Instagram RAVING about how it was looking. I thought after another coat of paint and a little distressing, it would be finished.
Well, I let it sit overnight, and the next day I was sorely disappointed.
Not only did the chalk paint absorb into the bare wood, but it also yellowed where the stain was applied.
I put on 2 more coats of chalk paint, and each time I got the same results.
Thinking back, I should have known better than to try and fake antiquing with the stain, but hindsight is 20/20.
After many many curse words, a few tears of frustration and about 2 weeks of letting it sit, I decided to go a different route. I sanded some of the chalk paint off, but not down to bare wood. Then I applied 1 coat of primer and 2 coats of antique white latex paint.
Not exactly what I envisioned, but it still turned out well.
For the planks I used Rust-Oleum’s Sunbleached stain first, then applied Minwax stain in Walnut over top. In the light, it takes on a grungy look which I love.
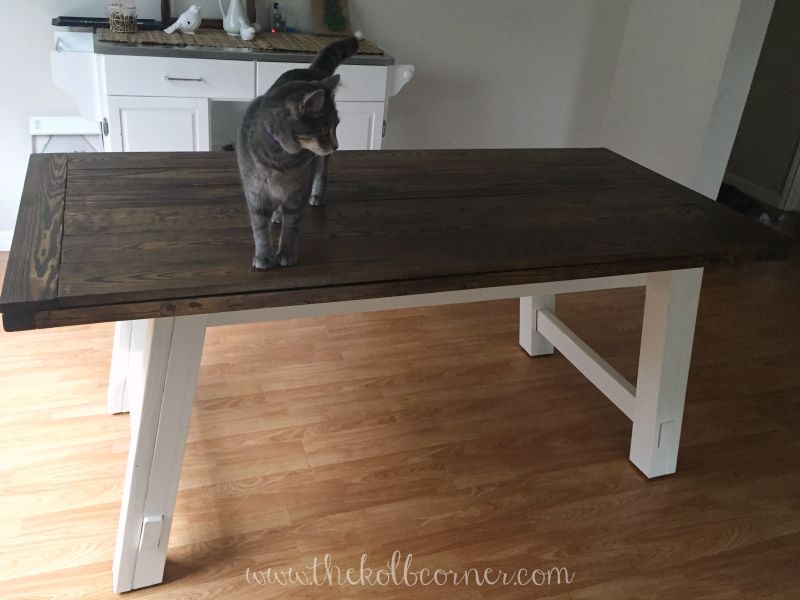
This is after we first brought it in the house. Jack was kind enough to model it for me. I can always count on my fur babies to help out.
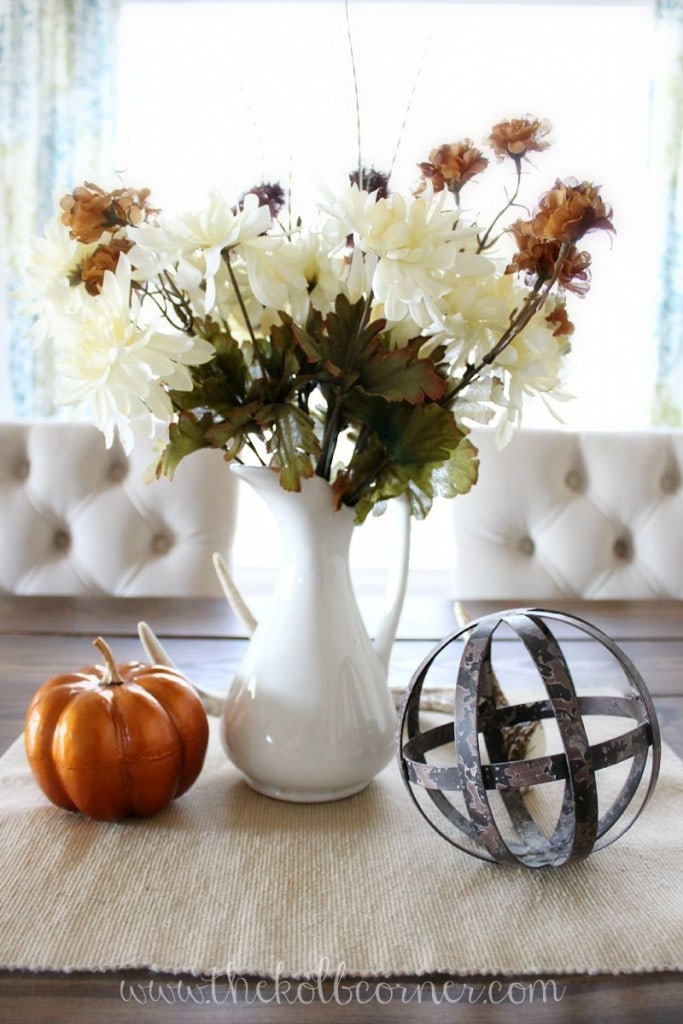
And here it is with a few little Fall decorations. I’ll be tackling that bookshelf next!
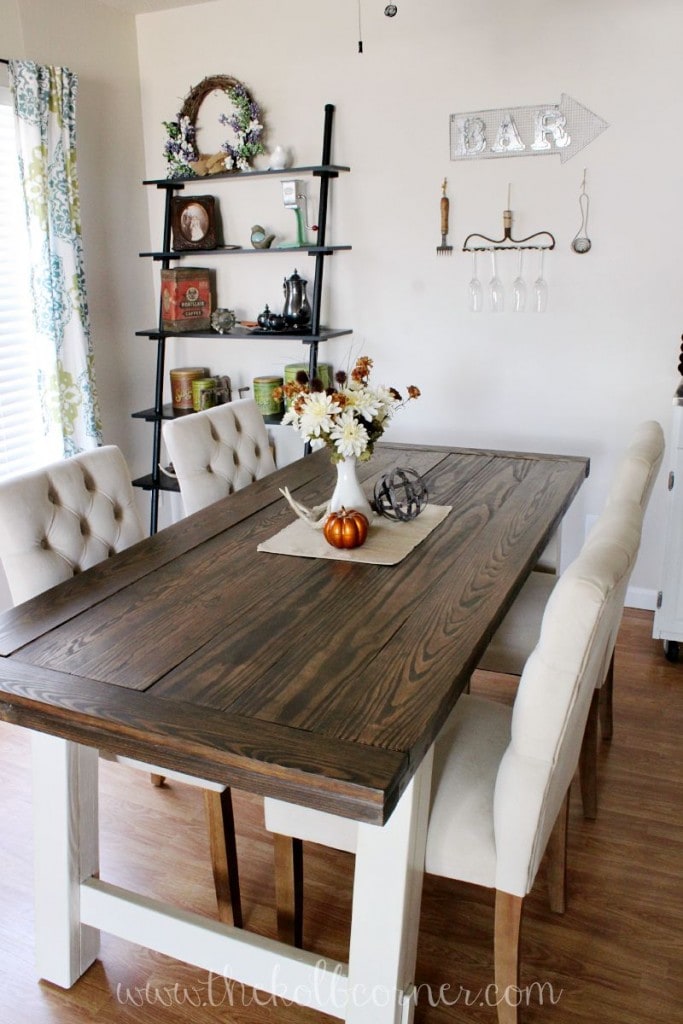
This room is still a work in progress, but having a table finally makes it feel like home when I walk in the door.
What DIY disasters have you experienced? Please tell me I am not the only one who experiences these calamities!
What did your husband to to make it sturdier without using the mental post? I’m just starting it and would like to know 🙂
Hi Derek. Originally he thought that he would have to figure out a way to make the table sturdy without the metal post, but after he had it built we realized it was plenty sturdy by itself. The table is very solid and doesn’t really need the extra support. I think in the original plans it is only there for decorative purpose.
Love it!! Where did you get your chairs?
Thank you Tiffane’! I actually purchased them from Target.
I love your farm house table! It’s just beautiful! I’d like to invite you to link this fun project and all of your other furniture makeovers to Friday’s Furniture Fix! Doors open every Thursday night at 9PM EST and close on Monday’s at 11:59PM EST. Hope to see you there!… Carrie
I’m stopping by to let you know that you’re farmhouse table will be featured at our party on Monday at 7 pm. Woo Hoo! It’s also been pinned and tweeted. I hope to see you at the party! Lou Lou Girls
Woot! Thank you SO much!
It’s beautiful! Paint can be so finicky. I had a similar problem with my craigslist cabinets yellowing so I know that frustration well. I think it had to do with cooking oils being deep within the wood pores. I love the distressed look you gave it with the hammer. I bet that was fun! Good thing you did that before painting or you might have gone too far, lol.
Thank you Rachel! Yes, it’s a good thing I had already put the hammer away by the time I got to the paint. Believe me, I wanted to destroy the whole darn thing!!
I LOVE this table!!! We need to do something with our pine table – cheap one I bought years ago and it’s got a honey-colored stain and varnish on it – which I hate now. Plus, with the wood being so soft, you can see where Jimmy has written things down on a single sheet of paper and pressed a little hard. :\ lol So maybe doing something like this to it. Painting the legs and staining the top…cuz I love the look of this. Well done, you!
You’re so sweet Sue! I was so close to trashing the whole dang idea, but happy with how it ended up. Let me know if you need some ideas for your table! Me and Jimmy can always go curb scouting to build ya something 😉 lol
LOL NO NO NO…Jimmy does NOT need to go curb scouting. lol Good lord it’s all I can do to KEEP him from that on any given day. I’ll take a pic of the table, and the material I got to recover the chairs and show you at work. I need it a little darker, and less honey-ish. It goes with nothing now.