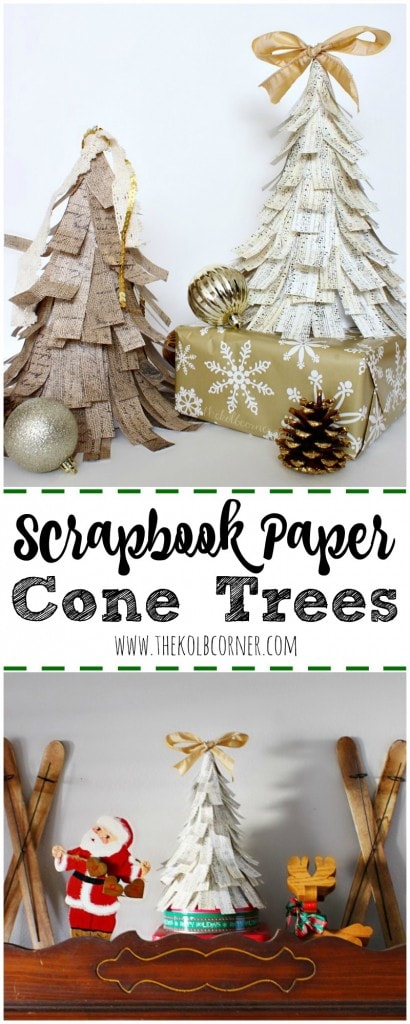
Scrapbook Paper Cone Trees
Scrapbook paper is seriously my favorite versatile craft supply. It can be used in so many different projects.
This post may contain affiliate links for your convenience. Read our disclosure policy.
You may have seen these scrapbook paper cone trees on my home tour yesterday. These were a handmade edition to my decor for this year and I have to say that I am in love!
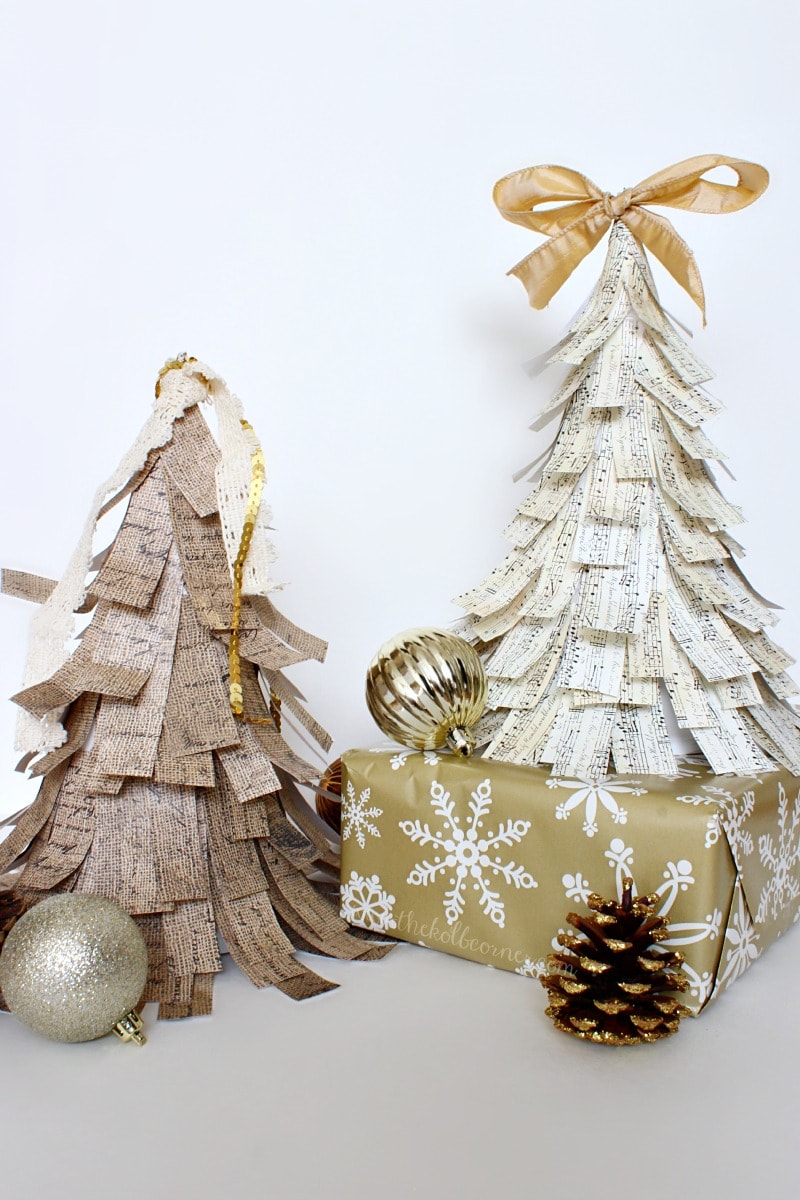
I feel like I could make hundreds more of these in varying colors, patterns etc. They were SO easy to make, and the best part is they are very inexpensive.
Here’s what you’ll need:
- Poster board ( I used one 2’x3′ sheet for both of these)
- Scapbook paper of choice (I used four 8 1/2″x 11″ for each tree)
- Scissors
- Hot Glue gun
- Embelishments
How to make Scrapbook Paper Cone Trees:
I used this video tutorial to make my cones
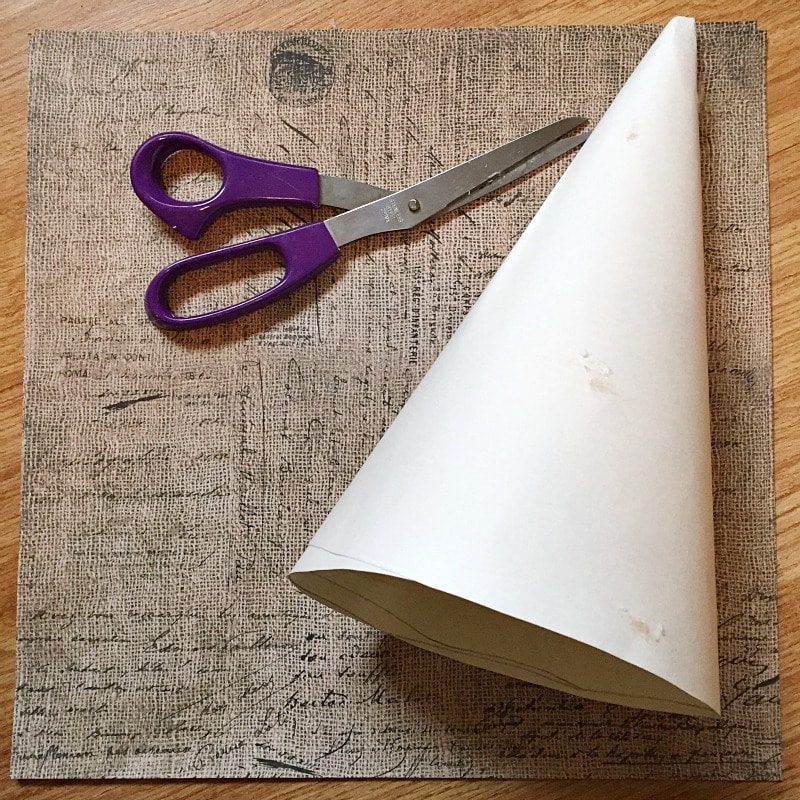
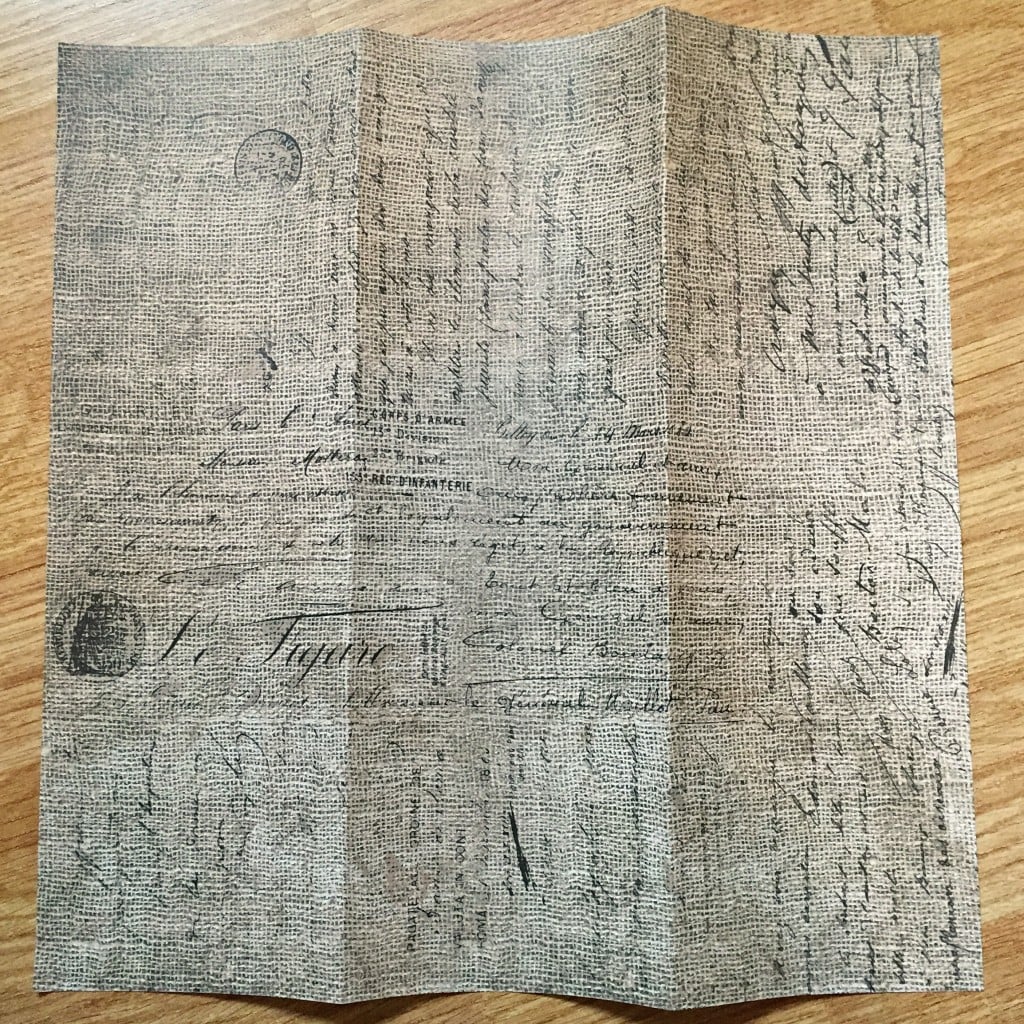
Fold scrapbook paper into thirds lengthwise and cut along the seams you created
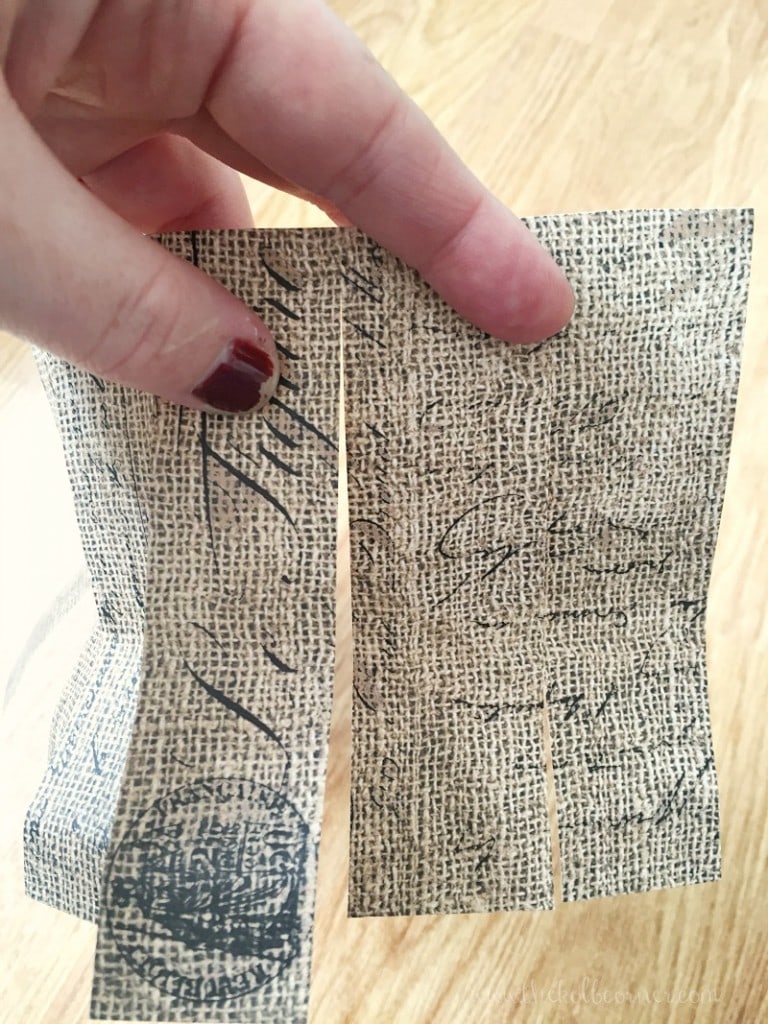
Cut each piece of paper into strips about ~1″ wide leaving ~1/4″ at the top.
Starting at the bottom of your tree, glue on the strips of the paper until the entire tree is covered. And because I was just so excited about my crafting, I forgot to take a photo of this step. But you can get the idea of it by following Piryam’s guide here.
Continue until the cone is covered. You will have some leftover pieces that you can use to fill up any white space that may be showing.
Once the cone is covered you can “fluff” the tree by gently curling up the strips of paper.

Embellish the tree as desired. I used a bow for one, and the other I glued on a few pieces of ribbon and sequins.
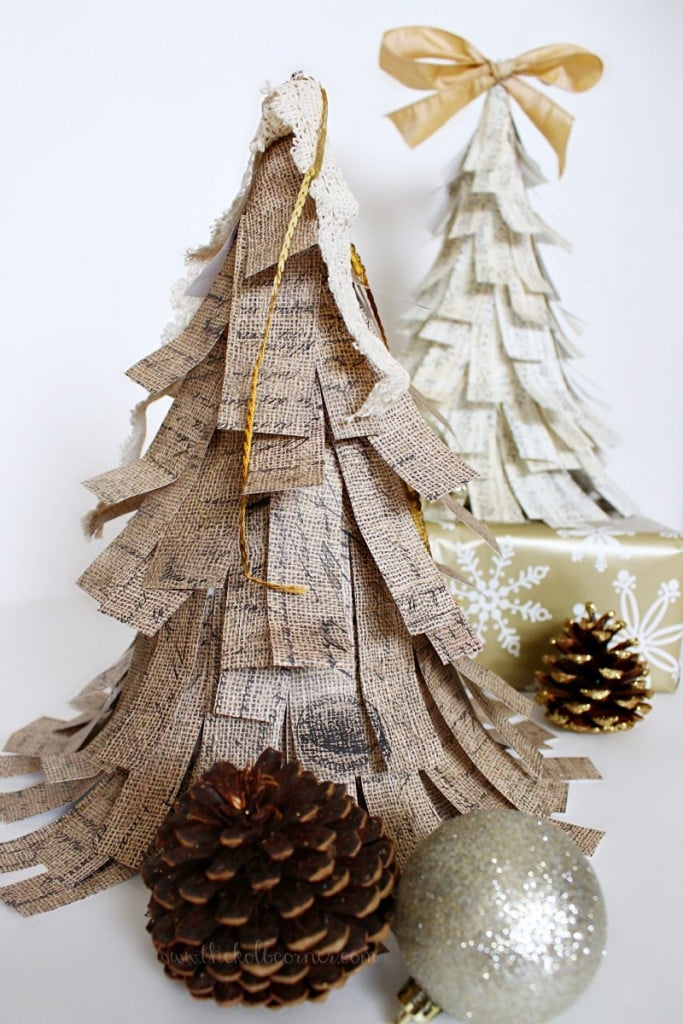
And there you have it! Easy to make and cheap on the wallet scrapbook paper cone trees!
Just in case you missed my other scrapbook paper crafts, check them out here:

JOY Christmas Wreath
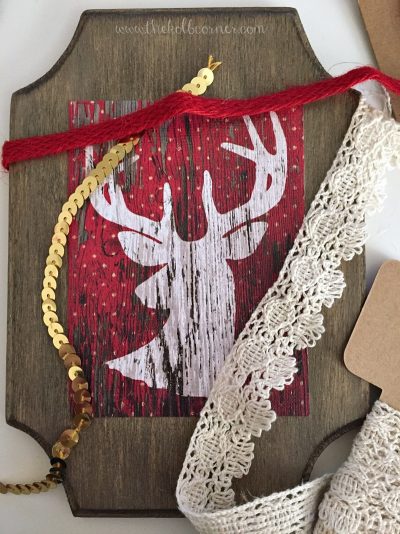
DIY Christmas Deer Art

Love these trees! Thanks for the tutorial how to make the cone 🙂