DIY Christmas Deer Art
On one of my recent trips to Walmart, I decided to browse through their craft section to see if anything jumped out at me. I mean really, you can never have too much in the way of crafty things (although I believe my husband would beg to differ)
This post may contain affiliate links for your convenience. Read our disclosure policy.
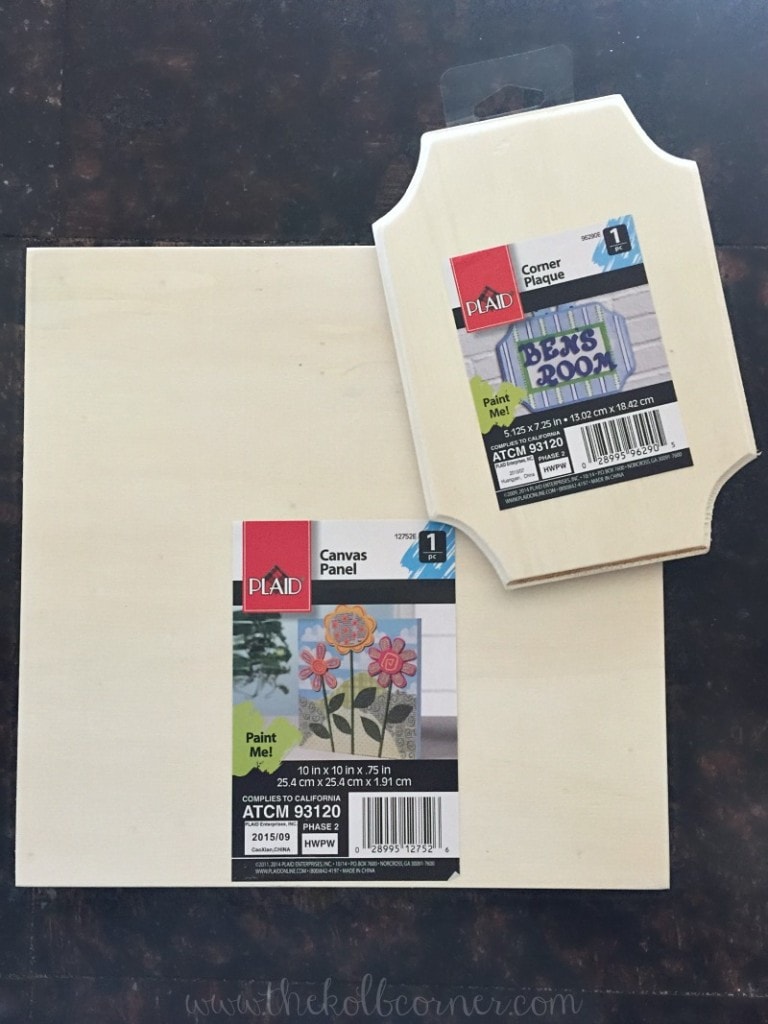
I came across these wooden plaques that were SO cheap! Immediately I knew what I could make with the larger square plaque, but that’s not what I’m going to show you today. Believe me, I want to show you so so bad, but it’s a gift for someone who just may be an avid reader of this blog 😉
But don’t worry, they’ll get their gift well before the Christmas season is over, so that little project WILL make it’s debut soon. Very soon.
Instead, I’m going to share this DIY Christmas Deer Art I made using the smaller plaque and some scrapbook paper. With the plaque only setting me back $0.98 and everything else already being in my stash, this project was not only easy, but cheap!
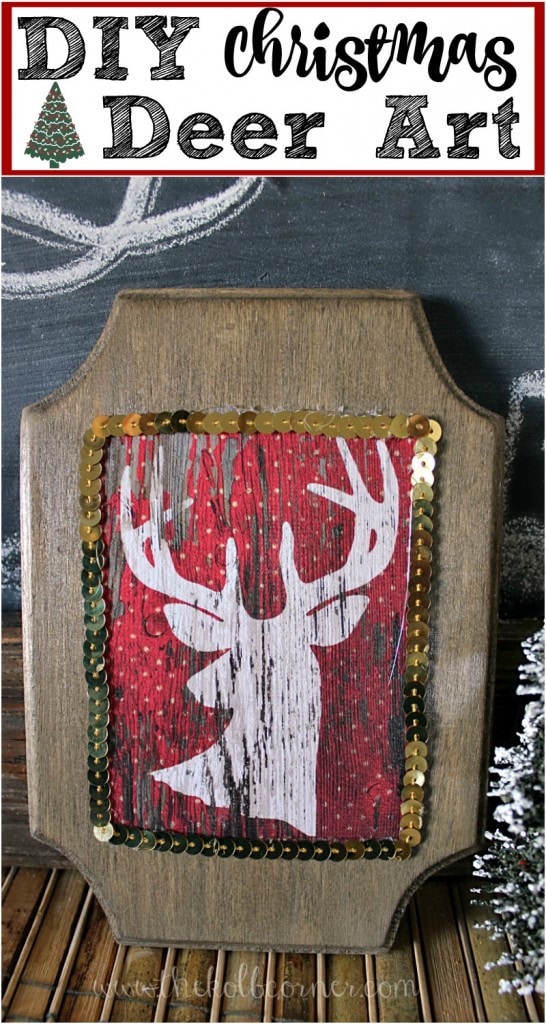
I bought a book of Christmas scrapbook paper and already used some in another craft this season. The main reason I bought this specific book of scrapbook paper was for that deer silhouette.
Believe it or not I am not a huge fan of red, but this Christmas season with reds and plaids being all the rage it’s definitely starting to grow on me. So much so that I may even have included some in my holiday decor this year.
And just because I really like you guys, I’ve included the tutorial so you can make your very own DIY Christmas Deer Art if your little heart desires.
Here’s what you’ll need:
- Wood Plaque*
- Wood stain, or paint in color of choice
- Scrapbook paper of choice
- Mod Podge Paper, Gloss Finish*
- Paint brush or foam brush
- Hot Glue Gun
- Sequins, ribbon or other embellishments if desired.
- Saw tooth hanger
How to make a DIY Christmas Deer Art:
- Start by staining or painting the wood plaque in color of choice. Let dry completely (a day should be perfect)
- Cut the scrapbook paper so that it fits centered on the wood plaque.
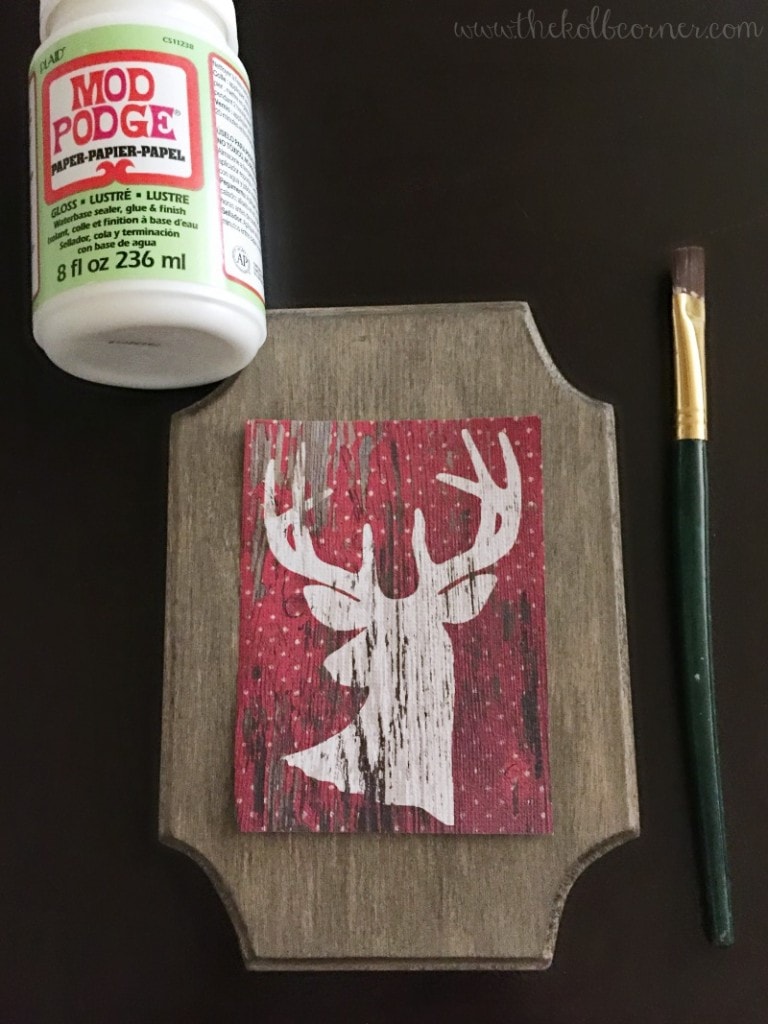
- Coat the back of the scrapbook paper in Mod Podge for paper and place paper on the wood plaque, smoothing out any air bubbles. Let dry completely.
- Paint a thin layer of Mod Podge over the entire wood plaque to seal it in place.
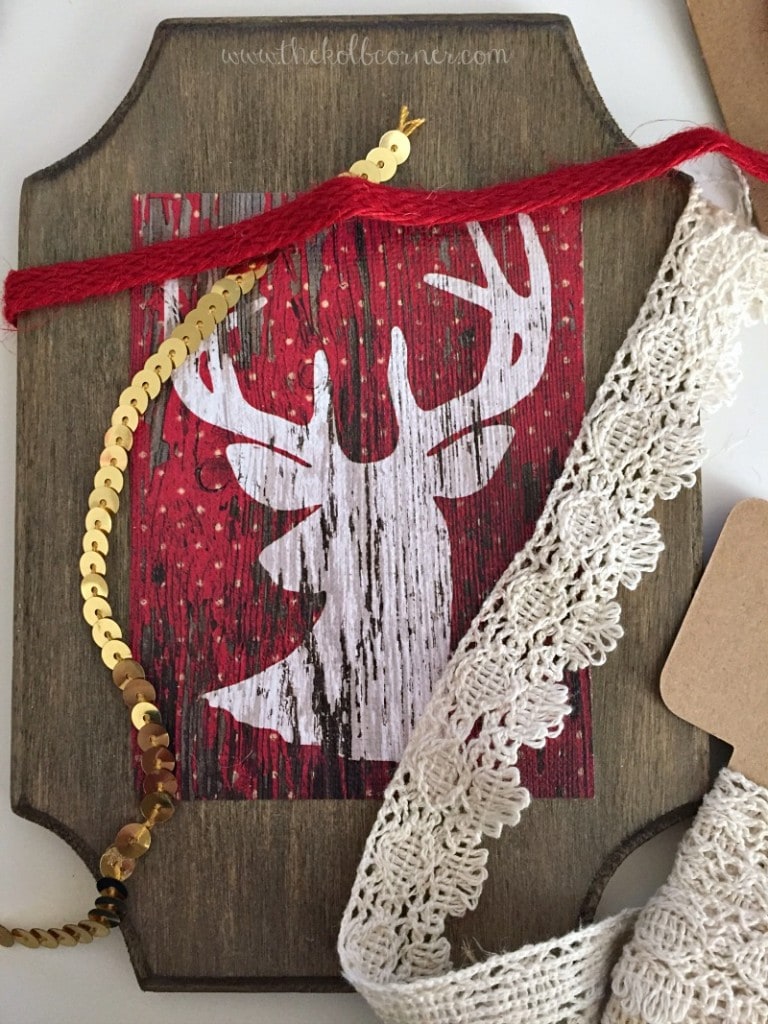
- Optional: embellish with sequins or ribbon. This was the hardest part for me–choosing which ribbon to use!
- Attach a saw tooth hanger to the back to hang. Or you can hammer in two small nails and tie a piece of ribbon onto each nail to hang the plaque.
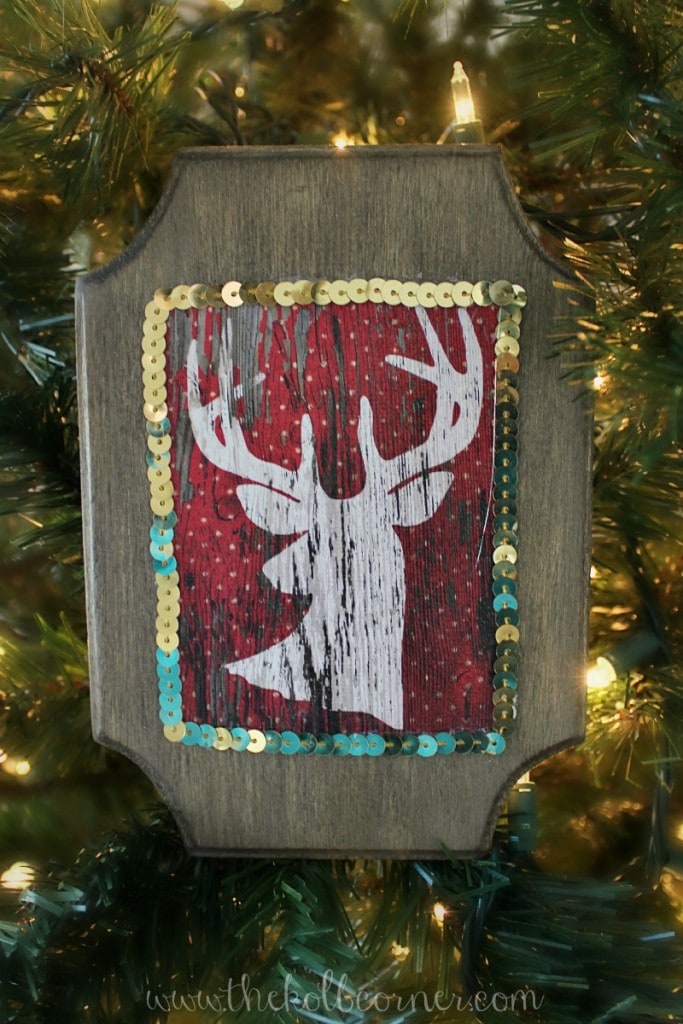
And there you have it! An easy Christmas craft to add to your decor, for next to nothing in cost. You know how much I love to decorate for pennies!
What things are you crafting up this Christmas season??
*This post contains affiliate links. This means purchasing items linked to in this post may result in a commission paid to me. All opinions expressed in this post are solely my own. Please read my disclosure policy to learn more.
