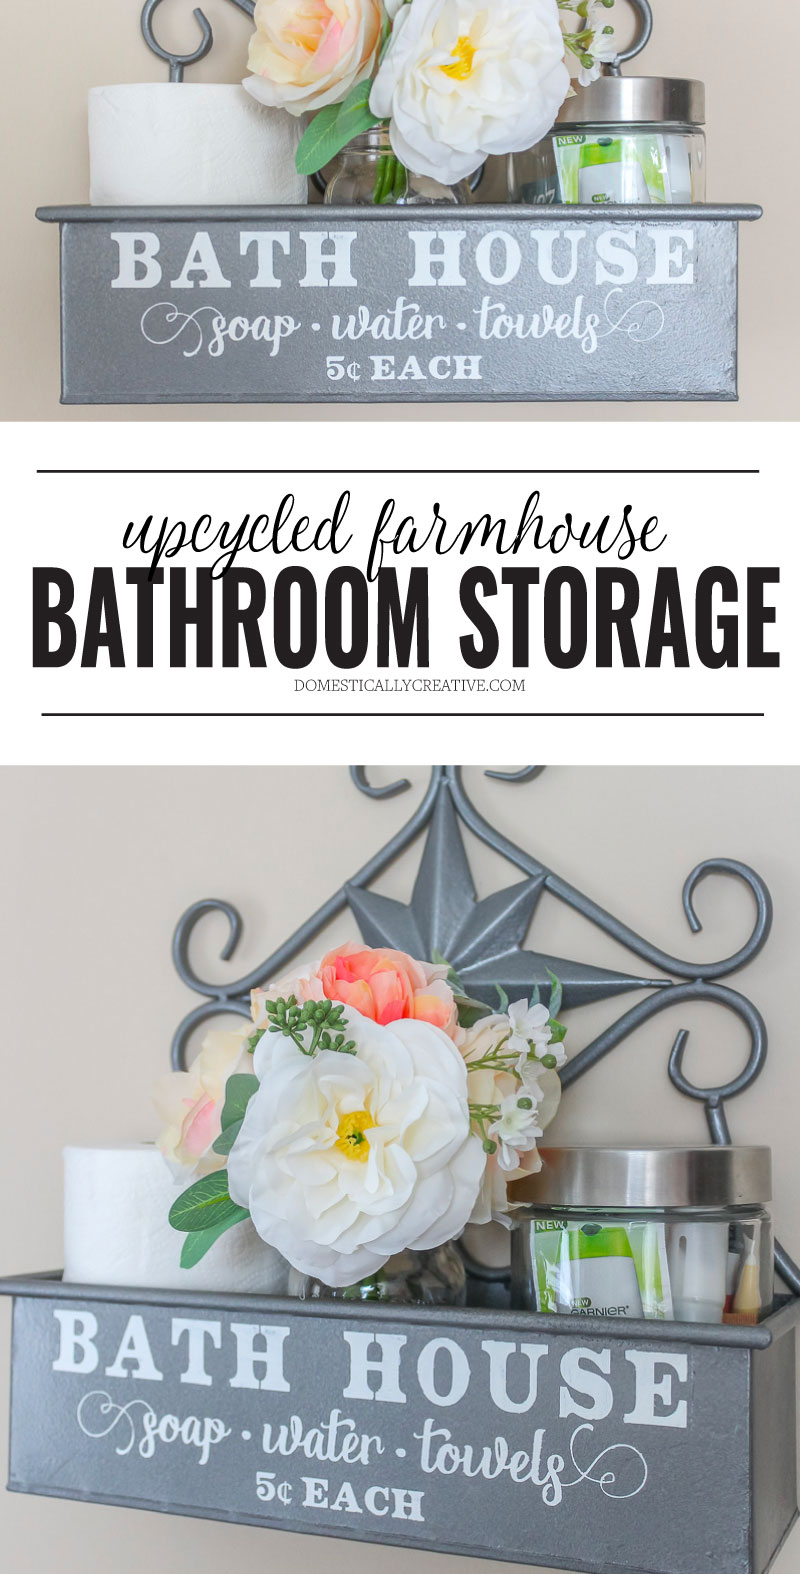
Upcycled Farmhouse Bathroom Wall Storage
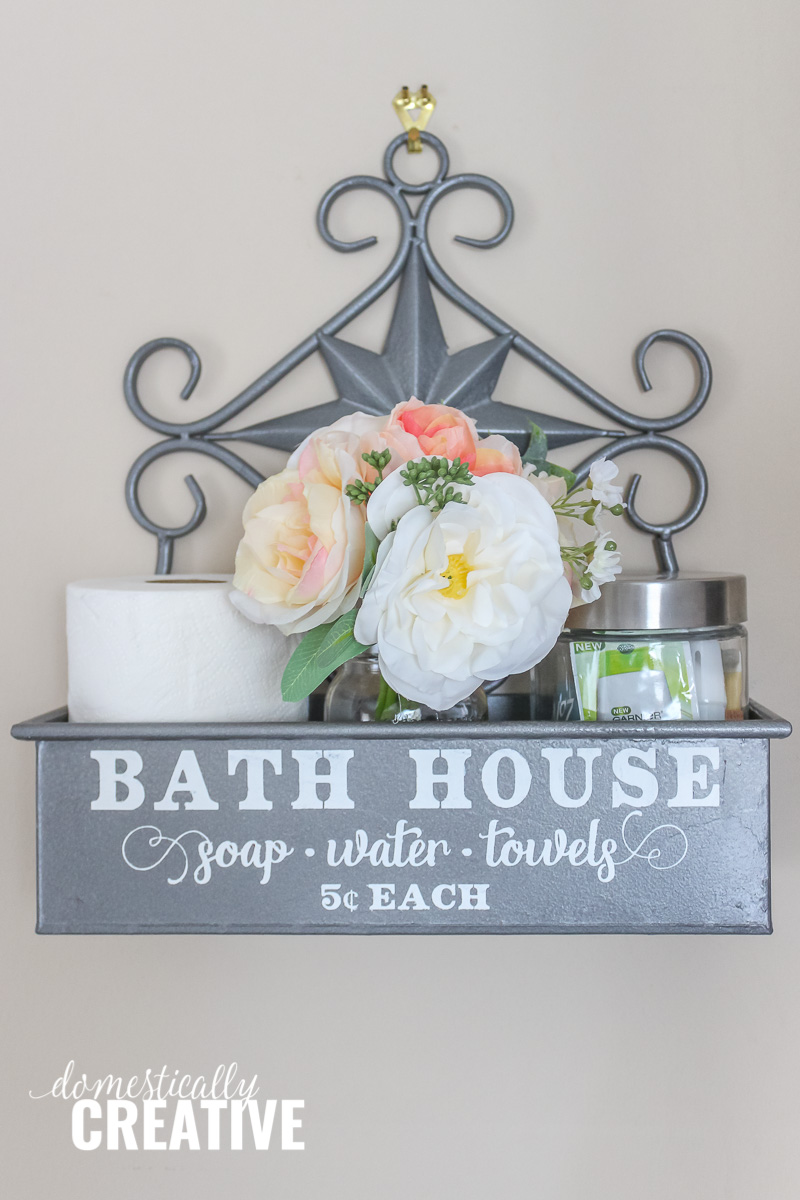
Find out how to make your bathroom space more functional without spending a lot of money by making this farmhouse bathroom wall storage piece!
This post may contain affiliate links for your convenience. Read our disclosure policy.
It’s been a few months but I am BACK with another Thrift Store Upcycle! I’ve missed doing these monthly challenges with this talented bunch of bloggers, and I’m so excited to get back to it. What is this Thrift Store Upcycle Challenge you ask? Well it’s a monthly blogging challenge where myself and a group of other DIY bloggers purchase something from a thrift store (yard sales and Craigslist count too!) and we give it new life.
For this month I am sharing how I took a metal thrifted piece and gave it a whole new look to add some much needed bathroom wall storage in our guest bath! Scroll down to read the tutorial and make sure to check out what the other bloggers created too!

The Rules:
- Upcycle an item(s) from a thrift store, resale store, or garage sale into a new piece of decor.
- There’s no monthly theme.
- There’s no budget to stick to.
Meet the Hosts
Debra | Shoppe No. 5 – Victoria | Dazzle While Frazzled
Shirley | Intelligent Domestications – Chelc | Inside the Fox Den
Upcycled Farmhouse Bathroom Wall Storage
So I’m going to start by saying this project was definitely not the one I thought I would be sharing this month. My original project ended up being a much larger scale project than I intended and I knew I just wasn’t going to finish in time. Luckily it seems like there is no shortage of projects for me to do around here, and luckily I just so happened to have the perfect thrift store project to tackle instead. I picked up this metal decor piece sometime when hubby and I lived in Austin, TX (yes, 4 years ago), but don’t remember where. Originally I was going to use it as a planter!

We had it hanging in our garage for a catch all while living in San Antonio. Then when we moved up here, I hung it in our guest bathroom to give us somewhere to store toiletries. The before wasn’t anything terrible, it just didn’t fit my style or the style of our guest bathroom. The paint started peeling away while it lived in the humid garage in Texas, so I knew eventually I was going to need to scrape it and paint it.
Items You’ll Need:
- Thrifted Metal Wall Piece
- Wire Brush (if your piece is rusted)
- Rust-oleum Rusty Metal Primer (if your piece is rusted)
- Rust-oleum Aged Metallic in Weathered Steel
- Silhouette Cameo
- Weeding tools
- Non permanent vinyl, stencil vinyl or contact paper
- Transfer Tape
- chalky paint
- Sponge brush or pouncer
- Sanding block (optional)
The first thing I had to do before putting a new coat of paint on this bathroom wall storage piece was to scrape off all of the loose paint. Lucky for me (because I got pretty lazy towards the end) only the front had peeling paint. The rest of it was in great shape! So I just had to scrape and take the wire brush to the front of it.
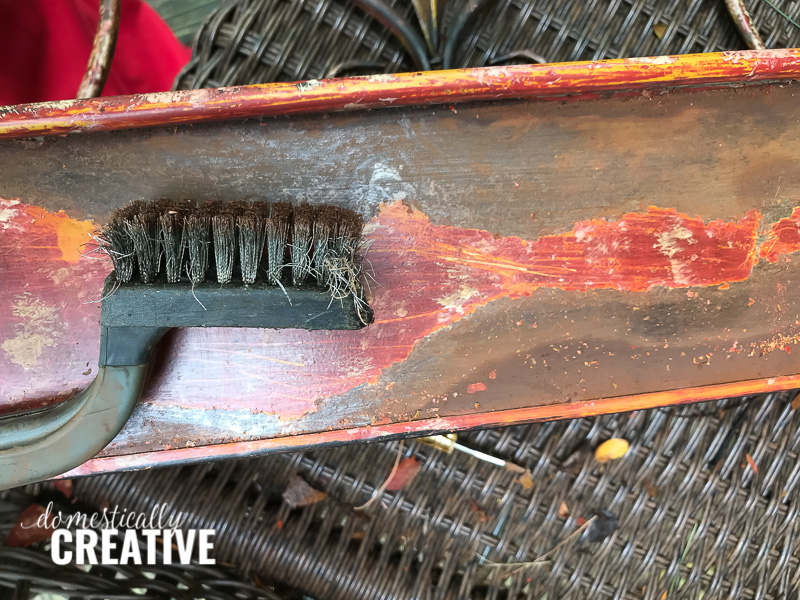
To my dismay, underneath that paint it had started to rust. Again, probably due to being in a garage for 2 years, and then a bathroom. So after the paint was gone, I gave it a coat of Rust-Oleum’s Rusty Metal Primer. This primer is specifically for rusted metal pieces and works wonders!
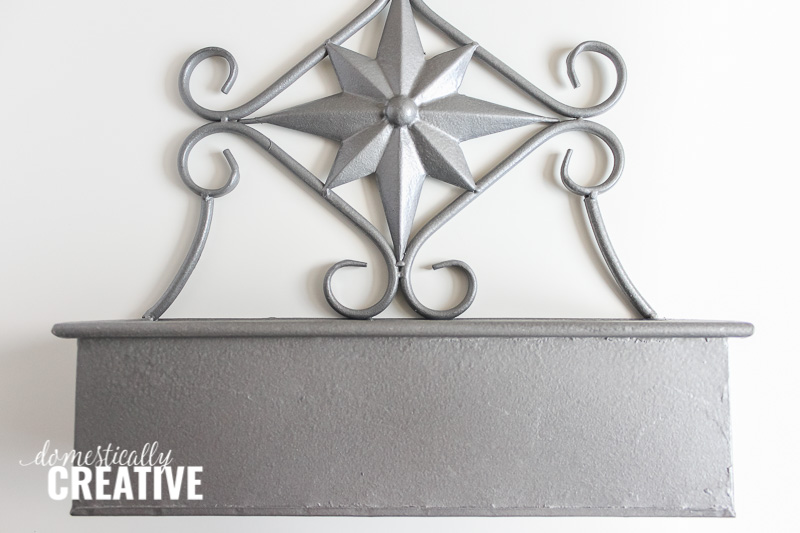
After that dried I gave it a few coats of Rust-Oleum’s Aged Metallic in Weathered Steel. I’ve used this once before and I love that it gives your piece a galvanized metal look. Perfect for the Farmhouse/Industrial look I was going for!
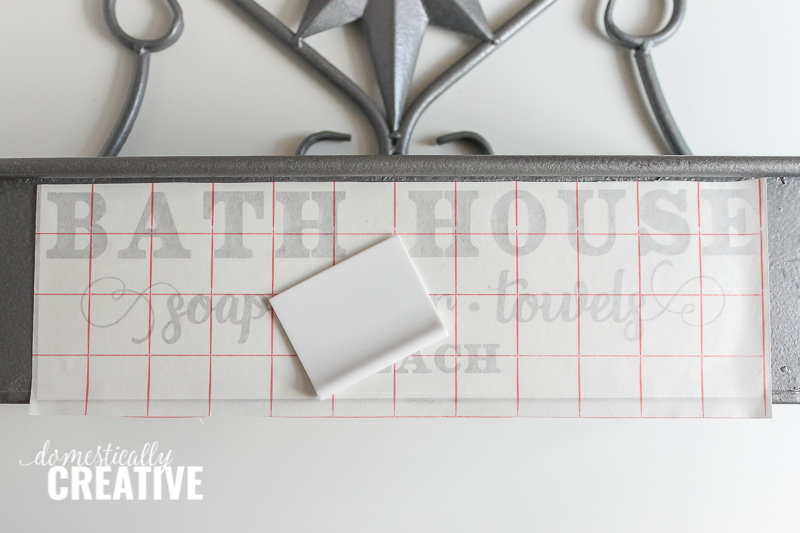
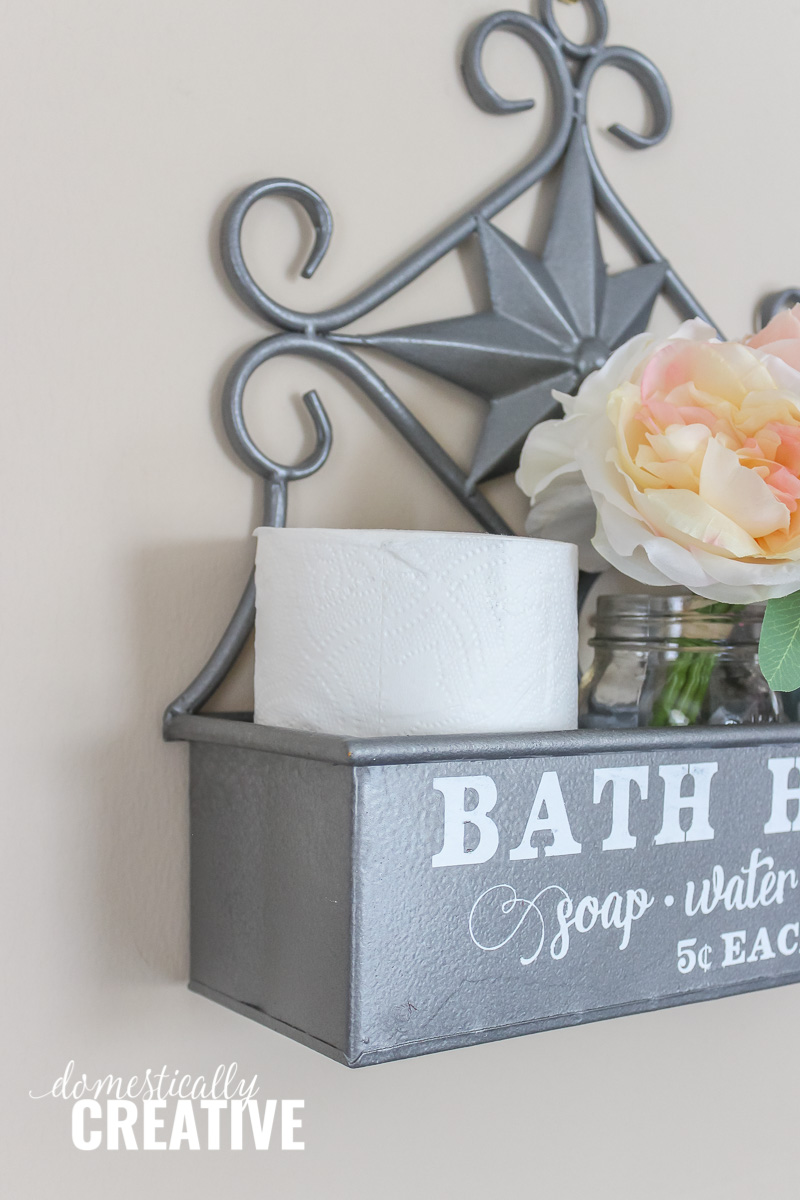
I could have just left it as is and called it a day, but it was just missing a little something extra. Bring on the stencils! I decided to make a vintage style Bath House stencil with my Silhouette Cameo. I made my design in Silhouette Studio and cut it out on non-permanent vinyl. You could also use stencil vinyl, or just contact paper.
I weeded out the letters, leaving the outline in vinyl to create the stencil.
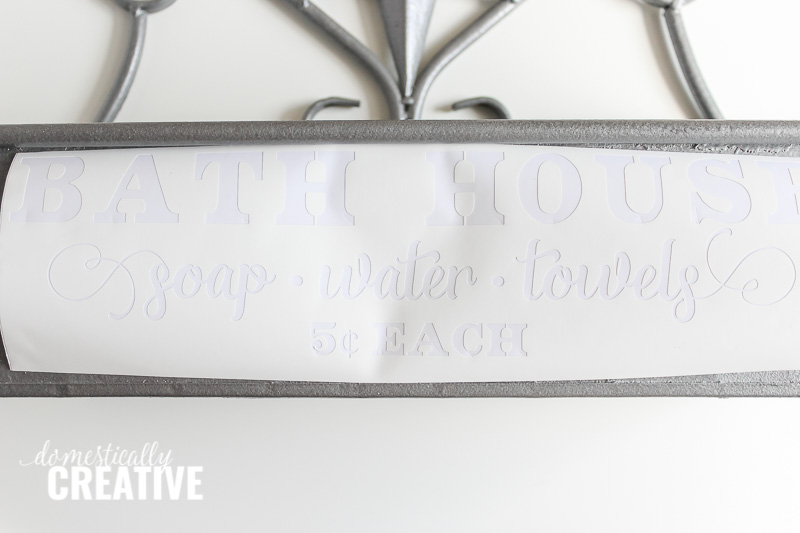
Then using my favorite transfer tape, I transferred the stencil to my bathroom wall storage piece, making sure to smooth out any bubbles.
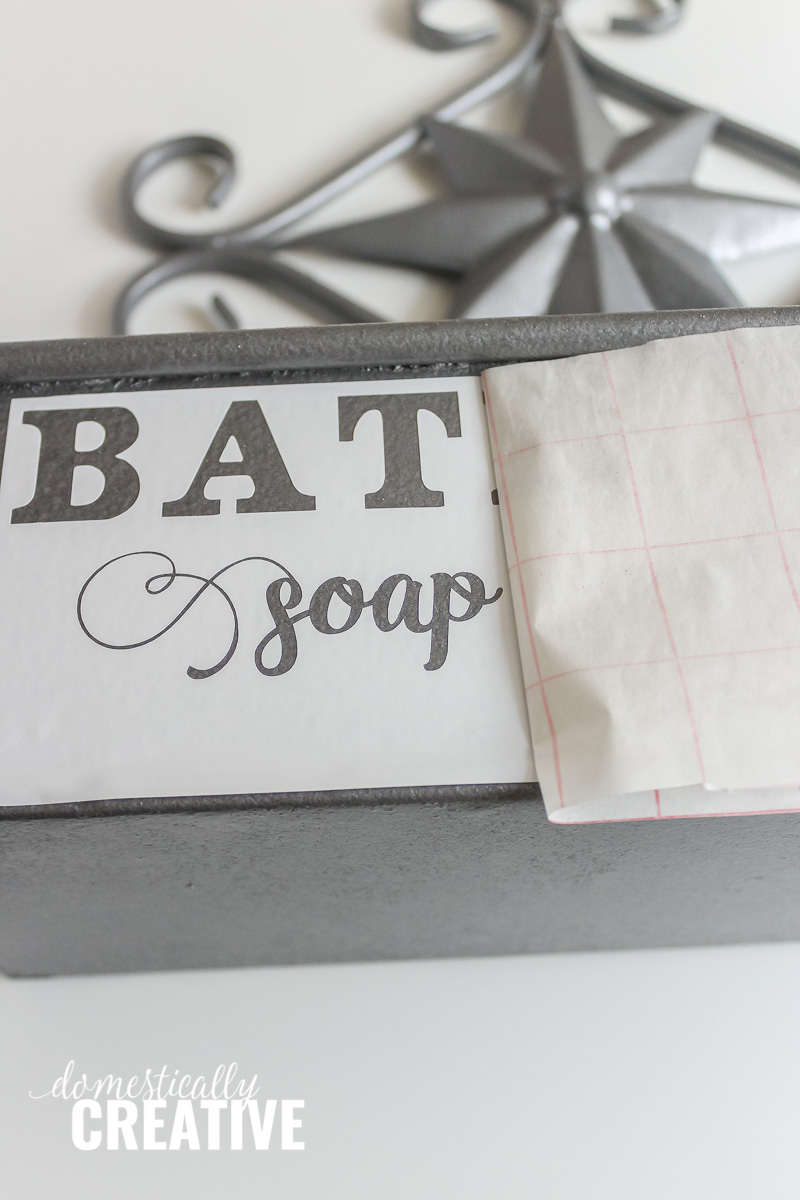
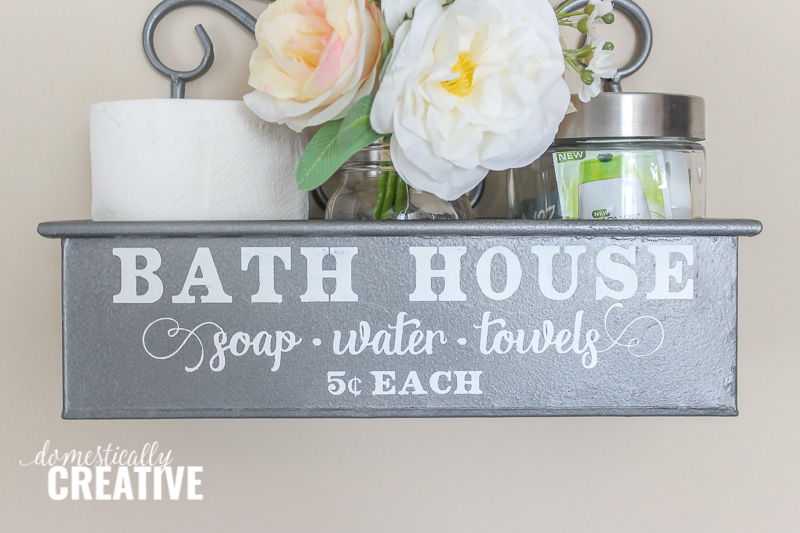
All that was left was to paint! I chose white chalky paint, but I think black would have looked great too! Make sure you sponge the paint on lightly to avoid bleed throughs. Wait for the paint to dry completely before peeling up the vinyl or the paint may smear.

For our small guest bathroom, we need somewhere to store extra toilet paper, and I also like to keep toiletry samples like shampoos and soaps for guests to us. I keep all of those in a glass jar with metal lid for easy access.
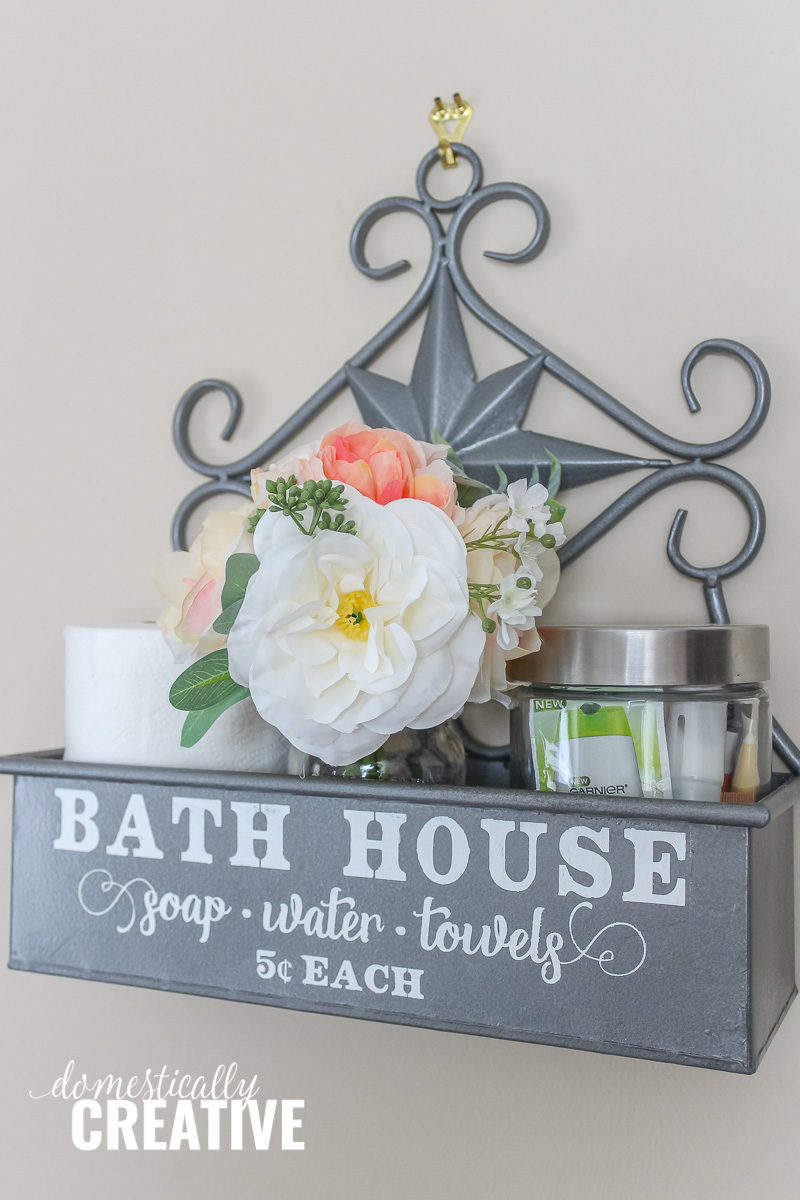
This farmhouse bathroom wall storage piece would even be great to keep extra towels and wash clothes for guests too! It really does go with the rest of my bathroom now and I can’t believe I waited so long to get around to finishing it!
Past thrift store makeovers:
Love this? Pin it for later!
And now for more thrifty goodness!
Check out what my fellow upcyclers created below!
It turned out beautiful. I agree that black lettering would have worked too but the white pops on the weathered steel paint. Love the fonts you selected.
Amanda, I just love this updated bathroom storage & will be including it in my round Up this week at #MerryMonday!
It is a fabulous makeover. It is wonderful to have extra storage and this is so stylish.
Thank you Debra! It definitely comes in handy to have the extra bit of storage
This looks awesome, Amanda! You really put on your creative cap in transforming this storage unit! I love the whimsical lettering and design! It looks really classy!
That paint made all the difference! It looks so good now! I wish I could find a little shelf like this!
I love how this turned out. I am always a Little envious of People who own a Silhouette or Cricut as you can make your own stencils. I can, too. But it’s a lot of work to do it manually.
Thank you Habiba! Yes making your own stencils can be done, but it certainly takes a bit of patience. I don’t know how I got along before without my Silhouette!
I can feel my purchase decision coming closer and closer… Do you have experience with other brands cutting mashines, too?
My friend has an older Cricut, and it is much quieter when cutting than my Silhouette. I just did not like the design software at all! You can try out both Silhouette and Cricut software before you buy to give you a better idea on which one you like. It will just come down to preference. I will say that I would love to have the capability to cut thicker fabric and craft wood like the Cricut Maker has!!
Thank you for your thoughts!! I have been researching the cricut maker. And I was all like YES, YES, YES!!!!! But I can’t get it here in Germany. A comparable product would be a Brother Cutting Mashine. I love the fact that I could cut thicker materials…as I am very versatile in my craft supplies.
I don’t have any experience with the Brother machine. Are you able to get Silhouette in Germany?
Adorable idea! I love the farmhouse/industrial look. It’s perfect for your guest bathroom!
Thank you Jenny!