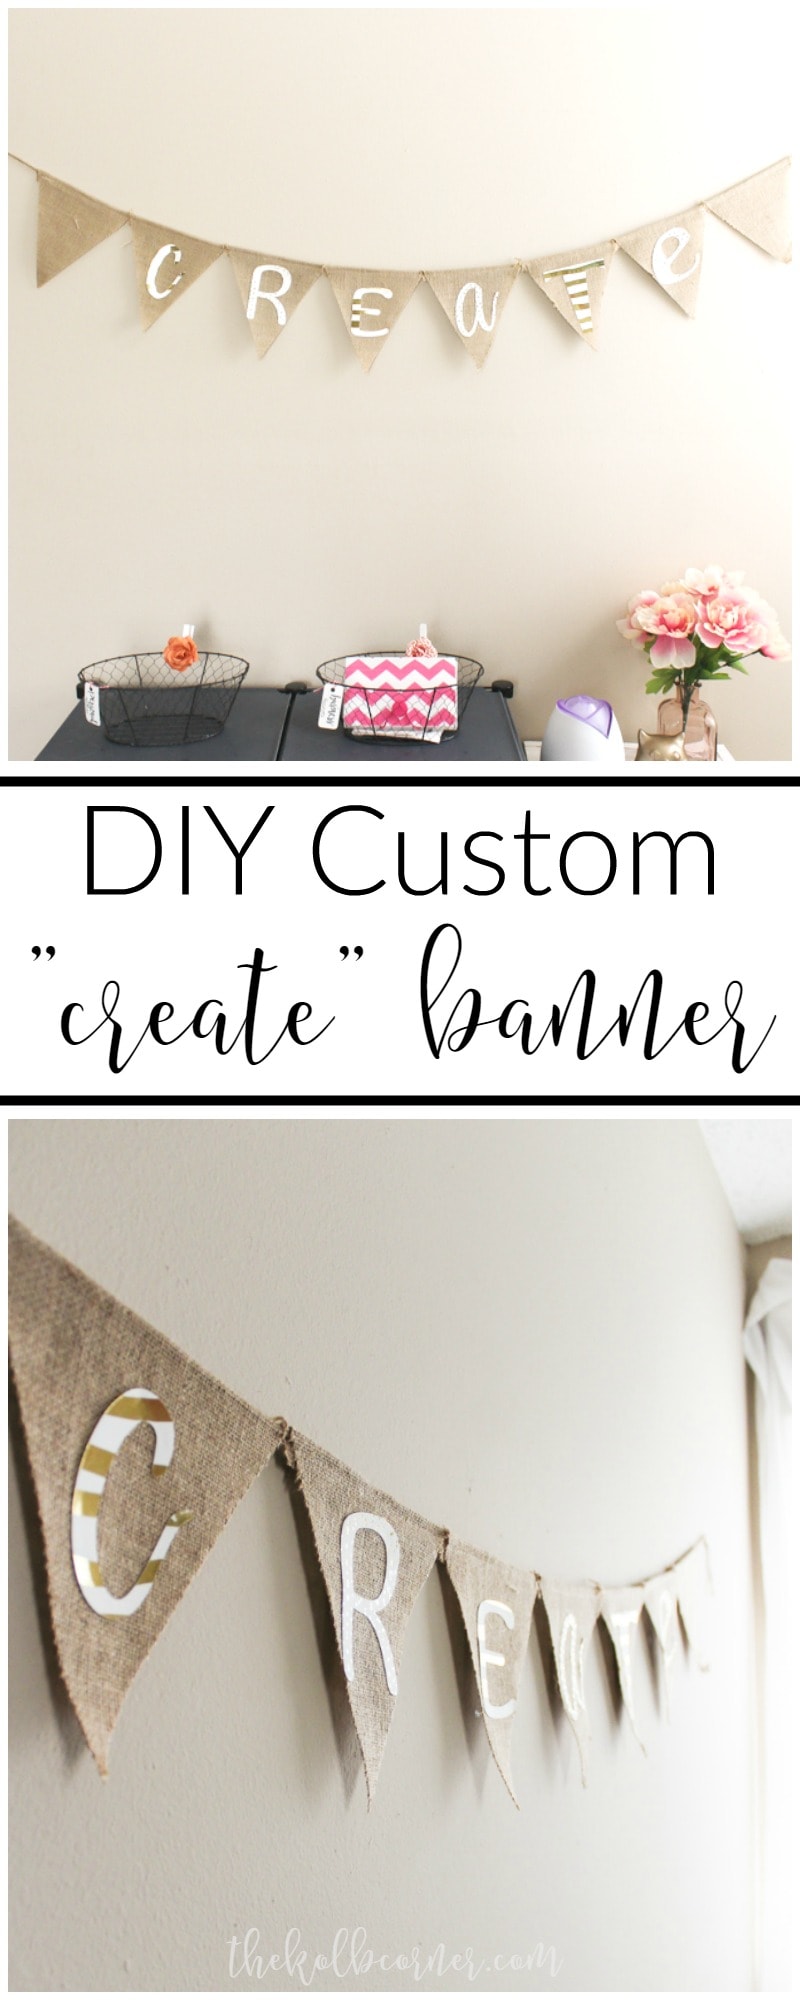
DIY Custom Banner
I mentioned a few weeks ago that I just so happened to be a lucky winner of a Silhouette Cameo 3. No I’m not bragging, I am just still so excited and in shock that I actually won something. And a silhouette at that! Anyway, I also promised you projects and that’s what I’m delivering today. You can create this easy to make DIY custom banner with your Silhouette in no time! And even if you don’t have a Silhouette, you can still make one using any text or editing software, a printer and little bit of patience.
This post may contain affiliate links for your convenience. Read our disclosure policy.

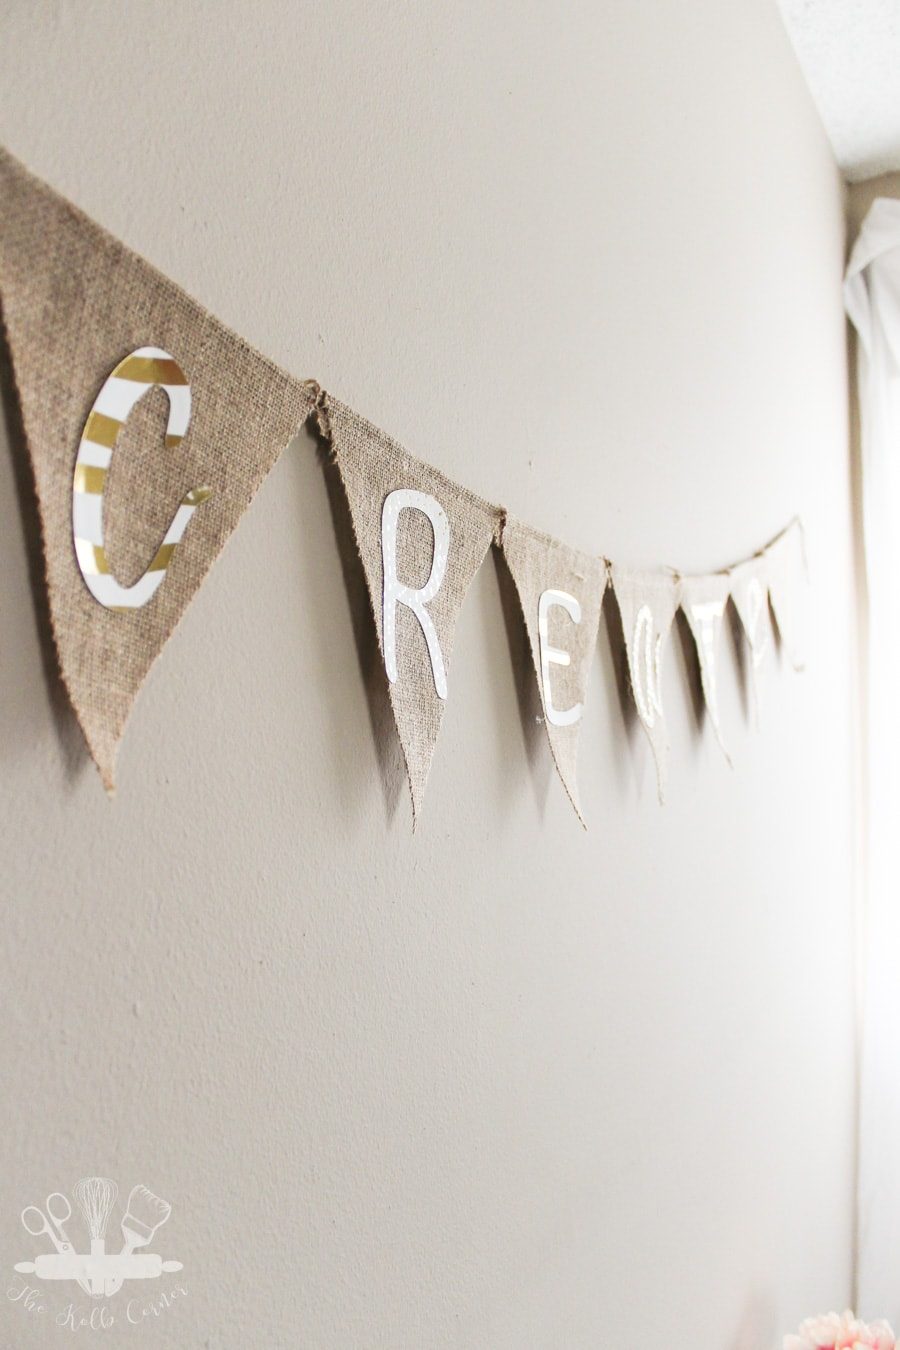
You may have caught a glimpse of the “create” banner I made in my post about making custom storage bins (for free). This week I thought I would share how to make your own diy custom banner and you won’t believe how easy it was!

How to Make a DIY Custom Banner
For this tutorial I’ll show you how I made my “create” banner, but you can easily choose a different word or letters 🙂
What you’ll need:
- Silhouette Cameo ( or a printer, scissors and patience )
- Silhouette design studio (PicMonkey, Photoshop and MS Word for printer and scissor method)
- Scrapbook paper or cardstock
- Burlap banner (I picked one up in Target’s Dollar Spot)
- Hot glue gun
Start by measuring each triangle in the banner. This is how you will know what size to make the letters.
Place the scrapbook paper or cardstock on the Silhouette cutting mat, and load it into the Silhouette
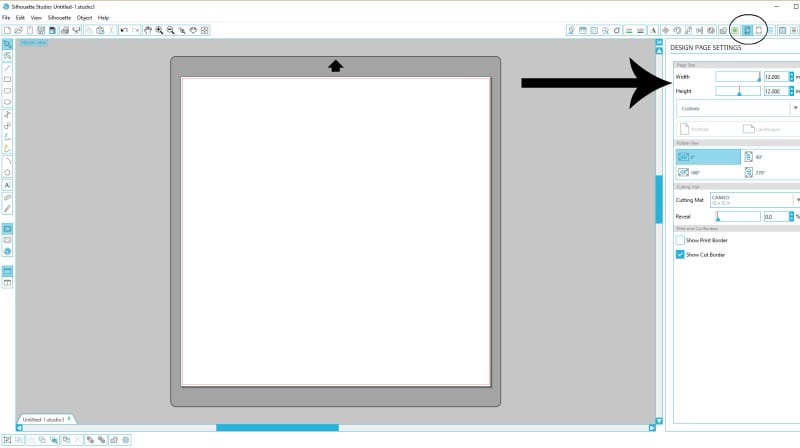
Next, open up Silhouette Design Studio and set your cutting space to the size of the scrapbook paper you are using. For mine, I used 12″x 12″ paper, so I set my cutting space to that.
Using the type tool, type the letters out in a font of your choice. Hint: Use this site to see all of your fonts and make choosing easier! The fonts I used for my DIY create banner were Janda Apple Cobbler, Sofadi One, and Sydalee. Depending on the size of your banner triangles you will be able to fit 3 letters per sheet of paper. Because I like symmetry, I chose two coordinating papers for my letters, but use whatever you want!
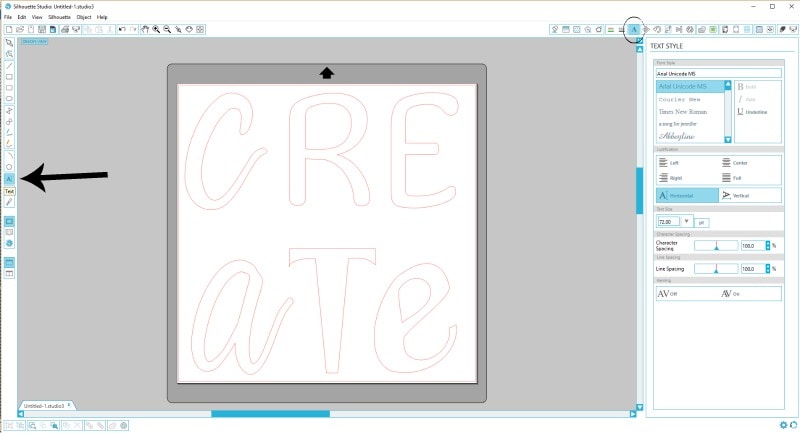
Size the letters according to the size of the banner triangles. You may need to play around with each one a bit to make sure they will fit on each triangle once cut.
Once each letter is sized and fitted, send the file to cut! (If you are using a printer and cutting letters out by hand, still follow the steps above using PicMonkey, MS Word or Photoshop. Then print out your files)

Carefully peel off the scrapbook paper and letters from the cutting mat.
Arrange the cut out letters on the banner triangles to make sure they will fit. You may have to play around with them.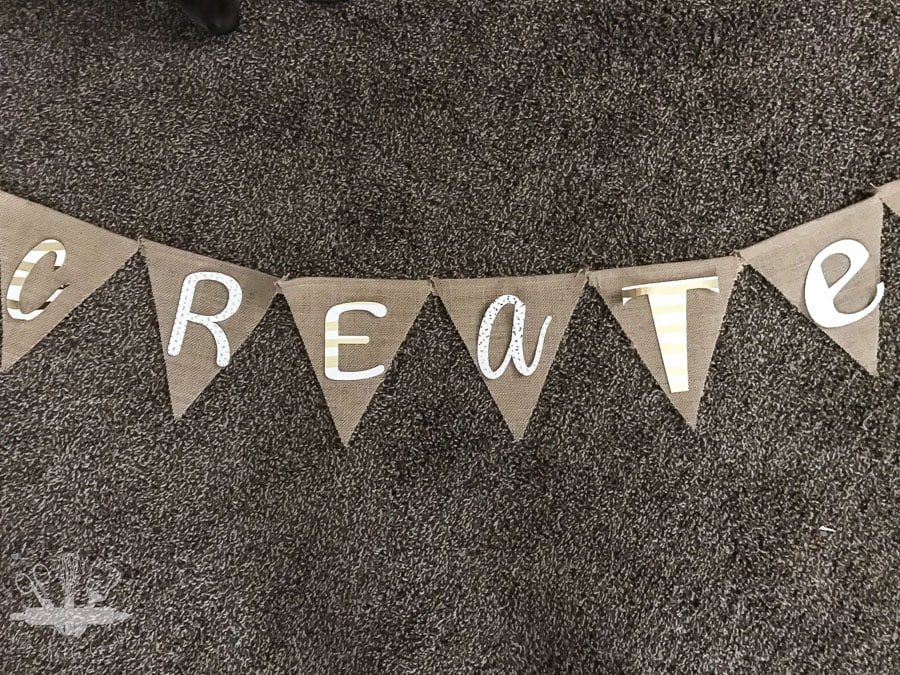
Once they are arranged, use a hot glue gun (or elmer’s glue works too!) to glue the letters onto the banner. Hang it up and you are done!
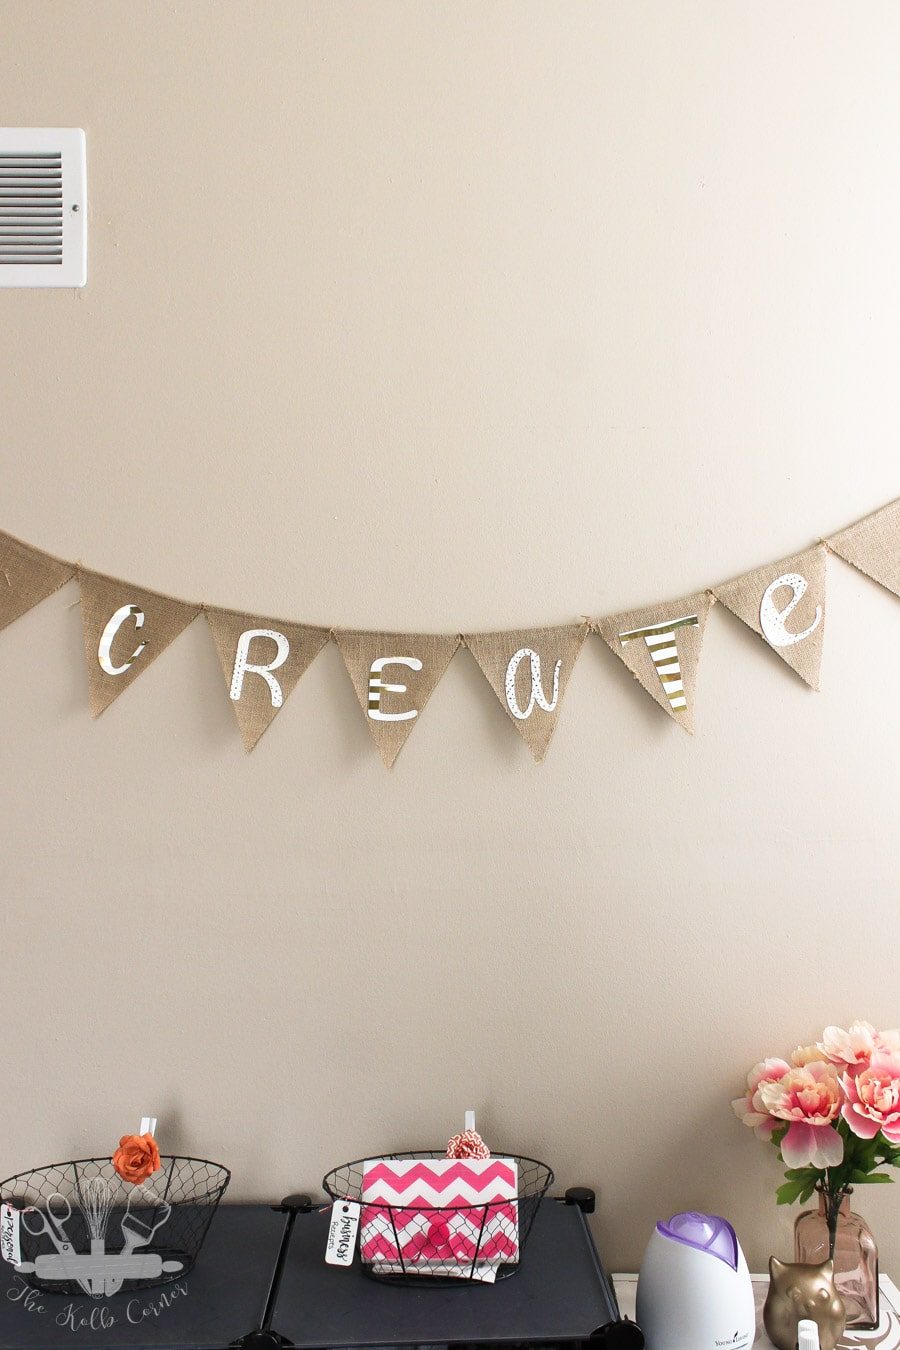
I’m still working on ideas of what I can add to this wall to make it less blah. What would you add?
Your banner looks great! I think you’ll love playing around with your Silhouette. I’ve had one for a few years and have barely scratched the surface on what it can do!
Thanks Emily! It’s amazing what you can do with that machine.