DIY Magnetic Dry Erase Menu for the Fridge
Take any thrift store frame and easily turn it into a magnetic dry erase menu for the fridge to help you keep track of what’s for dinner!
This post may contain affiliate links for your convenience. Read our disclosure policy.

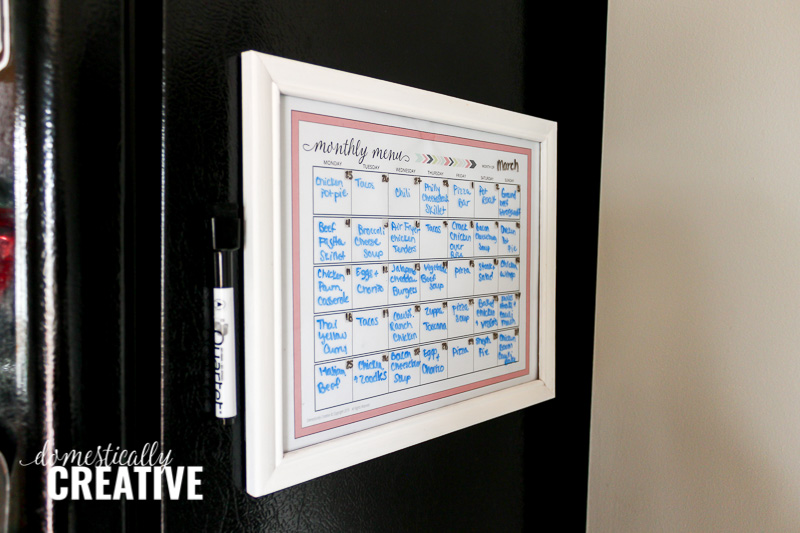
I love to keep a printed version of our monthly meal plan on the fridge for easy reference, but printing out those pages every month gets a little old! Plus, when I decide to change what we are having last minute, crossing out and rewriting makes the menu look messy and confusing! So for this month’s thrift store challenge I decided to turn a regular picture frame into a magenetic dry erase menu to make planning (and changing) our meals so much easier!

The Rules:
- Upcycle an item(s) from a thrift store, resale store, or garage sale into a new piece of decor.
- There’s no monthly theme.
- There’s no budget to stick to.
Meet the Hosts
Angela | Simply Beautiful By Angela – Jenny | Cookies Coffee and Crafts – Heather | Glitter On A Dime – Amanda | Domestically Creative – Denise | My Thrifty House – Molly | Just a Little Creativity – Angie | Flippin Fanchers – Victoria | Dazzle While Frazzled – Debra | Shoppe No 5 – Marie | The Inspiration Vault – Deborah | Salvage Sister & Mister – Pili | My Sweet Things – Carmen | Living Letter Home – Habiba | Craftify My Love – Emy | Semigloss Design – Meredith | Southbound Blog
Make sure you follow our board on Pinterest for more upcycled decor inspiration!
DIY Magnetic Dry Erase Menu
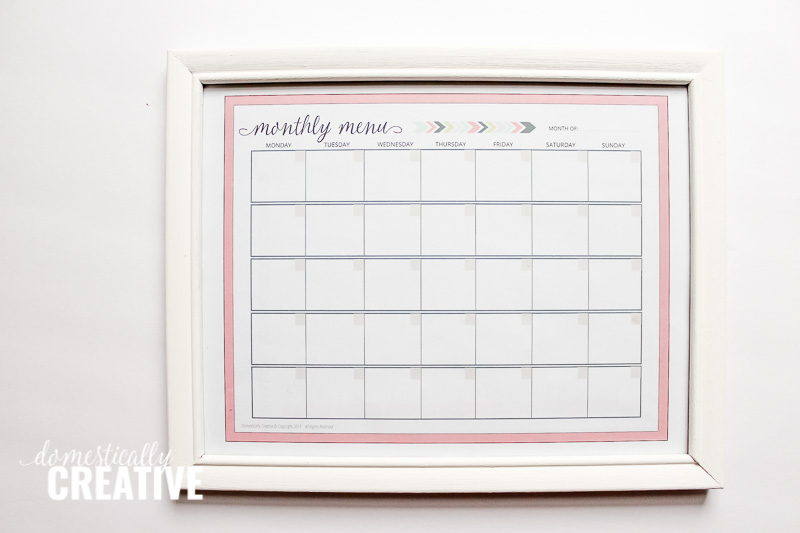
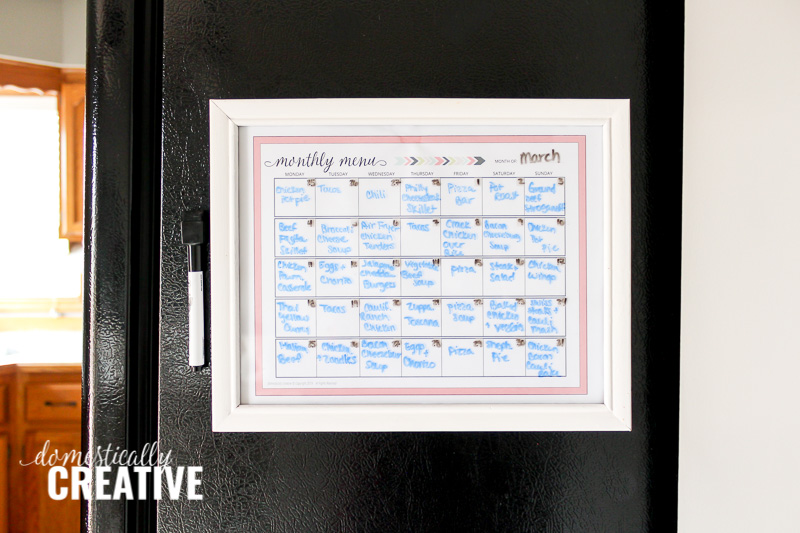
Before we get to the tutorial, make sure you hop over and grab your Free Printable Meal Planner so you can print the sheets to fit into the frame. I prefer to use the monthly sheets, but the weekly menu sheets would work just as well! If you don’t want to use the printable meal planner, you could also buy alphabet stickers to spell out Menu and use MTWTFSS for the days. Up to you!
Supplies Needed:
- Picture Frame (thrifted for the best deal!)
- Paint
- Paint brush
- Sanding block
- Acrylic Sealer
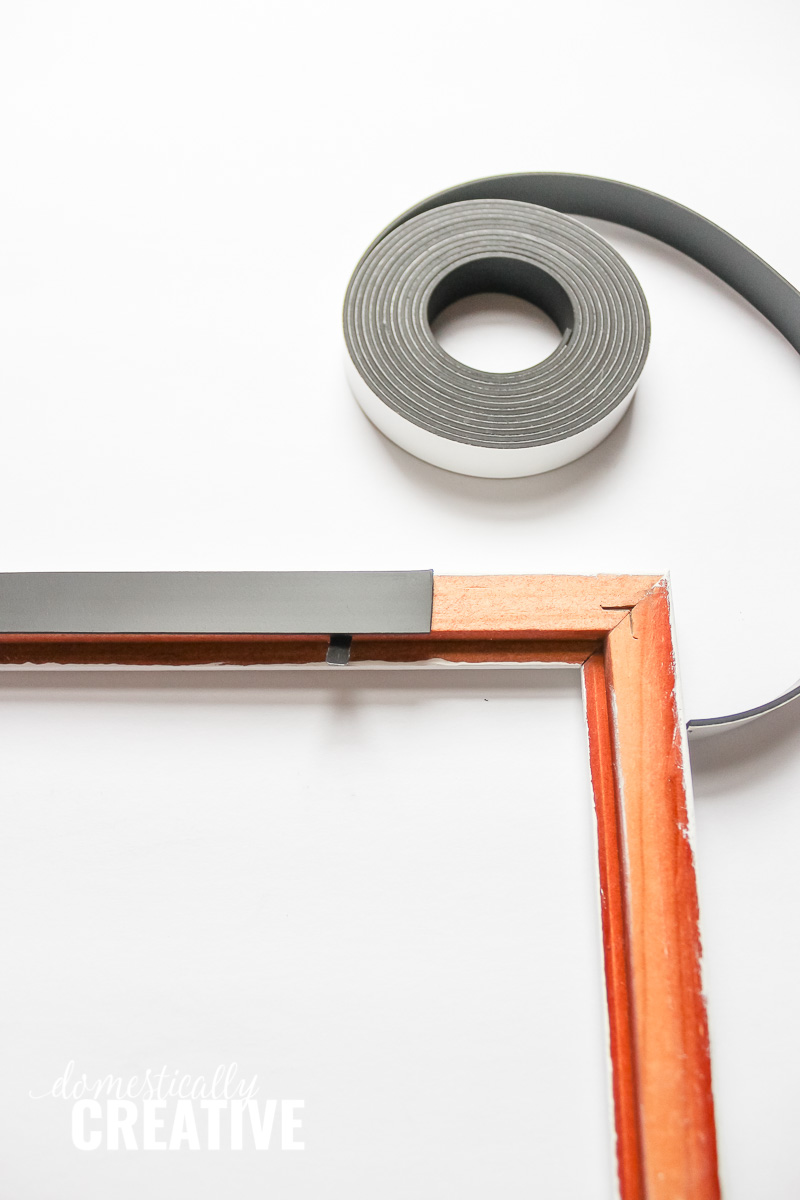
- Magnetic Tape
- Printable Meal Planner OR Alphabet Stickers
- Dry Erase Markers
I scored this simple frame at my local Goodwill for $0.99! I went on a Sunday and didn’t expect to find anything left in the half off color of the week but was pleasantly surprised. It’s not a fancy frame at all and is rather light weight, but it’s perfect for my magnetic dry erase menu for the fridge.
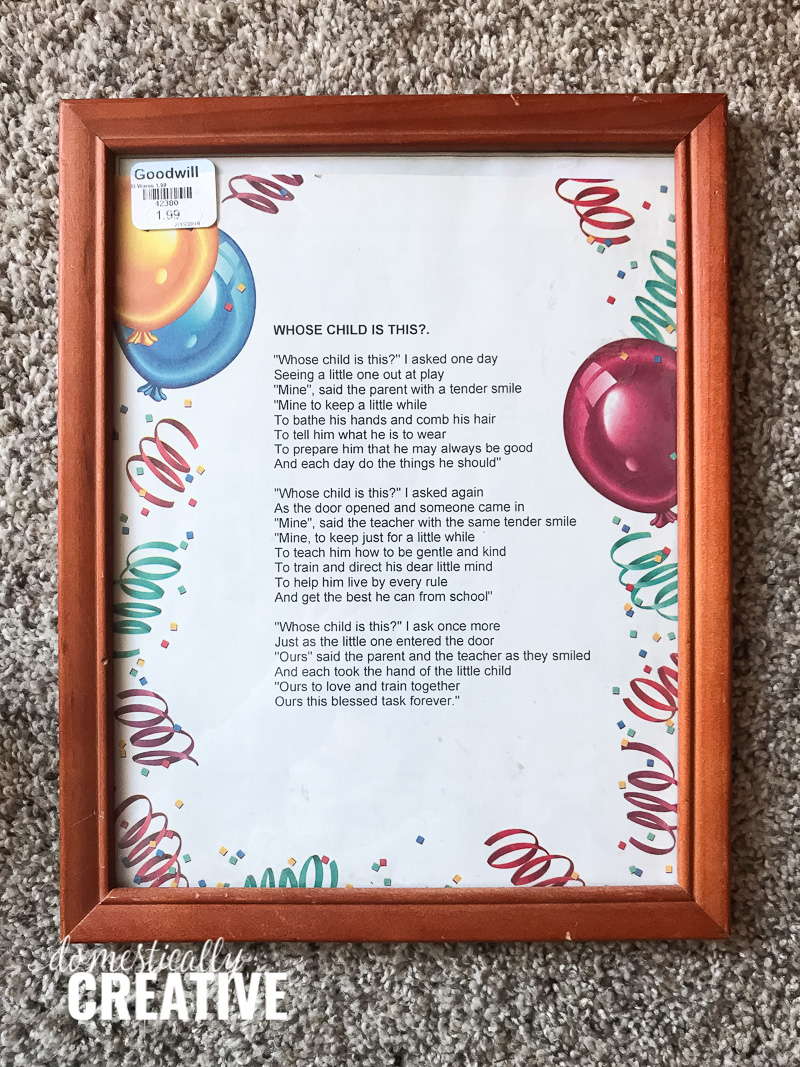
Always start any thrift store makeover by giving it a good cleaning. For the frame I just used a wet rag to clean it really well, and the glass I cleaned first with soap and water, then with glass cleaner.
Give the frame a light sanding to ensure all the grime is gone (even after cleaning!) and to give the paint a rough surface to stick to. This is especially important if you decide to use a latex paint.
Paint the frame in the color of your choosing. I used a white chalky paint because that’s what I had. I would have preferred to use spray paint, but I was limited by the endless Winter weather we have going on here.
Once the frame is dry, give it another light sanding (may not be necessary with spray paint or latex paint). Spray on a coat of acrylic sealer to prevent any cracking or chipping of the paint.
Next, cut a piece of magnetic tape about 4″ long. If your frame is lightweight, one strip on the top and bottom of the frame should be plenty to hold up the frame. If your frame is on the heavier side, it may be necessary to use longer strips of magnetic tape on all 4 sides.
Put the menu sheet inside the frame and reassemble the frame with glass and backing. Fill in your menu using the dry erase markers over the glass and it’s ready to hang!
Easy right? Now you have a DIY magnetic dry erase menu that you can use over and over again. Simply use a paper towel, cloth or eraser to change the menu from week to week or month to month! These magnetic dry erase markers come in handy to keep next to your dry erase menu, and have a nifty eraser top as well.
I decided to keep our extra chip clips, magnets and our magnetic notepad next to the new dry erase menu for a nice little command center. The best part is it doesn’t take up any extra room, as this side of our fridge is bare anyway. I wouldn’t mind getting a little magnetic cup holder for pens too!
If you need ideas for monthly dinner ideas, check out my page of monthly meal plans!
Don’t forget to pin it!

And now for more thrifty goodness!
Check out what my fellow upcyclers created below!
I love this! We have been doing our meal plans weekly and it has made a huge difference, but this feels like it would be even better!! So much easier to plan out what you need and buy in bulk. Great idea!!
Great idea, I also have my monthly menus printed but if I decide to change any it’s a reall mess… I love your idea
Hi Amanda. I used to be a part of this monthly group. Not sure when it happened but at some point I stopped being included. Is there still a FB group page because I’ve checked and can’t locate it anymore. I’d still love to participate. If you could email me I’d appreciate it. xo Kathleen|Our Hopeful Home
I love this idea of planning the meals for the month. What a great way to plan and shop! Another great upcycle and printable, this would look great on the side of my fridge too. It’s always great to find a sale at the thrift store.
I absolutely love this idea! Dollar Tree would also be a great place to find a light weight frame for this project. I’ll have to see what I can find!
What a cute idea!! I love that pretty printable too
What a wonderful idea. It makes the chore of the menus so much easier.
I love meal planning so totally on board
yesss!! we had one of these on our fridge at our old house, but then when we moved the frame broke and I never made another one. I totally want to again though after seeing this!
Glass frames make the best dry erase calendars! I’ve made a few of my own. 😉
So clever! I love how you added the magnets to the back so it can be put on the fridge. Plus, you can never go wrong with menu planning, so it’s not only a fun repurpose but super functional too. Great job!
This is awesome Amanda! I love how simple it is to change things as needed. Great job 🙂