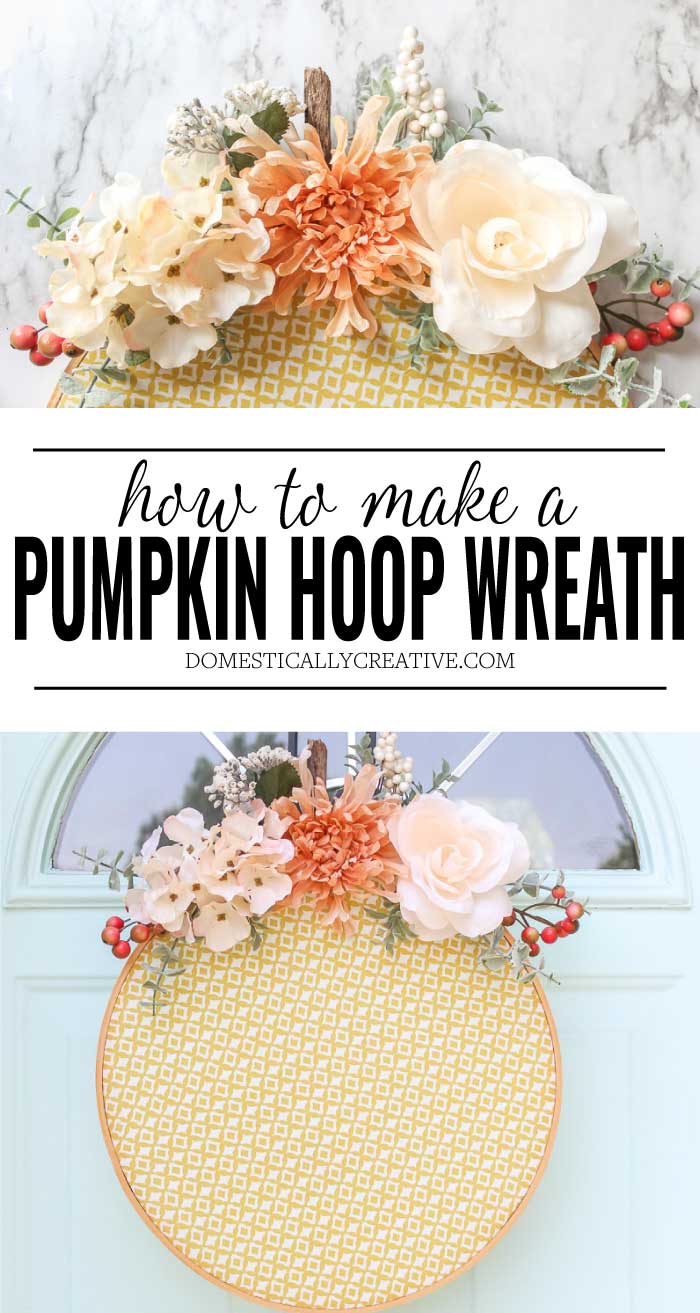
DIY Pumpkin Hoop Wreath
Make this adorable DIY pumpkin hoop wreath for your front door in no time with this simple to follow step-by-step tutorial.
This post may contain affiliate links for your convenience. Read our disclosure policy.
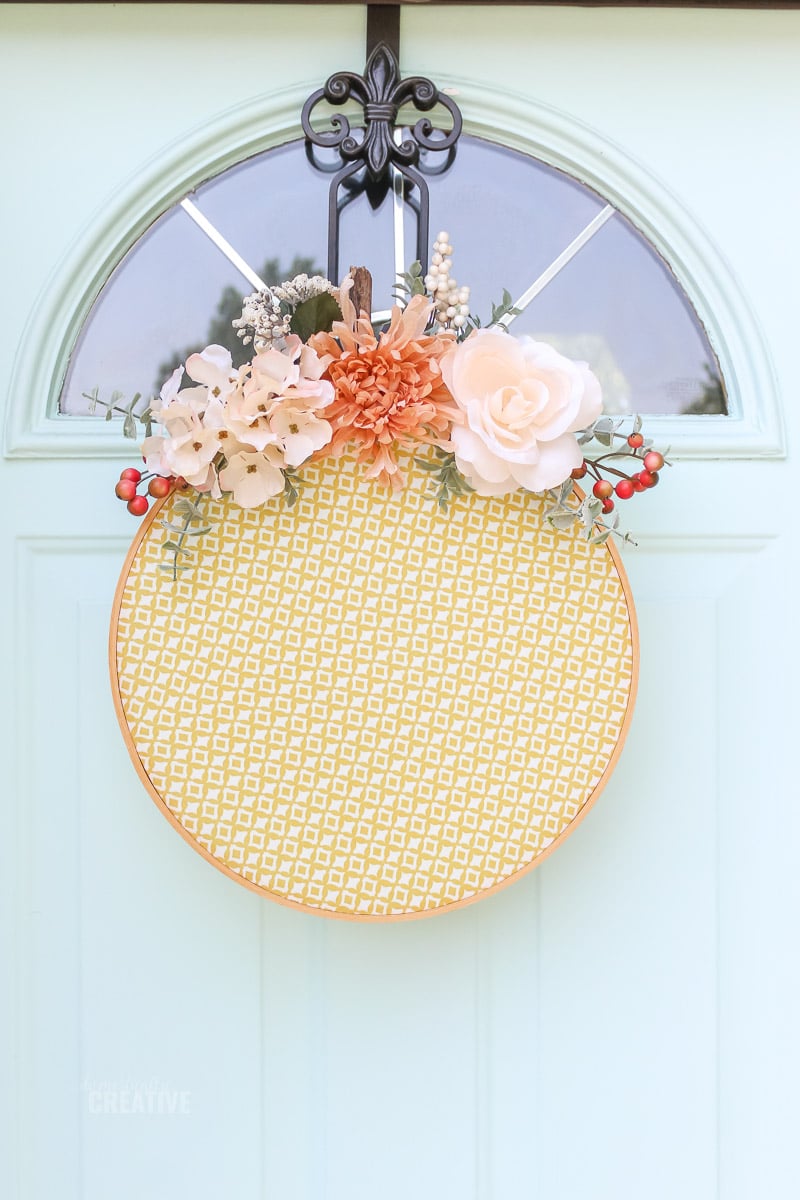
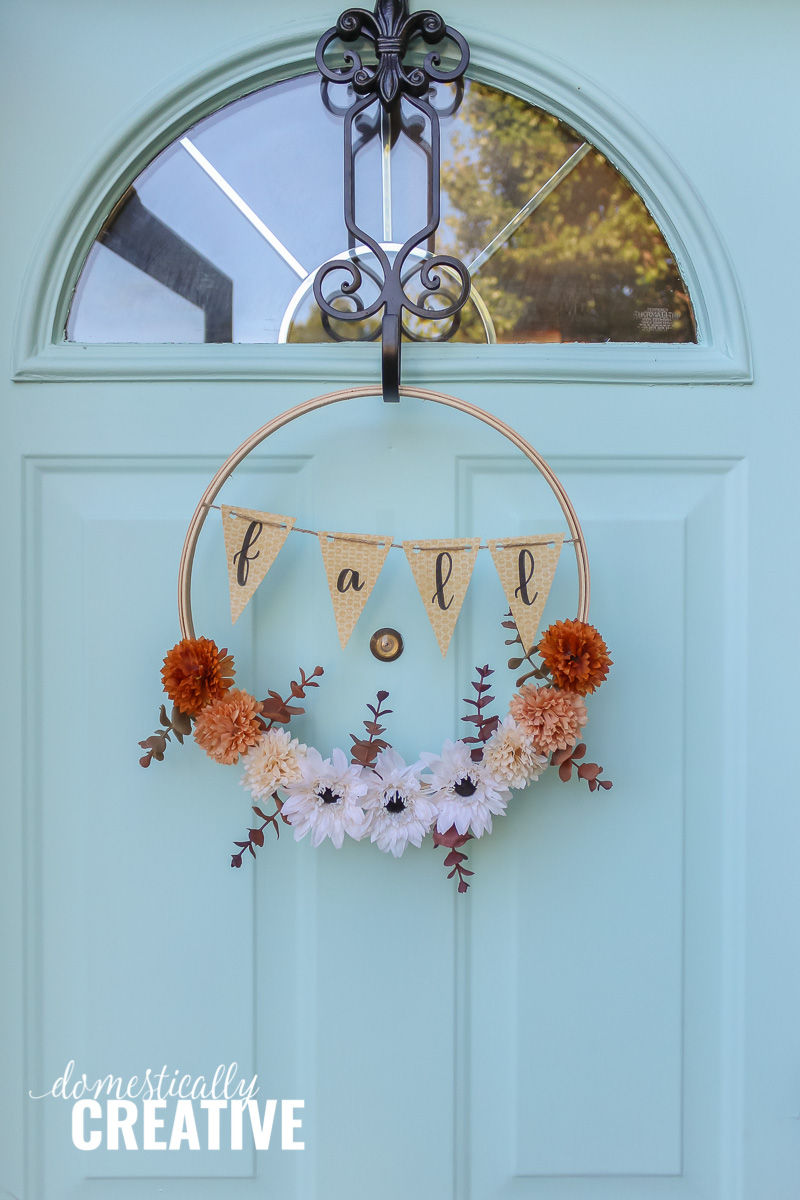
Every Fall season I try to make a new wreath for our front door. Wreaths are the one thing that I love making, because they are generally pretty simple to create! This year I was wracking my brain to come up with a new idea. My Christmas Buffalo Check Hoop Wreath is so popular I thought about creating a similar one, but for Fall.
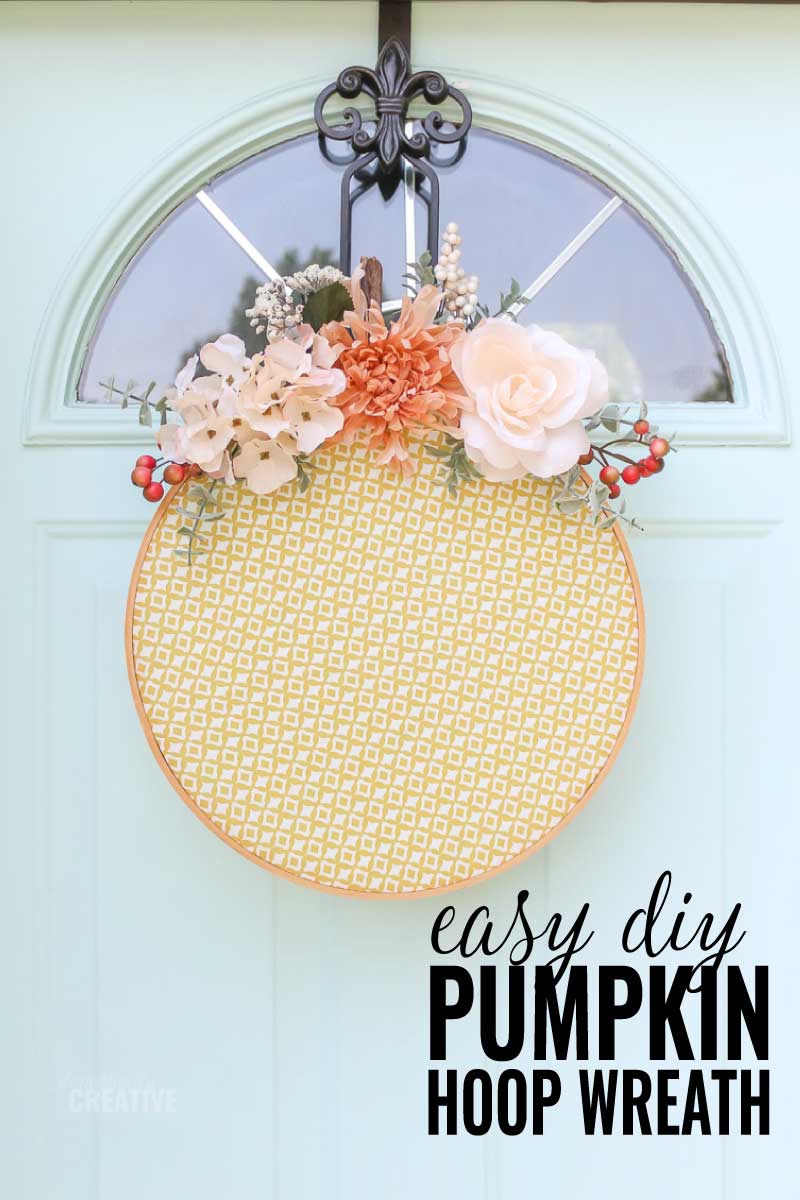
With that in mind, I started digging around in my fabric stash and found this great mustard color fabric. I thought it would look great on our baby blue front door. Instead of adding a fun Fall quote to the fabric, however, I decided to make a pumpkin hoop wreath. I just added some flowers, greenery, and a stick for a stem. Here’s the simple tutorial and supply list:
How to Make a Pumpkin Hoop Wreath
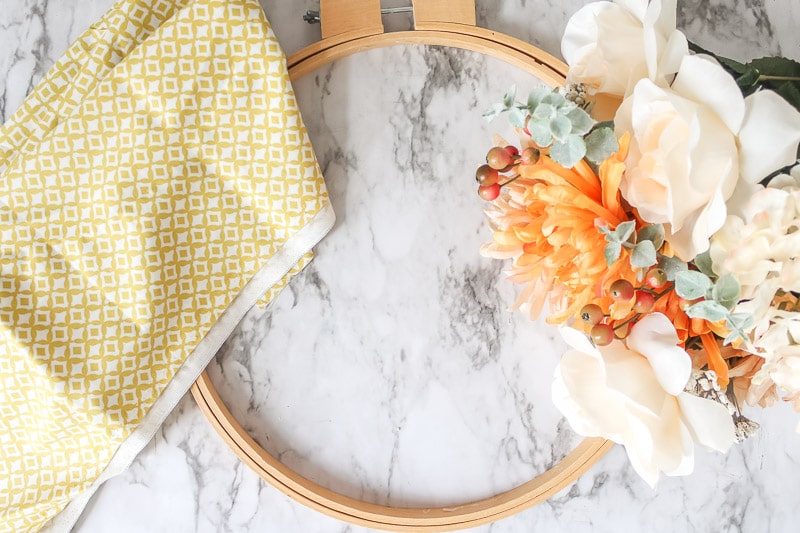
Supplies needed:
- Embroidery Hoop (I find most of mine at yard sales or thrift stores)
- Fall fabric (check thrift stores or use an old sweater!)
- Fabric scissors
- Stick for a stem
- Floral stems
- Wire cutters
- E6000 glue (or hot glue works!)
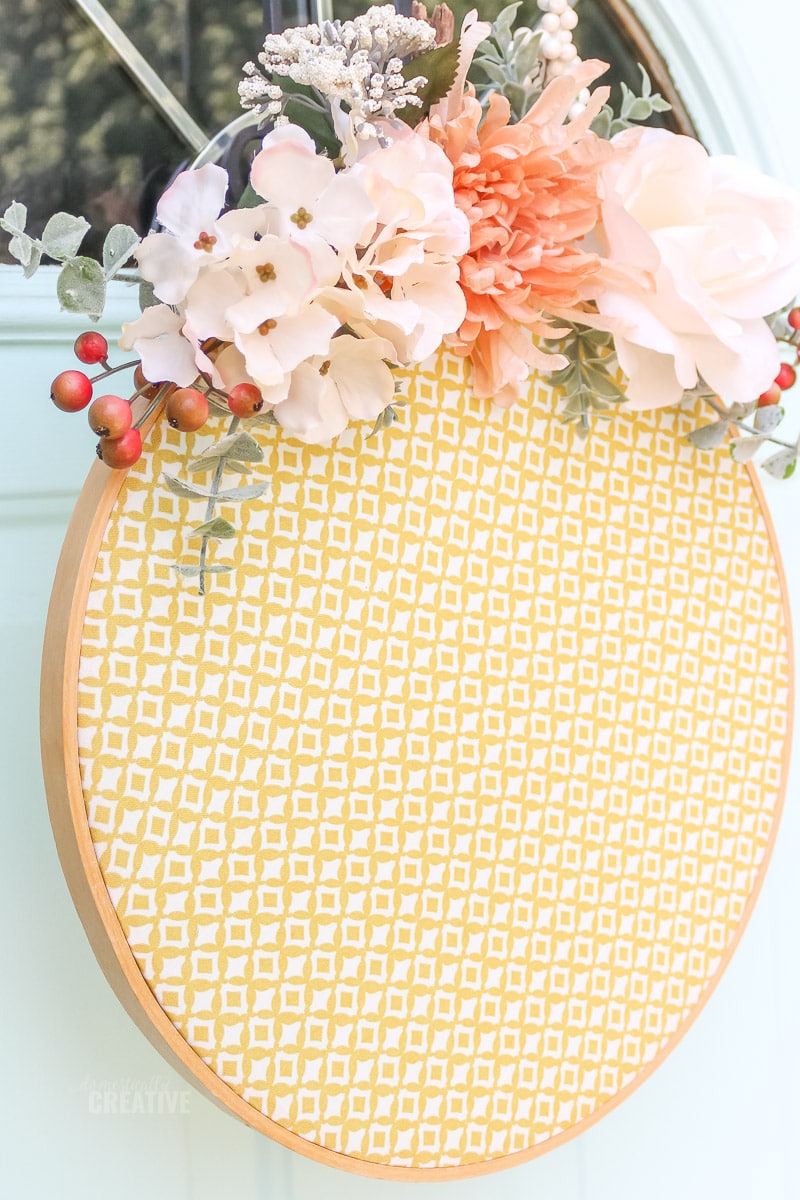
The first step is to place the fabric inside the embroidery hoop. It may be necessary to iron the fabric first to get all of the creases out.
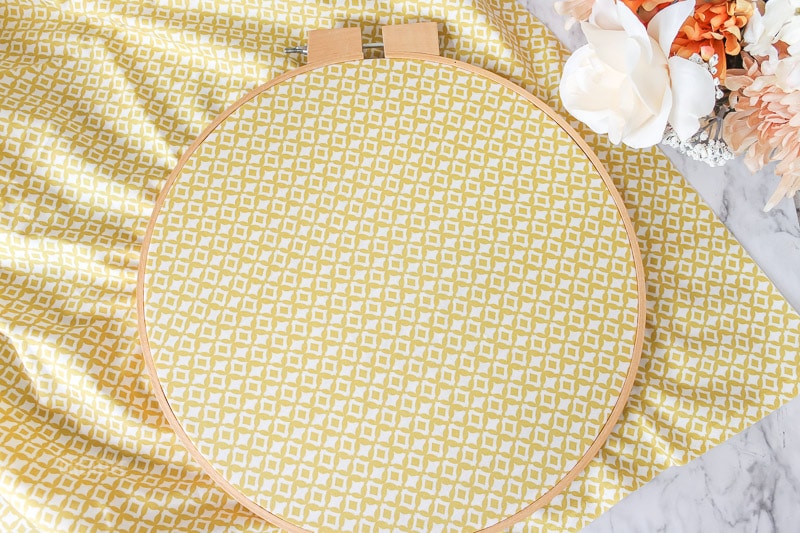
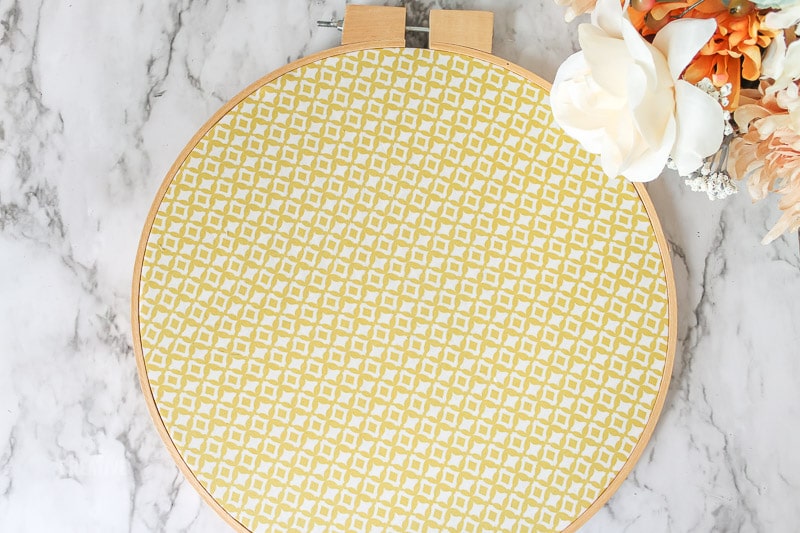
Make sure the fabric is pulled taught with no wrinkles. Then cut the excess fabric off, close to the edge of the hoop.
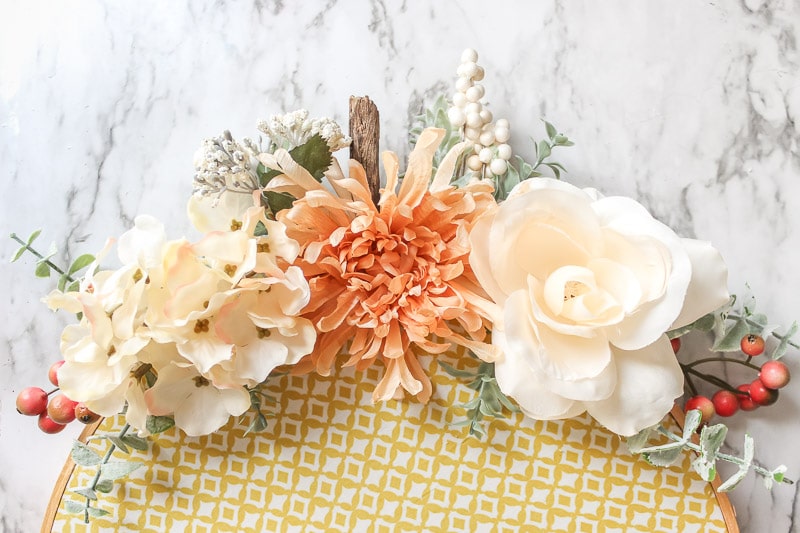
Next, attach a stick to the top of the embroidery hoop with E6000 glue. Where you place it will depend on the type of hoop you are using. I was able to glue mine in between where the hoop tightens down.
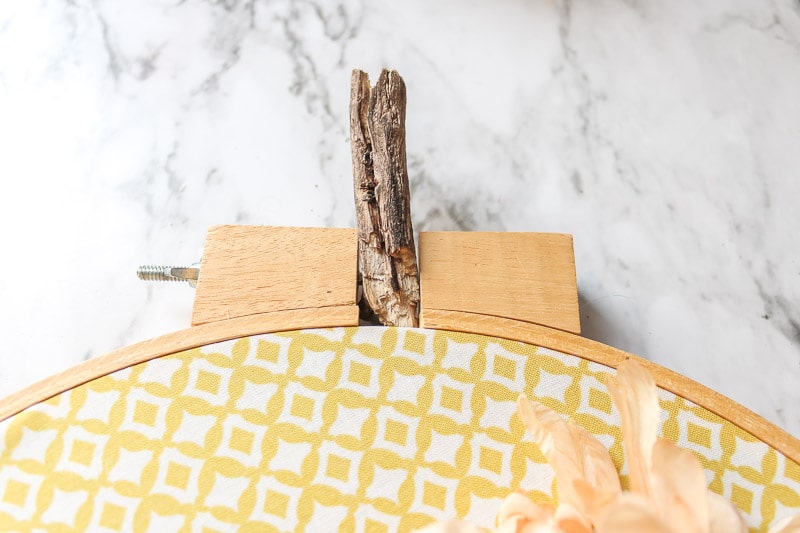
I chose to use E6000 glue for this project because our front door gets direct sun and can generate a lot of heat from our storm door. I’ve had hot glue melt and flowers fall off before, but that hasn’t happened to me with E6000 glue.
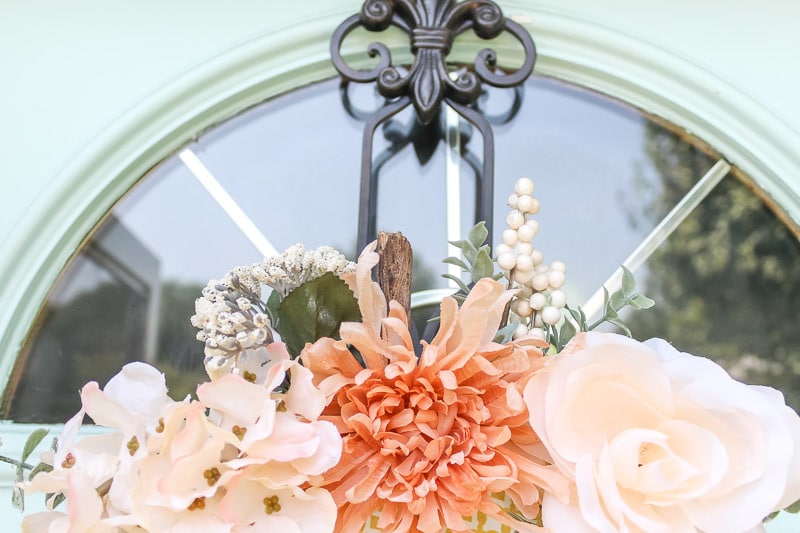
The next step is to cut off any flowers you’ll be using from their stems. Use wire cutters to do this easily.
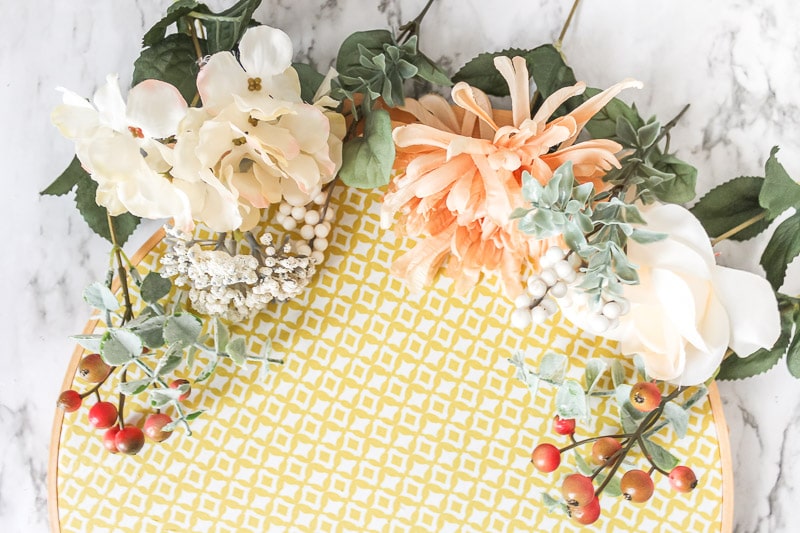
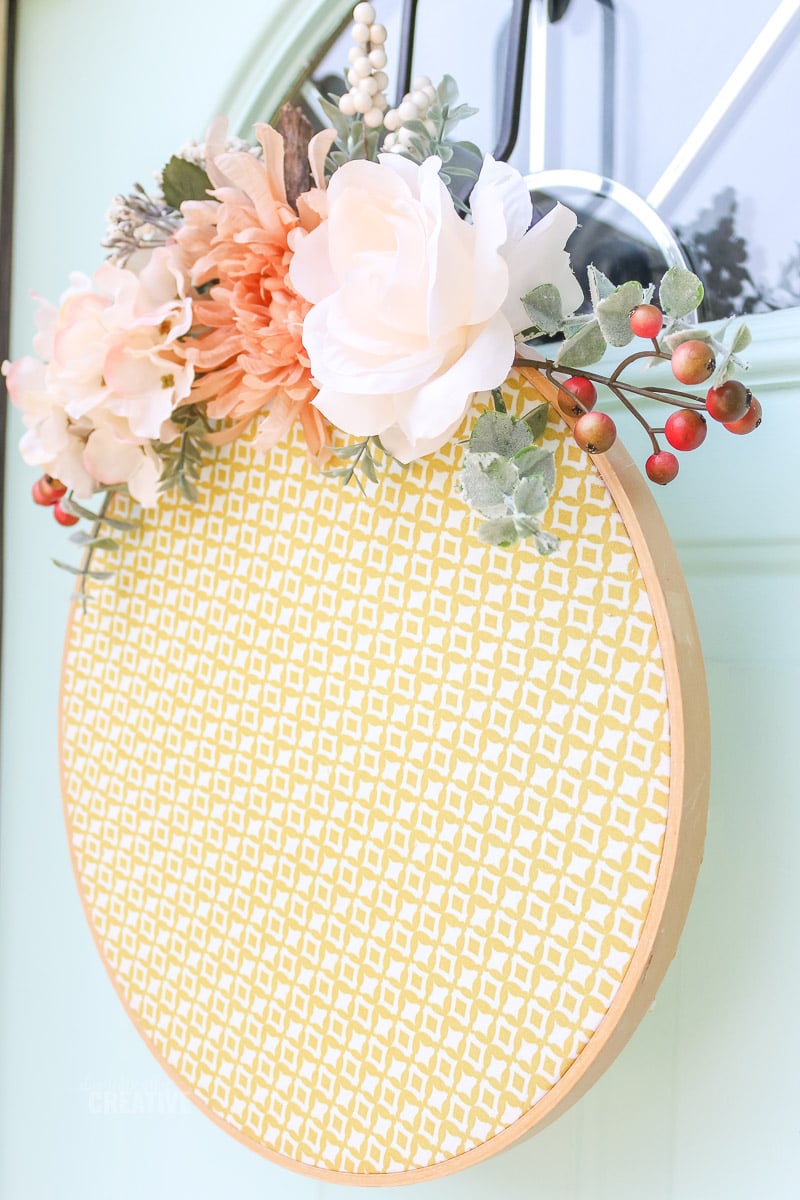
Arrange the florals around the stem, and use E6000 glue (or hot glue) to attach them to the embroidery hoop. I glued the bigger flowers to the hoop itself, and some of the smaller berries and leaves to the fabric to make sure they stayed in place.
If needed, attach a small loop of ribbon to the metal portion of the embroidery hoop to help it hang nicely on your front door.
My giant wreath hanger makes it easy for the stem of my pumpkin hoop wreath to get lost, but it’s there just slightly peeking over the flowers. You can use a larger and longer stick for a more dramatic look. Even better if you have a dried stem from a pumpkin saved from previous years!
I think I say this every year, but this is my favorite Fall wreath I’ve made to date! The colors look great on our light blue front door. Whenever I get around to painting it Navy, it will look great with that too!
I’ll let you be the judge though, which of my past wreaths are your favorite? Click the links below to see the tutorials to make your own.
Don’t forget to pin it!