How To Make Custom Cork Trivets
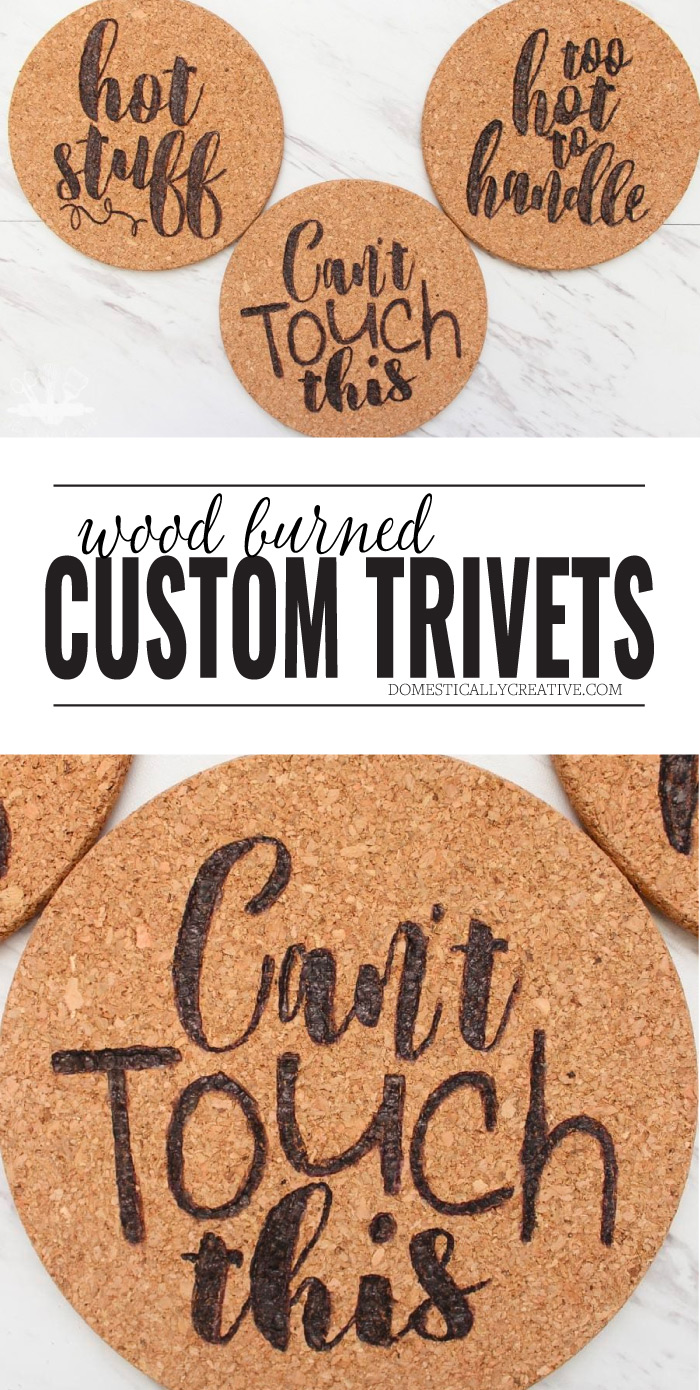
You can easily make these custom cork trivets using a stencil and a wood burning tool. They make a great addition to any kitchen and would be a perfect housewarming gift!
This post may contain affiliate links for your convenience. Read our disclosure policy.
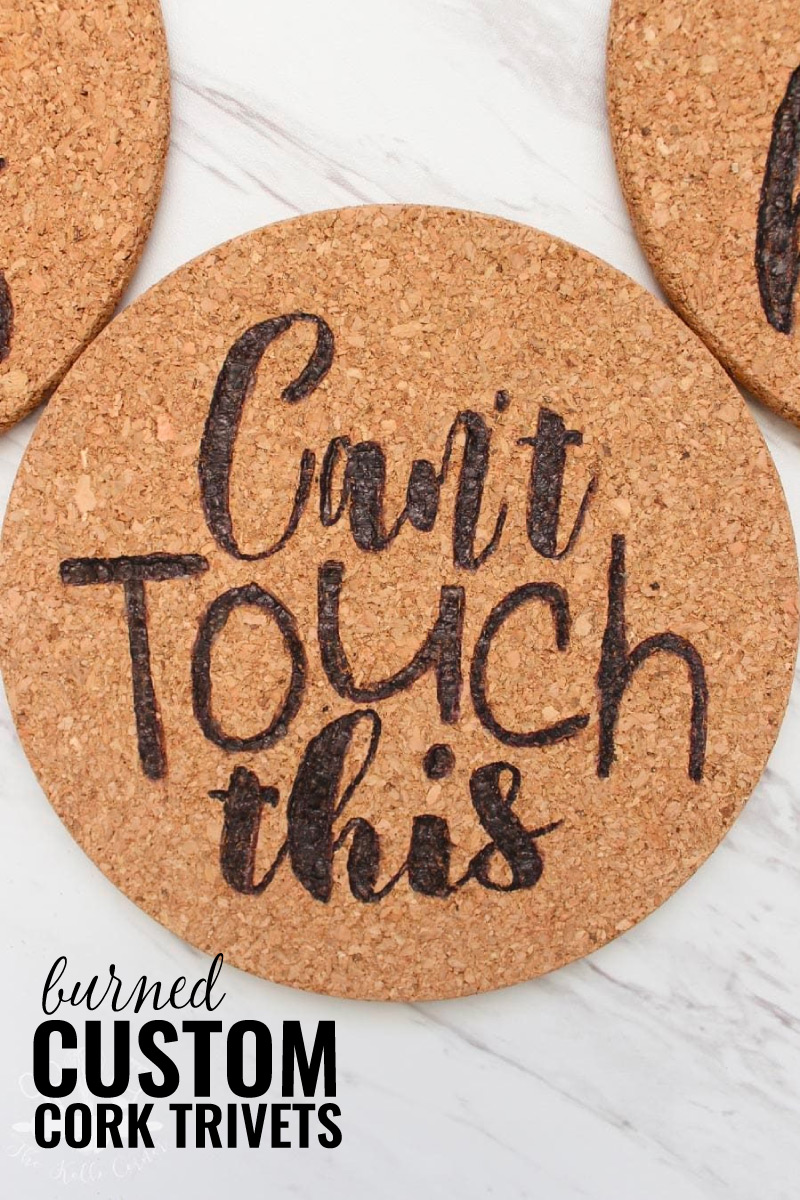
On one of our many trips to Ikea since moving, I picked up a set of cork trivets. I had planned on using them as they are because we have nothing to set hot pans on. Laminate counters + hot pans + rental house= no bueno.
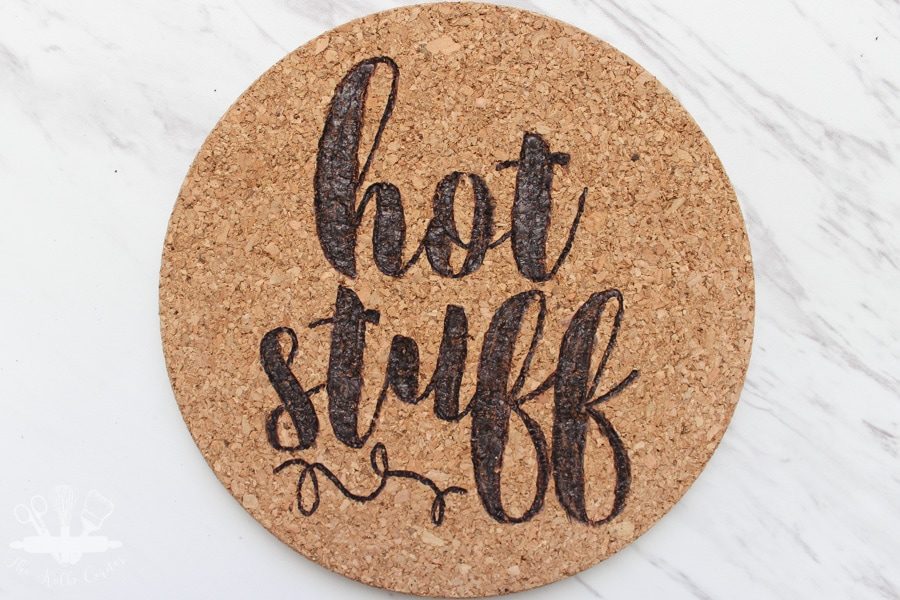
But, because I can never just leave well enough alone AND because I have slight pyromaniac tendencies I had to try out my wood burning tool on these bad boys. The result? Witty custom cork trivets!
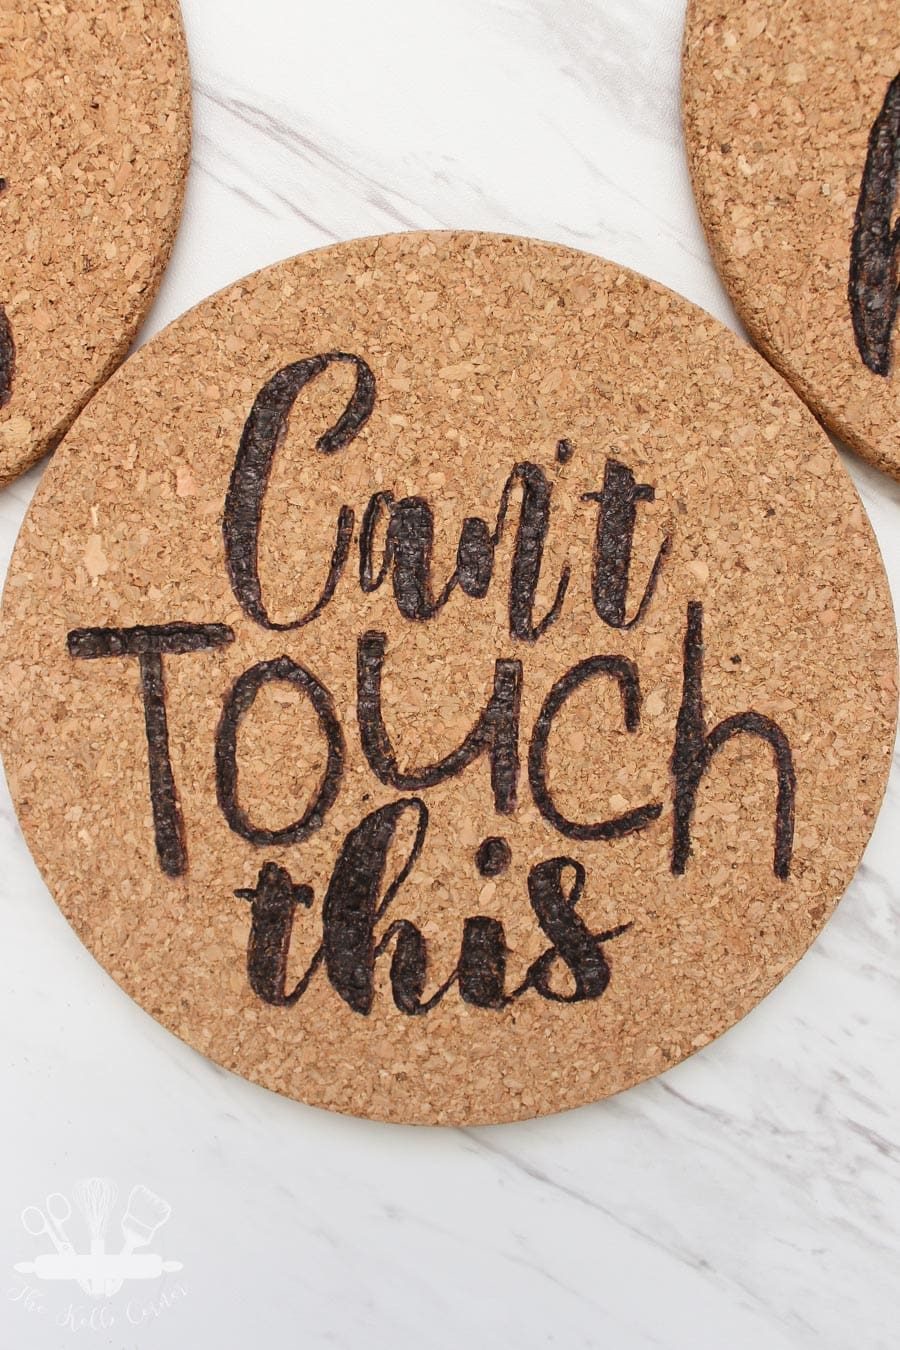
I got to burn stuff, use my new silhouette, and create something no one else has in their kitchen. Win. Win.
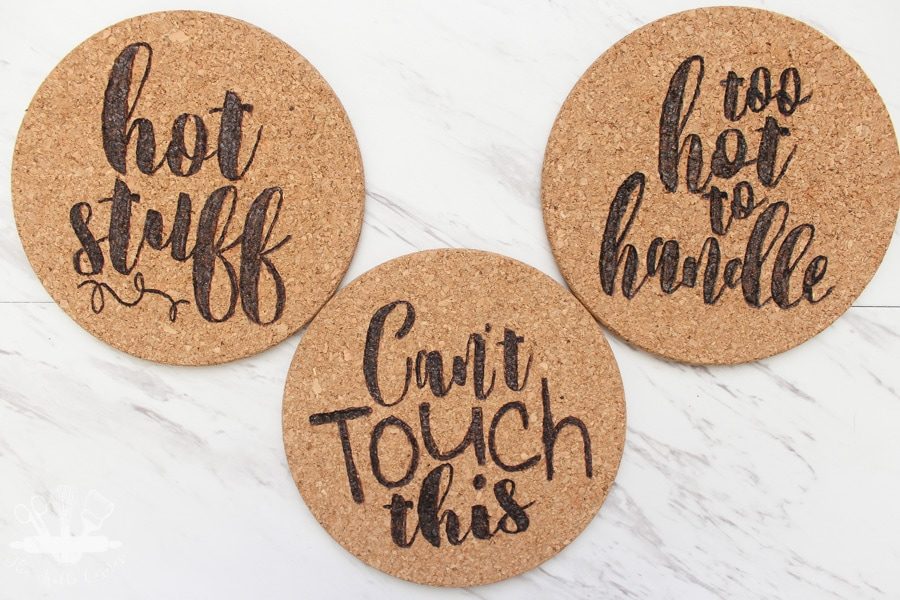
How to Make Custom Cork Trivets with a Wood Burner
What you’ll need:
- Silhouette Cameo, or other cutting machine (or printer, paper, X-acto knife, cutting mat and patience*)
- Contact paper, or vinyl
- Transfer tape
- Plain cork trivets (I bought mine in a 3 pack from Ikea)
- Pen
- Wood burning tool and tips
Start by creating your stencils in Silhouette Studio. I used the circle tool to create my circle slightly smaller than the cork trivet itself. Then using the text tool, created my sayings and arranged them how I wanted.
*Side note: If you don’t have a Silhouette, you could freehand the designs or use a printer and paper. I recommend using PicMonkey or Photoshop to design your custom quote or graphic. PicMonkey has tons of fun fonts and graphics to choose from and is very user friendly. If you use this method, you will want a small X-acto knife and self healing mat to cut out the details.
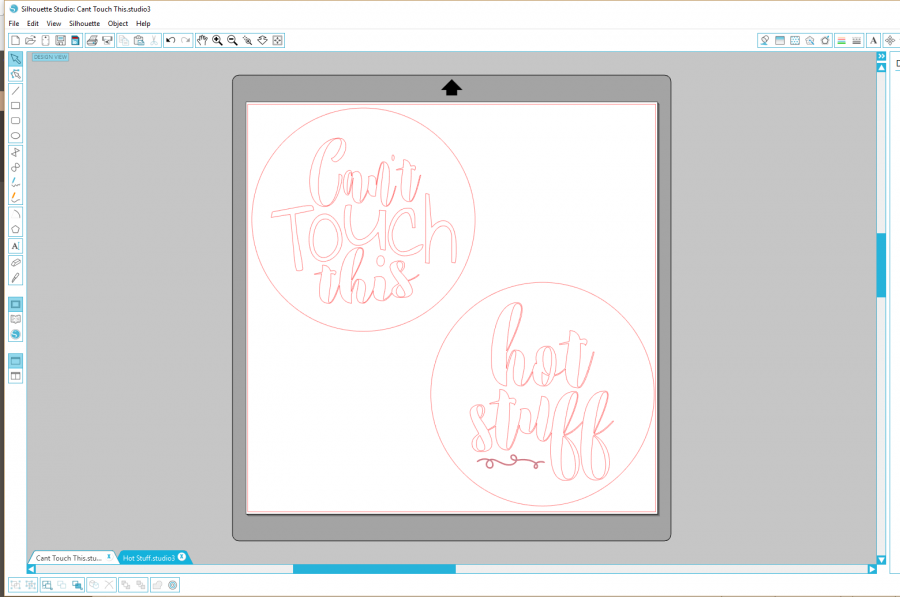
Once the designs are finished, print them out onto contact paper or vinyl. I used contact paper because you can get a roll at Dollar Tree for $1. It doesn’t matter what it looks like because you are just using it as a stencil anyway. This is so much cheaper than using vinyl, plus with being a newbie to the Silhouette, it took me a few tries to get the settings right. Which meant I ruined a few pieces, and I wouldn’t want to do that with expensive vinyl! The settings I used for the contact paper and AutoBlade was speed of 5 and thickness of 3 (always do a test cut first!). This cut through the contact paper but not the backing, which you will need to be in one piece.
After the stencils were cut, weed out the letters carefully, but be sure to leave the backing on the contact paper!
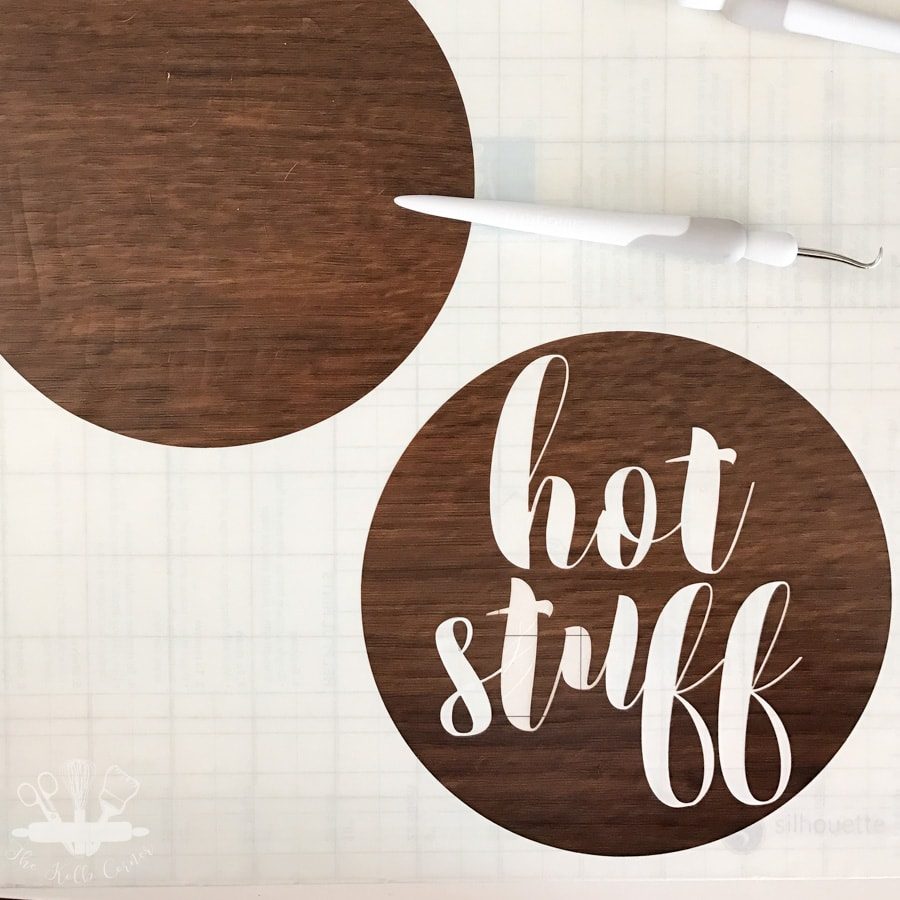
Next, place transfer tape over the contact paper before peeling up off of the backing. I didn’t have any so I used Washi Tape. I’m assuming transfer tape would be much easier to use. You definitely want to use something to keep all of the inner loops of your text in the right spot!
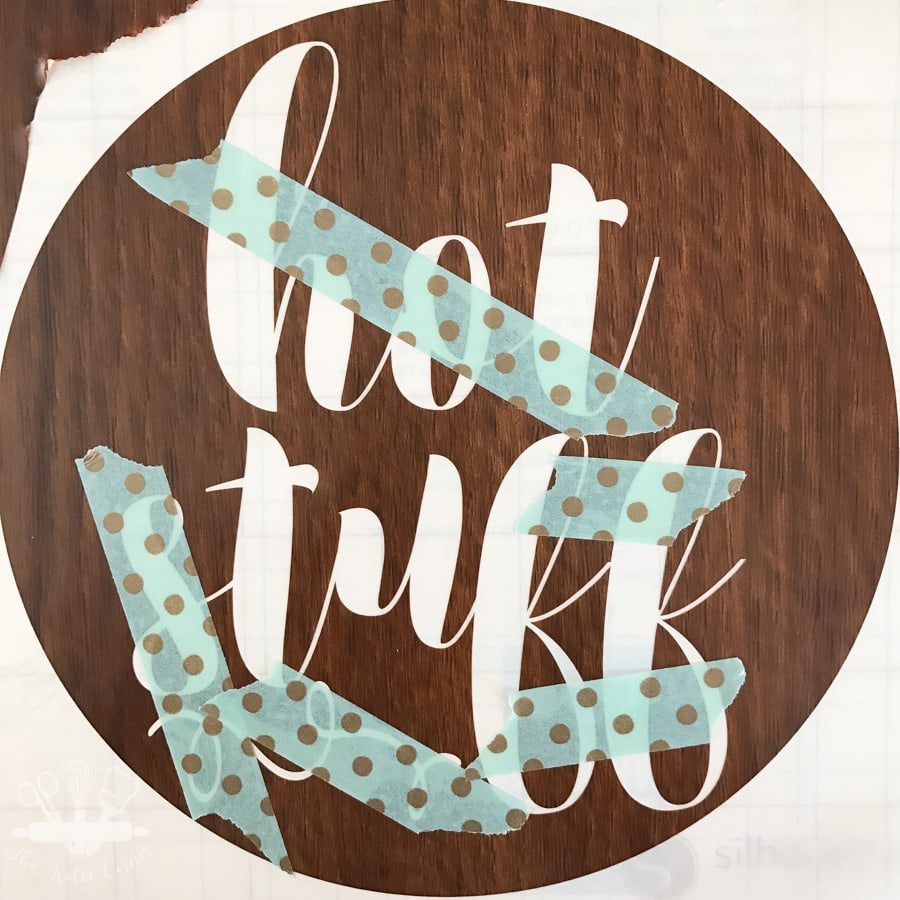
Then, peel up the stencil carefully and place it on the cork trivet. Smooth out any bubbles with a credit card to make sure you have it totally flat. Then just trace the outline with a pen.
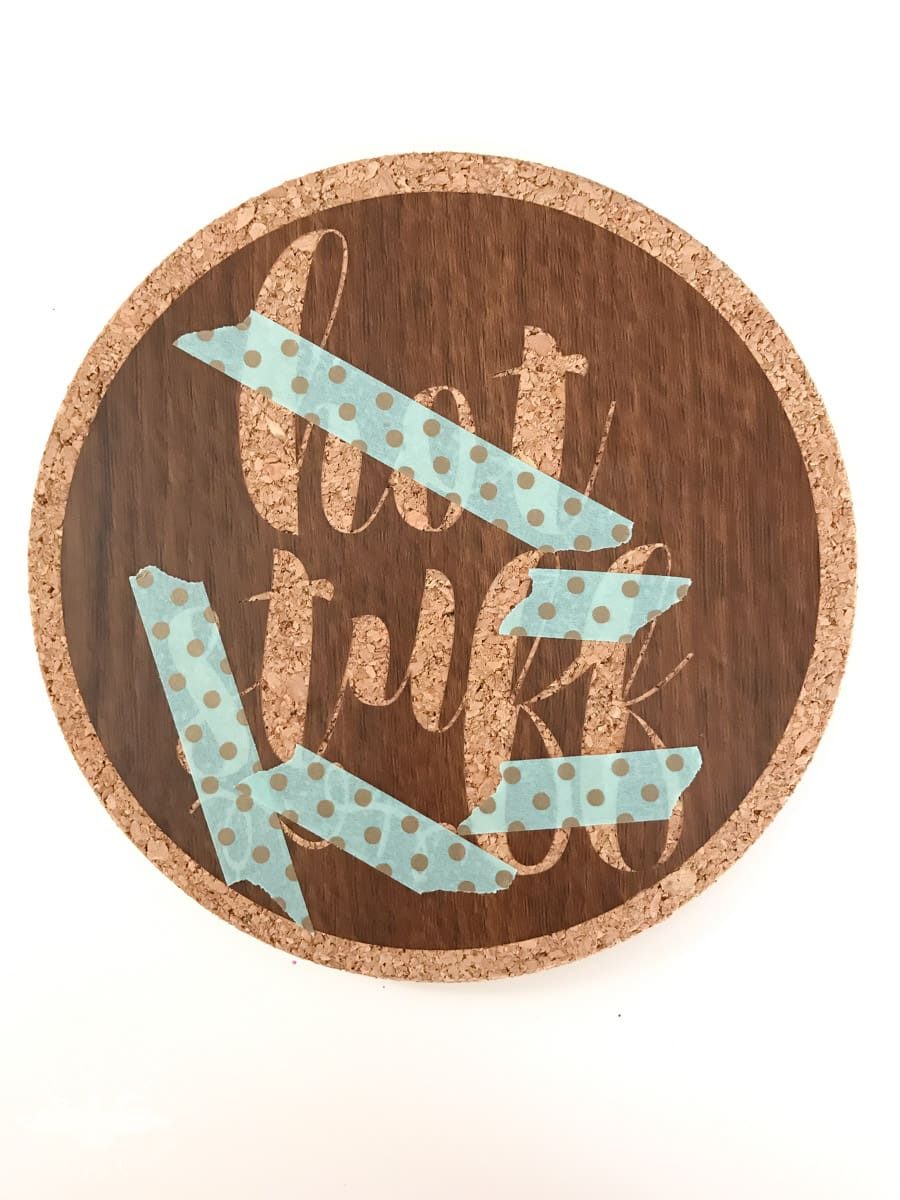
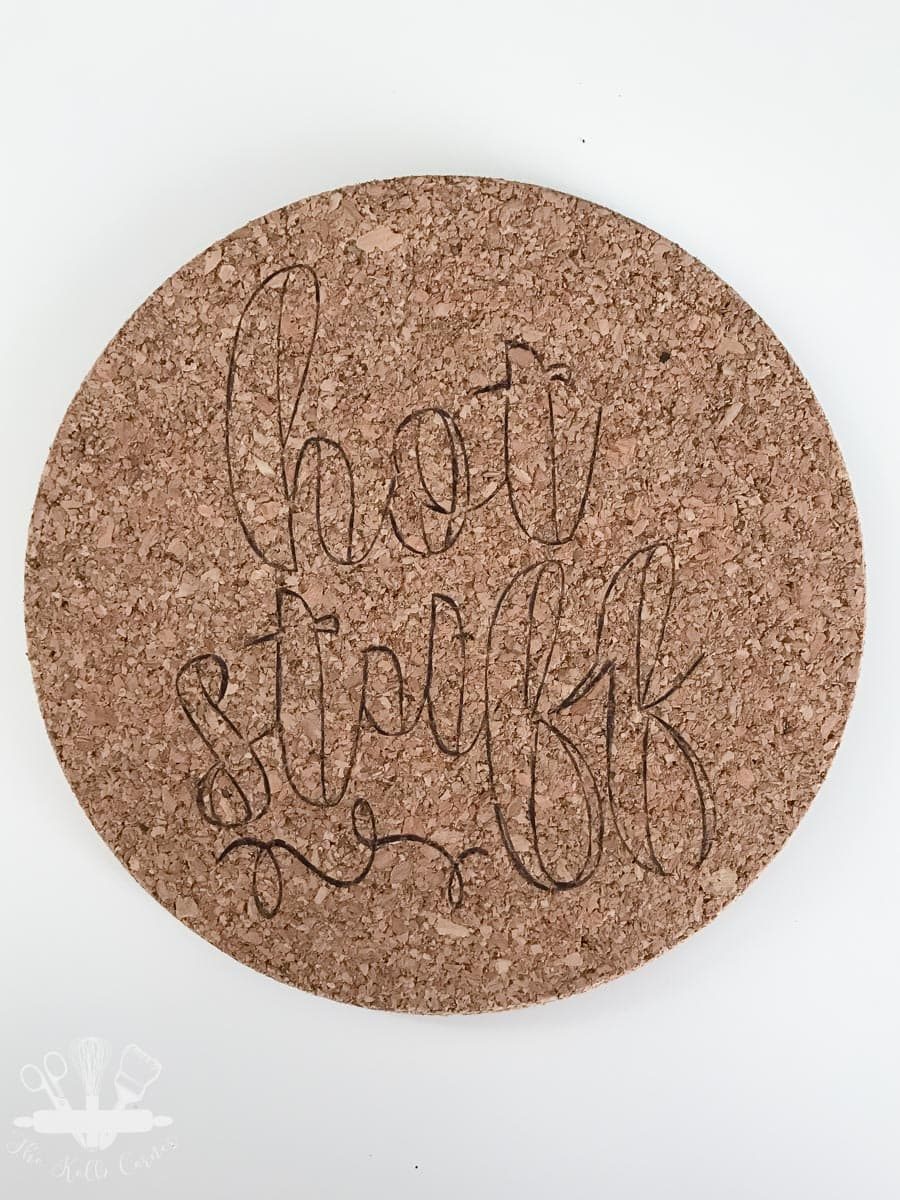
Once the outline is made, remove the stencil. Now you are read to burn! Yes, burning things excite me 🙂 I first went over the outlines with a fine tip. Then I used the flat, angled tip to fill in the thicker parts of text.
One note about this tool. It gets EXTREMELY hot, and the handle does get hot after a bit. I recommend getting a silicone sleeve, heat resistant glove, or wrapping the handle in an old scrap of fabric (being careful not to let the fabric touch any part of the metal). Also PLEASE please be sure to let the tool cool down completely before you change the tips out. Don’t let impatience get you burnt because this thing is hot hot hot.
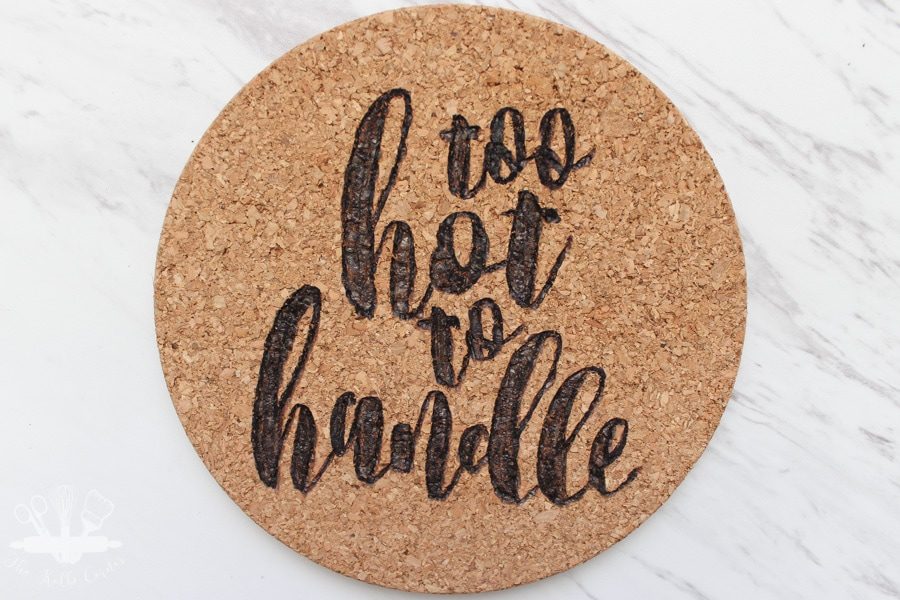
These custom cork trivets were so easy to make! I think I want to make a set of coasters in a Breaking Bad theme for my husbands office.
More DIY home decor ideas:
Love this? Pin it for later!

Gorgeous! Are you willing to share your designs? These would make a great gift!
Hi Sarah! Thank you so much for your comment! I actually no longer have the saved designs for this project. They were lost with a hard drive failure 🙁
Adorable. What font is hot stuff? I can’t find it anywhere. Thanks for sharing!
Thank you Kim! The typeface is called Willona. Here is a link if you are interested: https://crmrkt.com/yRrWpb
These are great! Do you think I could use paint instead? I don’t have a wood burning tool.
Thanks
Hi Tasha! Glad you like them. I think painting would work just fine, or even a sharpie paint marker!
Thank you!
I just tried it using/painting with brown nail polish!! It worked beautifully!!
Your blog just amazes me every day! I love everything you post, it’s always something cool and exciting! Thank you so much!
Amanda, These are so cute! They’d make perfect mother’s day gifts too. Pinned to share!