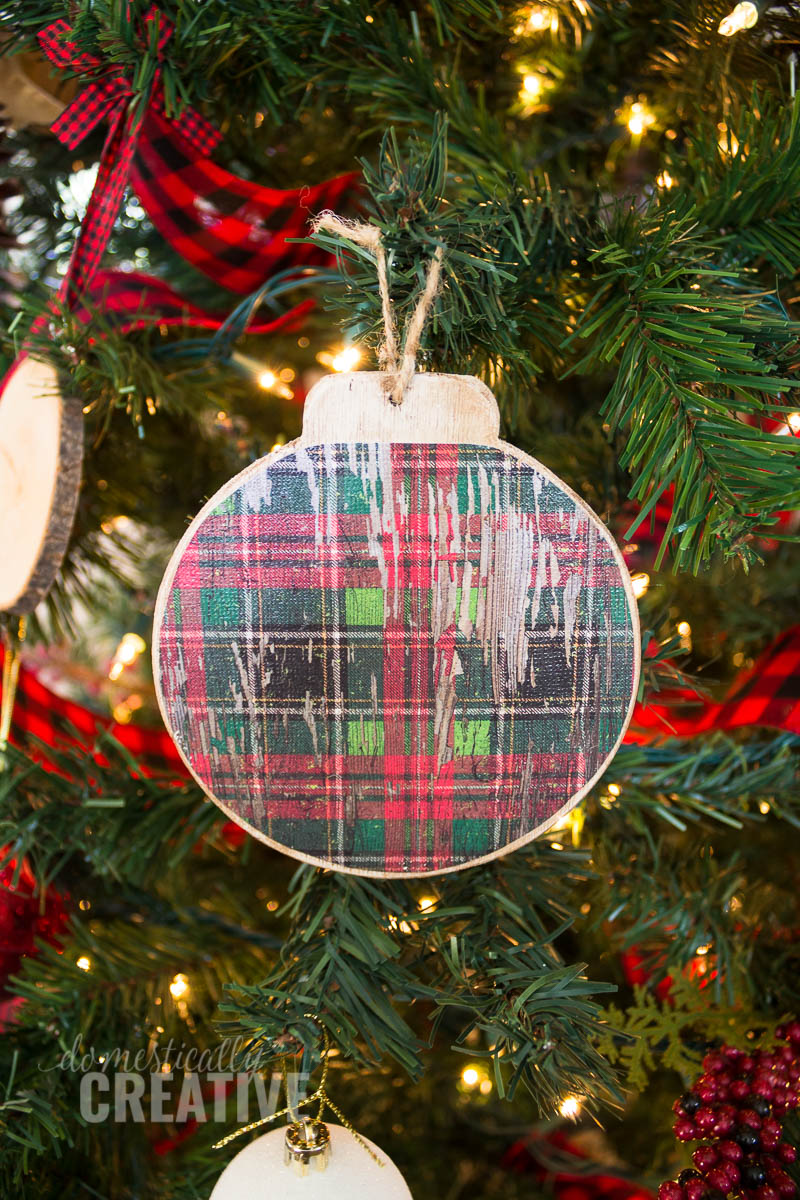
Scrapbook Paper Christmas Ornament
You can decorate your Christmas tree on a budget this year by making your own scrapbook paper Christmas ornament. The steps are really easy to follow and only require a few items you probably have in your craft stash!
This post may contain affiliate links for your convenience. Read our disclosure policy.
Do you love creating your own Christmas ornaments each year? I do! It’s so fun to look back on each year’s theme and style when I unpack all of the DIY ornaments I’ve created. This year is no different.
DIY Scrapbook Paper Christmas Ornament Tutorial
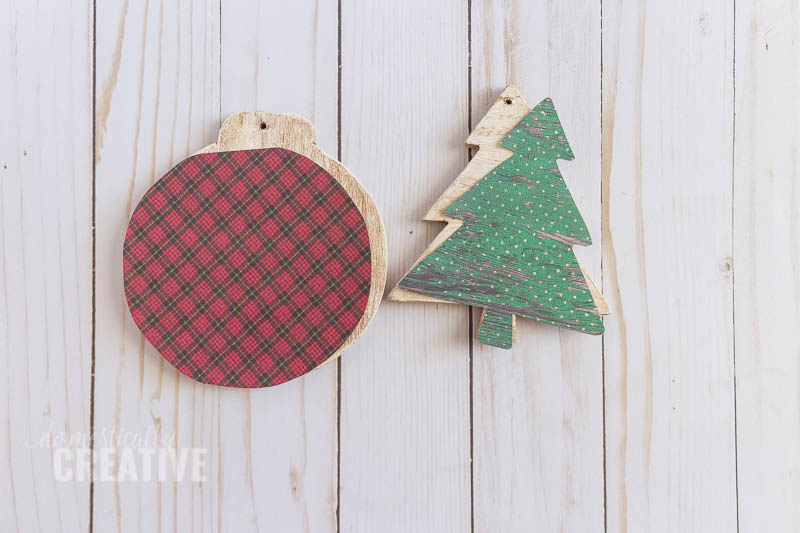
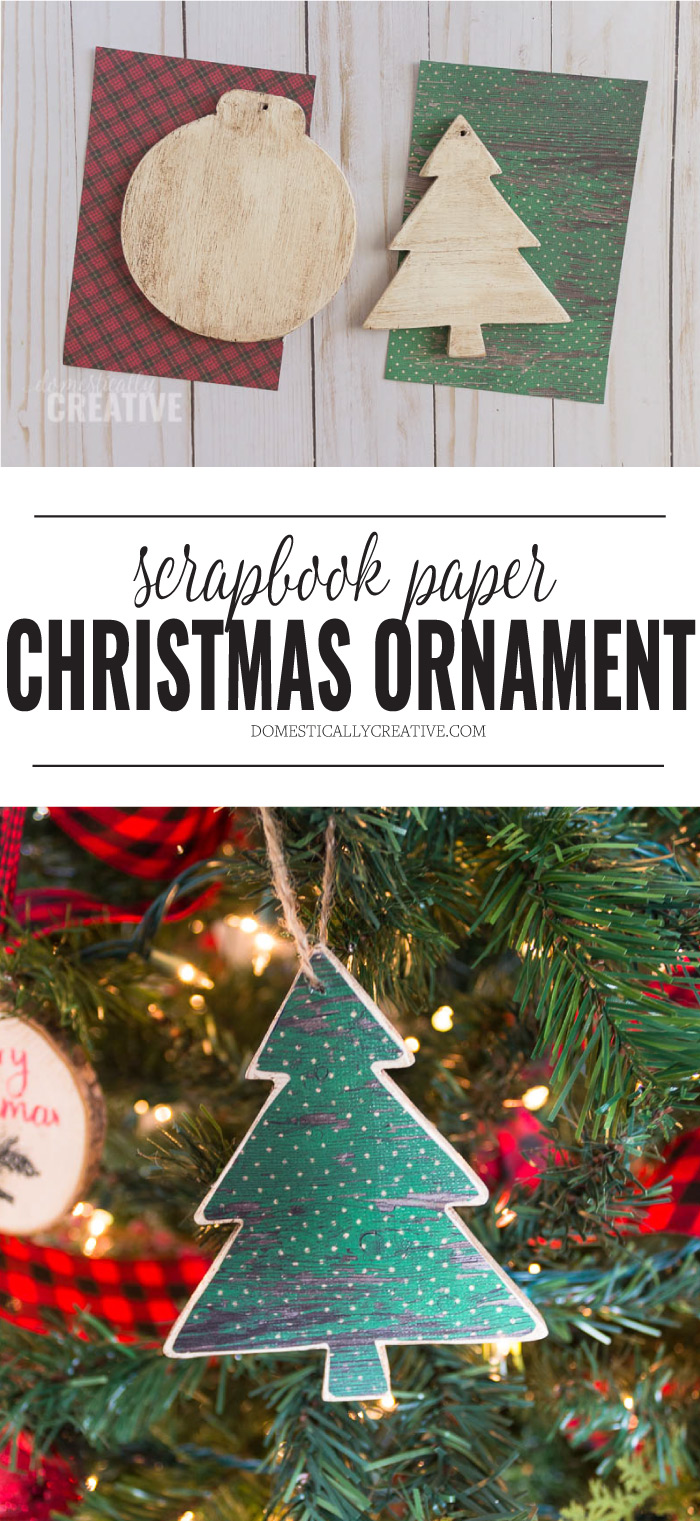
This Christmas ornament is made using a wooden bauble shaped ornament, some scrapbook paper and mod podge. I’ll share the step by step tutorial with you below. The best part is that these ornaments are completely customizable with different paint and scrapbook paper, so you can make them fit any style of tree and decor.
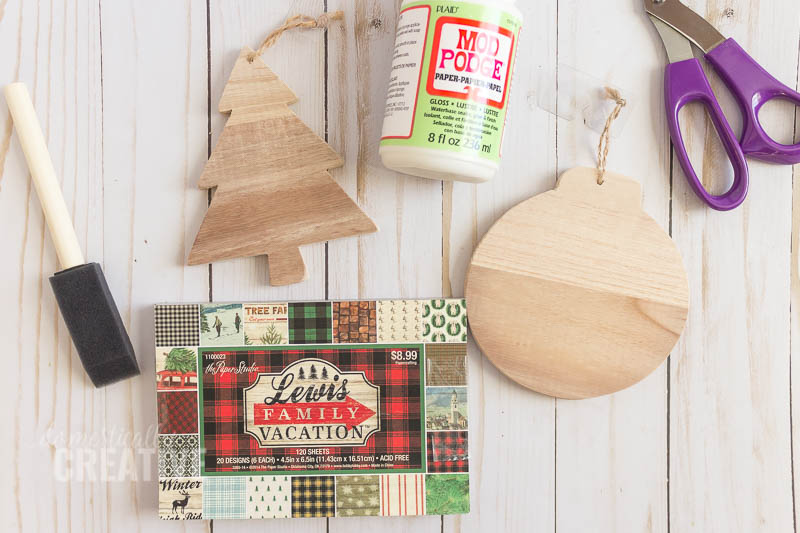
Supplies You’ll Need:
- Wooden ornaments (mine are from Michael’s)
- Chalk Paint
- Antiquing Wax
- Old cloth
- 220 grit sand paper
- Mod Podge
- Paintbrush
- Scrapbook Paper
- Pencil
- Scissors
- Acrylic Sealer
Step by Step Instructions
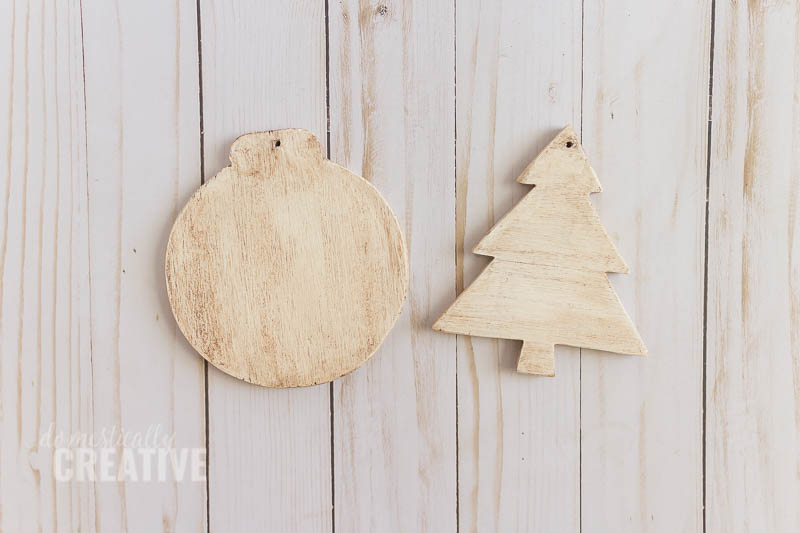
The first step is to paint each wooden ornament in Folk Art Chalky Paint. I used the color Cottage White, but you could use any color that strikes your fancy. After the paint was dry, I gently sanded it to get a nice smooth surface.
The next step is to seal the chalky paint using the Folk Art Antiquing Wax to give the ornament a nice distressed look. When applying wax to chalk paint, I find that applying a layer with a sponge brush, and then buffing the excess off with an old rag works best.
The next step is to cut out the shape of each ornament on your scrapbook paper of choice. The easiest way to do this is to trace the outline of each ornament onto the back of the scrapbook paper.
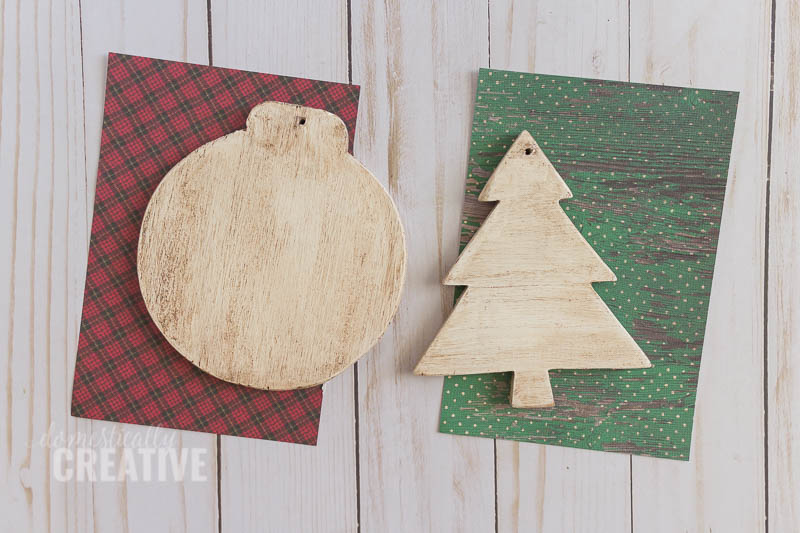

After each outline was traced, I cut out the shape with my scissors. I made sure to cut slightly to the inside of each outline so that the edges of the painted ornament would show. This is optional.
The next step is to apply the scrapbook paper to your ornaments! To do this, brush a thin layer of Mod Podge onto the back of the scrapbook paper cut out, and a thin layer onto the ornament itself. Carefully place the scrapbook paper right side facing up onto the wooden ornament. Use an old credit card to gently smooth out any bubbles.
Once the scrapbook paper has dried onto the ornament, apply a layer of Mod Podge on top to make sure it is sealed in place.
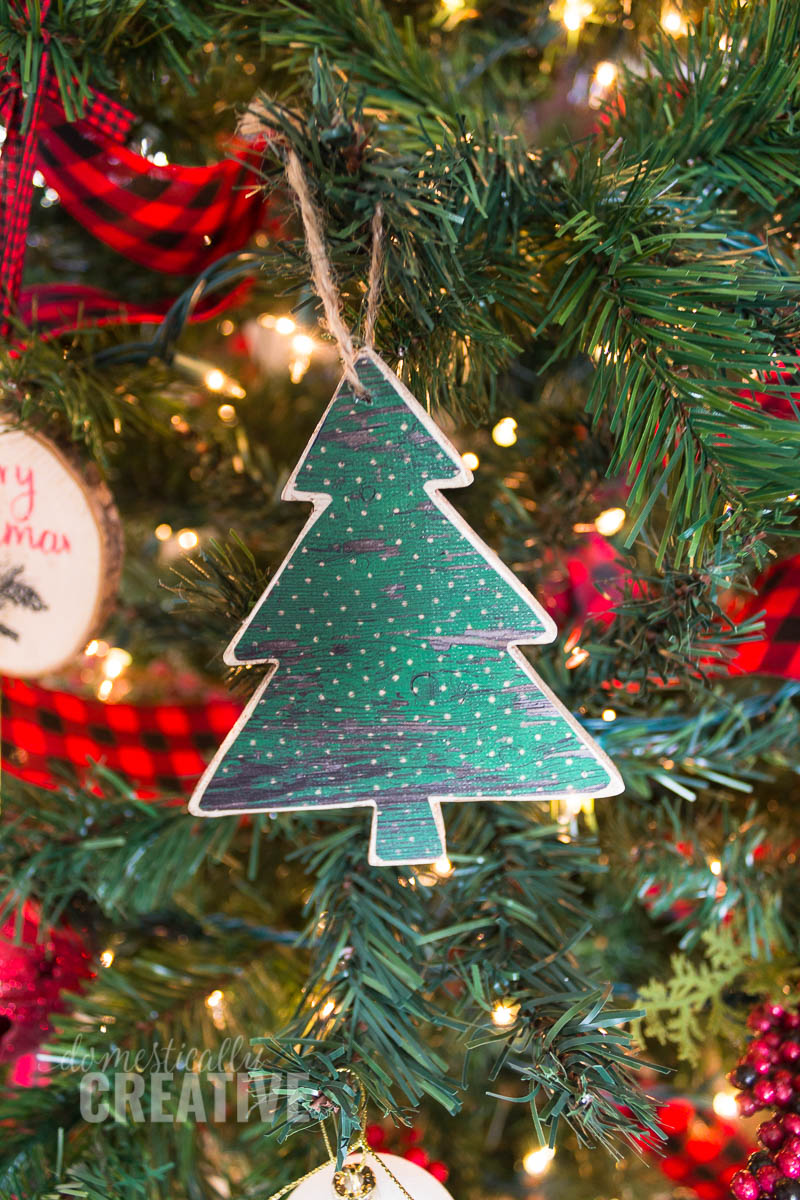
The last thing I do to give the scrapbook paper Christmas ornament a final layer of protection is to spray on an acrylic sealer. I actually love the Mod Podge brand because there isn’t a strong odor and it dries relatively fast! This step is optional, but I find that leaving the layer of just Mod Podge on top leaves the ornaments sticky feeling. Using an acrylic sealer takes care of that!
And that’s it. Simple right? If you love this Christmas ornament tutorial, make sure to check out some of the others I’ve made.
Love this? Pin it for later!
So cute and easy to make. And the scrap book paper is so pretty.
Oh, these are so pretty! I love the rustic Christmas look to them!
Thank you Megan!
How funny! I have the same scrapbook paper book that I used on my mystery tags…lol. I know what I’ll be doing with the leftovers 🙂
There are so many pretty papers in that book!
I love making wood crafts and this one would add such a fun touch to my rustic decor. Thanks for sharing.
These are super cute and simple to make!! Thanks for sharing!
Thank you Angela! They are fun to make too!
This would be a perfect way to spend an afternoon with children. I personally would prefer this to baking cookies, and they would still be able to have fun creating something pretty. Cute idea.
It would be great for kids to do!
I love your ornaments, they have that rustic feel to them. Lovely!
Thank you so much Vanessa!
So easy, and I love how you made something new look like family heirloom ornaments
Wow thank you so much Trisha! That is a great compliment!
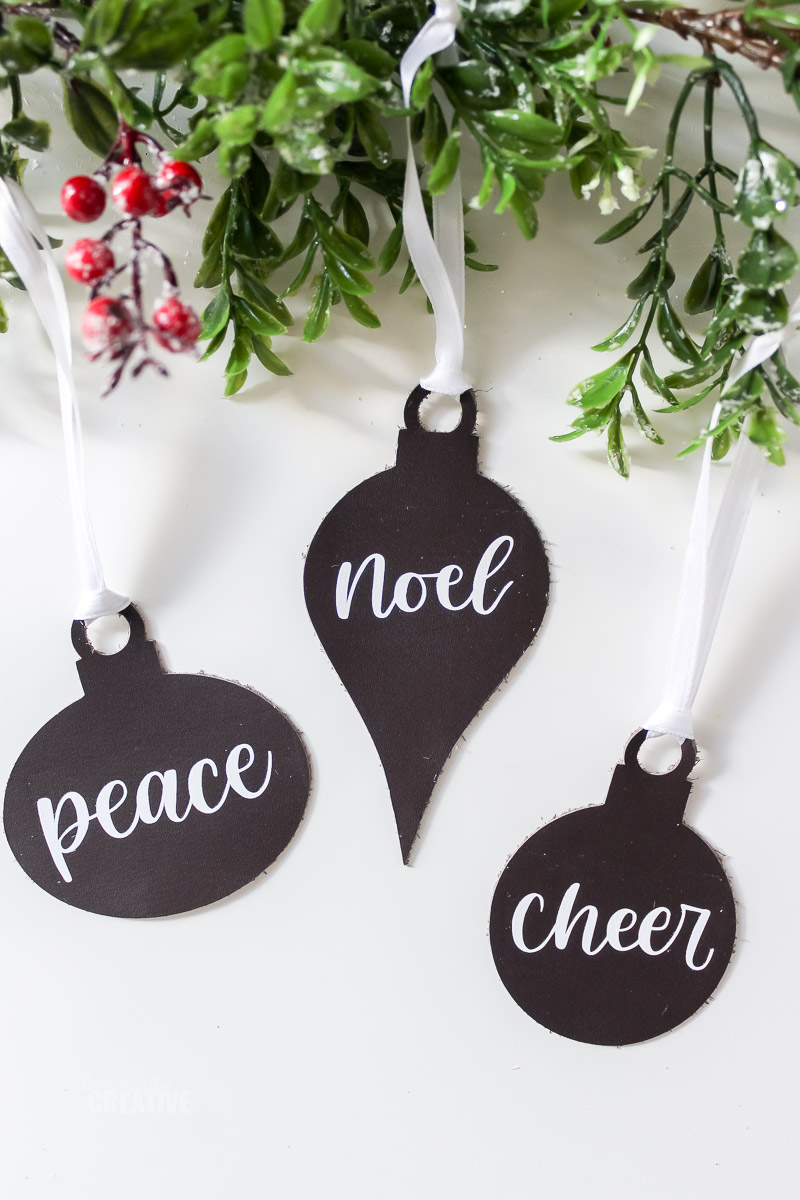
Very cute and a great way to use up those scraps of paper we all have! These would make adorable gift tags too — add a piece of paper to the back side to write on!
Thank you Lauren! We all have those scraps don’t we? And I agree these would be great tags for gifts too!