Simple DIY Leather Christmas Ornaments
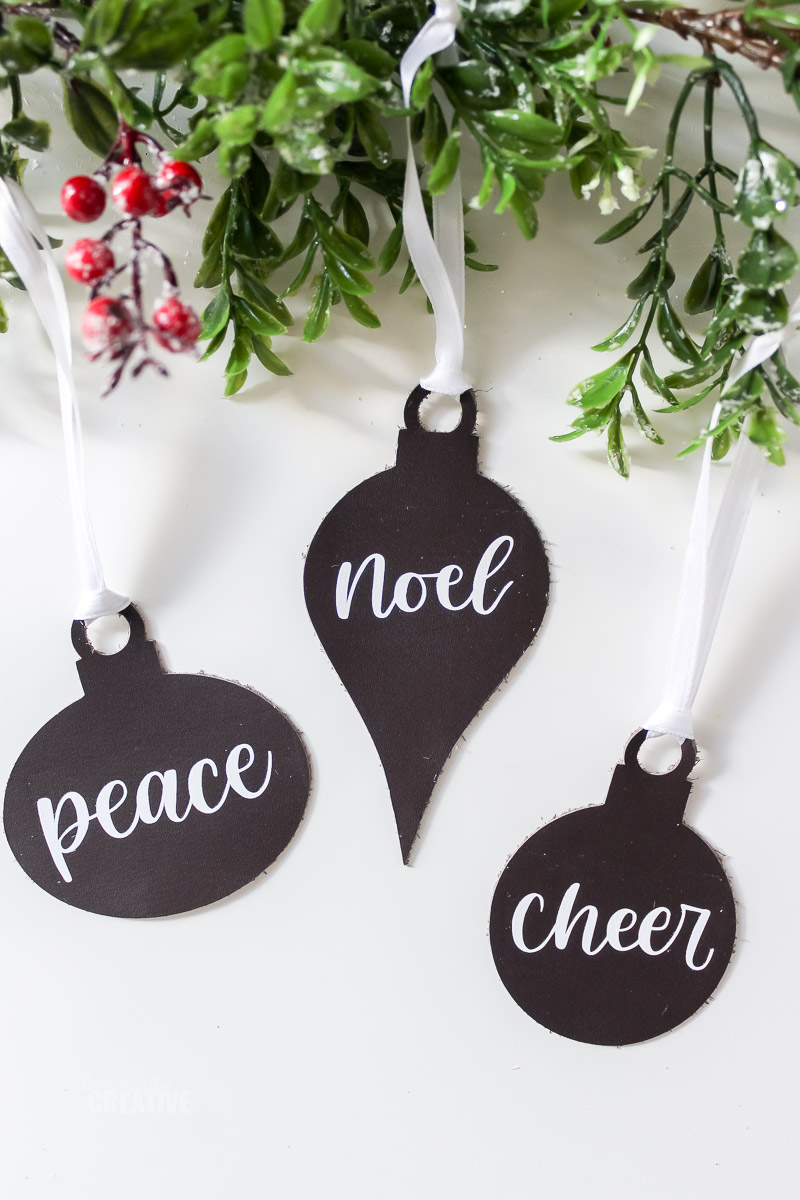
Make these simple and minimalistic leather Christmas ornaments for your tree in no time with the Cricut Maker or Cricut Explore Air 2
This post may contain affiliate links for your convenience. Read our disclosure policy.
How to Make Leather Ornaments
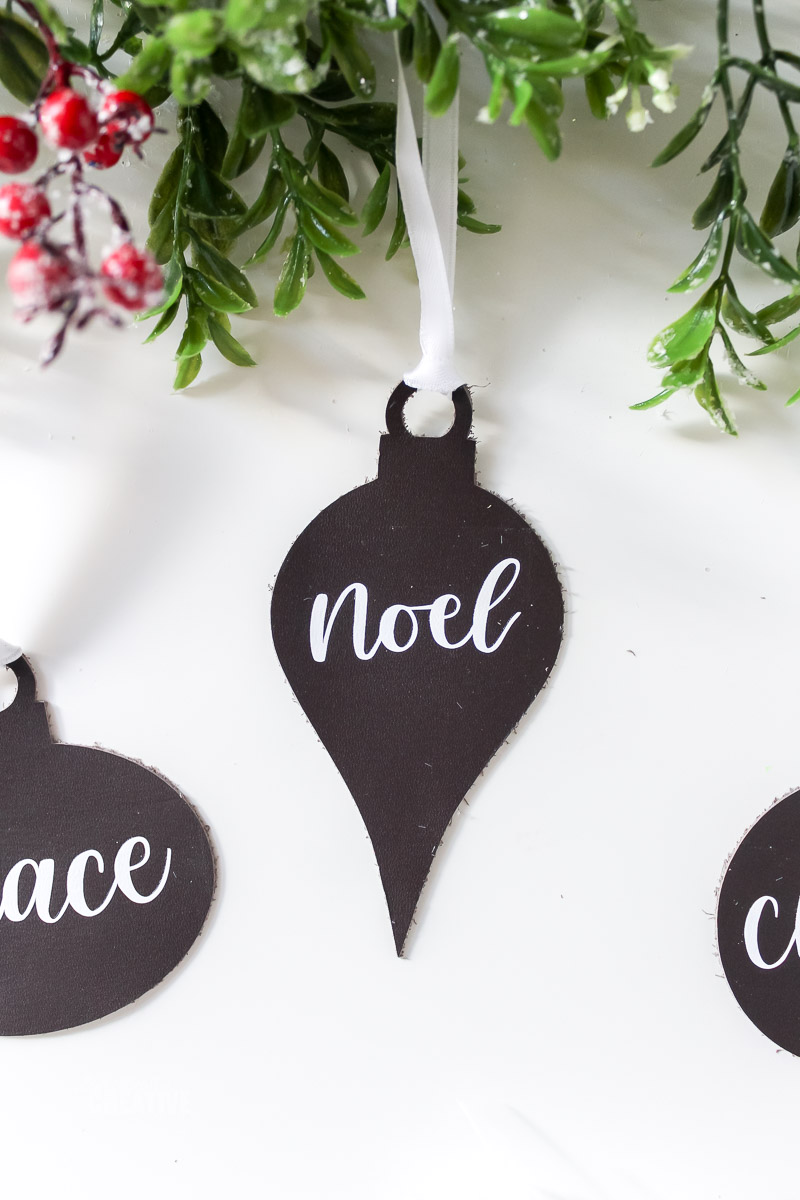
This project evolved as I was making it. My original plan for a leather ornament with Christmas words cut out of it did not pan out. Instead, I chose to use some heat transfer vinyl for the words and love how they turned out. I’m breaking down the process for you to make your own DIY leather Christmas ornaments with HTV and how to troubleshoot any issues that may arise.
Supplies Needed:
- Cricut Maker or Explore Air 2
- Deep point blade
- Cricut Genuine Leather
- StrongGrip mat
- Brayer (optional but helpful!)
- Easy Press 2 or iron
- HTV vinyl (I used this)
- Parchment Paper or cotton t-shirt (to help protect the leather while pressing)
- Ribbon or clear beading line/fishing line
How to cut genuine leather with Cricut
You need to use the deep point blade for cutting Cricut Genuine Leather. The regular blade is not deep or sharp enough, and the craft knife may cut too deep.
Choose a simple design for cutting out leather. For this project, I used some ornament shapes available in Design Space with the Cricut Access pass. I lettered the words “noel” “peace” and “cheer” on my iPad in the Procreate App. Learn more about lettering on the iPad.
I cut the ornament shapes out of leather first. To do this, place the leather face down onto the StrongGrip Mat (purple mat). Use a brayer or something to roll the leather as flat as possible and to make sure it is really stuck to the mat.
Next, move the star wheels on the Cricut all the way to the right. They can leave little indentations in the leather if left in place, so moving them aside will prevent that. Don’t forget to put them back before you cut the HTV!
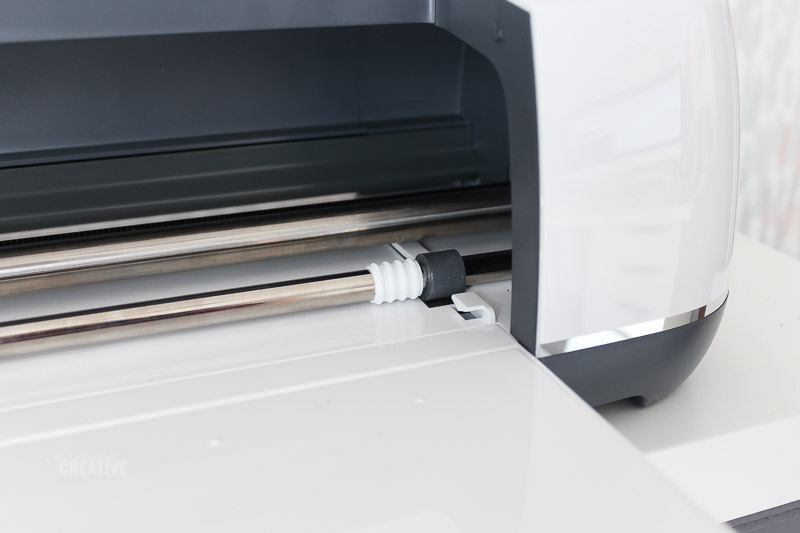
Choose the Genuine Leather from the materials list and make sure the deep point blade is inserted in the tool B slot. If the design you are cutting reads from only one direction you’ll also want to mirror it because you are cutting on the backside of the leather. These ornaments didn’t matter. I also chose “More” for pressure to get a good clean cut. You may want to test a small design on the Genuine Leather first, to see if default pressure will be sufficient.
After cutting out the leather ornaments, they should easily peel up from the mat. You can leave these simple leather Christmas ornaments as is, or apply some HTV designs in the next steps.
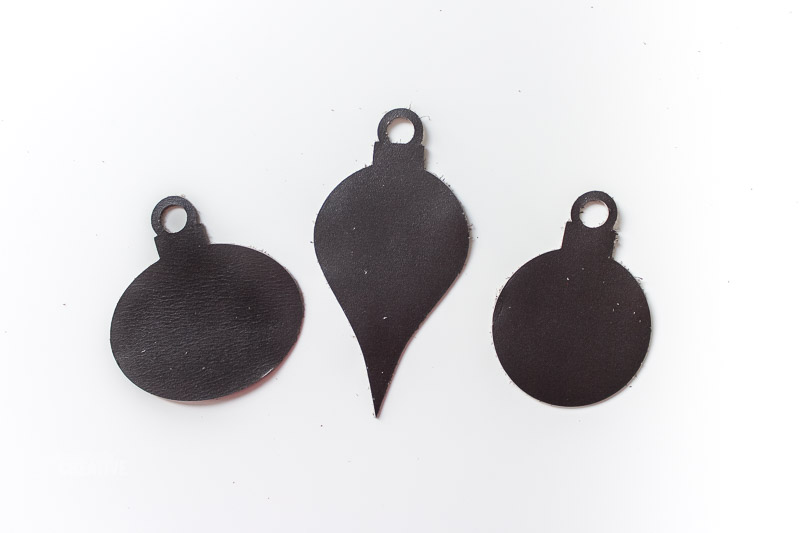
How to Apply HTV to Leather
I would have never thought about applying heat transfer vinyl to leather, but after doing a bit of research, decided to go for it. With HTV, you’ll need to mirror the design first before cutting. To apply the heat transfer vinyl to leather, you’ll want to first make sure you protect the leather. I used parchment paper for this, but a cotton t-shirt should also work.
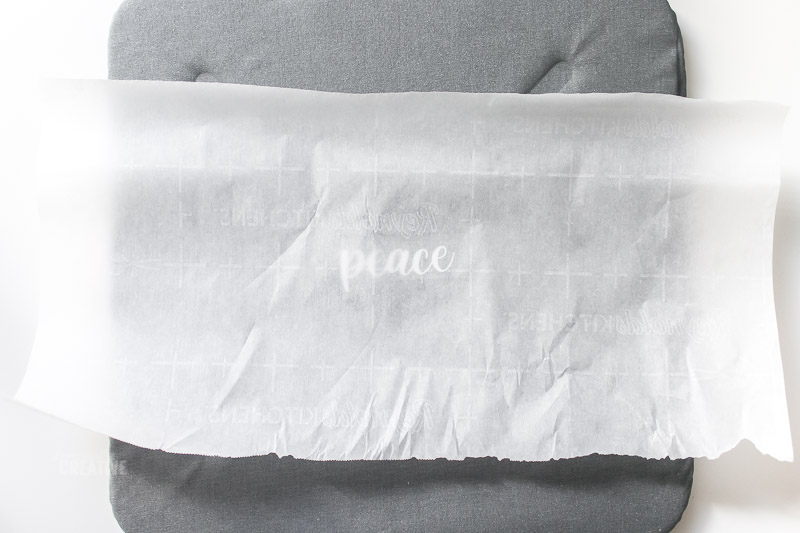
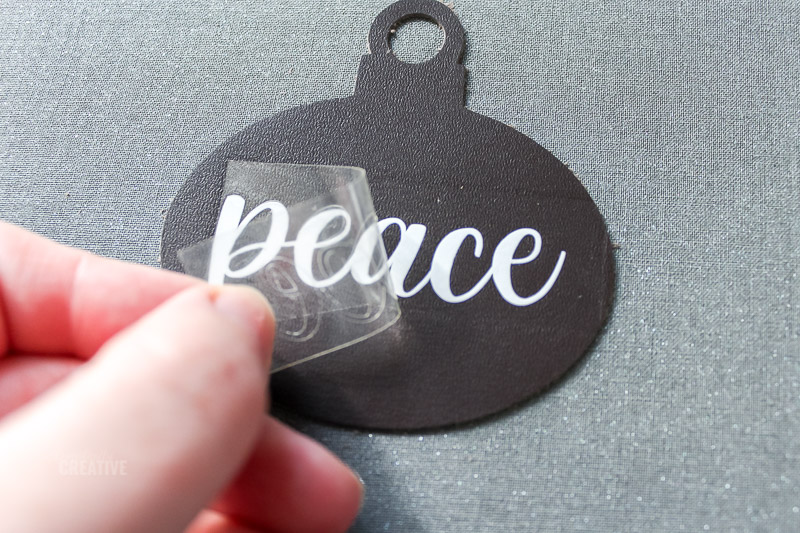
Heat the Easy Press 2 to 300. Press using gentle pressure for 15 seconds. Let the carrier sheet cool before touching so you don’t burn your fingers. If the vinyl hasn’t adhered all the way, press for another 5-10 seconds. Make sure you are still using the parchment paper or cotton t-shirt to protect the leather. Peel off the carrier sheet and voila! Beautiful but minimalistic leather Christmas ornaments!
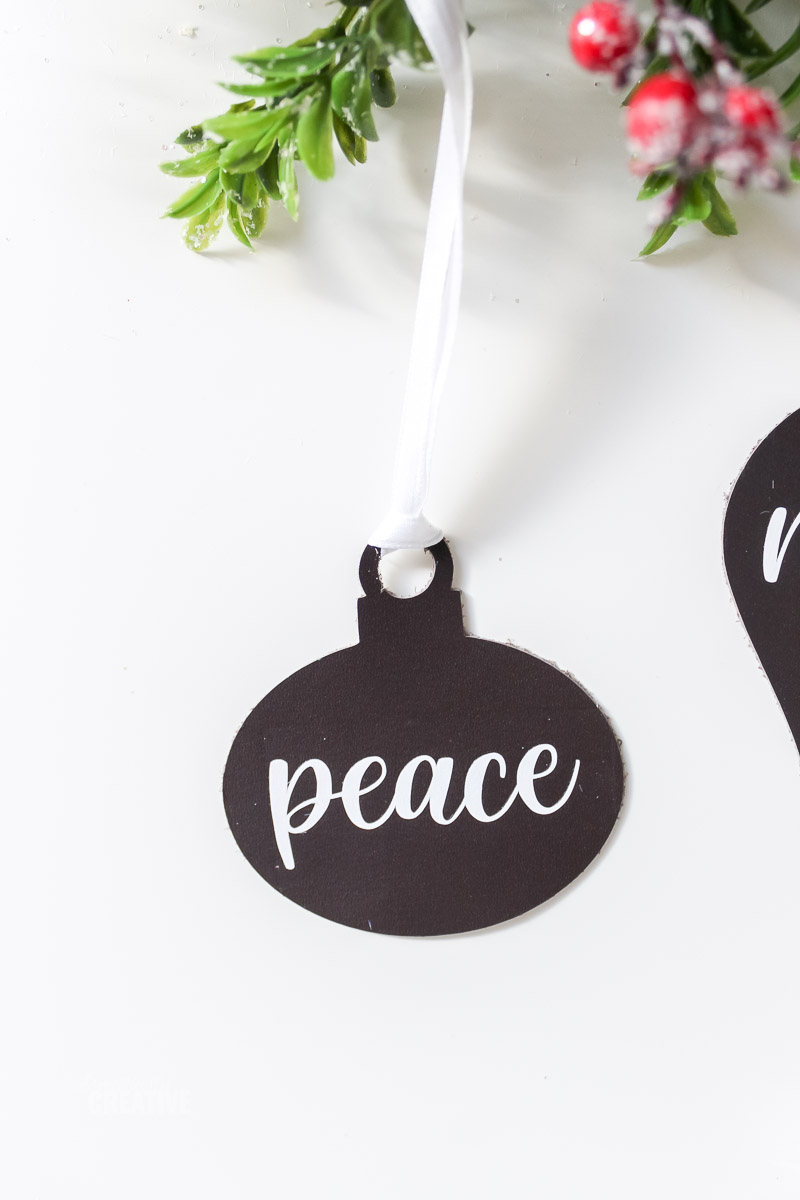
Attach a ribbon or some fishing/beading wire to hang these leather ornaments on the Christmas tree. I used a thin white ribbon. To place it on the ornament, fold the ribbon in half. Stick the looped end through the hole at the top of the ornament. Then put the loose ends through the looped end and pull taught. Tie the ends at the top of the ribbon to create a loop for hanging.
Cutting Leather with Cricut Troubleshooting
I ran into a few problems while cutting leather for the first time with my Cricut Maker. Here are some tips to help you troubleshoot, but you can always go to the Cricut Help page for even further troubleshooting.
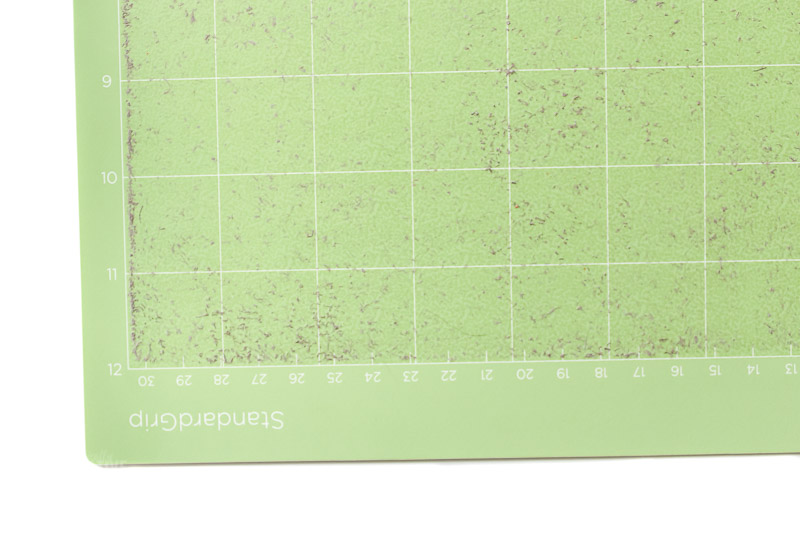
My first mistake was placing the leather face-up on my mat. Save yourself the headache and avoid doing this. The leather backing will all but ruin a cutting mat because all of the little scraps will stick to it. Don’t get me wrong, the mat still works, but it is covered in little fibers. I was able to get some of it up with a lint roller.
Next, make sure the design you are cutting is not too intricate. I originally tried cutting the words inside of the leather ornaments rather than using HTV. Because the Cricut makes several passes of the same cut when cutting out each design on leather, on the 2nd cut the small intricate pieces would come up from the mat. This not only caused the Cricut to chop up the design, but it also caused a jam in my machine. Take it from my experience and stick with simple cuts, especially if you are just starting out.
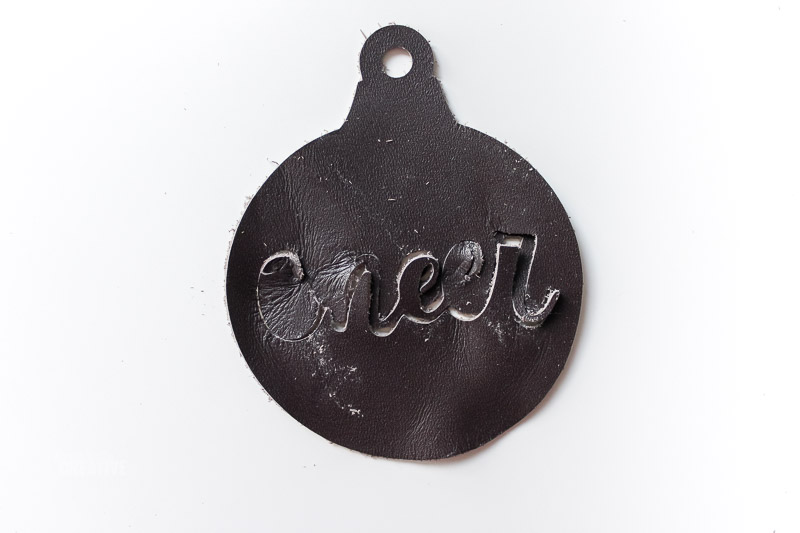
Test the design on cardstock first. Let’s face it, Genuine leather isn’t the cheapest material, so testing out the design to make sure it looks and cuts as you want is important. I used cardstock for my testing because it’s relatively inexpensive. Just make sure when you go to cut on leather that you change the materials setting and the blade!
A sharp blade and sticky mat are essential. Leather can slip if it’s not adhered all the way to the mat and can cause the cuts to be wrong or the material to bunch and jam the machine. The brayer tool is very helpful in making the leather stick to the mat, but if your mat is old and not as sticky it still may slip. The blade should also be sharp, or it may not cut all the way through the leather.
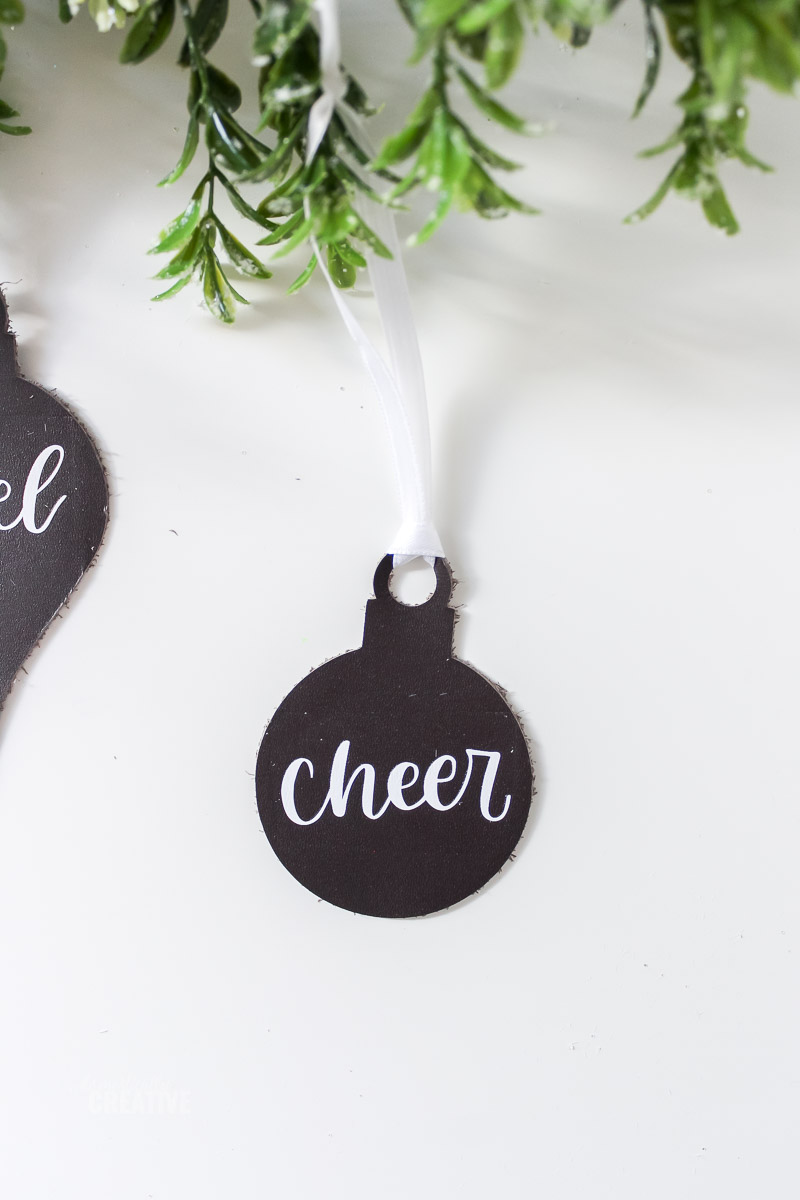
I love how simple and minimalistic these ornaments are and can’t wait to show you the rest of my simple and modern Christmas tree for this year. That’s coming up next week!
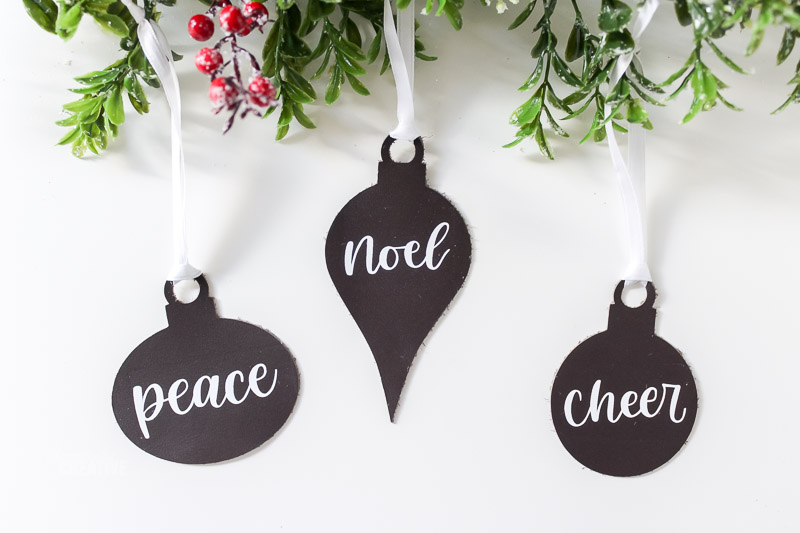
Until then, check out the rest of the handmade Christmas ornaments my friends have made below!
More Handmade Christmas Ornaments
How to Make Animal Crossing Balloon Present Ornaments
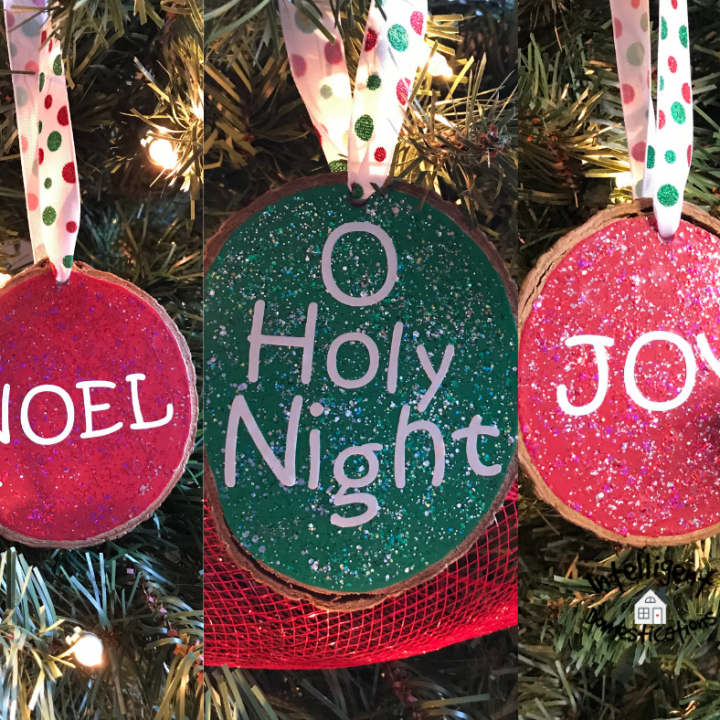
Easy Painted Wood Slice Ornaments In Bright Colors
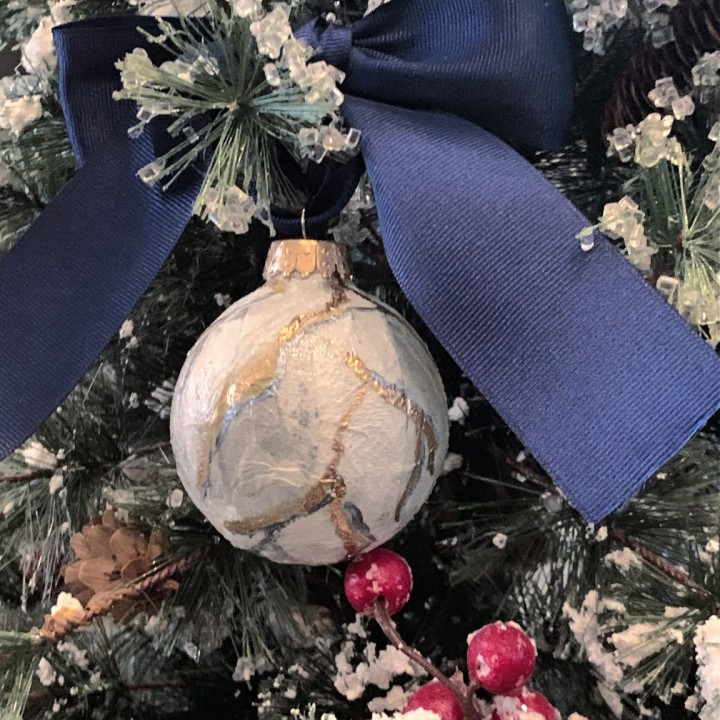
Easy DIY Marble Christmas Ornament
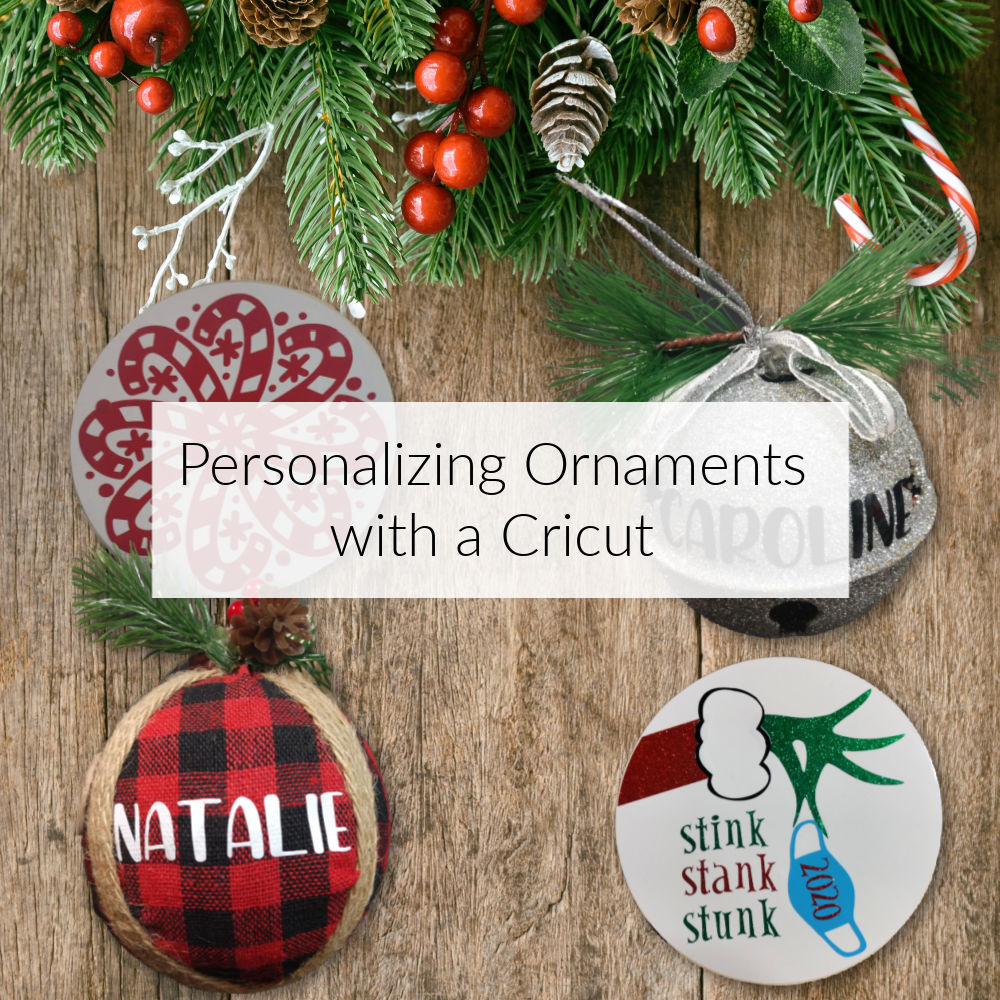
Personalizing Ornaments with a Cricut
Woodland Ornament DIY
Lettered Wood Slice Ornaments
DIY Wood Slice Ornaments
Light Up Christmas Lantern Ornament
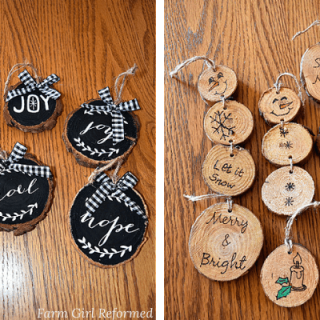
DIY Wood Burned Ornaments
Snow Globe Ornaments From Recycled Ice Cream Lids!
Crystal DIY Christmas Ornaments
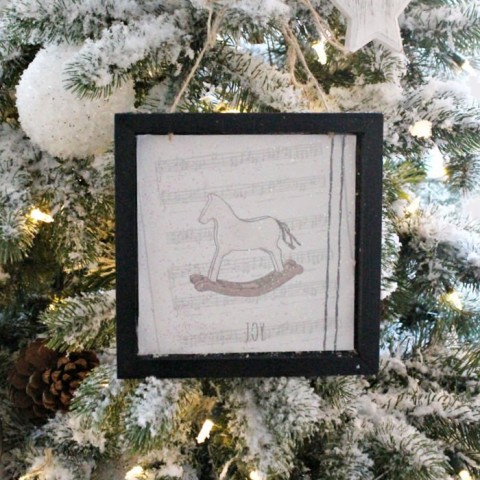
Farmhouse DIY Christmas Tree Ornament
DIY Minion Ornaments
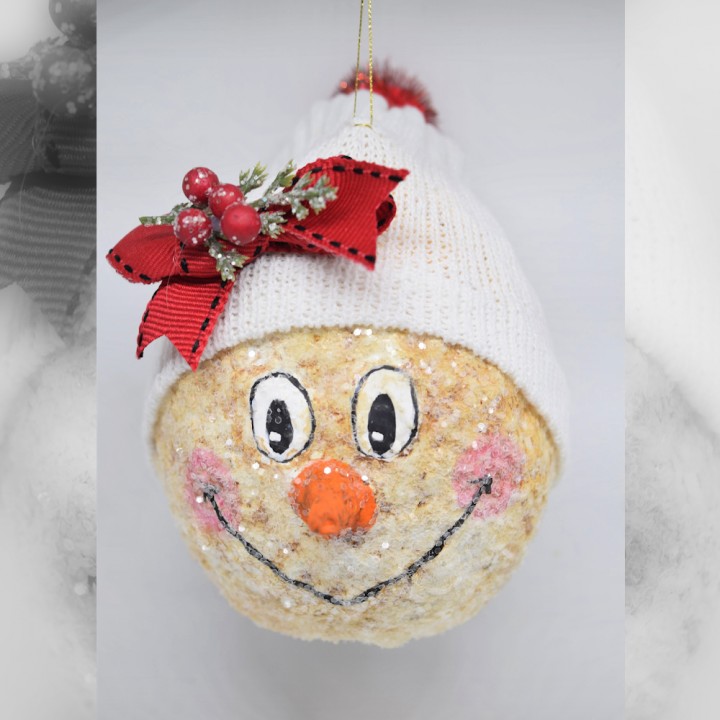
How To Make One-of-a-Kind Snowman Ornaments
DIY Christmas Tree Ornament: Easy Decoupage Craft
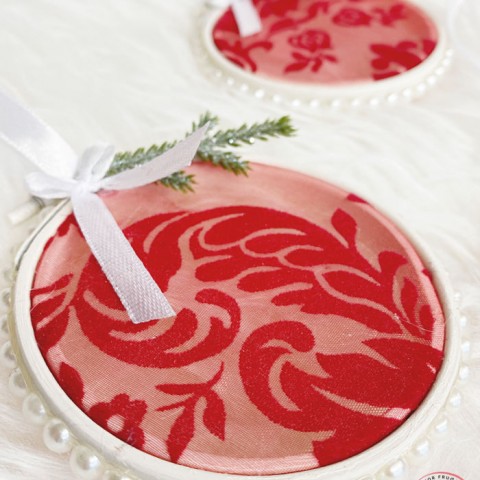
Organza DIY Embroidery Hoop Ornaments
Disney Holiday Cookie Ornament Craft
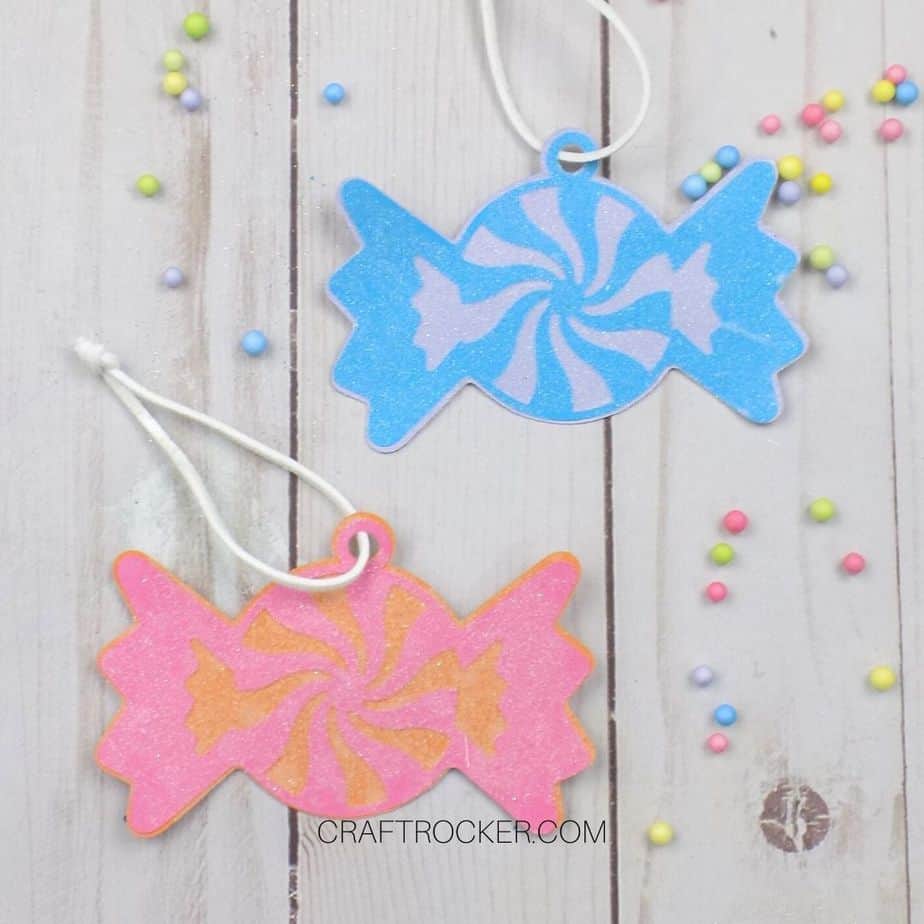
Glittery DIY Candy Ornaments with Your Cricut
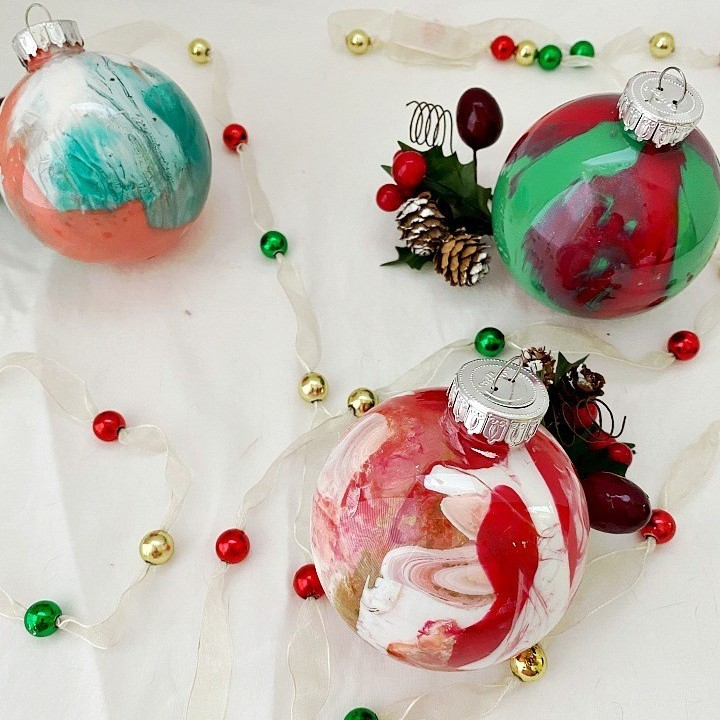
DIY Pour Painted Christmas Ornaments
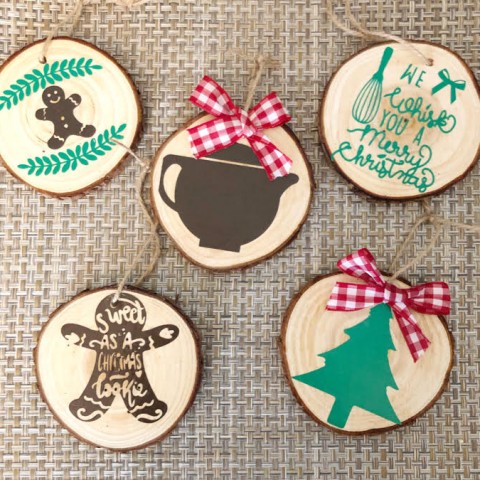
DIY Wood Slice Christmas Ornaments
Starfish Ornaments for a Coastal Christmas Tree
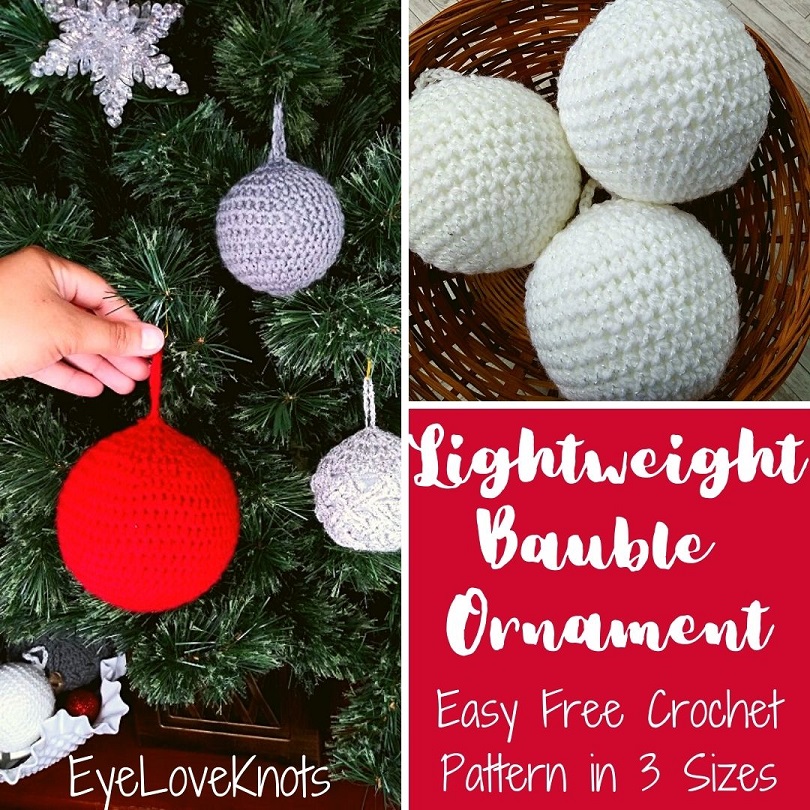
Lightweight Bauble Ornament – Free Crochet Pattern in 3 Sizes
Clothespin Snowflake Ornaments
Swedish Paper Hearts
How to Make Super Simple and Sparkly Christmas Ornament
More Cricut Projects
- DIY Coasters with Infusible Ink
- Custom Canvas Map Art
- How To Make Custom Cork Trivets
- DIY Painted Wood Sign
Don’t forget to pin it!
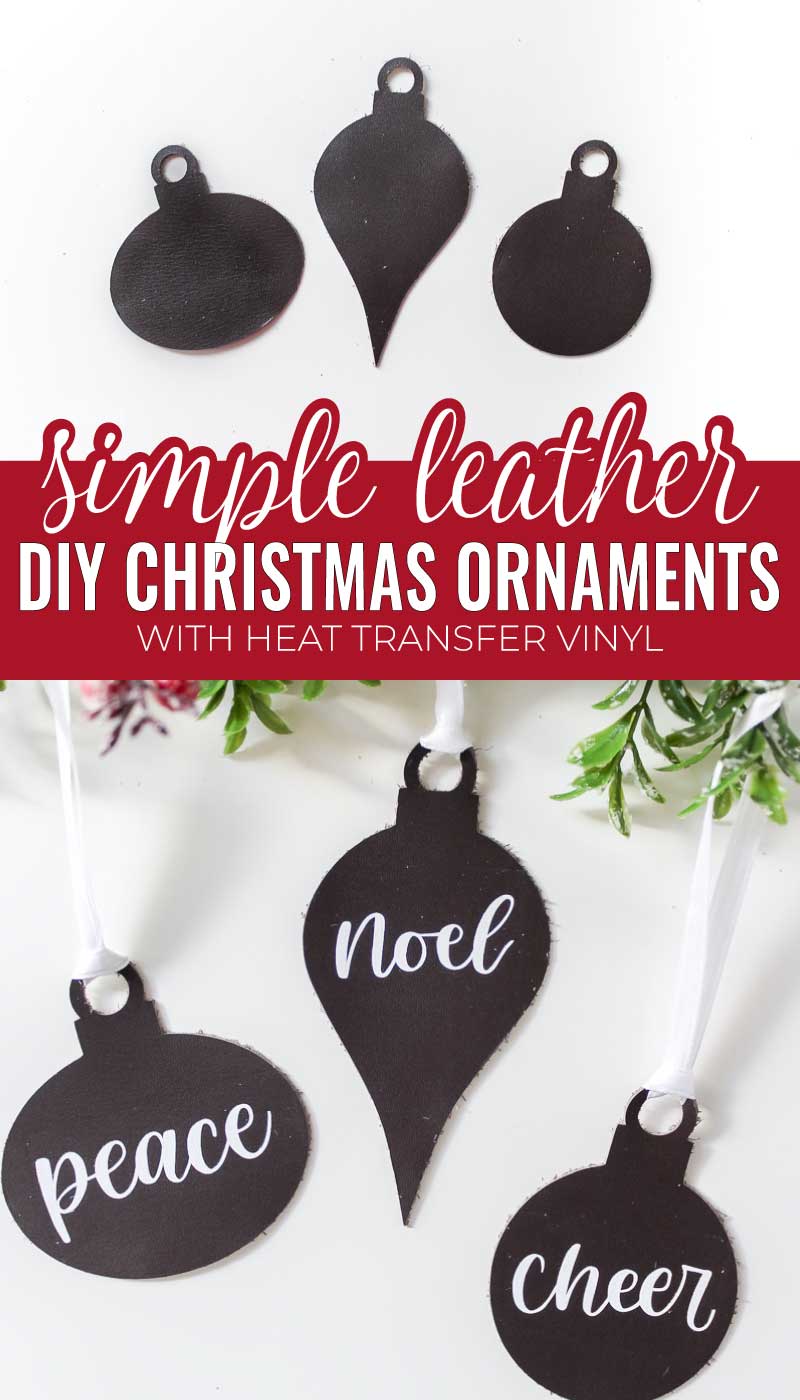
Festive Christmas Ideas Shared so far






those are so cool!
Love it! I am just learning how to use my Silhouette Cameo, so I love finding new ways of using it. Thanks for sharing!
These are really pretty and I’m excited to see they were made with a Cricut Machine. I’ve never tried cutting leather on mine so I’m inspired.
I appreciate you sharing your mistakes, it helps me too. In the end, they are super cute and really cool to be made of leather.