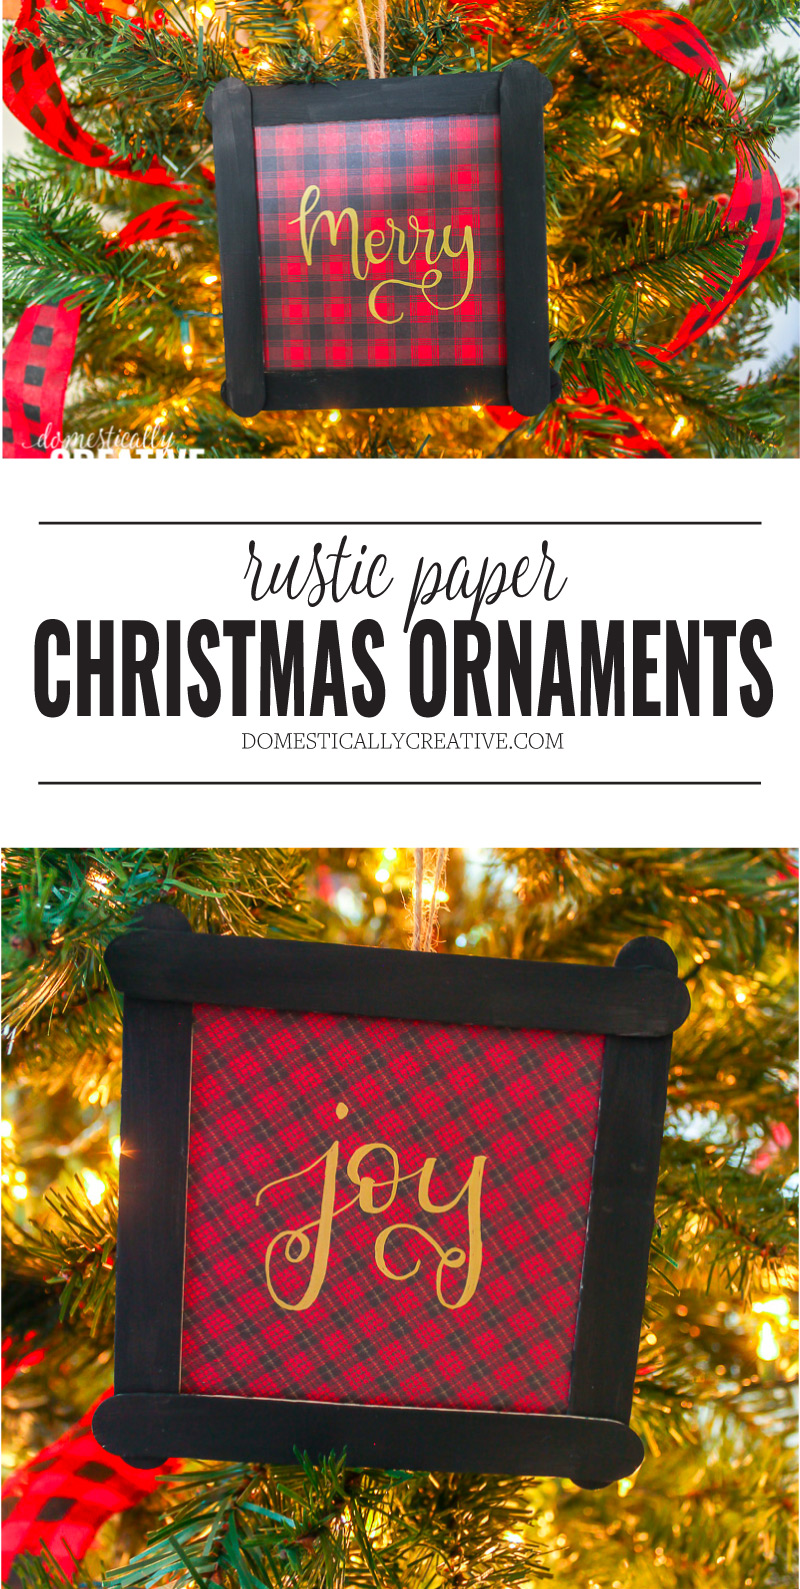
Easy DIY Rustic Christmas Ornament
These DIY rustic Christmas ornaments are so easy to make! Change out the scrapbook paper for a gift bag, wrapping paper, or any other Christmas themed paper you can come up with to make them your own!
This post may contain affiliate links for your convenience. Read our disclosure policy.
I’ve created several of my own ornaments over the years, and one thing that always comes back into play it seems is scrapbook paper (like this ornament, and this one too!). Scroll down for the full tutorial on these DIY rustic Christmas ornaments.
Easy DIY Rustic Christmas Ornament
Items You’ll Need:
- Scrapbook paper (or gift bags work too!)
- craft sticks
- acrylic paint in the color of choice
- paint brush
- Paper Cutter
- cardboard or thick card stock
- glue stick
- hot glue gun
- twine or ribbon
- Optional–Paint or metallic sharpie pen

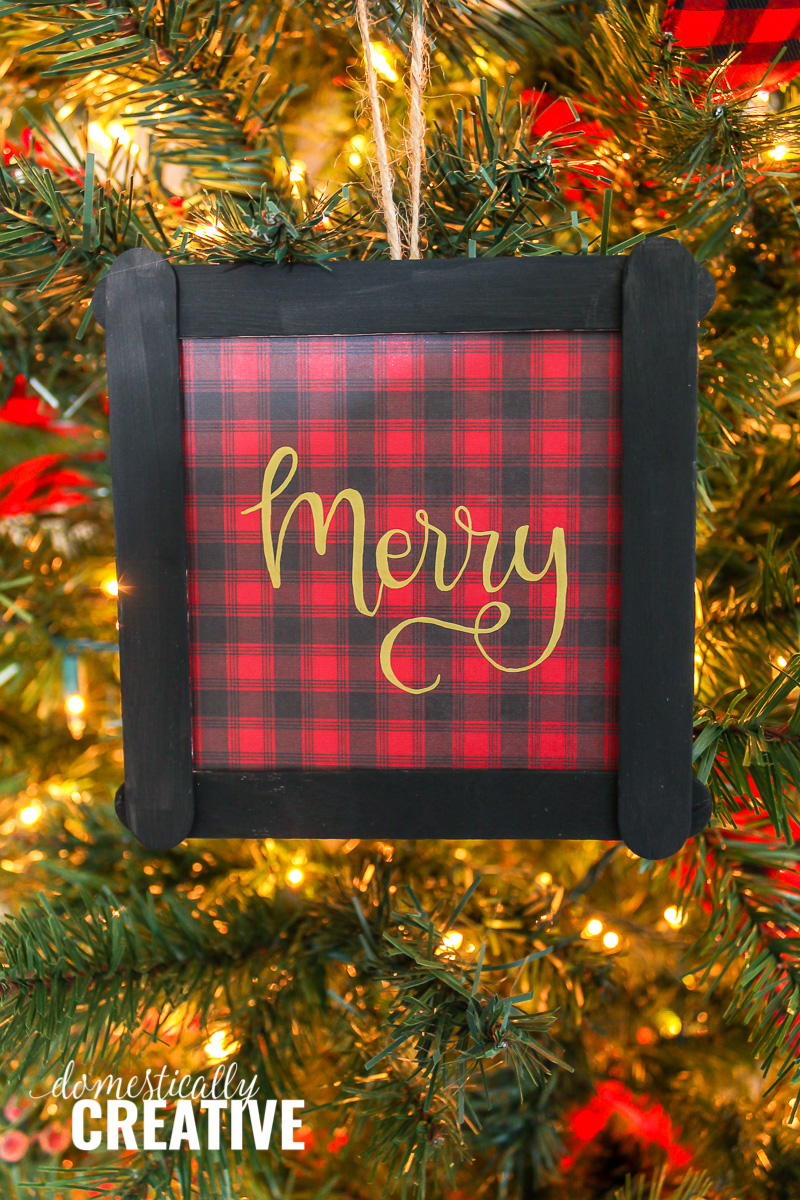
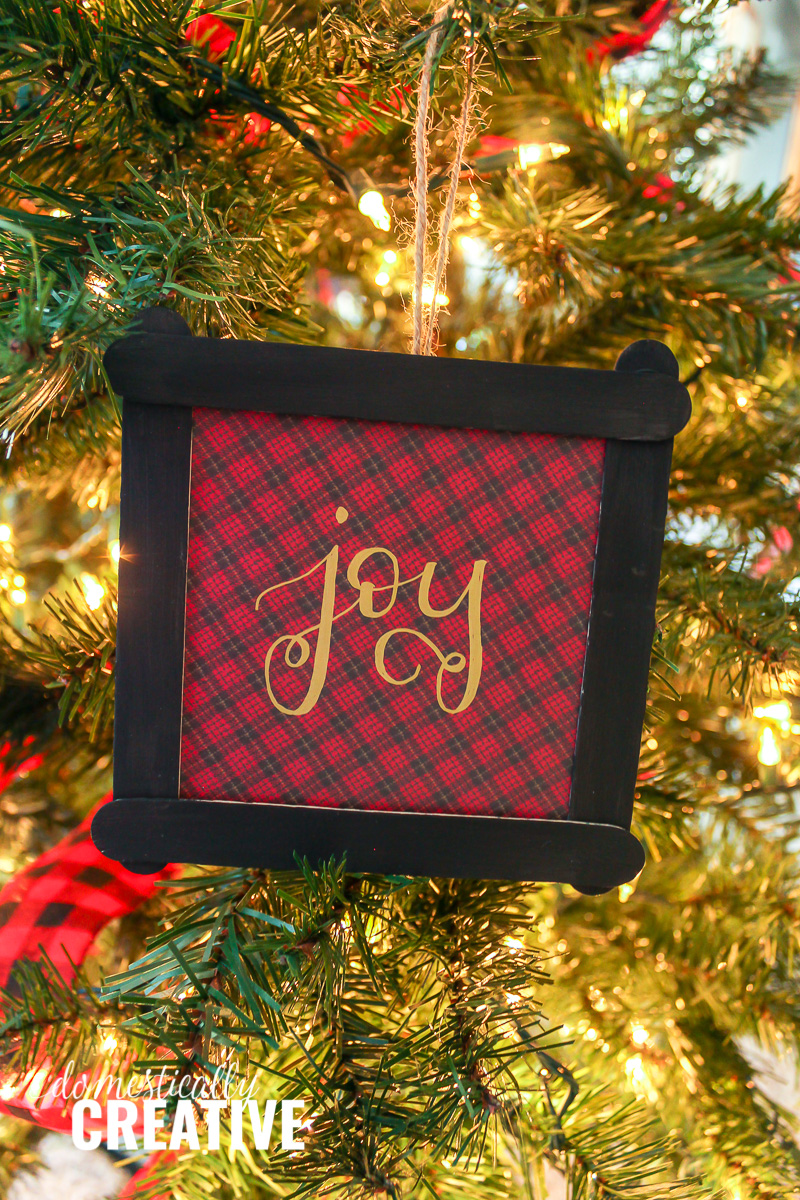
Start by painting 4 craft sticks per ornament in the color of your choice (front, back, and sides) Set them aside to let dry.
Next, choose which scrapbook paper design you will be using. I chose a red and black buffalo check, a red and black plaid, a Christmas tree sign, and repeating Christmas tree patterned paper. You could also look at the dollar stores for pretty gift bags to cut up and use.
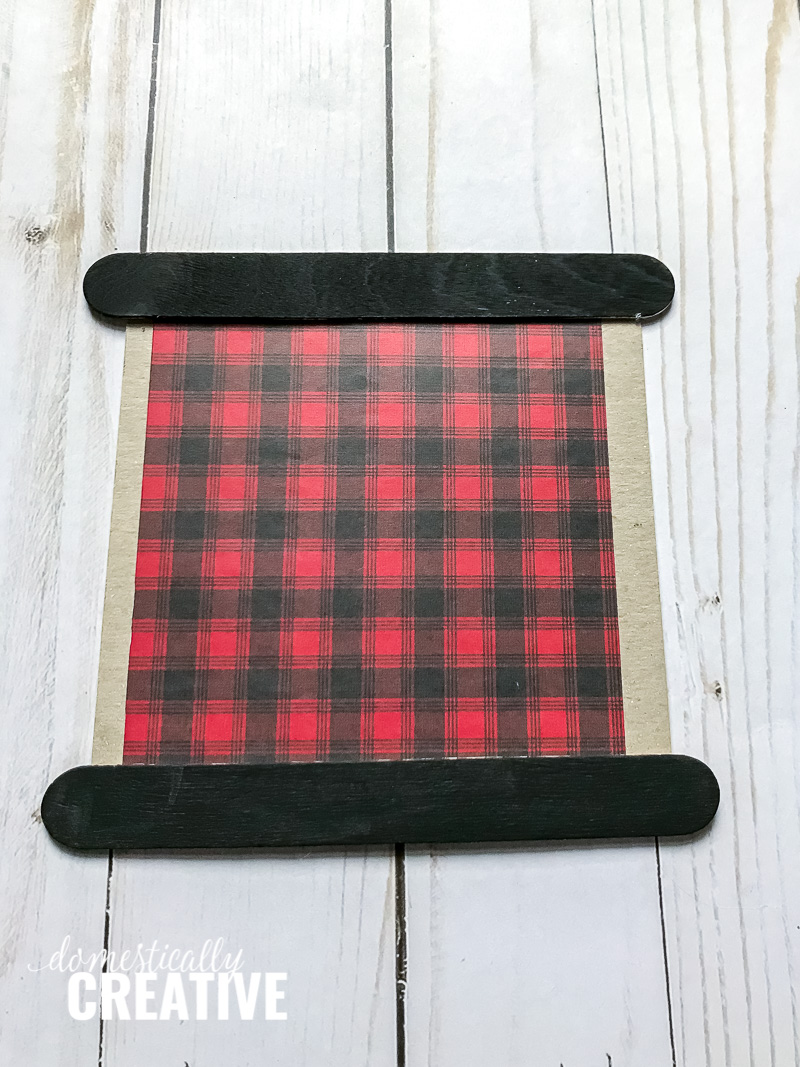
Cut the paper with a paper cutter into a square that measures 5″ x 5″ (or 1 inch shorter than the craft sticks you will be using)
Cut a piece of thick cardstock or cardboard slightly longer on all sides at 5 1/2″ square.
Using a glue stick, glue the scrapbook paper onto the cardboard, being sure to center it as best you can. This will leave a 1/4″ overhang to attach the craft stick frame to.
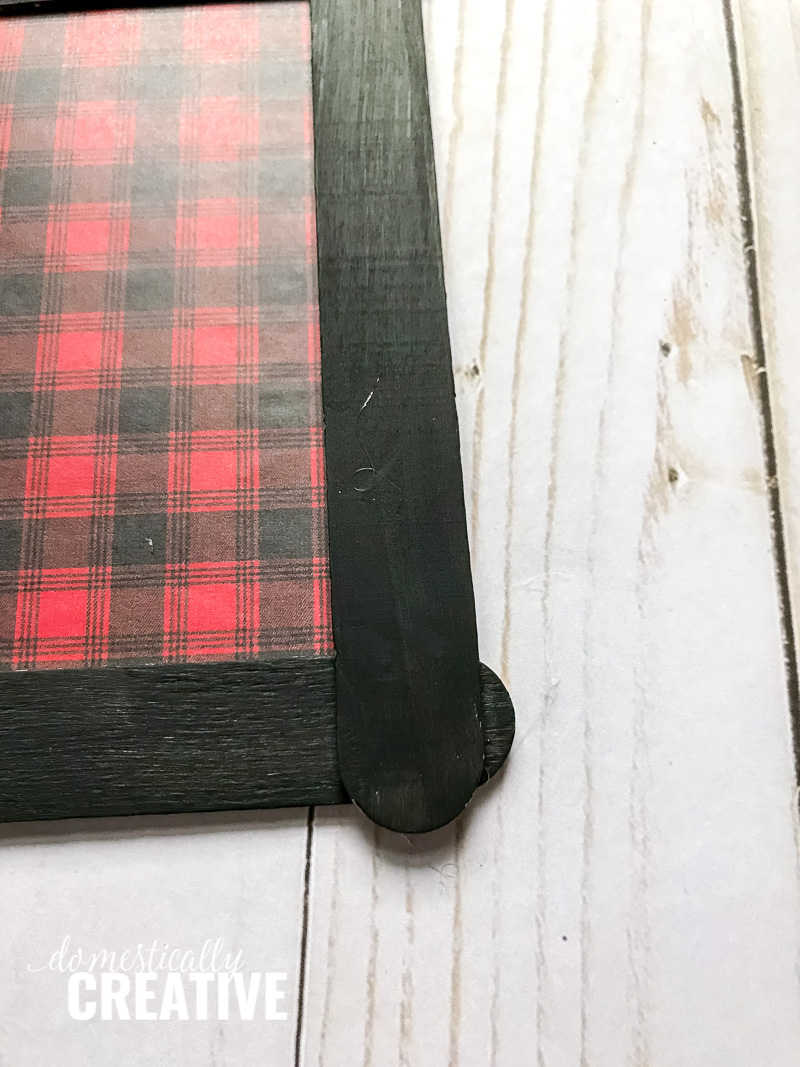
Using hot glue, glue down a painted craft stick to the top and bottom of the design.
Next, glue the other two craft sticks down on the sides, leaving a slight overlap on the corners from the first two craft sticks.
Last, cut an 8-10″ section of the ribbon, or twine. Using hot glue, glue both ends of the twine to the middle back of the ornament. You could also glue one end in each corner, but I prefer the loop look of the twine when it’s hanging on the tree.

Optional: Letter your favorite Christmas word or phrase on to the ornament using a metallic or paint sharpie! Learn more about the art of hand lettering!
I made a super quick video of the process for your entertainment 😉 This is the first craft video I’ve made if you can believe it!
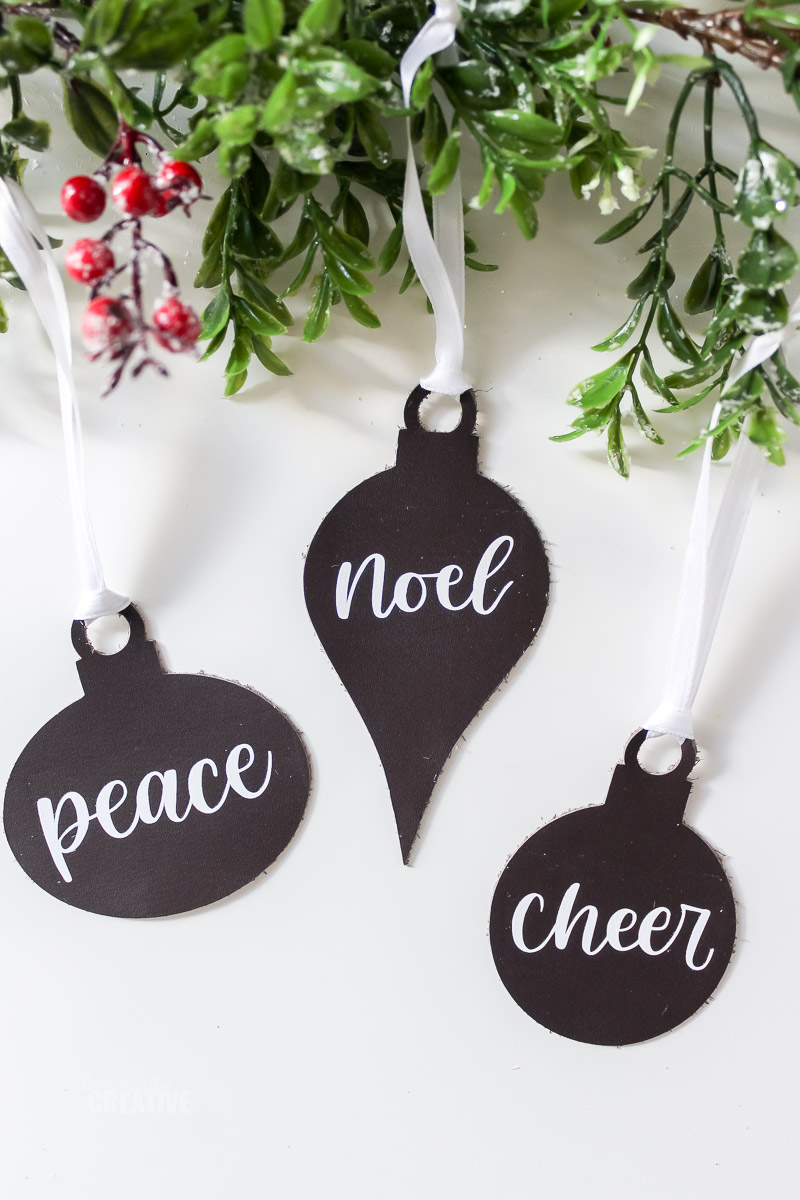
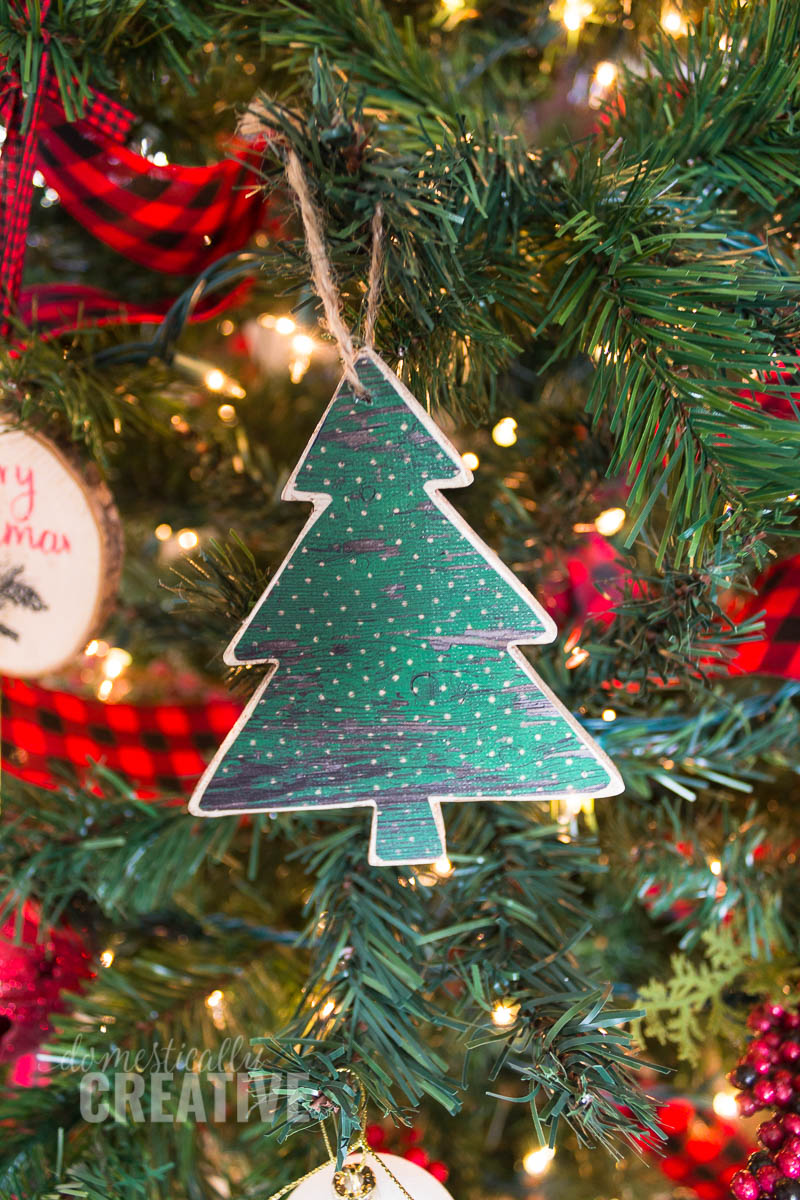
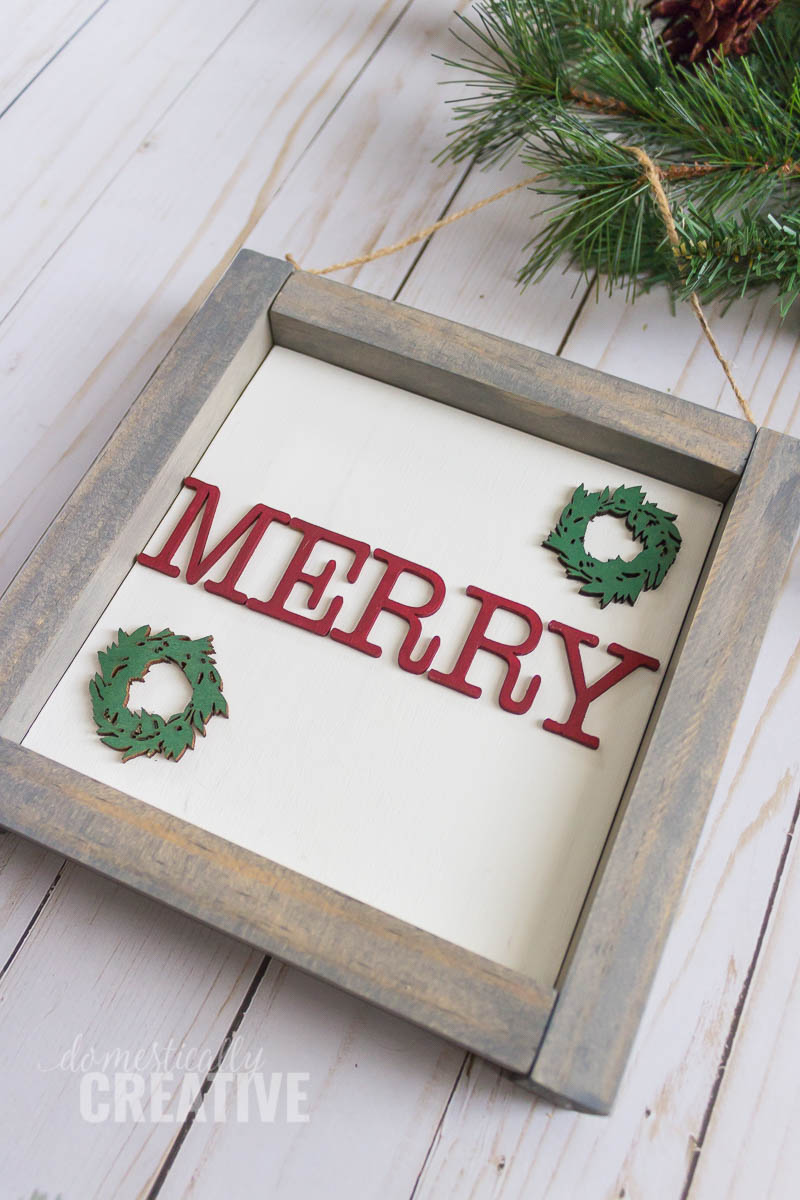
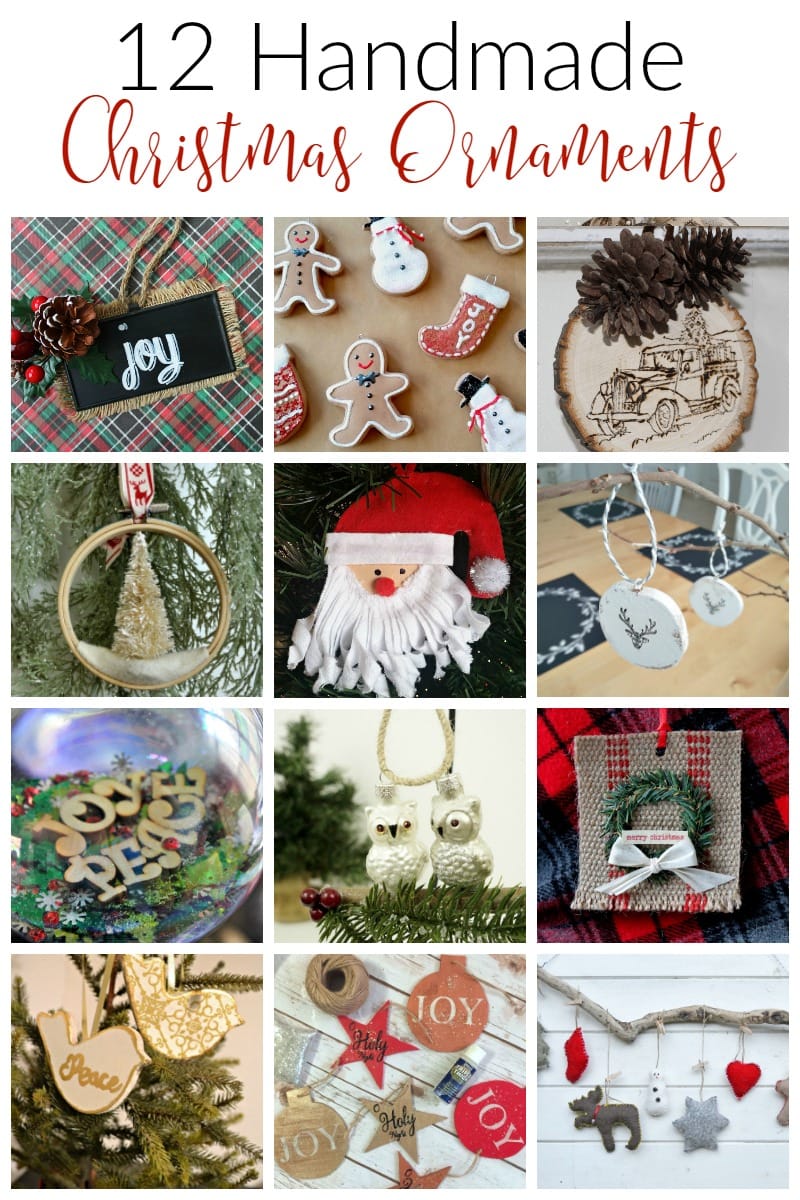
More DIY Christmas Ornaments

Love it? Pin it!
These are so cute! I love the idea of using craft sticks for the frame!
These are beautiful! You are so creative and make craft sticks look elegant and sophisticated. Great idea to use gift bags, I might have to make some of these for my tree.
Thank you Jenny!! Gift bags were my original idea, until I stumbled on a Christmas scrapbook paper book I already had. There are so many cute gift bags out there that would look great for these ornaments!
Your ornament looks amazingly elegant and quite trendy using a buffalo check design! And I can’t believe how simple it was to make! Great creation, Amanda!
Thank you so much Gail!
Love these! It would be fun to make a whole bunch and then have them as party favors for people to take home.
That is a great idea!
At first, I thought you used mini frames. The ornaments are adorable. I like how they can be personalized to suit your theme.
The craft sticks make it so easy to make the little frames!
Craft paper comes in so many varieties you can make these to suit any decor style you like. I love them rustic with the buffalo check background, so trendy and fun. Great idea.
Thank you Leanna!
I decorated my house this year in red and black buffalo check so your adorable ornaments with rustic charm would fit in perfectly! Pinned to share and if time permits, make a few for my tree.
Thank you for the pin Marie! I hope you can find some time (although it doesn’t take much!) to make them!
Very festive! I love the buffalo check and your video was great! Making craft tutorial videos is on my to do list for next year.
Thank you Beverly! It was easier than I thought to make the video!