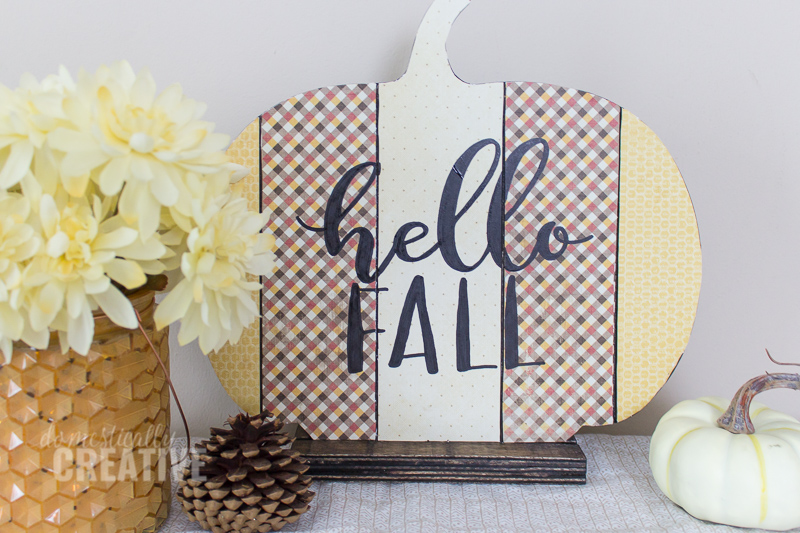
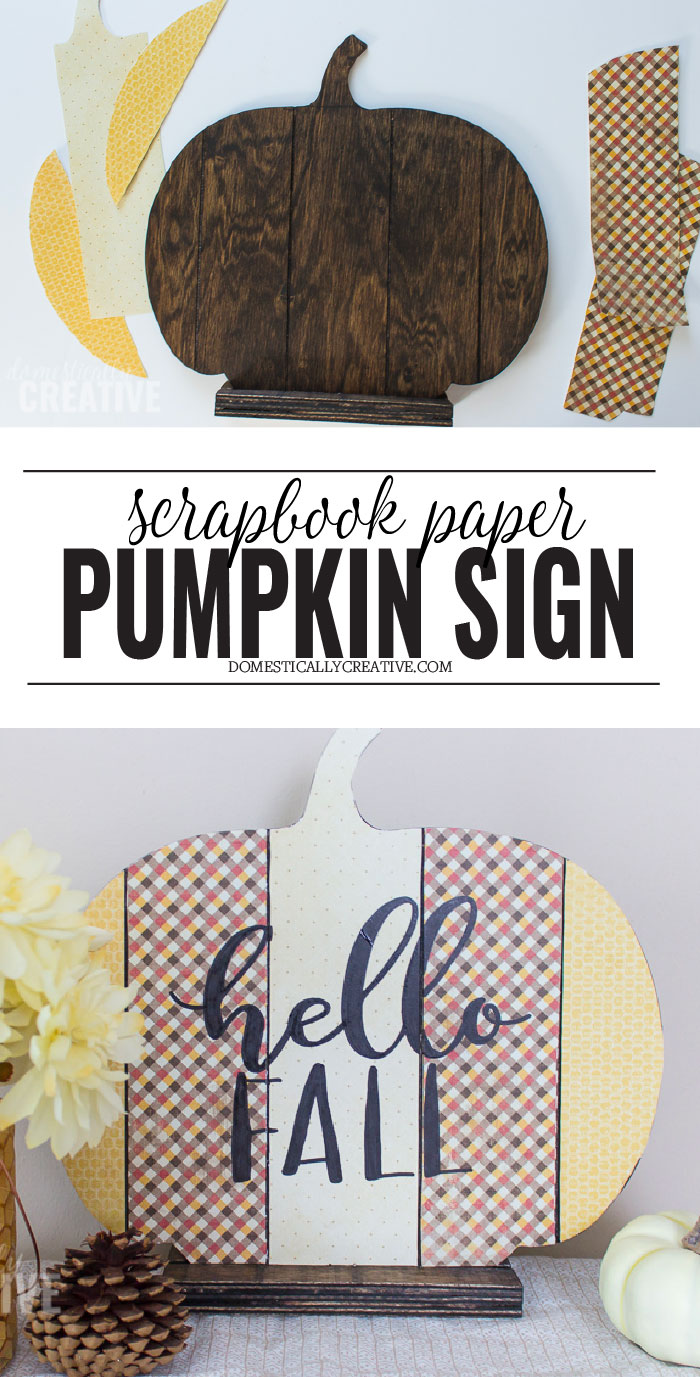
Scrapbook Paper Pumpkin Fall Sign
Make this cute and simple scrapbook paper pumpkin fall sign to welcome the fall season! Use it to adorn your fall mantel, a shelf or even the front porch!
This post may contain affiliate links for your convenience. Read our disclosure policy.
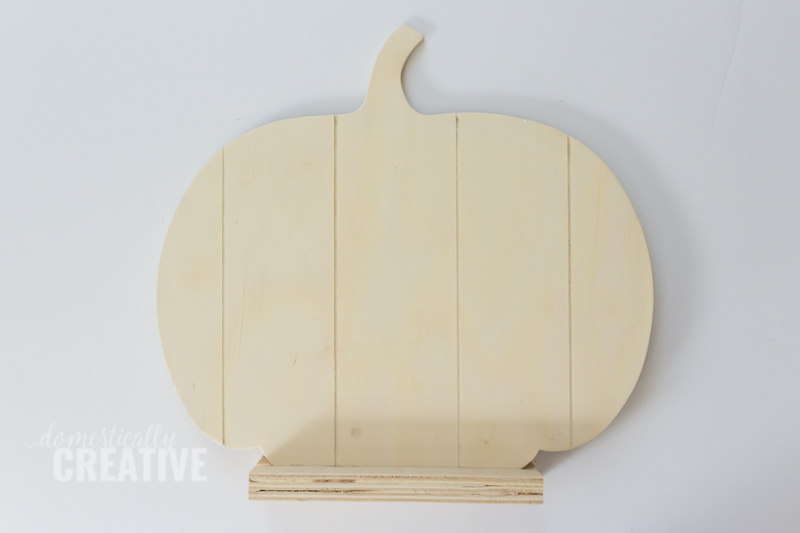
If you’ve been a reader for any length of time, you know that I love simple and inexpensive crafts. Add Fall to the mix and I’m in heaven! The other day I was perusing the aisles of Hobby Lobby and spotted these unfinished wood pumpkin signs. They were 50% off so at $2.50 I had to snatch one up!
While I was going up and down each aisle, my brain was working through what I would do with my new pumpkin sign. My first thought was to just simply paint it in chalkboard paint, and hand letter a cutesy greeting. But then while I was walking down the papercrafts aisle, it suddenly hit me. Scrapbook paper!
Scrapbook paper is so inexpensive, and even better it was 50% off too! So I bought enough to cover this wooden pumpkin, and make a scrapbook paper pumpkin fall sign. Here’s how I did it:
Scrapbook Paper Pumpkin Fall Sign
Items you’ll need:
- Wooden Pumpkin (this is similar, or you can also make your own)
- Minwax Walnut Stain
- Old rag
- 200 grit sand paper
- Fall inspired scrapbook paper
- X-acto Knife
- Mod Podge
- Paint brush
- Silhouette Cameo or other cutting machine (or use this font transfer method)
- Transfer Tape
- Contact Paper ( I usually buy mine from the dollar store)
- Sharpie paint pen
The first thing I did was stain the wooden pumpkin with Minwax Walnut. This is my favorite color of stain, as it just has this really rich finish. For this project, I brushed on a thick coat of stain and then immediately wiped it off with an old rag.
After it dried, I lightly sanded the outside edges and in between each slat of wood to give all of the edges a slightly distressed look.
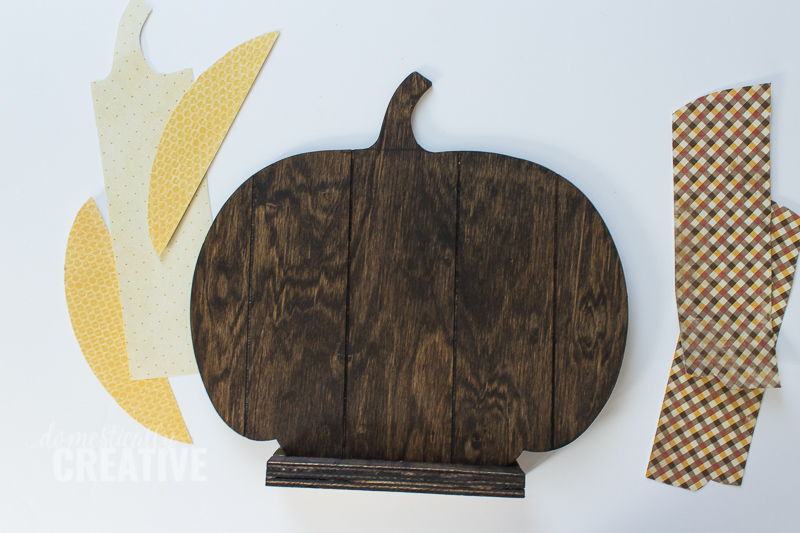
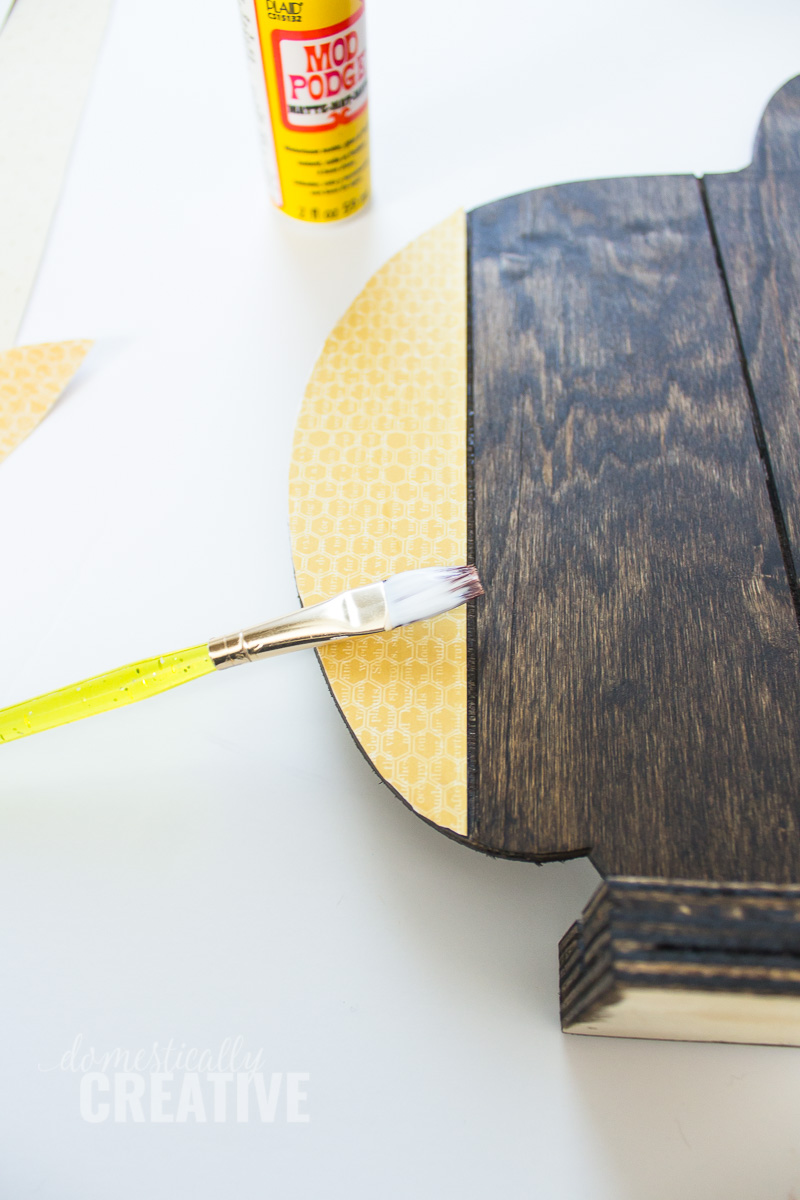
Next, I chose the different styles of scrapbook paper I wanted to use. I chose 3 different styles that complimented each other. Using the X-acto knife, I laid the scrapbook paper out onto the slat it would be pasted onto, and cut around the outline of the slat.
After each piece of scrapbook paper was cut, I painted a layer of Mod Podge on the pumpkin and carefully placed the scrapbook paper, going slat by slat. Using an old credit card, I smoothed out any bubbles.
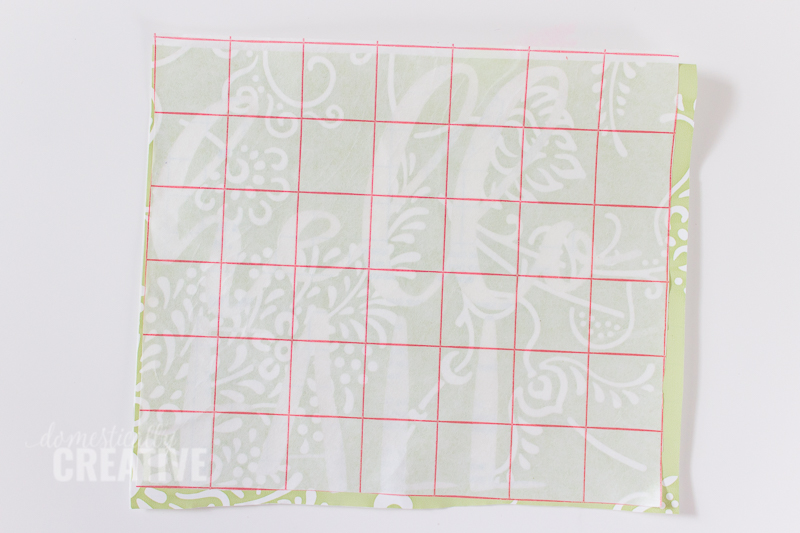
Next, I used my Silhouette Cameo to cut out a “Hello Fall” stencil onto contact paper. If you don’t have a Silhouette, Cricut or other cutting machine, you can use this method instead. Once my design was cut out onto vinyl, I used transfer tape to move it from the contact paper backing to the pumpkin. This way the design stays together.
Then I centered it on the pumpkin and peeled the transfer tape off, leaving the contact paper and my stencil.

Next, I simply traced the design with a pencil onto the scrapbook paper pumpkin. Then using the Sharpie paint pen, filled in each word. Then painted a layer of Mod Podge on top to seal the paper.
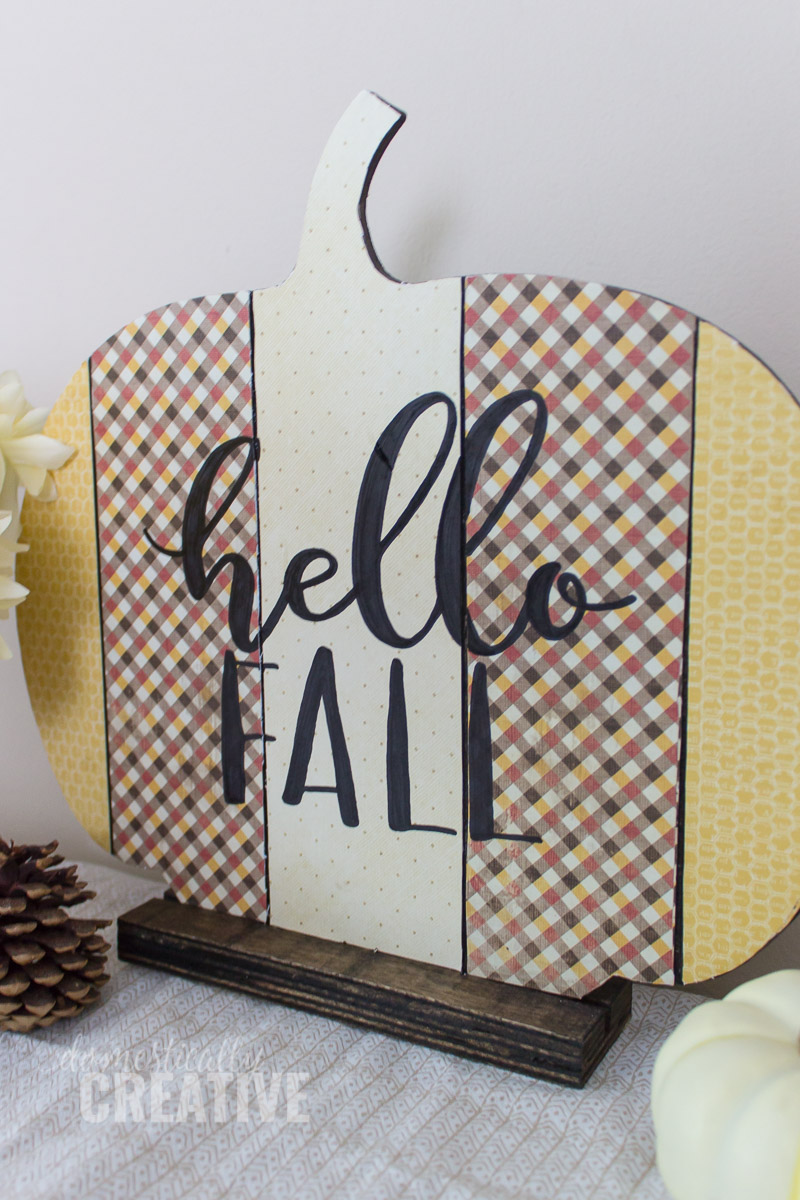
What do you think? What kind of easy projects are you working on for Fall?
Pin for later
More Fall inspired projects: