Burlap and Felt Flower Spring Wreath
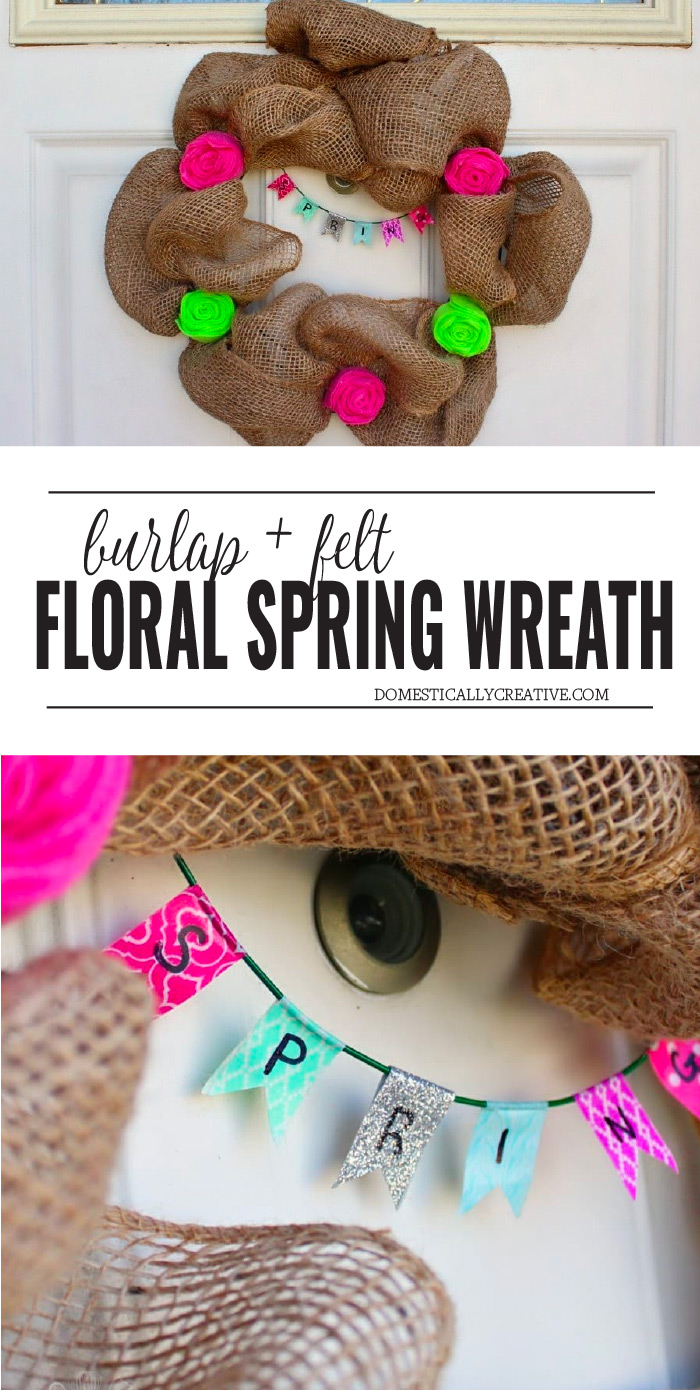
An easy tutorial for burlap and felt flower spring wreath that anyone can follow. Don’t spend a ton of money on a wreath when you can make your own!
This post may contain affiliate links for your convenience. Read our disclosure policy.
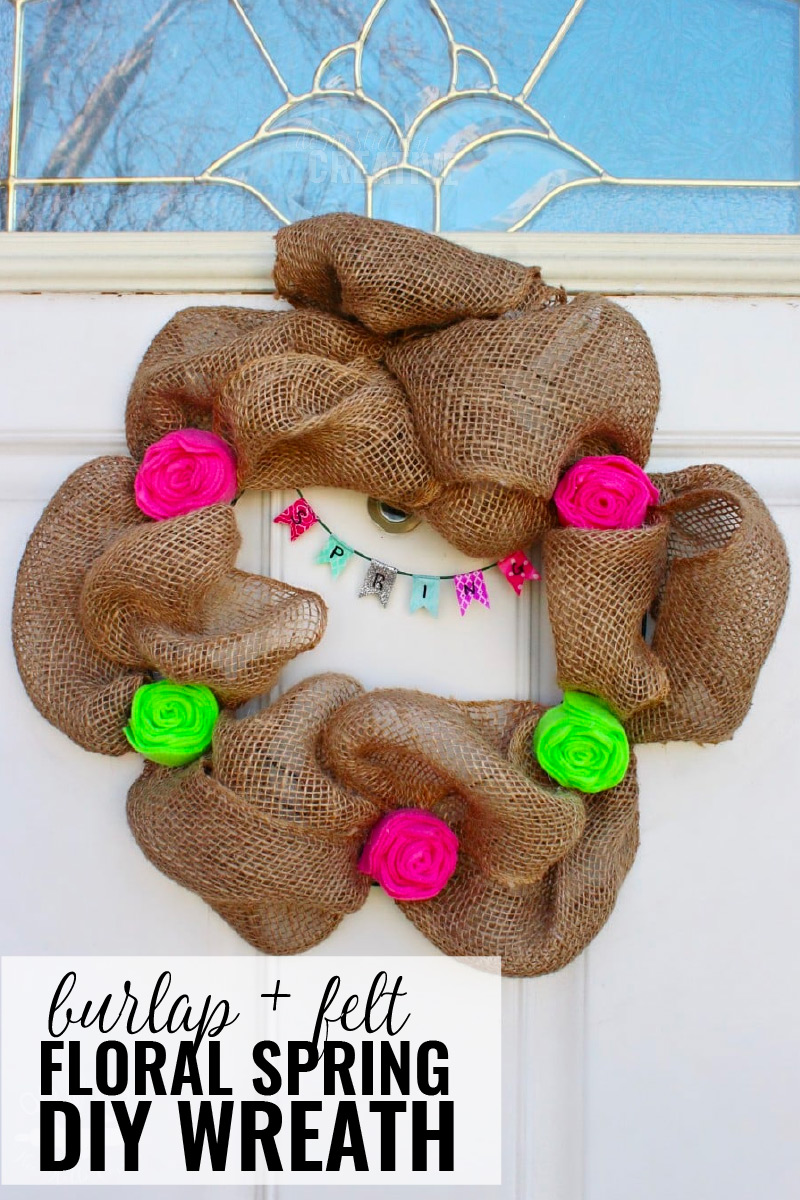
Today I’m sharing an easy tutorial for a burlap and felt flower spring wreath that anyone can follow. Don’t spend a ton of money on a wreath when you can make your own! I am usually not a cutesy and bright colors gal when it comes to making a wreath for the front door. While I love doing seasonal wreaths, I tend to keep them pretty simple and a little on the rustic side. Perfect example? Last year’s Spring wreath.
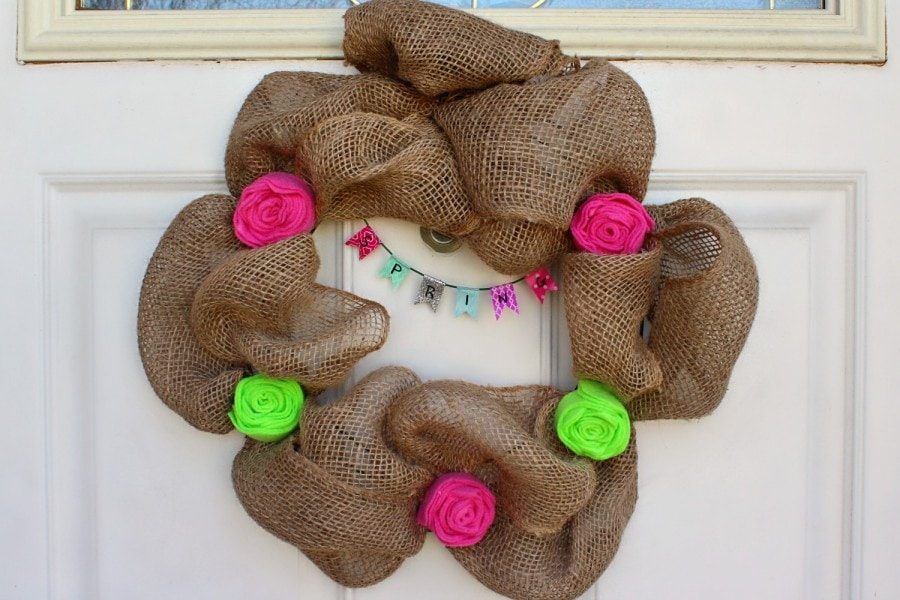
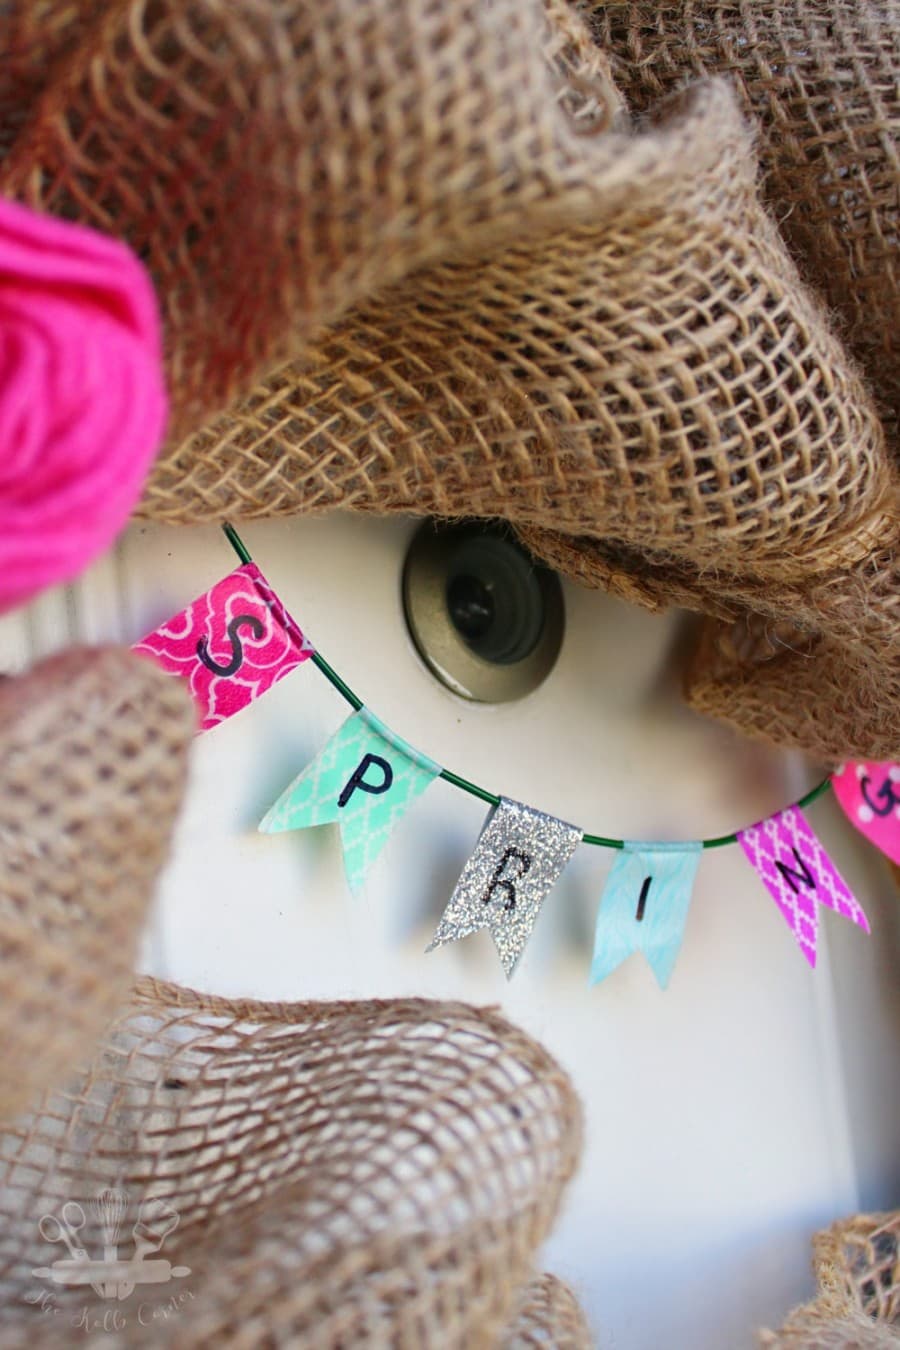
But this year, I thought “why not”? Let’s do something totally different. I’ve been wanting to make a “bubble” wreath for quite some time, I just never sat down to try it. I also had some felt sheets I had picked up in the hopes of making some rosettes with them. And because I’m a little obsessed with Washi Tape, I decided to make a miniature “Spring” banner to finish off the wreath.
How to make a Burlap and Felt Flower Spring Wreath
What you’ll need
- Wire wreath form* (I used 12″ but you can make yours bigger)
- Burlap ribbon* or fabric (I used 6″ wide ribbon)
- Floral wire*
- Felt fabric
- Hot glue gun*
- Washi tape*
- Sharpie
- Scissors
- Wire cutters*
- Pliers*
- Follow this tutorial to make a burlap bubble wreath. Amanda’s tutorial does use burlap fabric, but I used 6″ wide ribbon and had no problems. The only thing you may not like is that the ribbon is a little see through and if you don’t fluff enough the wire wreath form may show through.
- Follow Gina’s tutorial on how to make felt fabric rosettes. I used 11″x 14″ sheets of felt instead of straight from the bolt. Since I didn’t have a long continuous strip of felt, I used two strips instead (still cut to the same width in the tutorial)
- Glue the fabric rosettes into each gathered area on the burlap bubble wreath. You can also use the floral wire to attach them.
- Using a 12″ long piece of floral wire, take coordinating Washi tape strips and fold them in half over the wire so that the sticky sides face each other. Press the sticky sides together. Do this 5 more times, one piece for each letter of Spring.
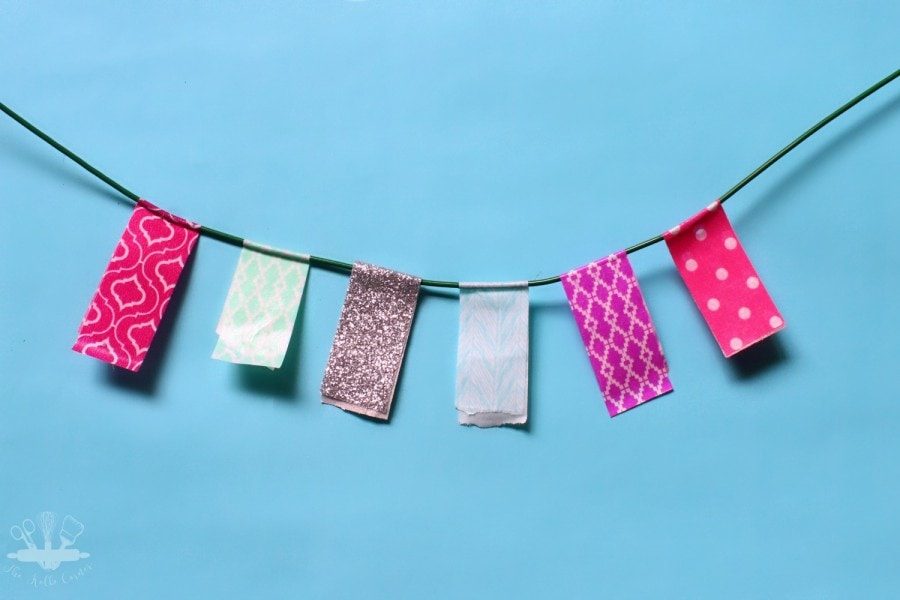
- Trim up the Washi tape so that the 6 pieces are all the same length. Then cut out a triangle from the bottom to make the edges of the banner.
- Write “Spring” on the pieces of tape to complete the banner.
- Attach the end of the floral wire to opposite sides of the wreath. Adjust the middle of the wire so that it looks like the banner is hanging.
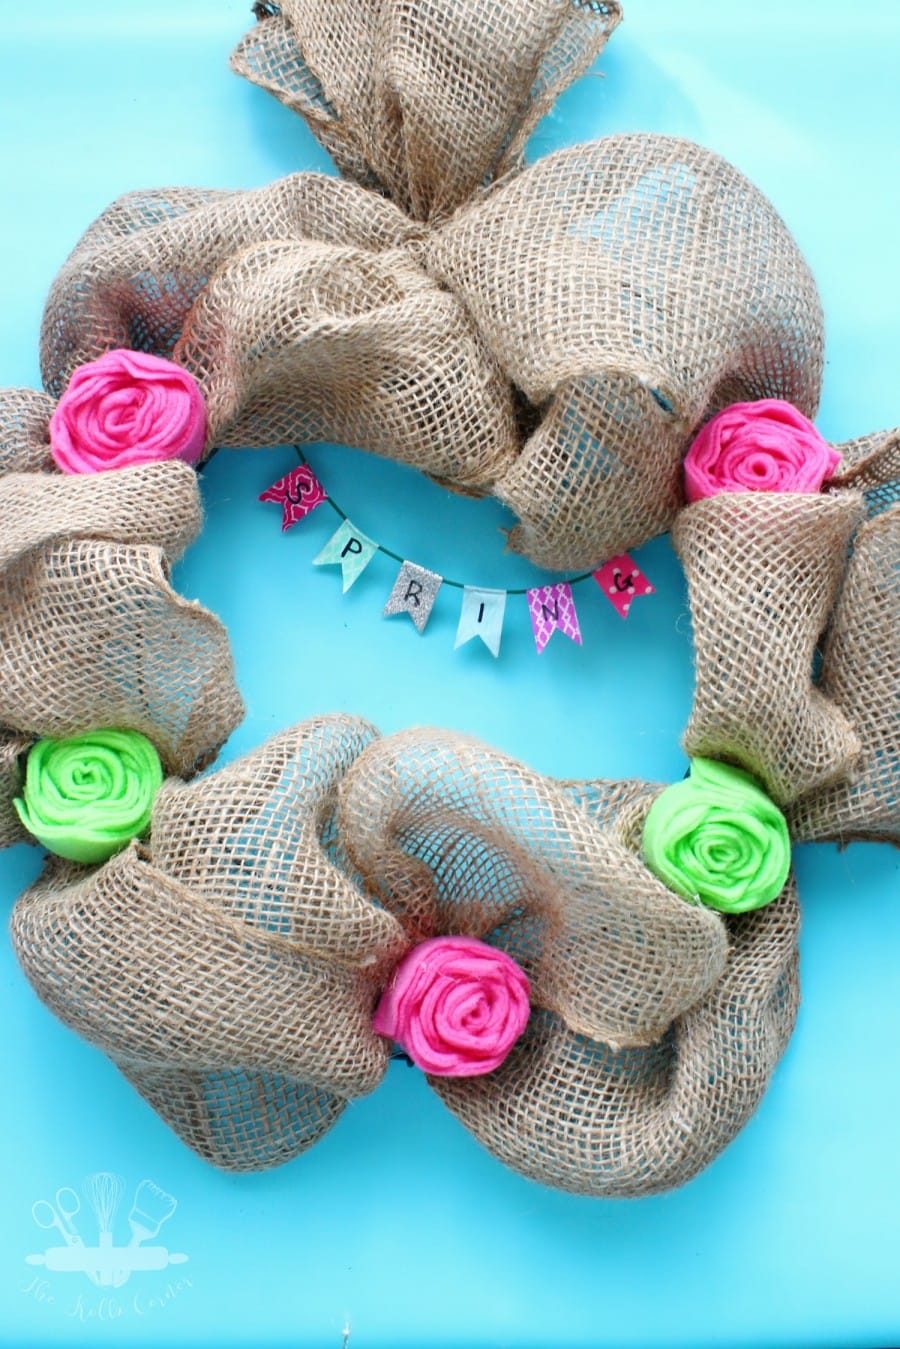
- Hang your wreath and stand back to admire your work!
Here’s some other Spring crafts you may enjoy:
Don’t Forget to Pin it!

I didn’t even notice the washi tape at first, I was so in love with the burlap!
I love the little spring washi tape banner lol. I think it may be my favorite part!
This turned out so pretty! Love that glittery washi tape, btw!
Thanks Marie! The glittery Washi tape is my new fav and it comes in a bunch of different colors.