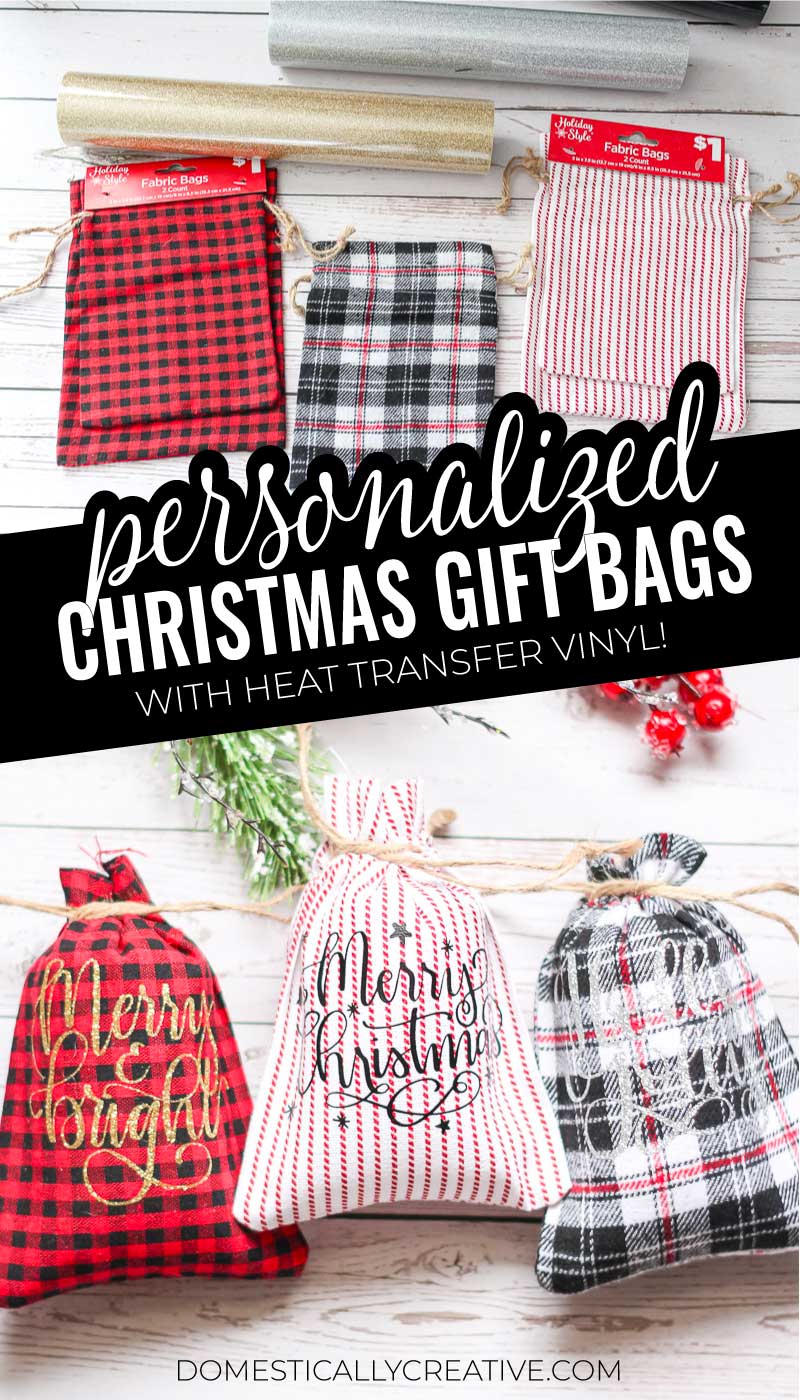
DIY Christmas Gift Bags with HTV
Add a personal touch to Christmas gifts this year with DIY Christmas gift bags you can customize with heat transfer vinyl.
This post may contain affiliate links for your convenience. Read our disclosure policy.

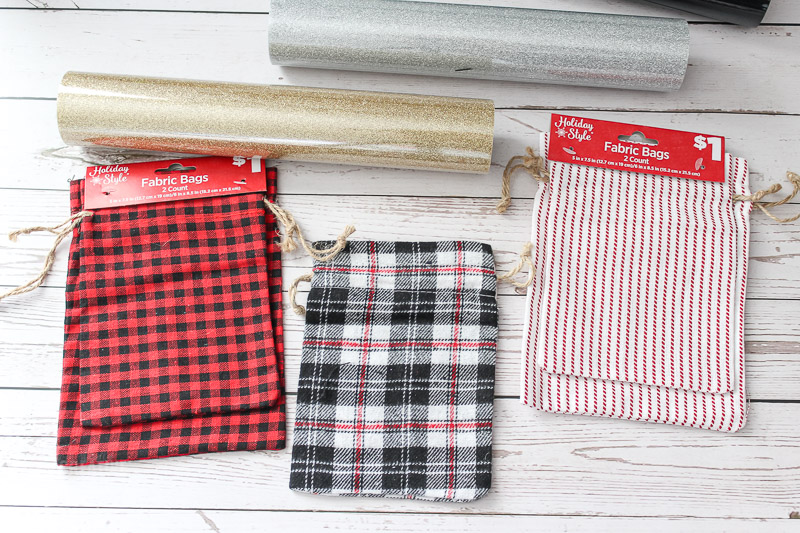
Looking for a fun way to add a personal touch to gift wrap. You will love these fabric drawstring gift bags that are customized with HTV. These Christmas gift bags are from Dollar General, and were a great deal at $1 per 2 pack. They were just begging to be personalized with vinyl and a Cricut Maker.
The craft files used in this simple tutorial can be found for sale in my Etsy Shop. I used “Making Spirits Bright“, “Merry & Bright“, “Merry Christmas“, “Holly Jolly“, and “O Holy Night“. You’ll find even more Christmas inspired craft files to choose from in the shop.
DIY Christmas Gift Bags with HTV
Supplies Needed:
- Cricut Maker or another machine to cut vinyl
- Cricut Glitter or Cricut Everyday HTV
- SVG files
- Cotton fabric gift bags (similar)
- Standard Grip Mat
- Weeding tools
- Cricut Easy Press 2 or iron or other heat press
- Easy Press mat
First, load the Cricut Design Space software, and choose a new project. Click the upload button to load in your SVG or design of choice. Of if you want to personlize, create the design in design space.
Resize the design to a size that will fit on the bags you’ve chosen. For me, the larger bags were 6″ wide by 8″ tall, and the smaller bags were 5″ wide by 7″ tall. I made the files 4″ wide for the larger bags and 3.5″ wide for the smaller. It will depend on your bag size and design layout.
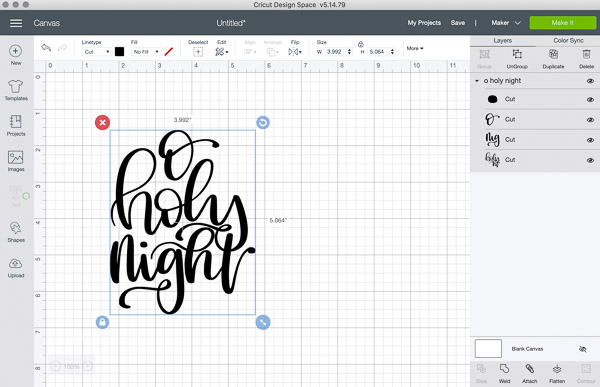
When ready, hit the green “Make it” button up in the right-hand corner. Turn on the Mirror slider to mirror the image before cutting. This is necessary for cutting on heat transfer vinyl, as you cut on the back of the vinyl.
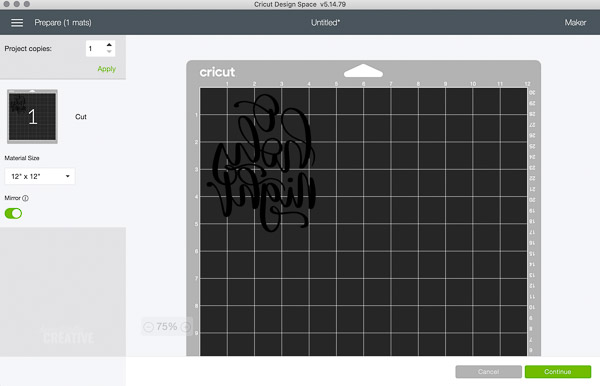
Place the heat transfer vinyl, carrier sheet (shiny side) down on a Standard Grip mat. Load the mat in the Cricut. Choose the glitter or everyday iron-on vinyl setting in Cricut design space depending on which you are using. When ready, press the go button!
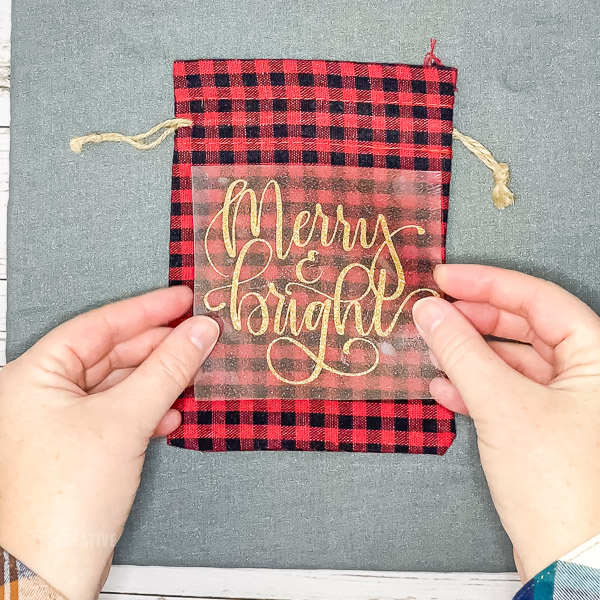
Once the vinyl is cut, it’s time to weed. Remove all of the excess vinyl from the carrier sheet (the shiny side). You’ll be left with a backward design, but that’s exactly what you want! Flip it over and place the design with shiny carrier sheet up onto the cotton bag. It’s ready for pressing.
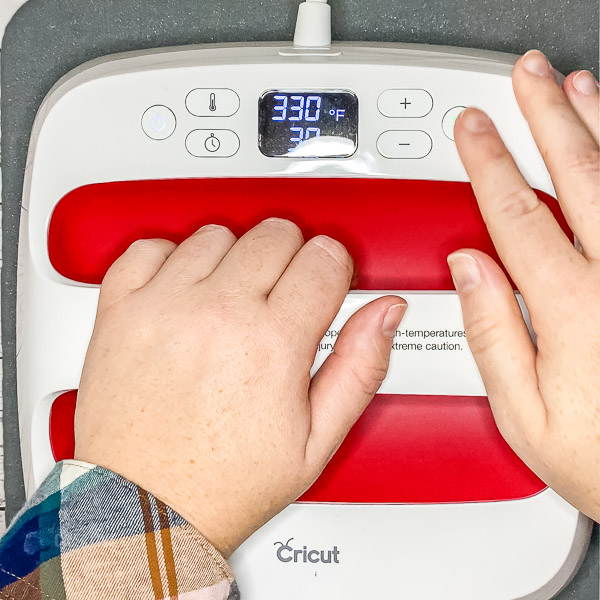
Use the Cricut EasyPress 2 to press the HTV onto the cotton Christmas gift bags. Cricut recommends 330 degrees, 30 seconds for glitter vinyl, and 315 degrees, 30 seconds for everyday iron-on. You’ll also want to apply pressure while heating. Make sure you use an EasyPress mat or a towel under the bag to protect your work surface.
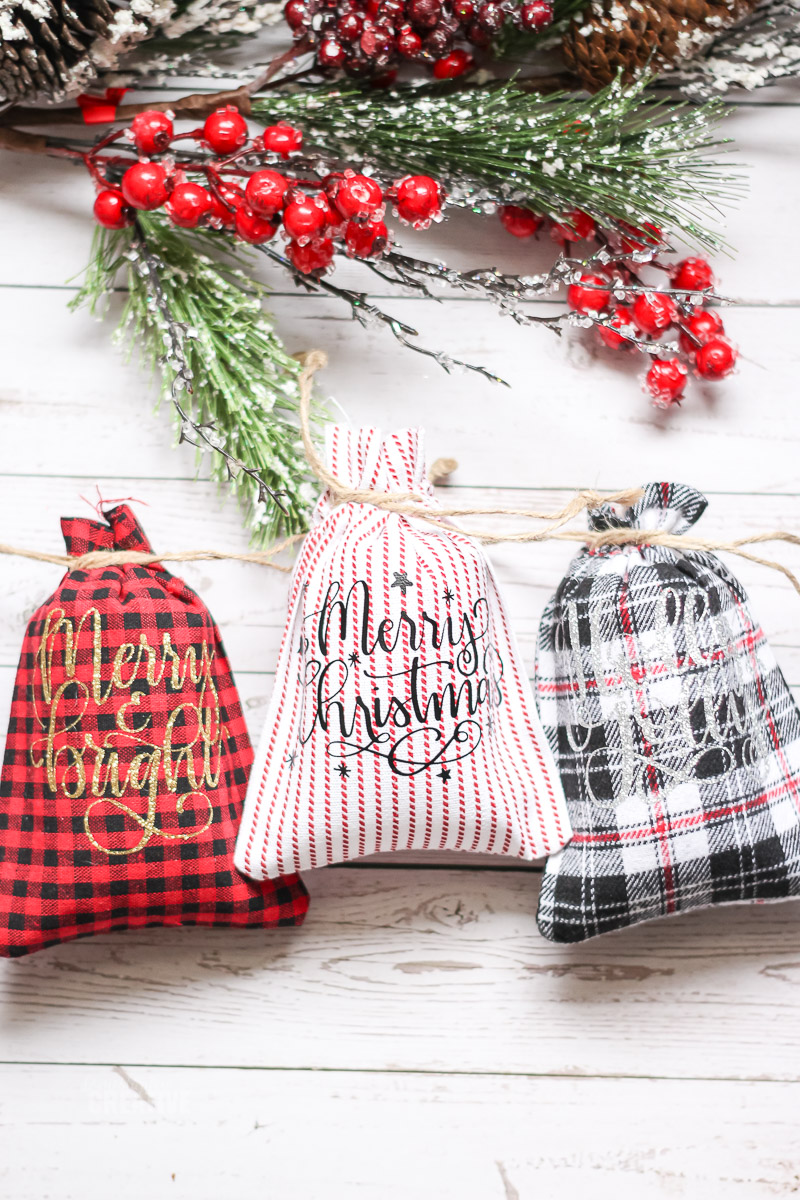
Continue the steps until you have personalized all of the drawstring Christmas gift bags for their recipients.
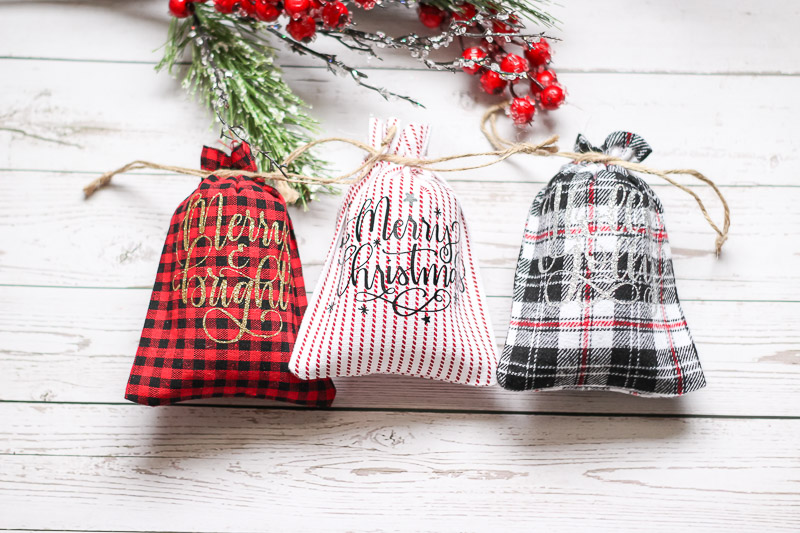
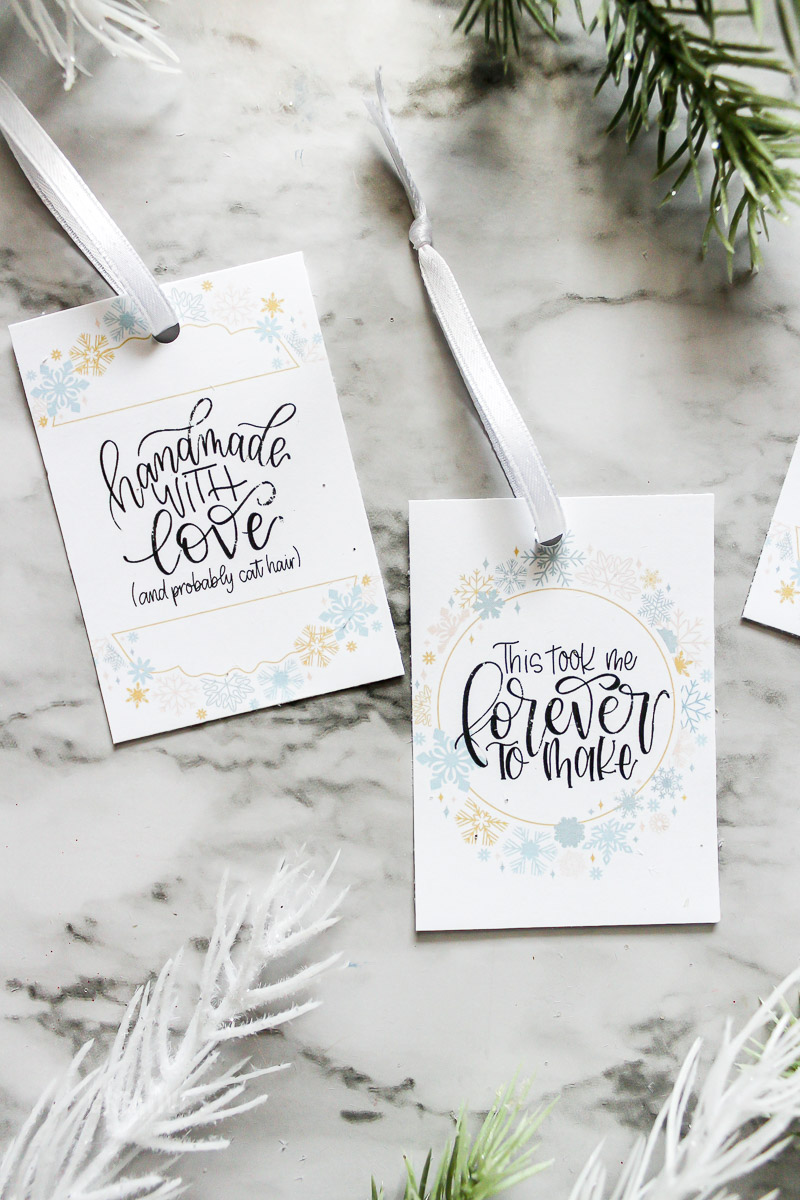
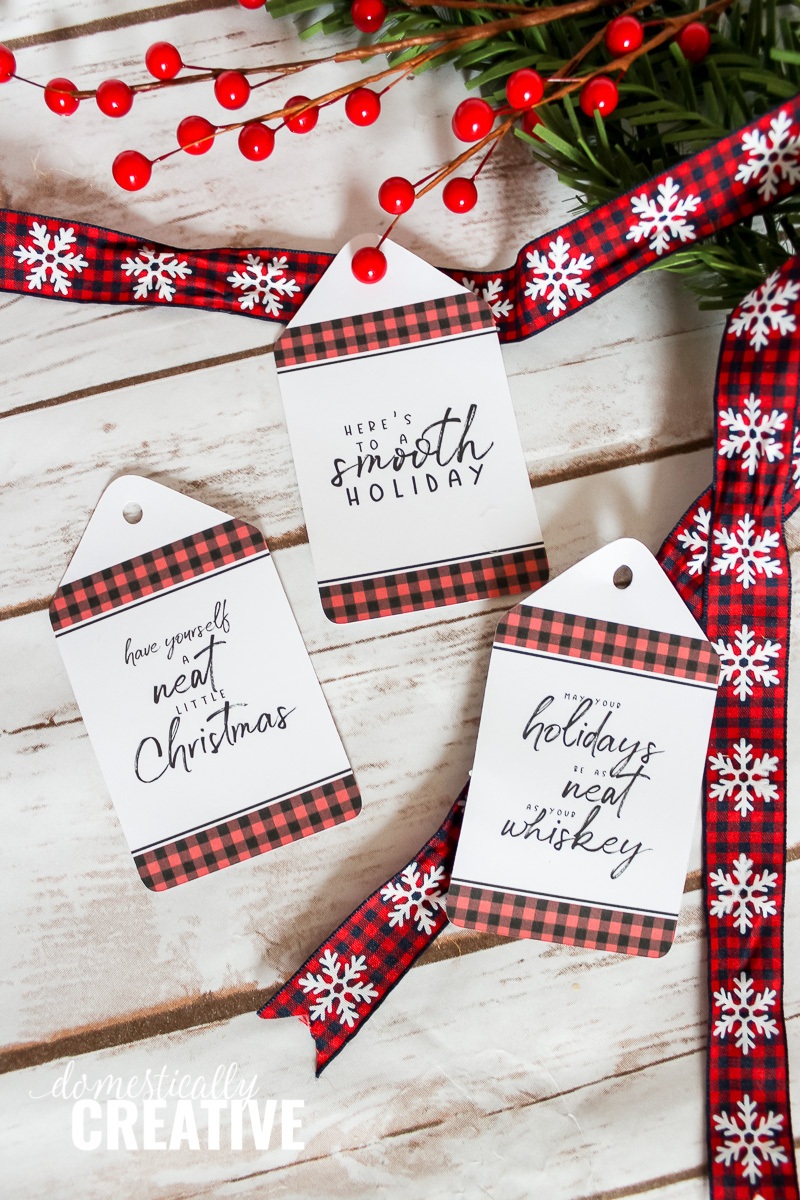
These personalized Christmas gift bags are the perfect size for a small gift. Something like these DIY personalized coasters, or these infusible ink coasters. You could even place some baked goodies in these bags too. Top them off with one of these fun printable gift tags for handmade gifts!

Watch the 30 second video tutorial on Instagram:
More Creative Christmas Gift Wrapping:

Don’t forget to pin it!