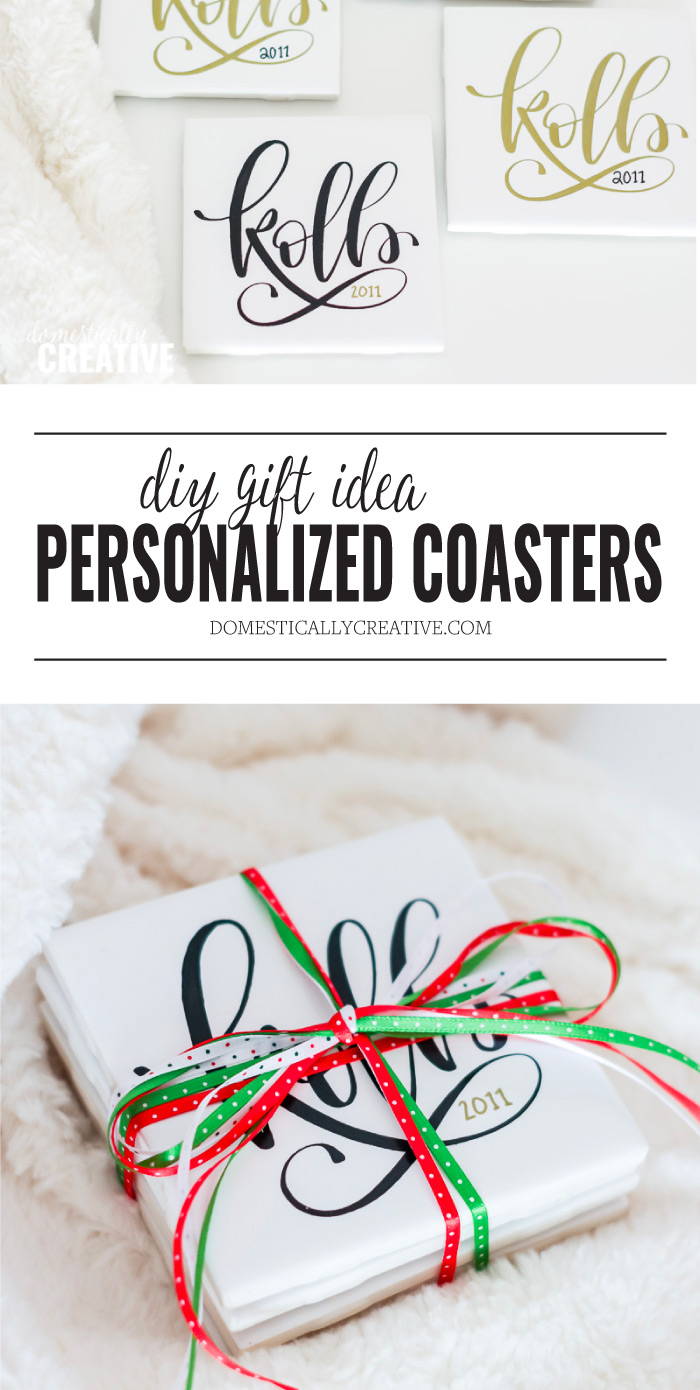
DIY Personalized Coasters
These thoughtful and easy to make DIY personalized coasters make a great gift for anyone on your list. Friends, family, teachers, and newlyweds alike will love the personal touch of this handmade gift idea!
This post may contain affiliate links for your convenience. Read our disclosure policy.

I had a completely different idea in mind when I first thought about today’s post but decided I wanted to share this DIY personalized coasters tutorial instead.
My first intention was to completely hand-letter these coasters, but I have the hardest time creating a lettering piece that looks similar every single time. My OCD would definitely get the best of me if I tried with a set of 4 coasters, so I made them using a stencil instead. Scroll down for the full tutorial to make your own set of personalized coasters.

DIY Personalized Coasters
Items You’ll Need:
- (4) 4″ white ceramic tiles–you can find these at hardware stores
- Silhouette Cameo or similar
- Stencil vinyl or craft vinyl
- Weeding tools
- Transfer Tape
- Molotow Acrylic Paint Marker(s)
- Mod Podge Clear Acrylic Sealer
- Felt pads
- Ribbon
*Don’t have a Silhouette Cameo? Check out this tutorial for a quick tip on how to transfer printed images!*
Step by Step Instructions
First thing first, always prep the ceramic tiles by cleaning them really well. After they dry, rub down with alcohol to make sure all grime is gone.
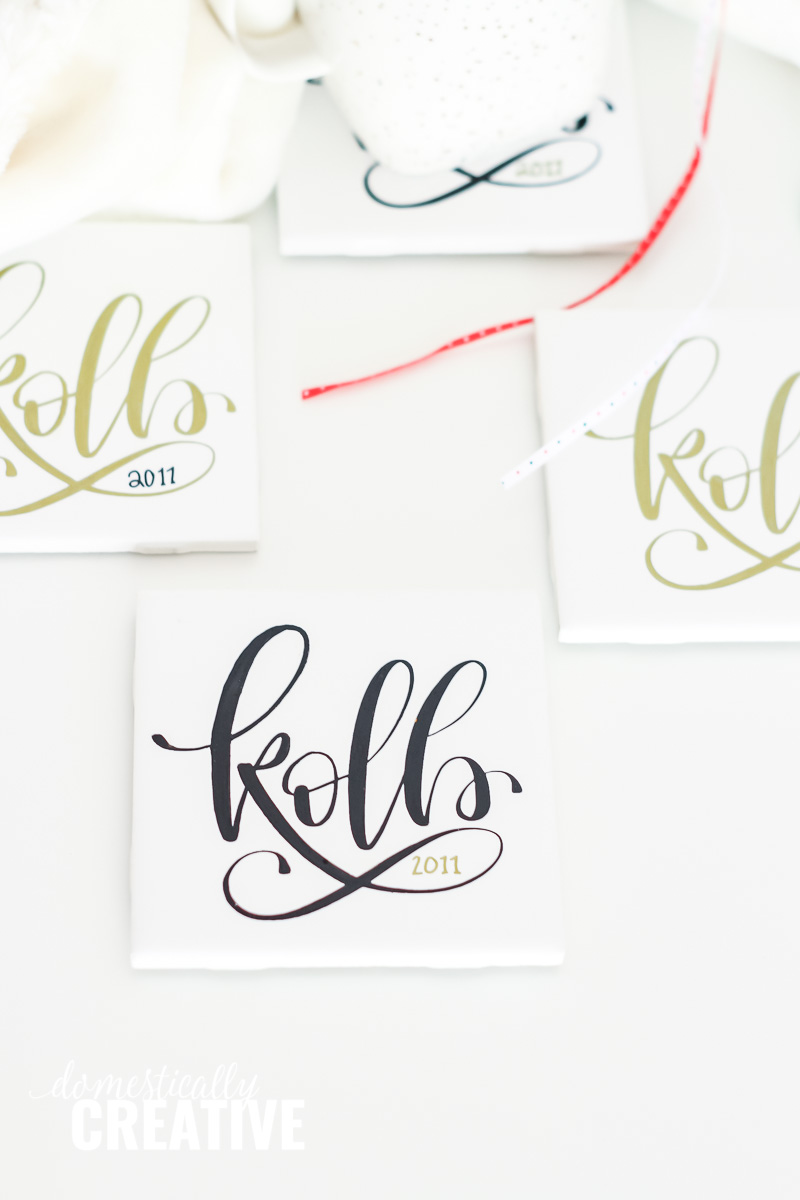
Next, decide how you will be personalizing the coasters. I chose to do a hand-lettered last name, but you could do a monogram, the name of each family member, or anything really.
Cut out the design using the stencil vinyl, or just regular craft vinyl. You could use contact paper as well, but I find it doesn’t stick to the smooth surface as well and could cause the paint pens to leak.
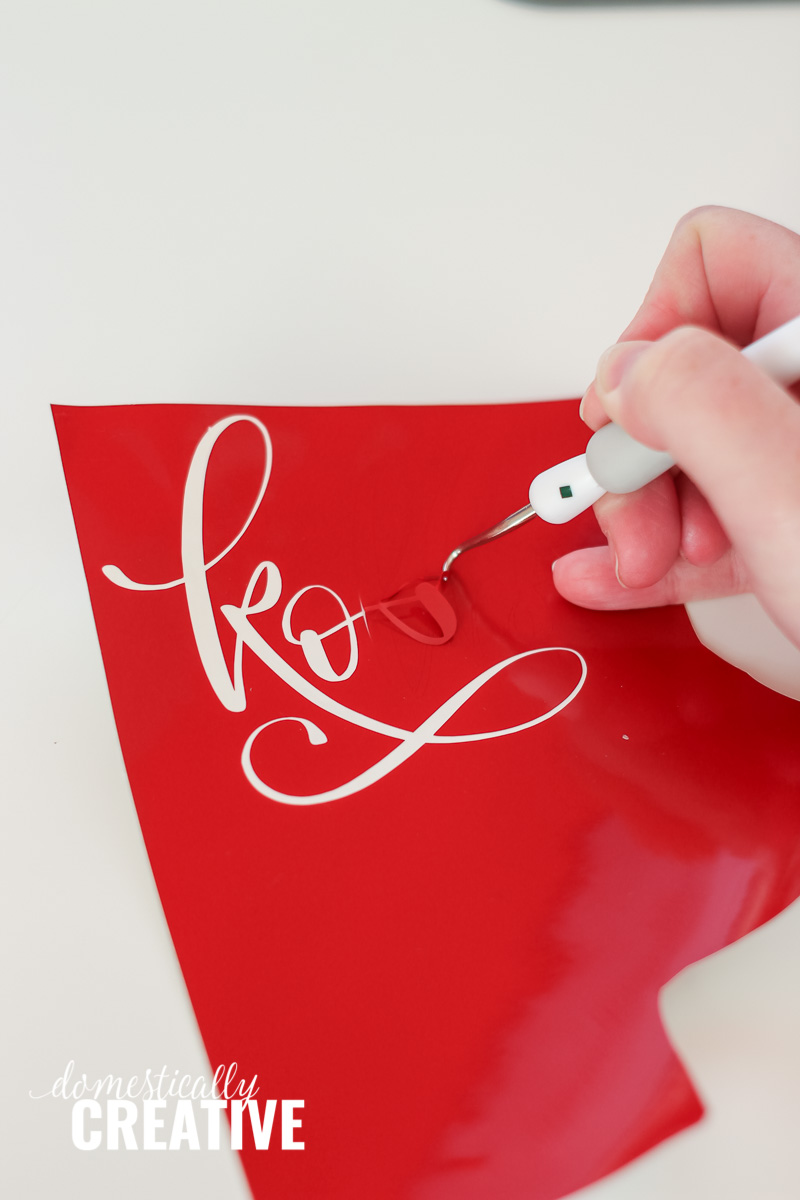
Once the design is cut out, weed out the design so that a negative is left. You will be using this a stencil!
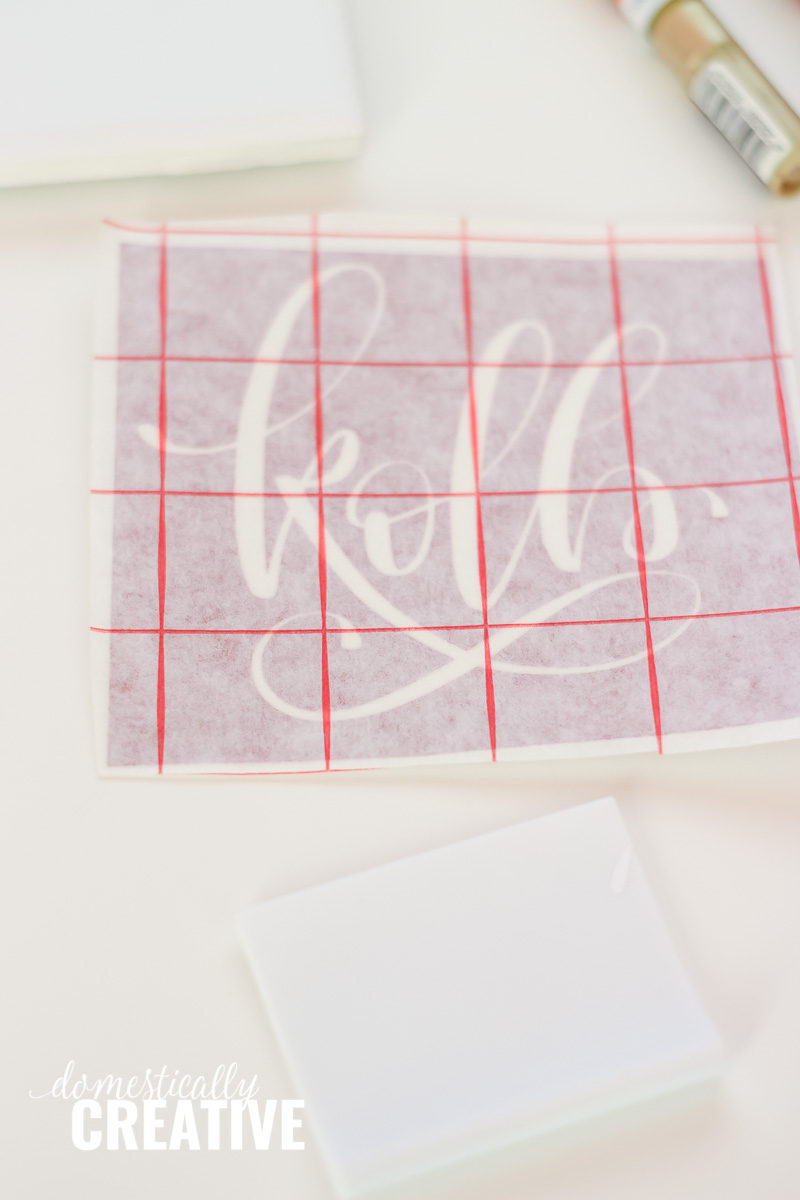
Cut a piece of transfer tape to the size of your design, and place it over the vinyl design. Make sure to smooth it on really well.
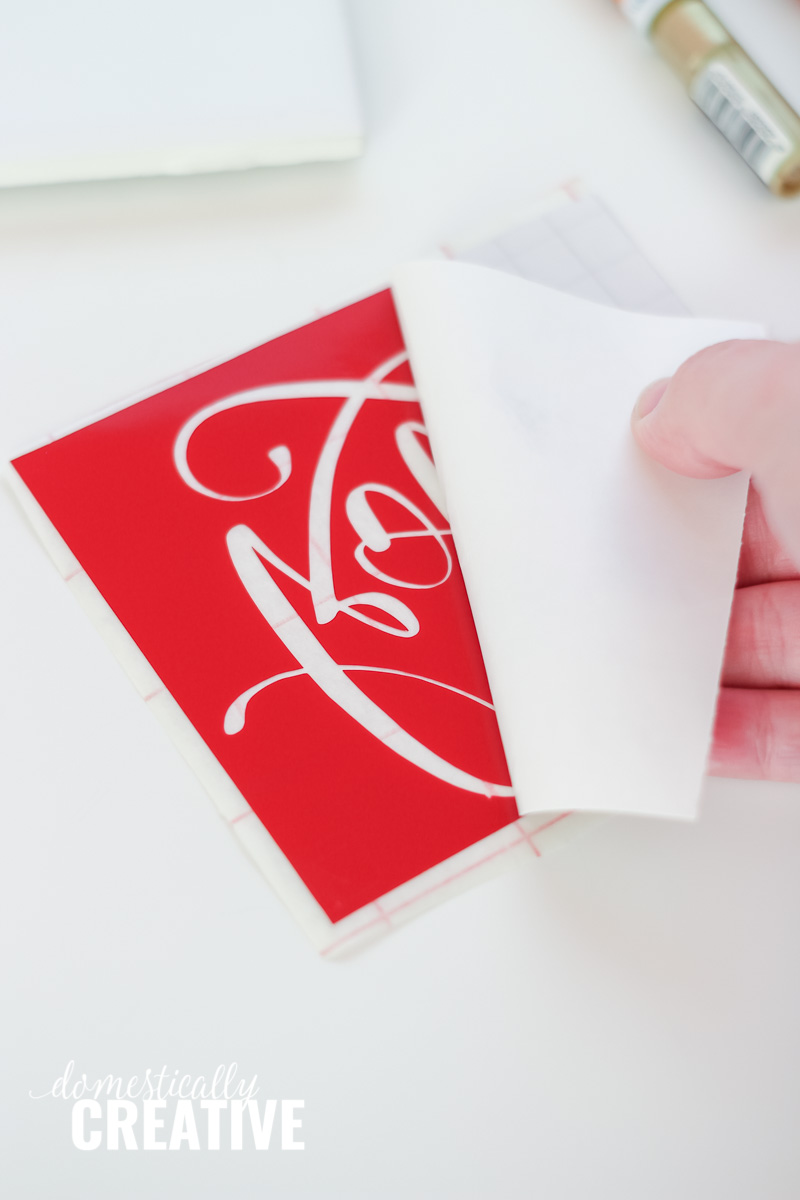
Flip the piece over and gently peel the backing of the vinyl away, making sure the vinyl design is still stuck to the transfer tape. I prefer this brand of transfer tape to others I’ve tried because the vinyl sticks to it well, but it releases nicely once the vinyl is on the intended surface.
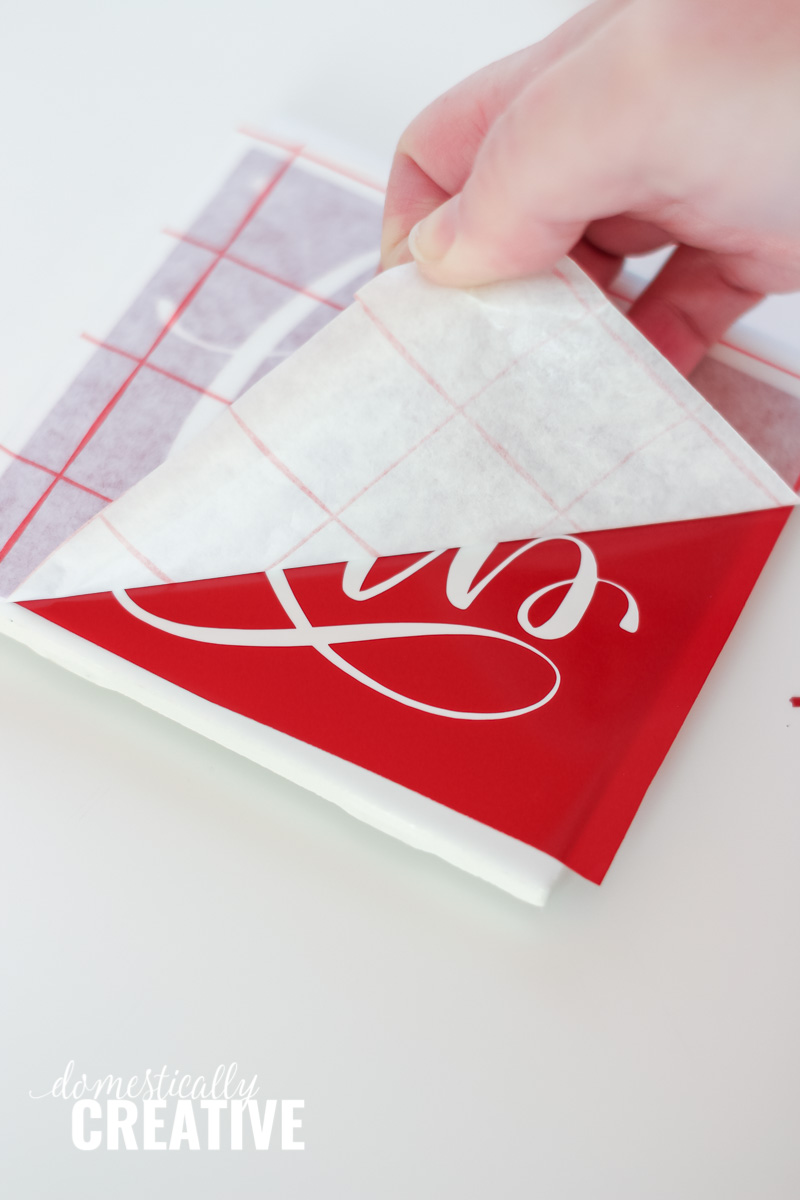
Place the transfer tape and vinyl onto the tile, centered. Smooth it on well, and then lift up the transfer tape. I find it best to start in a corner and peel back from there at an approximately 45 degree angle. If you lift straight up, the vinyl will most likely come with the transfer tape.
Now you are ready to paint!
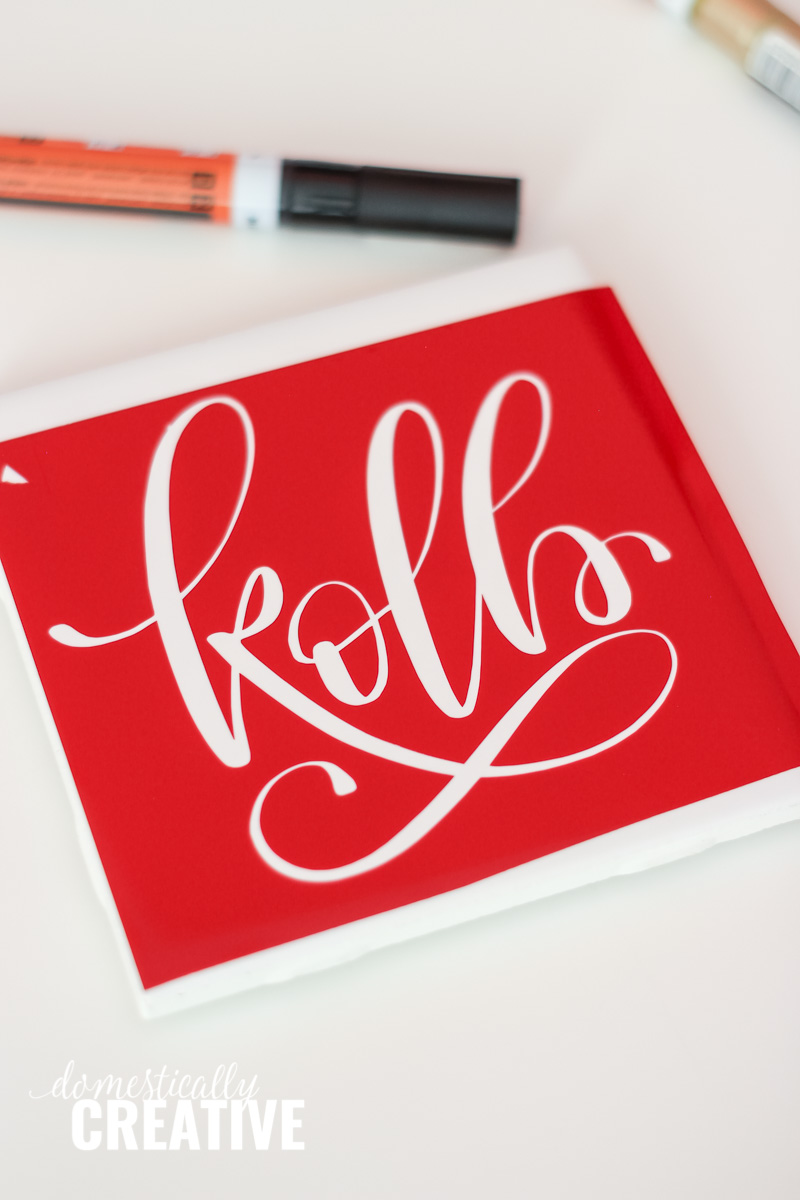
Use the paint marker to fill in the stencil. You COULD also use acrylic craft paint, but keep in mind that some paint may bleed a bit under the edges. The paint markers allow more control and don’t tend to bleed. I love the Molotow markers because they flow so nicely!

Once the paint has dried, carefully peel up the vinyl to reveal your beautifully stenciled design. Repeat the process 3 more times for a finished set of 4 DIY personalized coasters!
If you happen to have some paint bleed under the vinyl, you can gently scrape it away with a fingernail or a craft knife.
Let the paint cure for 24 hours before sealing all 4 tiles with a layer or two of clear acrylic sealer to protect the paint from scraping off. This is an important step! These DIY coasters will see a lot of use, so make sure to protect your design.
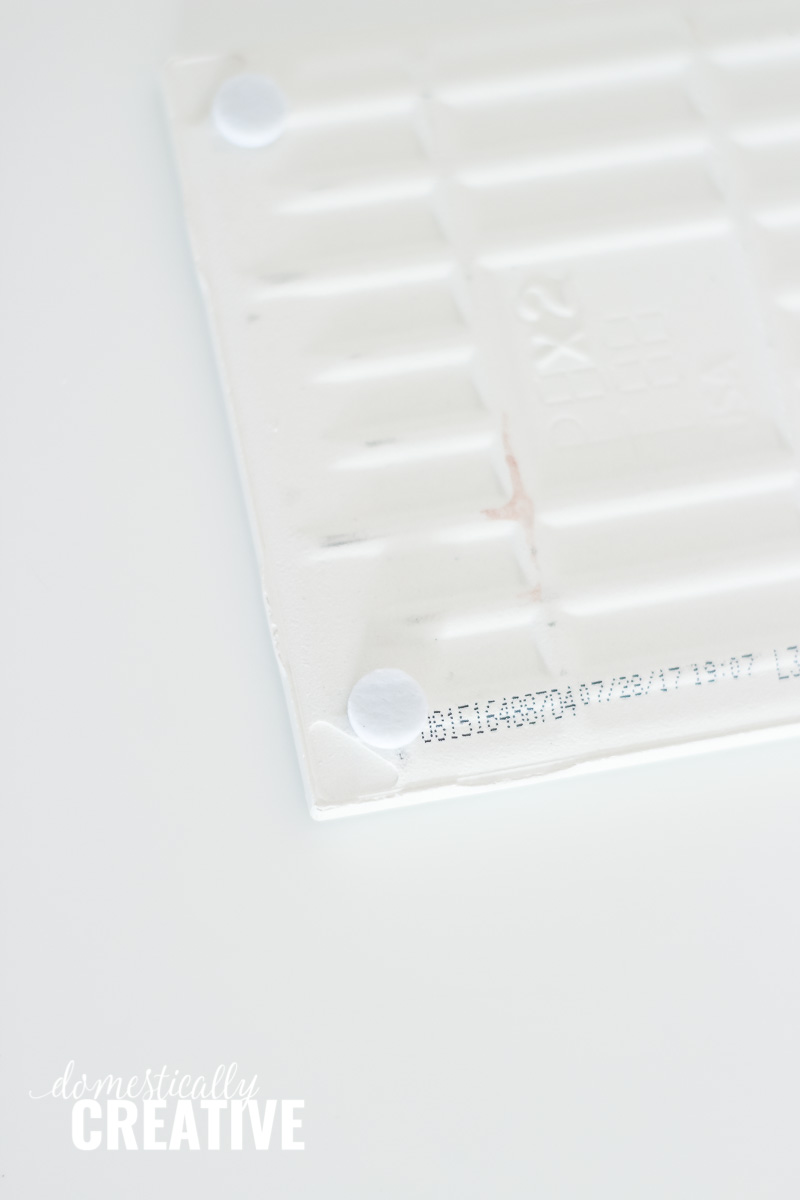
To keep the tiles from scratching the furniture surface, apply these felt pads to each corner.
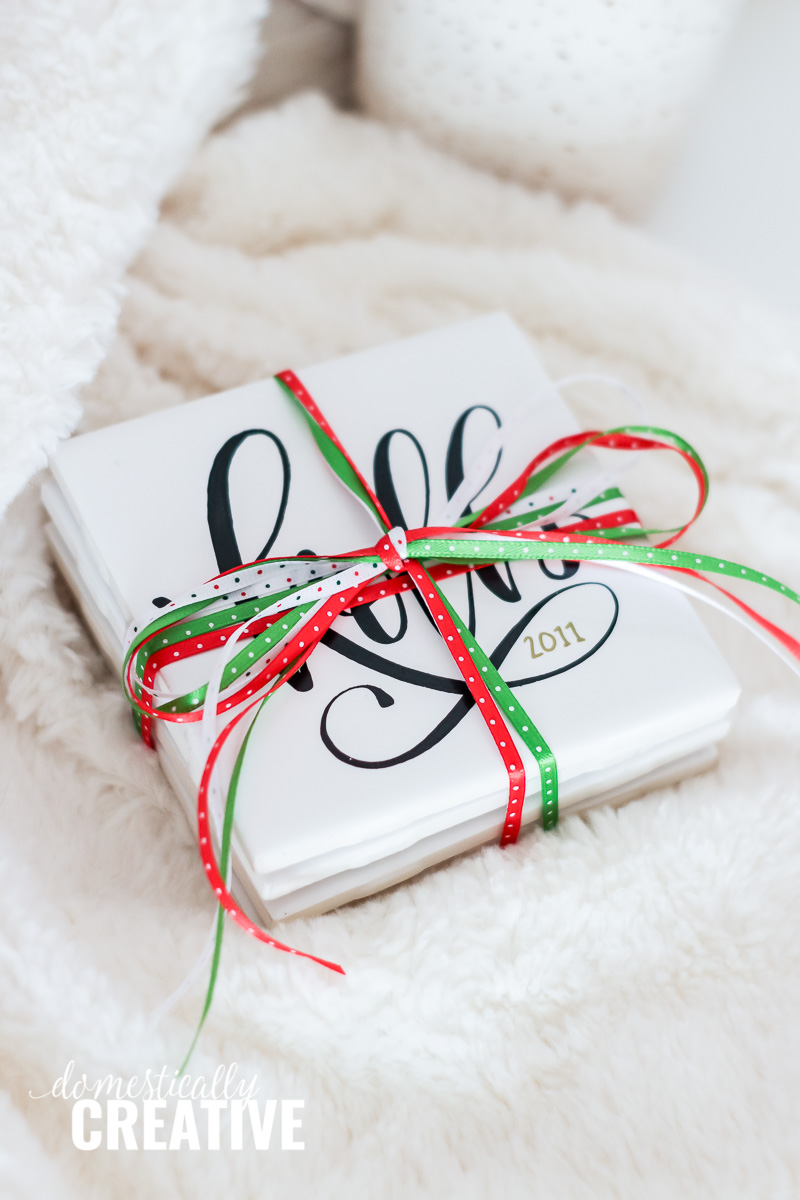
Stack them up and tie a ribbon around them. Gift these DIY personalized coasters with a lush blanket, or coffee mug for a warm and cozy gift your recipient will love!
More DIY Gift Ideas:
- Printable Wine Bottle Gift Tags
- Hand Painted Family Sign
- Hand Lettered Coffee Mugs + FREE Cut Files
- How To Make Custom Cork Trivets
Love this? Pin it for later!
I don’t have a Cricut, but my sister does. I may have to borrow it!
These are great Amanda! I didn’t know about the markers, but I can’t wait to try them. I’ve been thinking about making coasters for awhile now. I would love to be given these as a gift.
I love the font you chose. These would be easy to customize for any season or occasion!
Those turn out really nice! Anyone would love to receive them.
Thank you so much!