DIY Whiteboard Calendar and Planner
Turn a regular large dry erase board into your own personal DIY whiteboard calendar and planner system! Use it for your editorial calendar or to help you keep your family’s schedule organized.
This post may contain affiliate links for your convenience. Read our disclosure policy.
Last week I shared the design and project plans for my feminine home office makeover with you and promised I would have a new project every week. This DIY whiteboard calendar and planner is the first in line for projects I’m making and sharing for my office.
If you’ve hung around this blog space for any length of time, you may know that I am a planner fanatic. I used to use 3 Happy Planners to help keep me organized, and one of those I used for my content planning and editorial calendar. Well I’ve since changed gears and have started using a Bullet Journal for planning instead. I like the ease of it (because there is only 1), I can set it up to suit my personal needs instead of trying to fit them into a commercial planner, and I love that it allows me a little bit of creativity.
While the bullet journal is great, I was finding that I still really needed something where I could see all of my upcoming content plans at once, instead of flipping through pages in my journal. A paper calendar just wasn’t cutting it. Originally I thought having 3 whiteboard calendars would be what I’d need, but after searching for them I realized that would add up rather quickly. Then I started thinking about how I’d really love a place to put each quarter’s goals and have extra space for thoughts and post ideas. That’s when the idea of this DIY whiteboard calendar and planner came about.
Buying a large blank whiteboard and customizing it for my needs was definitely the most budget friendly way to go! You may have caught a glimpse of how I had it set up in the before pictures. This was just a temporary set up where I used washi tape to mark the calendars. I originally had 3 months laid out, but found that I wasn’t really looking ahead that much so decided 2 months would be sufficient for my large whiteboard planner.
DIY Whiteboard Calendar and Planner
Supplies needed:
- Whiteboard (2’x3′)
- Silhouette Cameo, Cricut or other vinyl cutter (optional)
- Vinyl or Washi Tape and alphabet stickers (see notes)
- Transfer tape (if using vinyl)
- Post it notes (1.5″ x 2)
- Dry erase markers
- Eraser
- Whiteboard cleaning spray
- Laser level (optional, but helpful)
Before getting to the steps, I just wanted to preface by saying even if you do not own a vinyl cutter (Silhouette, Cricut or other) you can STILL DO THIS! There are a few options instead. You could cut strips out of the vinyl with a paper cutter, or use skinny washi tape. Then use alphabet stickers for the rest of it. However, since I have a Silhouette Cameo and use it for all sorts of projects, I opted to use it to design and cut the calendars and letters/words. The step by step will be focused on that process.
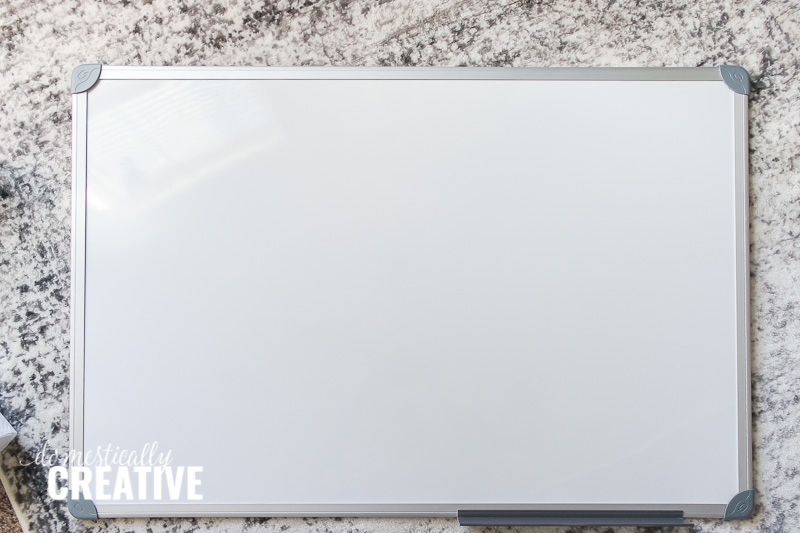
Give the whiteboard a good cleaning with the whiteboard spray to get any grime off the board before starting.
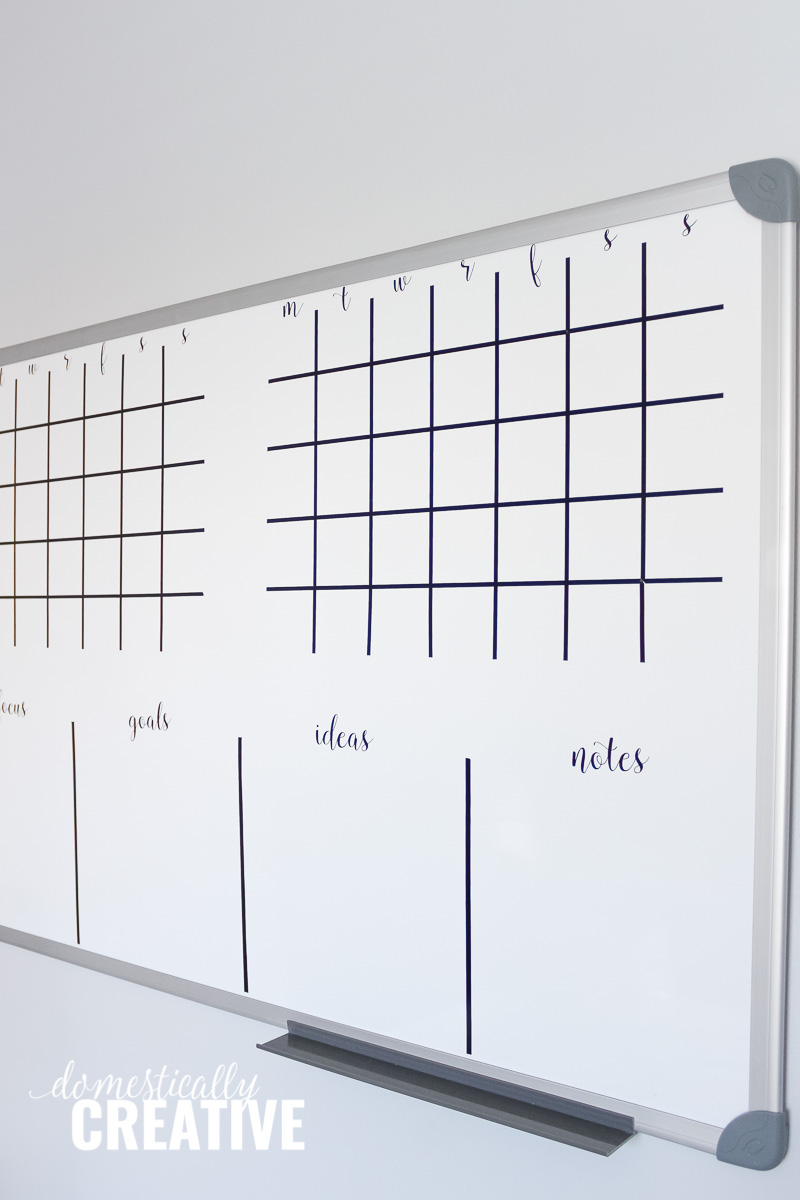
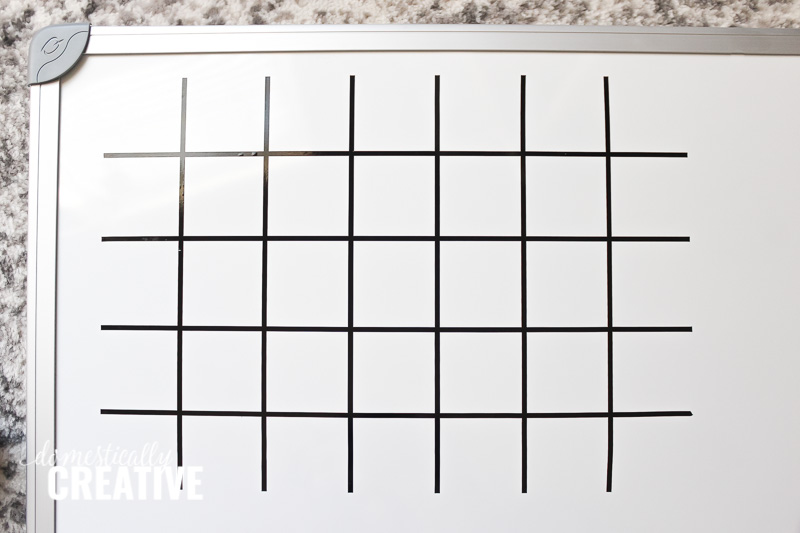
Cut out and weed the calendar boxes, days of the week and the other category titles (focus, goals, ideas, notes etc). For my calendar to fit the 1.5″ x 2″ post it notes, I made the boxes 2″ x 2″. That means the grid was slightly bigger than 12″ x 12″ so I used my 24″ cutting mat for the Silhouette. I chose to use Oracal 651 vinyl which is permanent. You can still remove it later if you want to change the layout, but it may leave behind some adhesive. If you aren’t sure you could always use the 631 which is not permanent.
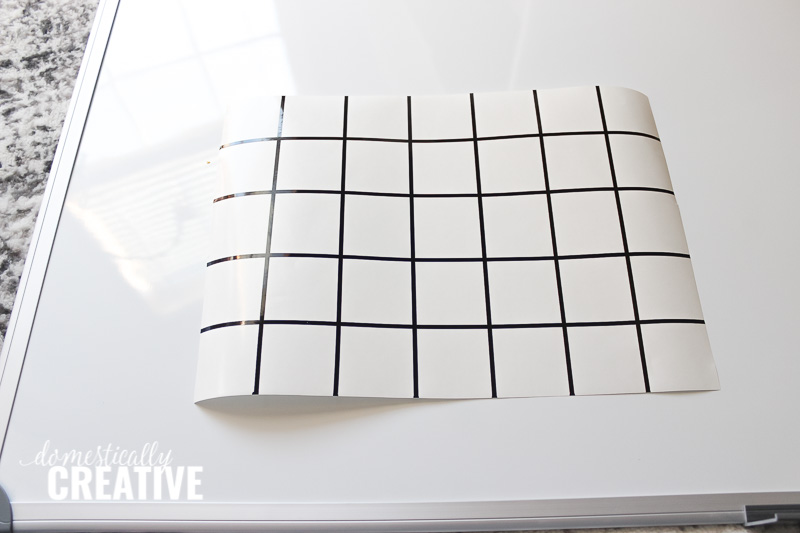
Use transfer tape to place the calendars onto the whiteboard. Use the laser level to help make sure the lines are straight!
Next, place the lower divider lines, and use the laser level again to make sure you get it straight. Can you tell I seriously love mine?? I use it ALL THE TIME!
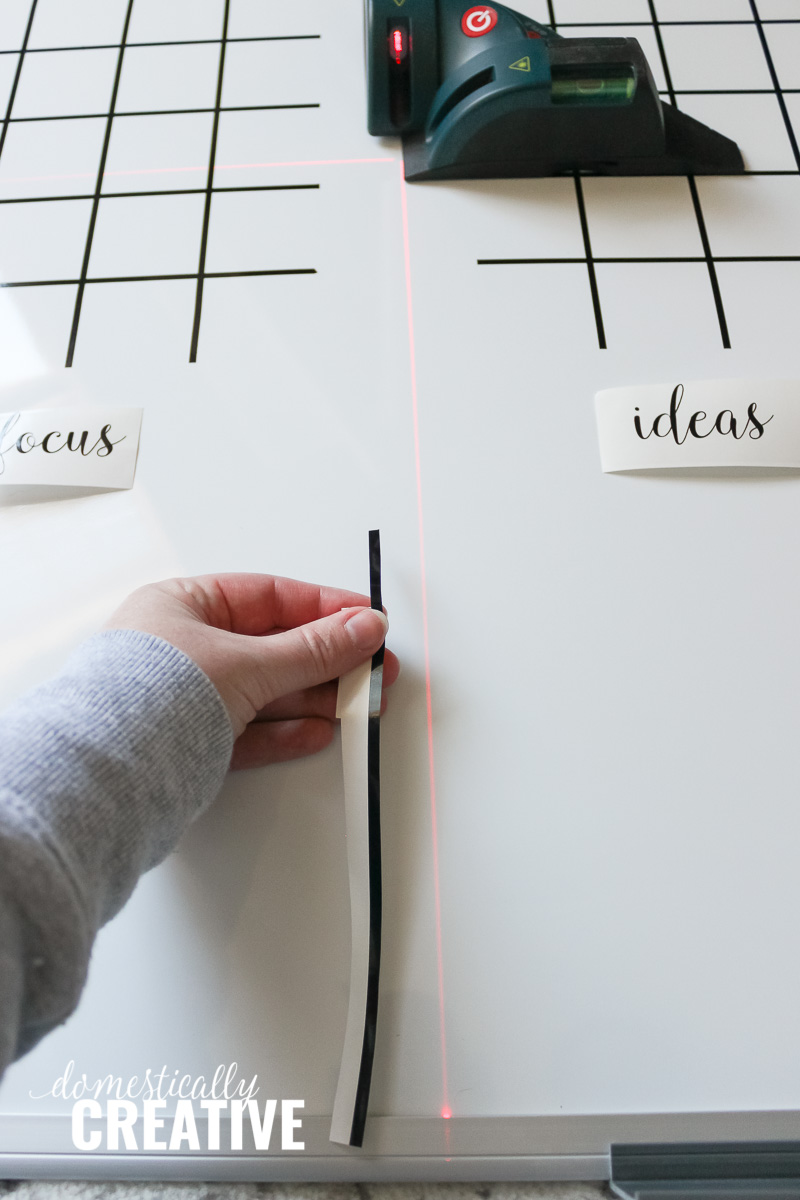
Next it’s time to place the categories. Use the laser level again to make sure the words are all straight and lined up.

Then place the days of the week above the calendars. I prefer to use a Monday through Sunday layout, because that’s just how my brain works. If you like Sunday through Monday then set it up that way. That’s the best part of this DIY whiteboard calendar and planner–it’s 100% customizable to YOUR preferences.

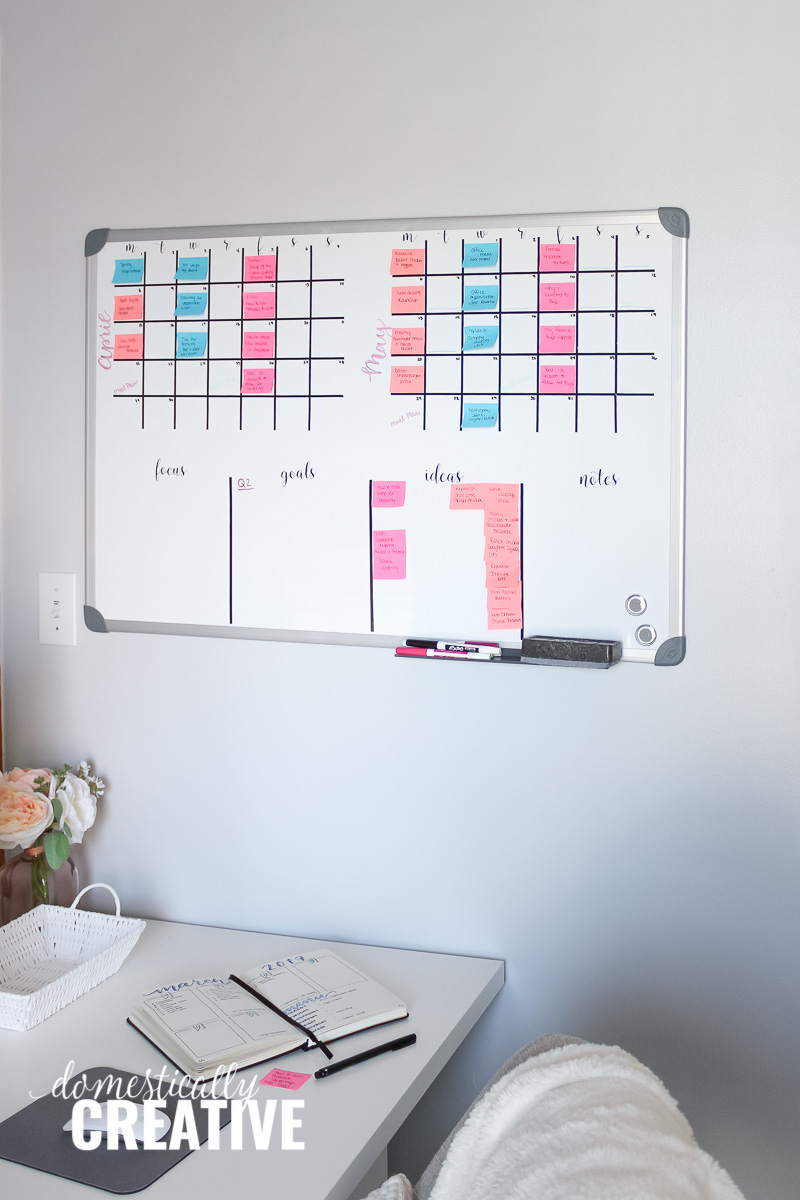
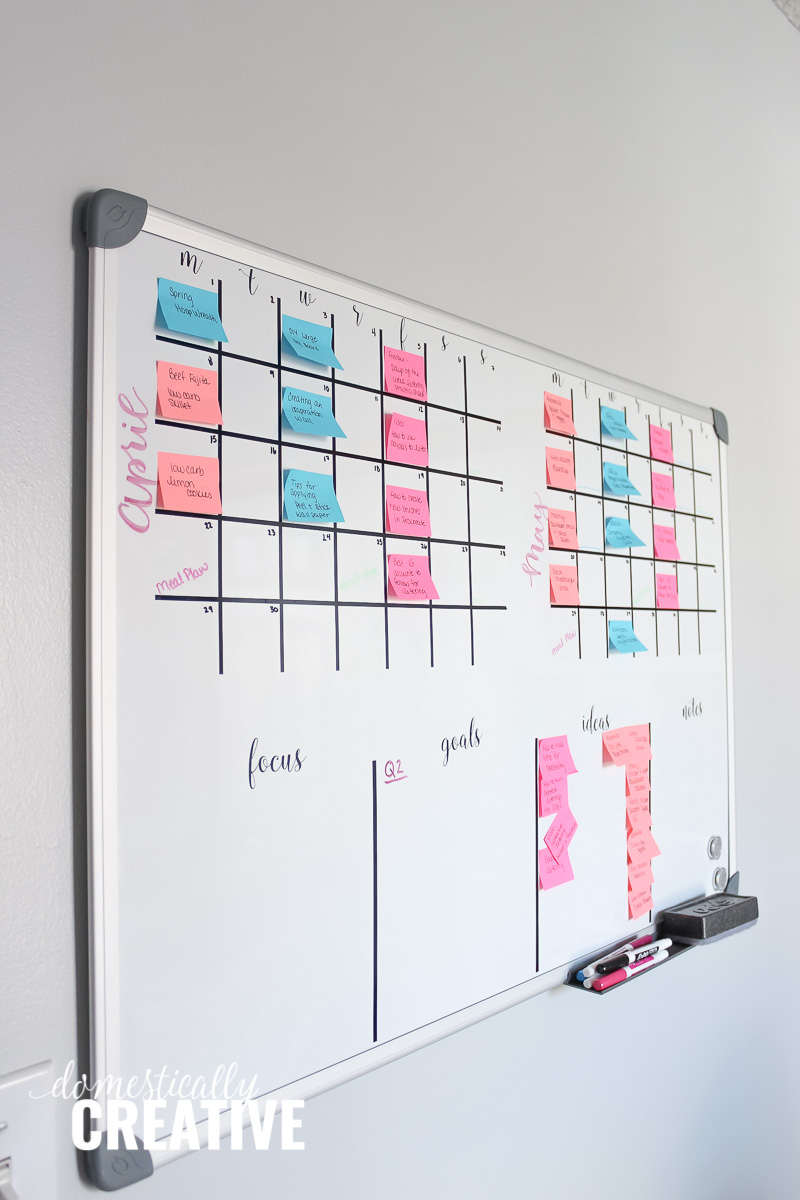
Once the layout was finished, I used small post it notes to write my post ideas down. Each color represents a different category of post. The coral color is for recipes, the blue is for home and diy projects and the bright pink is for my other blog Designs by Amanda Kay. There is also bright yellow that I use for more homemaking or household posts.
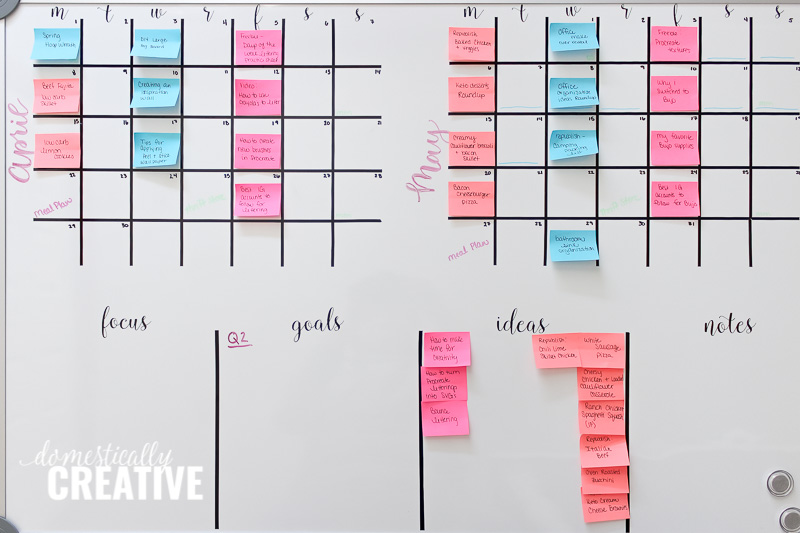
I prefer to use this sticky note method, because it is more fluid this way. Things happen and I don’t always stick to my editorial calendar. Sticky notes are easy to move around and switch out!
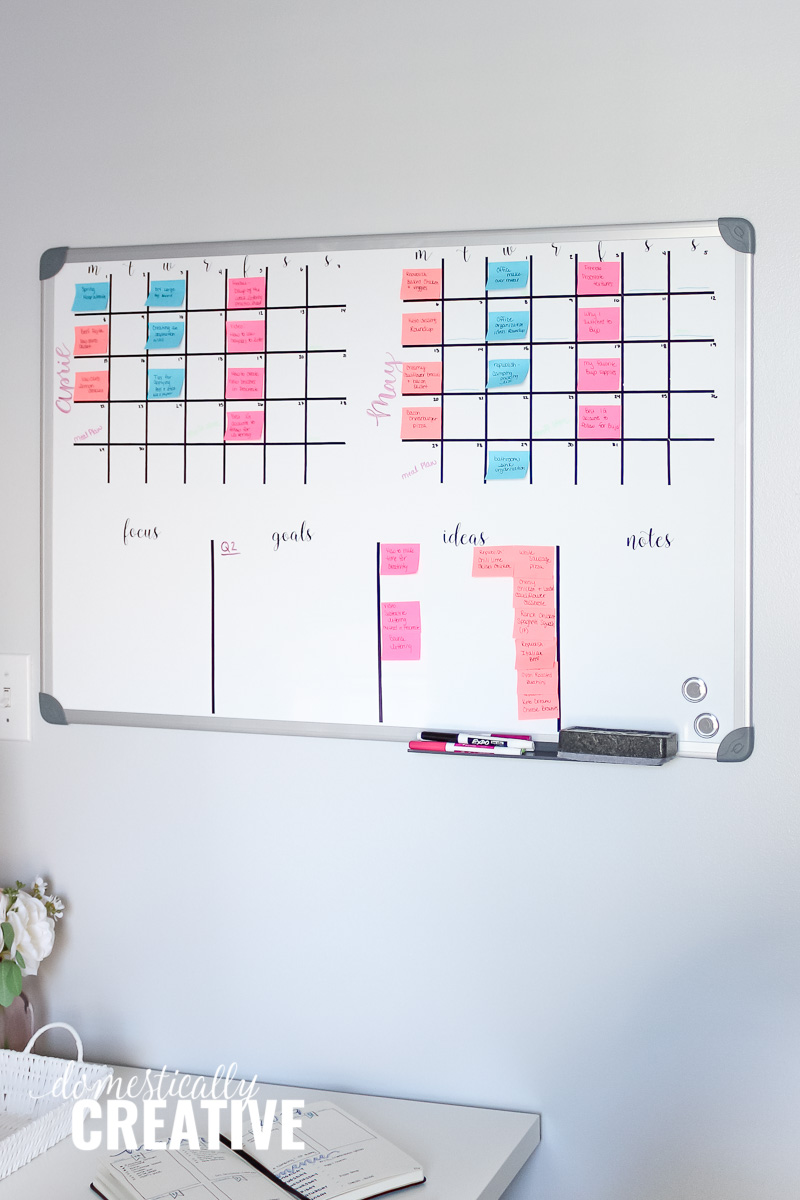
I hung this large DIY whiteboard calendar and planner next to my computer desk so I can easily see what I should be working on next. Plus, my goals and things to focus on are always front and center and give me a great reminder of what I’m working towards.
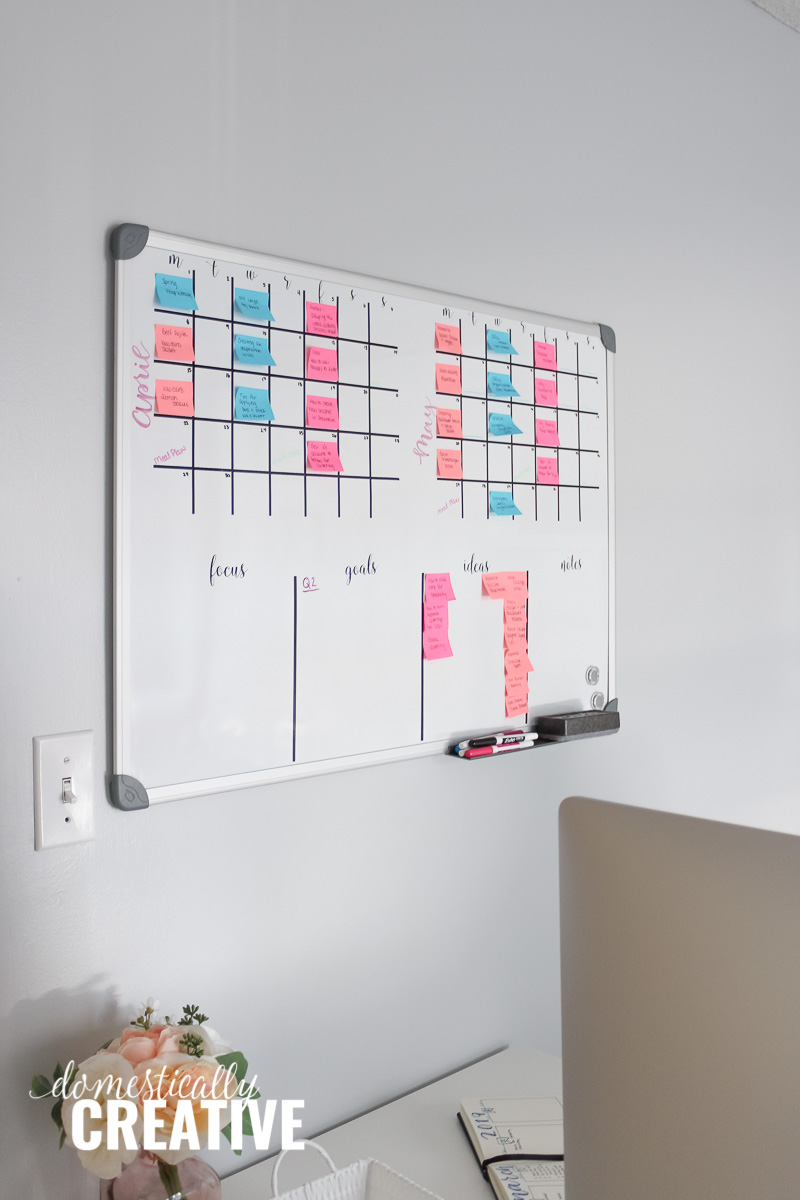
This wall was so hard to photograph because the window is directly across from it and I just couldn’t soften the light coming through. Even with the harsh light though, you can get an idea of the color I painted the walls. It’s a very soft gray with a bit of a blue undertone. When I first painted I panicked a bit thinking it was too blue, but now that my furniture is back in the space, it is more gray than anything.
Next week is our monthly thrift store challenge! I have a really fun project in store for you that both goes in the new office, but adds a much needed boost of organization to the closet. And that’s all the spoilers I’m going to give you!
Do you have the SVG file for this calendar? I am having such a hard time creating this on my cricut with the new restrictions!
I do not have this anymore, sorry. I just created a grid with lines and then added each day of the week separately, but I did do this with a Silhouette and not the Cricut.
We would make diy whiteboard charts at the daycare for diapering schedules (so the parents could glance at it and see their child’s daily diaper changes; wet, dry, dirty.) We used pinstriping brought at an auto shop (AutoZone) and it worked fabulously!! Another tip/trick is that you can write on a white board with permanent marker and baby wipes will take it off!! Thanks for sharing this idea!!
Such an amazing post. I am totally inspired by your work and got some great ideas, actually It gives me some great Information that I’m looking for 🙂