Simple DIY Spring Banner
Brighten up your space for Spring with this super simple DIY Spring Banner made from pretty cardstock and scrapbook paper.
This post may contain affiliate links for your convenience. Read our disclosure policy.
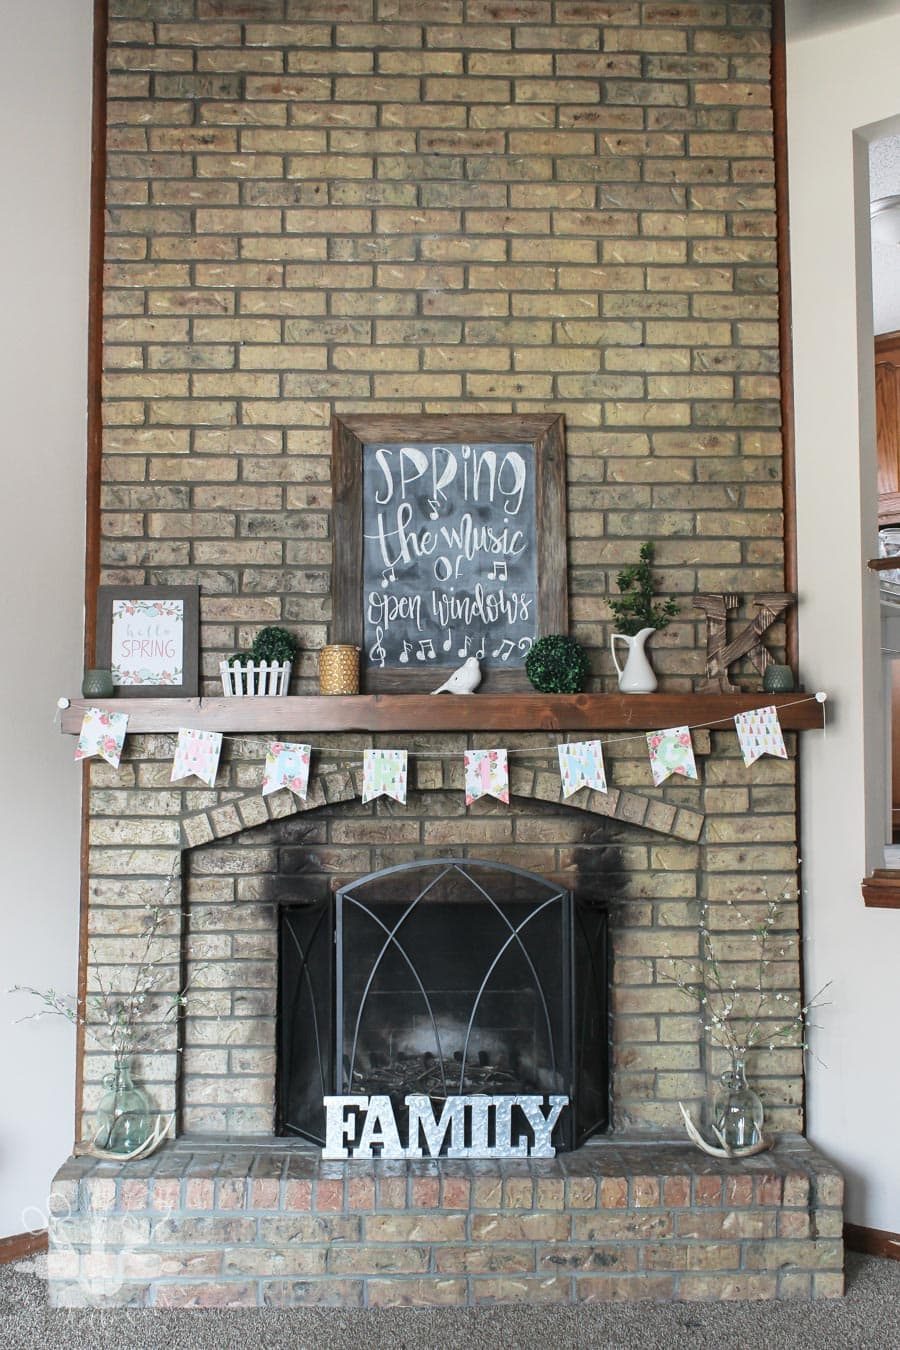
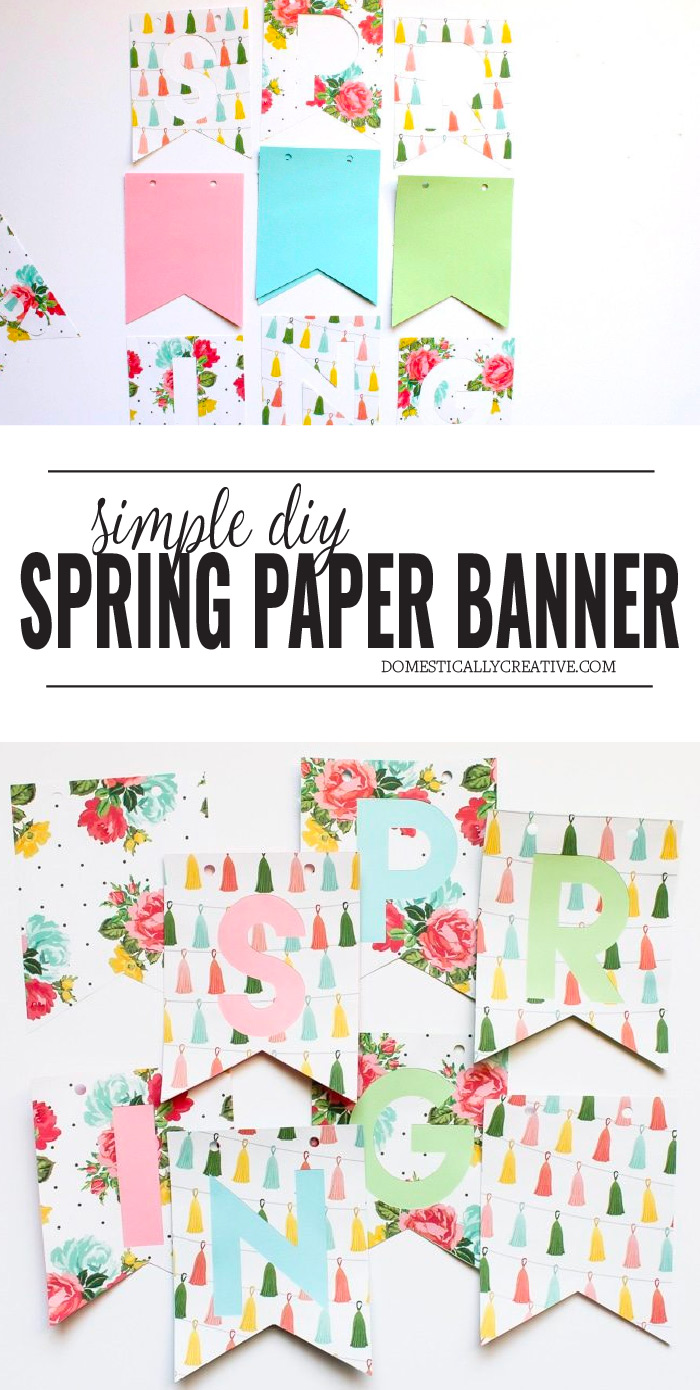
I made this simple DIY Spring banner for my Spring mantel to help brighten up the space. I cut out scrapbook paper pennants on my Silhouette Cameo, glued them to colored cardstock and strung the pennants on colored baker’s twine.
I love making simple decor for anytime of the year, but Spring time definitely gets my heart singing. After so many months of cold weather, bleak scenery and being cooped up indoors I am ready for singing birds, pretty blooms and bright colors. Even if mother nature is making me wait a little bit longer, at least I have this cheery DIY Spring banner to keep me happy for the time being.
How to Make a DIY Spring Banner
Items you’ll need:
- 2 sheets decorative scrapbook paper- I used a floral and a tassel paper from Hobby Lobby
- Pastel cardstock
- Baker’s Twine
- Silhouette Cameo (or printer, scissors and patience)
- Gluestick
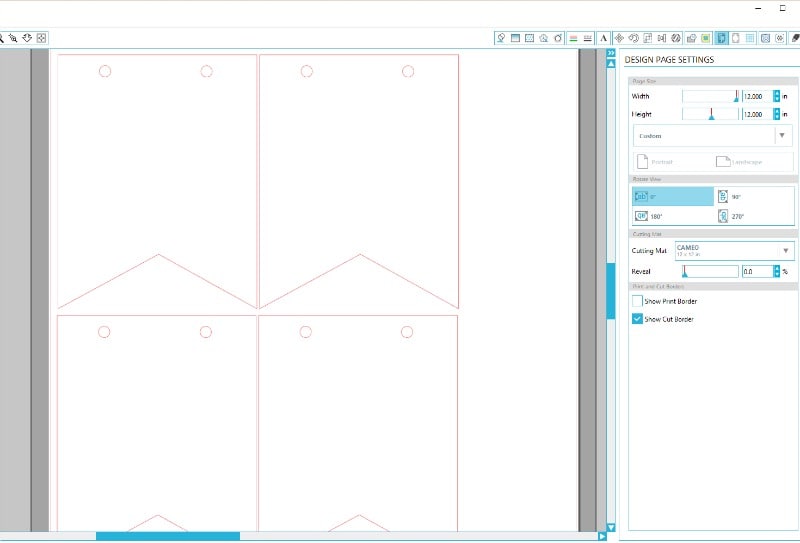
The first thing you’ll need to do is design the banner pennant in Silhouette Studio. I actually used a free design that came with the software and edited it to the style I wanted. Make sure you add the circles at the top to thread the pennant onto the twine. If you forget you can always use a hole punch to make them later.
For the pastel cardstock, you will need to cut out the pennants as designed. I used alternating pastel cardstock, you can use the same color or alternate as well. You will be making 8 pennants so that is how many you need to cut out.
*If you are using a printer, you can run the cardstock through most printers, then just cut out the pennants with scissors. 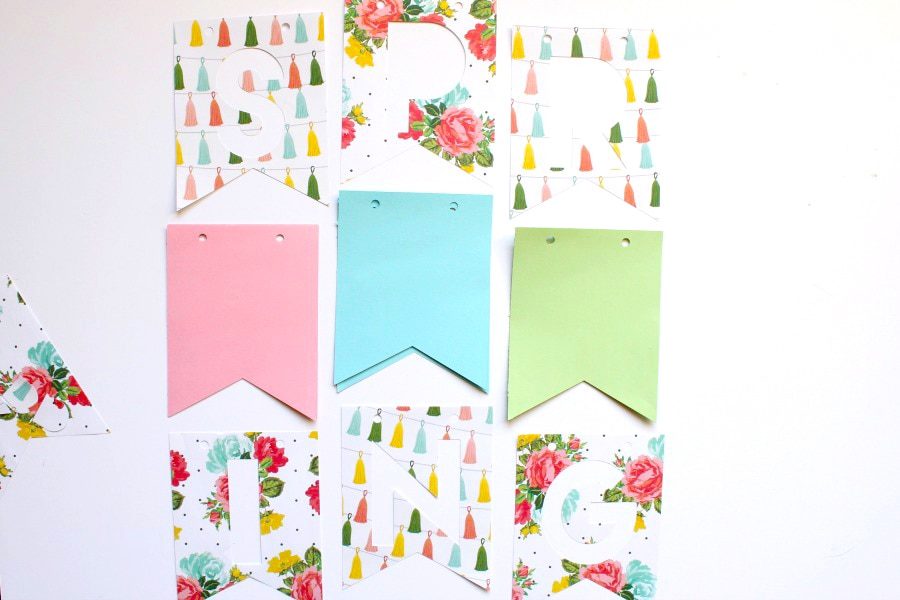
Next, cut out the scrapbook paper with the letters for Spring in the center cutout, and 2 with no letters for each end. For the P and R make sure you save the middle piece to glue back in later.
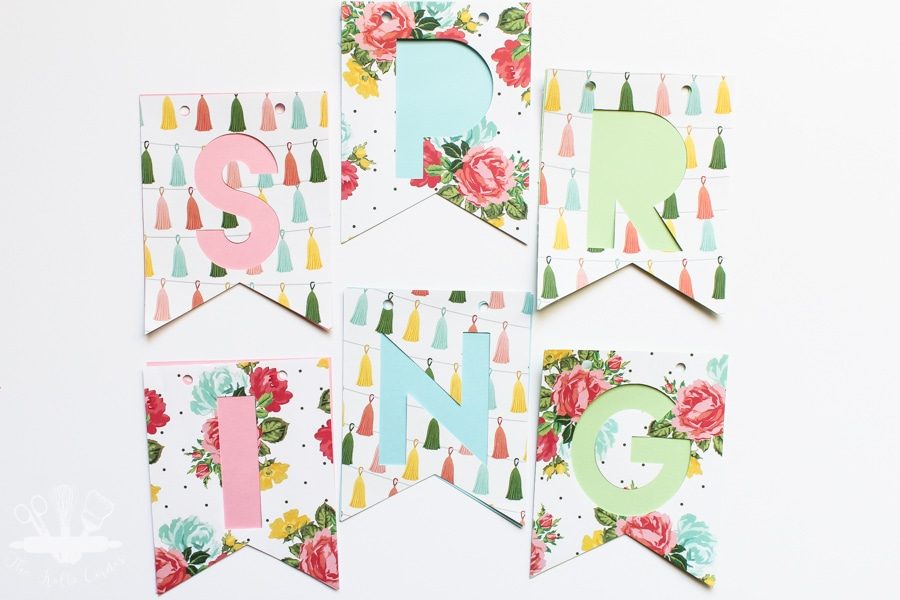
Once all of the pennants are cut out, it’s time to glue the scrapbook paper to the cardstock. Using a glue stick is probably the easiest way to do it, but you could use Mod Podge, regular glue, or rubber cement instead. Remember to glue the centers for the P and R down too. You will have to eyeball them but it should be relatively simple.
Lastly, cut enough baker’s twine for the length you want the finished Spring banner. I cut mine to 84″ to fit my mantel, but a standard size would be around 60″. Then string the pennants onto the baker’s twine. Hang up your new Spring banner and adjust the pennants accordingly.

The floral and tassel papers, mixed with the pastel cardstock really gives my fireplace mantel that pop of bright Spring color I was looking for. The fireplace itself is so dark that it really needed the pops of white and colors to lighten it up.
If you like this simple DIY, check out my other Silhouette Cameo projects.
You may also enjoy:
- DIY Spring Floral Wreath
- Inspiring Spring Home Decor Ideas
- Beautiful Spring Vignettes to Inspire Your Home Decorating
- Container Gardening Guide and Spring Porch Makeover
Don’t forget to pin it!
What size were the banners for this project?
Amanda,
I love your spring banner. Please stop by Over The Moon party tonight since you are being featured.
Hugs,
Bev
I have always been a banner girl. I have quite a few for every holiday and season. This one is very cute! Thanks for sharing it with SYC
hugs,
Jann
so pretty and happy!
Thank you Jeanie!
This is so cute and very spring inspiring 🙂 Thanks for sharing on To Grandma’s House We Go!
Thank you Chas!
Super cute and simple!
Thank you Victoria!
This banner is adorable Amanda. I love making banners with beautiful paper. Thanks for sharing at Merry Monday.
Thanks Jenny! I need to craft with pretty paper more often!
Super cute! I have so much scrapbook card stock stashed away that I could use for this. The design possibilities are endless. Thank You
They really are! You could make one for every season
Amanda, Your banner is so pretty! Love the paper that you used. Thanks too for sharing your posts with us this week at Brag About it! Pinned to share. Have a wonderful week!
~Laurie
This banner is lovely and I can’t wait to make one! Thanks for sharing it!