DIY Painted Wood Sign
If you’re looking for a new piece of wall art for your space but don’t want to spend money on one, I’ve got you covered!
This post may contain affiliate links for your convenience. Read our disclosure policy.
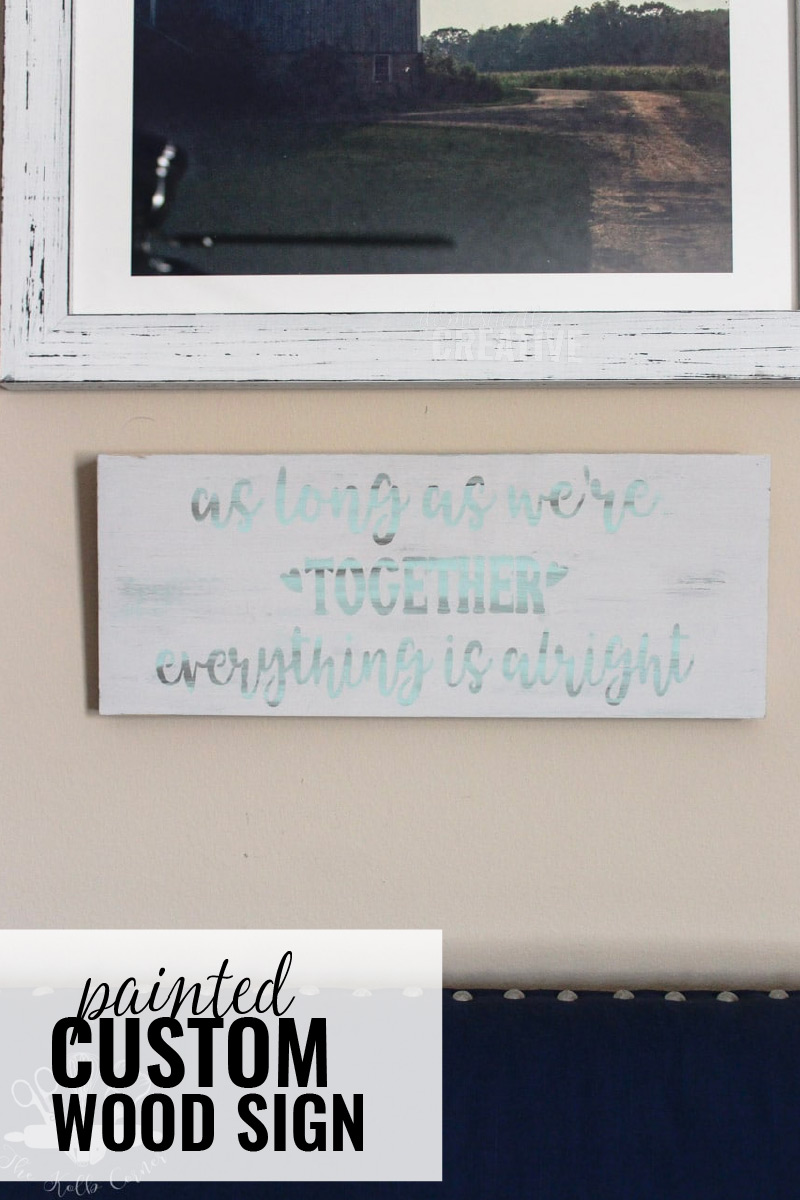
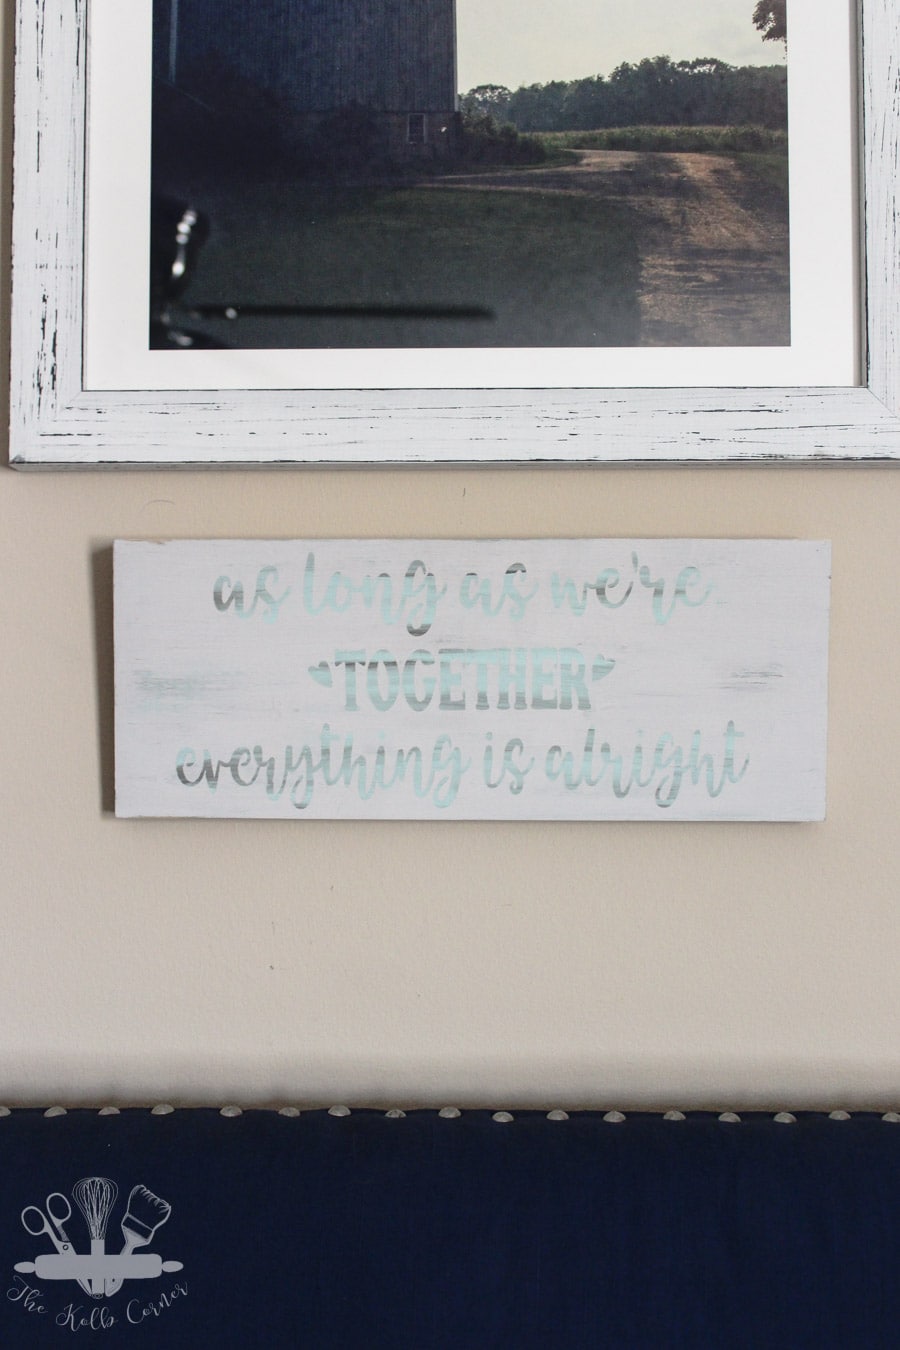
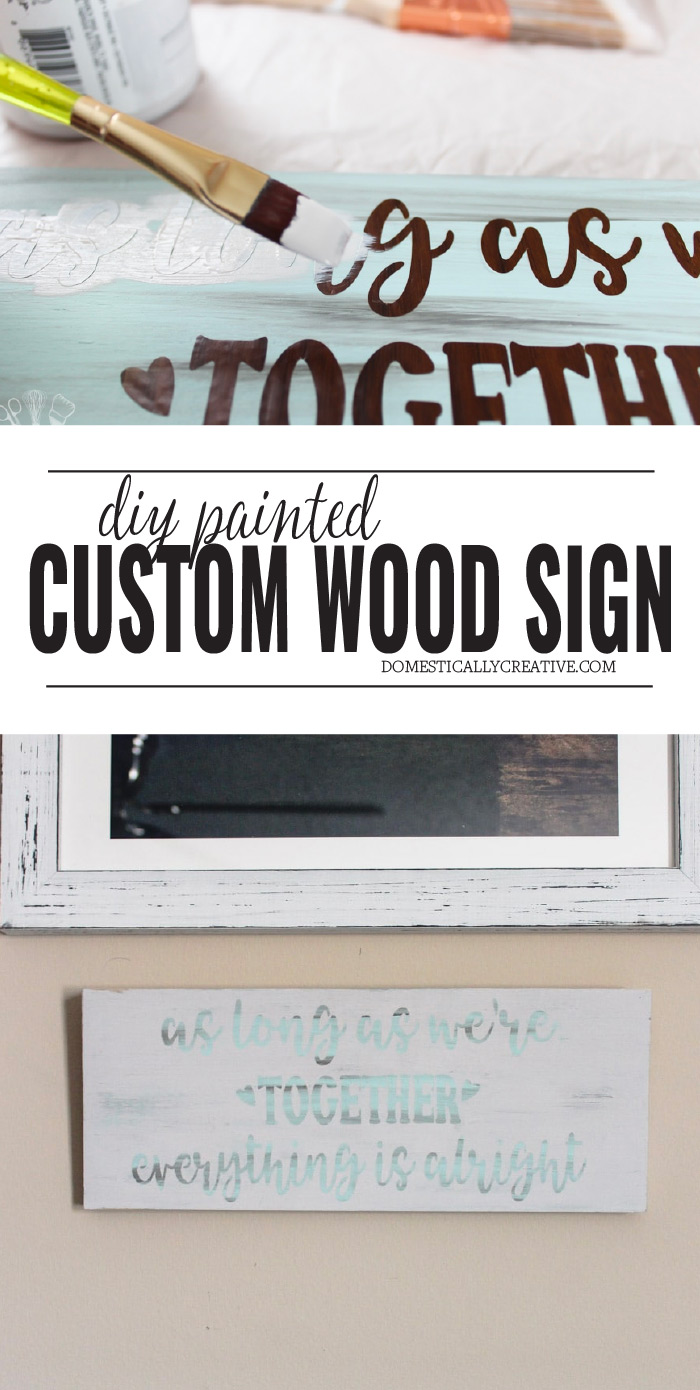
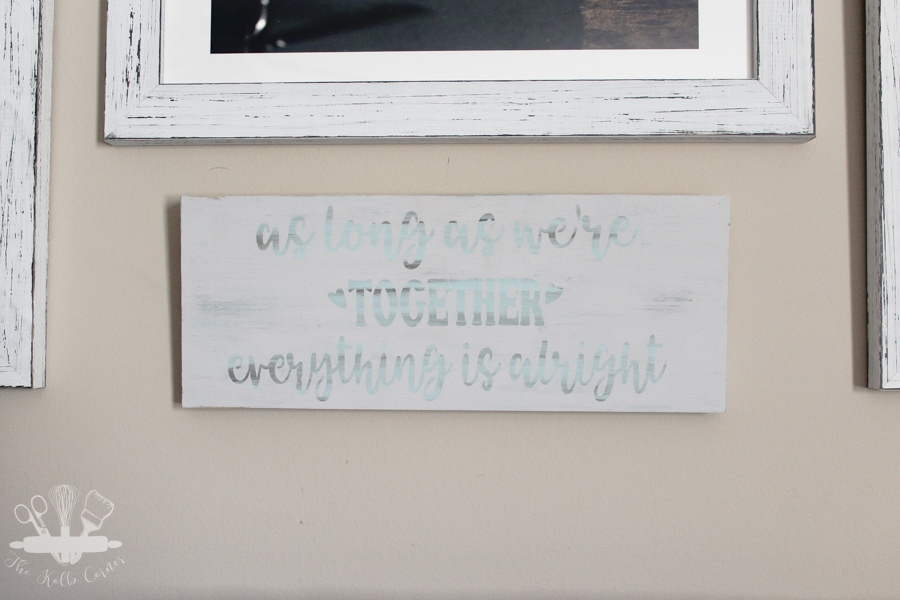
Today I’m sharing an easy tutorial for a DIY painted wood sign that I made especially for our master bedroom. We love to put personal pieces on our walls, rather than random pieces that don’t evoke any emotions or remind us of something.
You may or may not know that I am in the process of giving our master bedroom a little facelift, and one of the projects on the to-do list was creating a gallery wall. Well, I needed a few extra pieces to fill some gaps, and knew that I wanted to make something personal. Last week I shared a tutorial for a custom map wall art piece I made, and this week I promised to show you how I made this sweet painted wood sign that says “as long as we’re together everything is alright”.
My husband and I have lived in several homes, several cities and 4 different states in the almost 11 years we’ve been together. I love this quote because it’s so true with us. It doesn’t matter where we go or where we live, as long as we’re together everything is alright.
How to Make Your Own Painted Wood Sign
Item’s you’ll need:
- 1×6 cut to 15″ (or a similar scrap piece of wood)
- fine grit sand paper
- Paint in coordinating colors (I used latex and chalk paint, but use what you have)
- Paint brush
- Silhouette Cameo or other cutting machine
- Contact Paper
- Weeding tool (optional but a lifesaver)
- Painter’s tape
- Wire Picture Hanger Kit
- **If you don’t have a cutting machine, you can sticker letters instead.
The first step is to gently sand any rough spots out of the wood 1×6. I didn’t get my wood sign perfectly smooth because I like seeing the imperfections and bumps through the paint. I did sand the edges well to prevent getting splinters while handling.
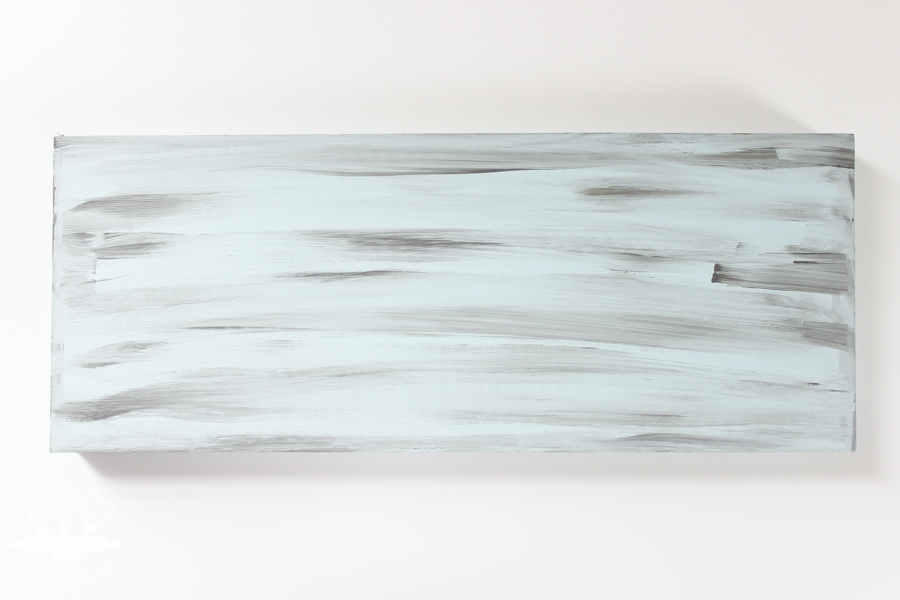
Next, give the wood a coat of paint in the color you choose. Keep in mind this will be the color of the wording once you are finished. I chose a pale blue from Behr called “Malaysian Mist”. I happened to pick up a 3oz sample on their “oops” table for 50 cents about a year ago. This was the perfect project to bust it out! I used the same color on my custom canvas map art. Once that was dry, I dry brushed on a dark gray chalk paint over it. The colors are subtle, but that’s the look I was going for.
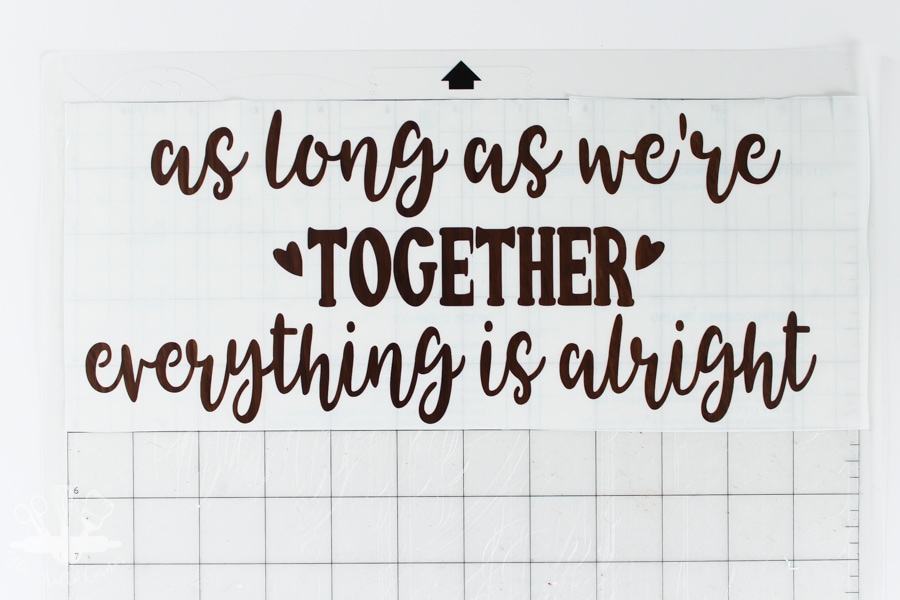
While the paint dries, design the wording in Silhouette Studio. Cut the file out on contact paper. You could use vinyl, but the contact paper will save you money and works just fine for this project. No sense in wasting that precious expensive vinyl!
Once the design is cut, weed out any of the extra contact paper so that just the letters are left, but leave the backing. Don’t forget to remove any of the inside parts of letters like “a” “o” and “g”.
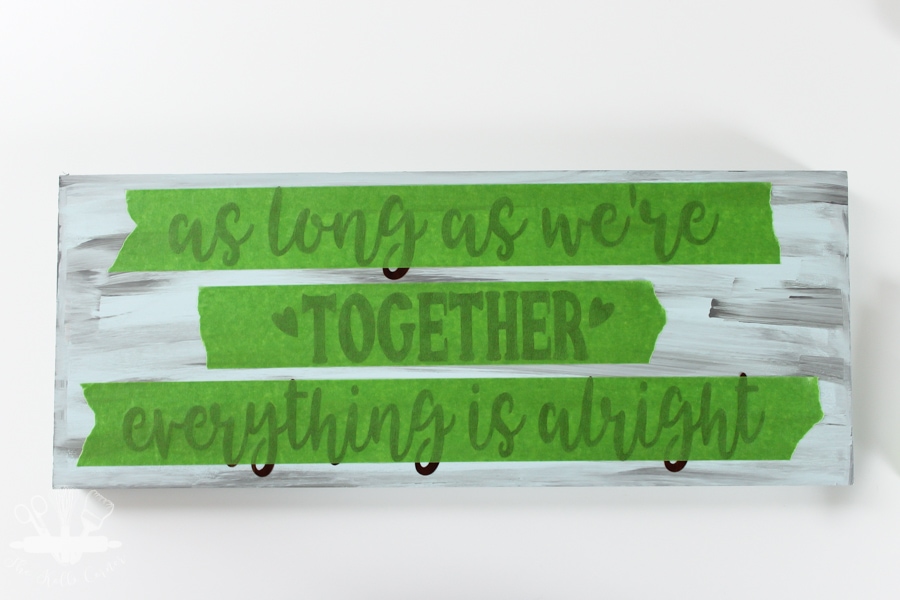
Using the frog tape or painters tape, place a strip over each line of the text to transfer it in one piece to the wood. The reason I used painter’s tape for this project instead of transfer tape is because the transfer tape doesn’t like to release the contact paper. The painter’s tape is really easy to pull up once the contact paper is on the wood.
Transfer each line of text to the wood and reposition as necessary.
Smooth out any bubbles or creases in the text using a flat piece of plastic (a credit card works great!). Then slowly and carefully peel off the painter’s tape.
Once the tape is removed, make sure each letter has good contact with the wood. I almost left the sign like it was because I liked the contrast, but I knew the soft subtle look I was going for would work so much better on my gallery wall.
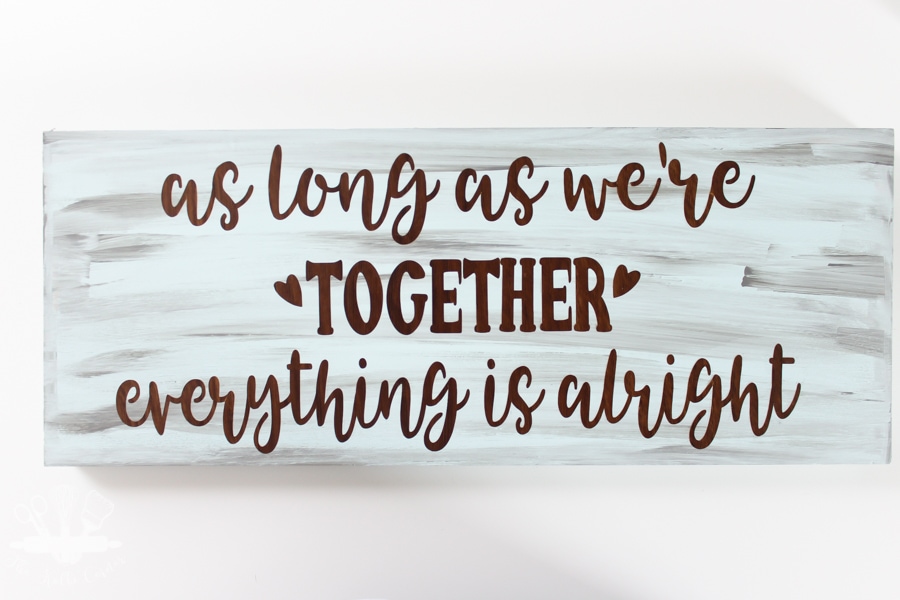
Next, paint a coat of paint in your choice over the entire piece of wood. I chose an off white chalk paint for mine. Be careful that you don’t brush on too hard or you could get bleed through under the letters.
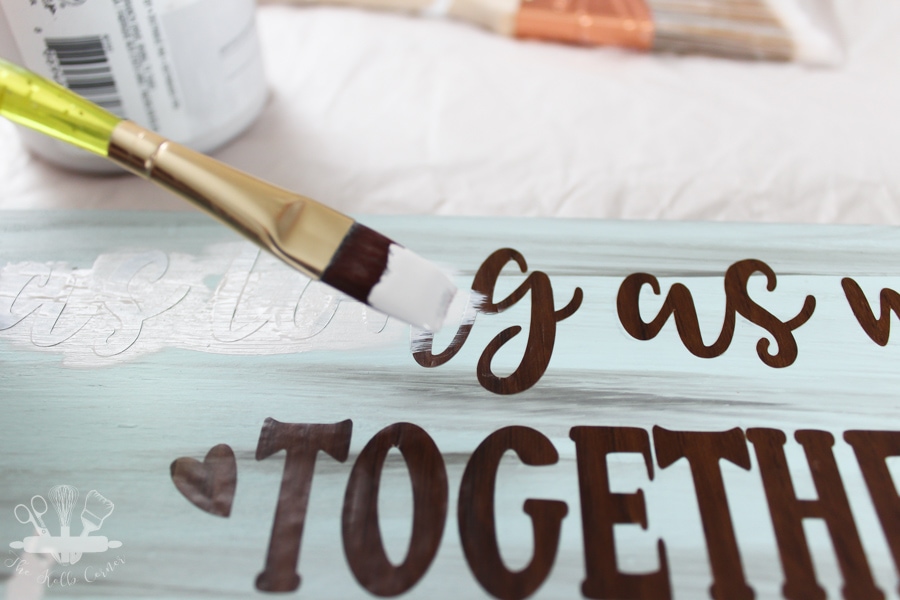
Once the paint dries, carefully peel off the contact paper. Using tweezers or the weeding tool helps.
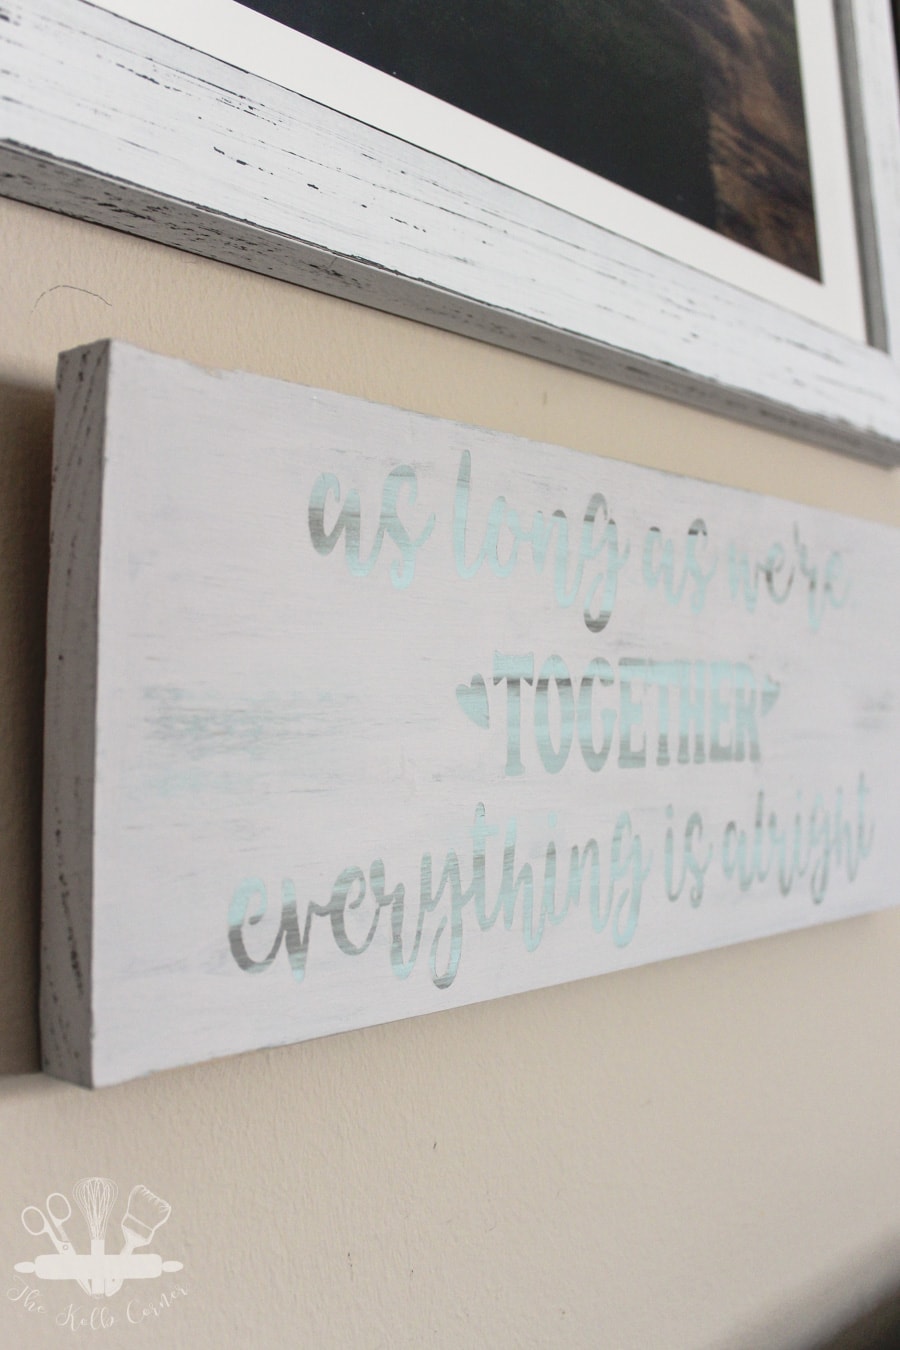
Lightly sand to distress it some and bring the bottom color out around the letters.
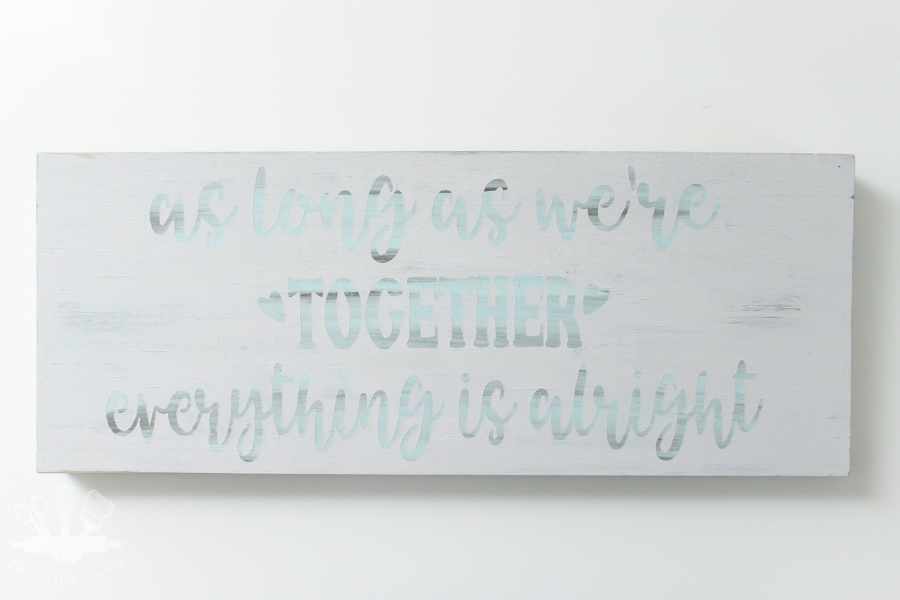
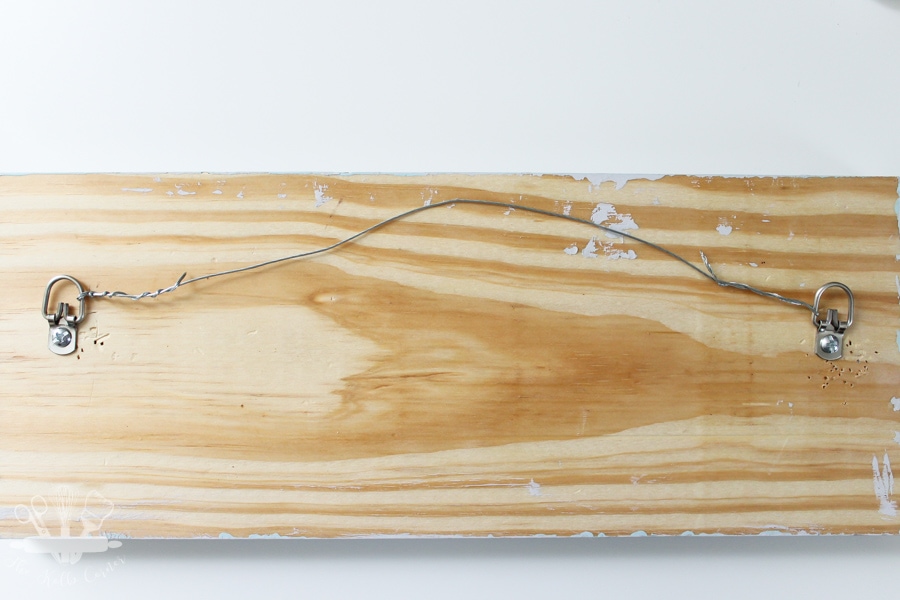
The final step is to attach a picture hanger to the back of it. I tried (and did not succeed) to staple twine to the back of mine, but the wood was too hard for the staples I had. So I just used a picture hanger and wire set I already had. They are relatively cheap and easy to install.
And there you have it! Your own custom painted wood sign!
I know that for most people the contrast between the wording and the paint color is not enough, but I felt like I had so many bold pieces already that my gallery wall needed something subtle. Plus from far away the blue and gray look like watercolor!
Next week I’ll be sharing another project from my mini master bedroom makeover–our headboard! You already caught a small peak at it in my gallery wall, but I’ll have the full tutorial on how I built it. Plus some tips on what NOT to do.
More DIY Decor:
- DIY Farmhouse Chalkboard Style Sign
- Custom Canvas Map Art
- How to Make a Wooden Pumpkin Fall Sign
- Stenciled Anniversary Date Art
Don’t forget to pin it!

This is so impressive. I love the finished vintage look.