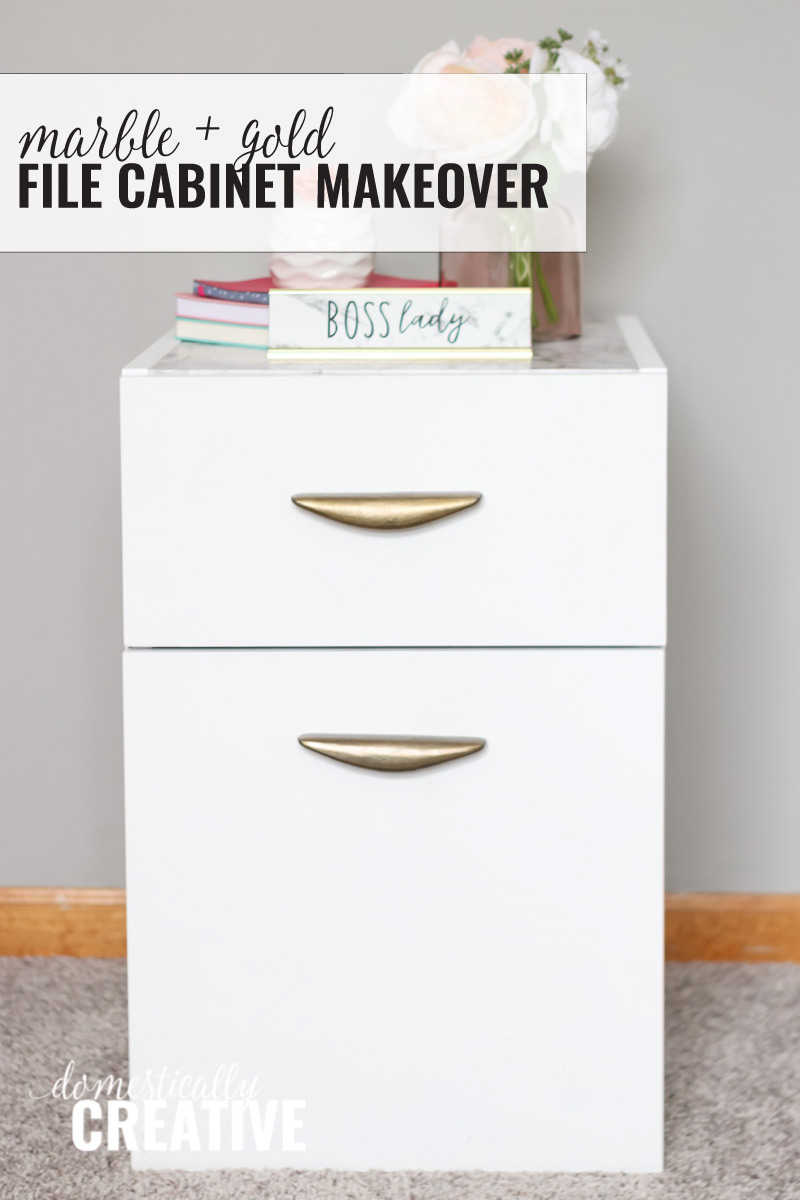
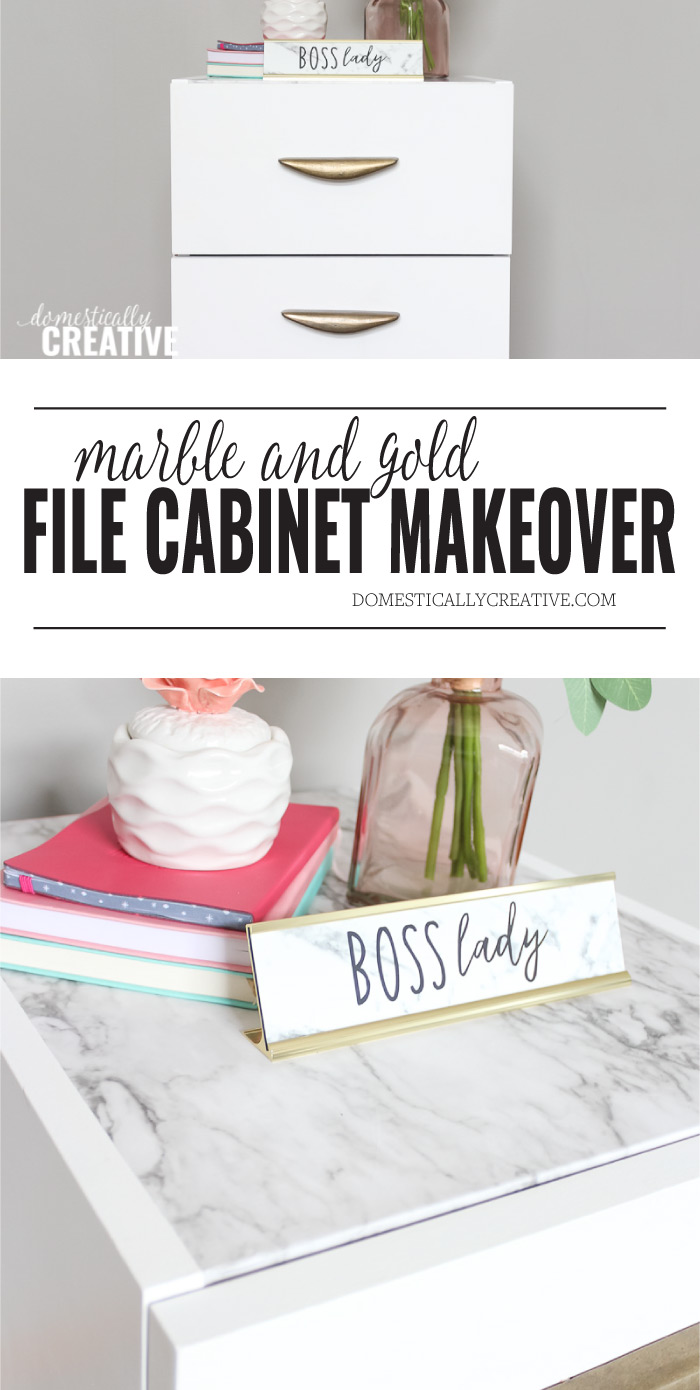
Marble and Gold File Cabinet Makeover
Breathe new life into a worn file cabinet with a little paint and elbow grease! Check out the details on this marble and gold file cabinet makeover starting with a thrift store chest!
This post may contain affiliate links for your convenience. Read our disclosure policy.
My husband was on the hunt for a cabinet that he could turn into a “server closet” for his office so we hit the thrift stores. I wasn’t looking for anything in particular but this ugly wooden file cabinet happened to catch my eye. Then the price tag solidified the fact that it needed to come home with me. It was marked at $4 and all of the furniture was an additional 30% off. SCORE. I can always use more storage in my office!
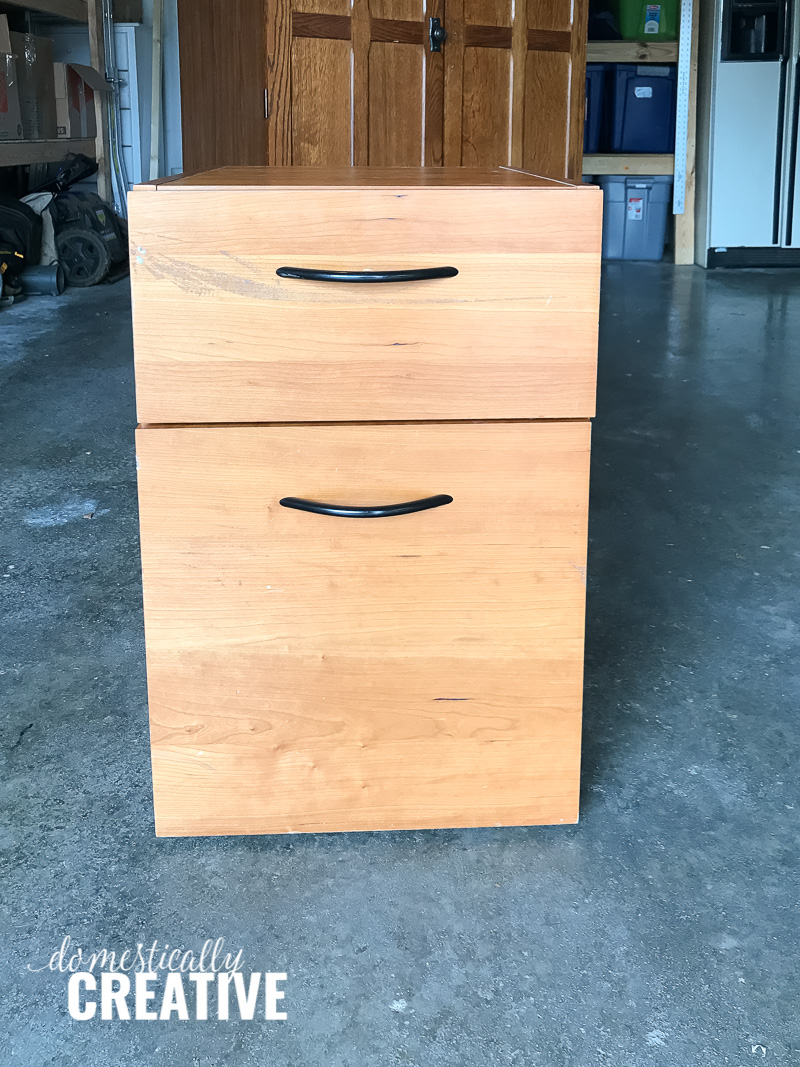
You can catch a glimpse of the cabinet my husband ended up choosing behind the file cabinet. He only paid $7 for it. I won’t be writing about his makeover (he just painted it) but it looks pretty nice in his office! All and all we spent less than $10 at the thrift store and came home with 2 pieces of furniture.
Scroll down to read the full tutorial and don’t forget to check out what the other creative bloggers flipped at the end!

The Rules:
- Upcycle an item(s) from a thrift store, resale store, or garage sale into a new piece of decor.
- There’s no monthly theme.
- There’s no budget to stick to.
Meet the Hosts
Angela | Simply Beautiful By Angela – Heather | Glitter On A Dime – Amanda | Domestically Creative – Michelle | Our Crafty Mom – Jenny | Cookies Coffee and Crafts – Ali | Home Crafts by Ali – Lynn | My Family Thyme – Emy | Semigloss Design – Denise | My Thrifty House – Michelle | Michelle James Designs – Debra | Shoppe No 5 – Habiba | Craftify My Love – Victoria | Dazzle While Frazzled – Ann | Duct Tape and Denim – Molly | Just a Little Creativity – Morgan | Charlston Crafted – Meredith | Southbound Blog
Make sure you follow our board on Pinterest for more upcycled decor inspiration!
Marble and Gold File Cabinet Makeover
Items You’ll Need:
- MDF/wood file cabinet (thrifted is best!)
- TSP or Murphy’s Oil Soap (to clean really well)
- Wood filler
- Palm Sander
- 100, 150 and 220 grit sand paper
- Tack cloth
- Drill and Drill bits
- Kilz Primer (water based)
- White Latex Paint
- Paint Roller
- Foam rollers
- Foam Brush
- Paint tray
- Minwax Polyacrylic Satin (or furniture wax would work)
- Marble Contact Paper
- Gold Drawer Pulls
- Prepping–As with anything I pick up from a thrift store, I always give it a good cleaning. For wood pieces I really like using Murphy’s Oil Soap. It not only cleans, but the wood soaks up the oils. If you are going to use the wood as is, it gives it a great sheen and restores the grain! Remove the drawer pulls and set them aside. If you won’t be re using them, fill in the holes with wood filler and let dry. If needed, fill in any nicks or holes in the wood.
- Sanding–Time to get this file cabinet makeover started! Use the palm sander (or orbital sander if you have that) and 100 grit sand paper to rough up the surface. My file cabinet is made of MDF and veneer, so I didn’t spend a ton of time sanding. If you have wood, I would try to sand as much of the finish off as possible to give your paint an even smooth surface to stick to. After using the 100 grit, follow with 150 grit, then 220 grit. This gives it a very smooth finish.
- Cleaning–Take your vacuum and suck up any loose sawdust. I find that a shop-vac with the upholstery brush works best, but use what you have. Then go over it with tack cloth to get up the dust that was too stuck to vacuum up. Tack cloth is a must have life saver!
- Priming–Now that the file cabinet is smooth and clean it’s ready to paint! I personally prefer to use a small 4” paint roller with a foam roller cover. They leave a smooth finish with no brush marks, plus they make quick work of painting a smaller piece of furniture like this. Paint a coat of Kilz primer over the entire file cabinet, let dry for about an hour and then paint another coat.
- Painting–After the primer is completely dry, paint 2-3 coats of latex over top, letting each coat dry first. You could also use an oil base paint (over water or oil based primer) Since it’s the middle of Winter and I was stuck painting in my garage, I opted to stick with Latex. Oil base paint has a strong awful odor. Also, this piece will not get a ton of harsh everyday use, so Latex will work just fine.
- Sealing–Let the paint cure for 24 hours before moving on to the top coat. This is also optional, if your piece will just sit in a corner for decoration. However, since this is a file cabinet and I will use it on occasion, I opted to seal it with polyacrylic. You could use a furniture wax too. I chose a Satin finish to keep it smooth and not shiny. Paint on with a foam brush in even strokes.
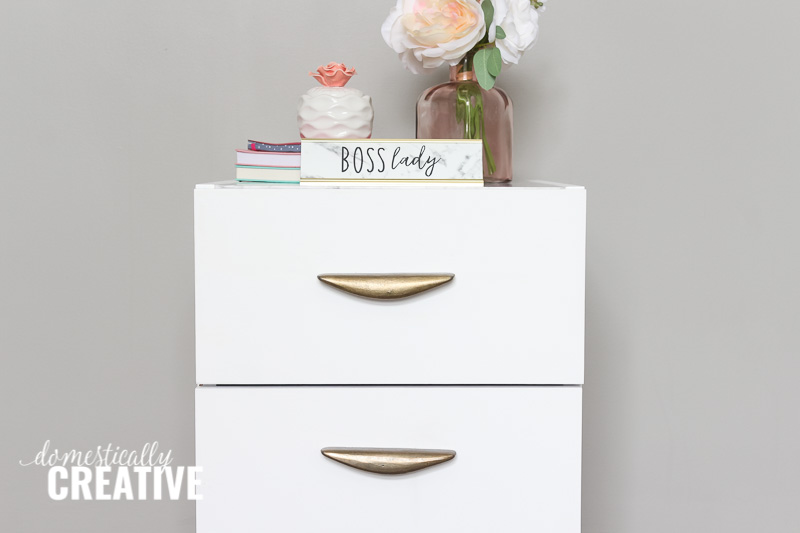
- Finishing–Lastly, after the top coat has completely cured (24-48 hours) put the drawer pulls back on. For me, I had to drill new holes using our drill and drill bit. Don’t you just love these handles from Hobby Lobby? I was able to score them when they were 50% off! The lines of the pull match my Alex drawer unit from Ikea!
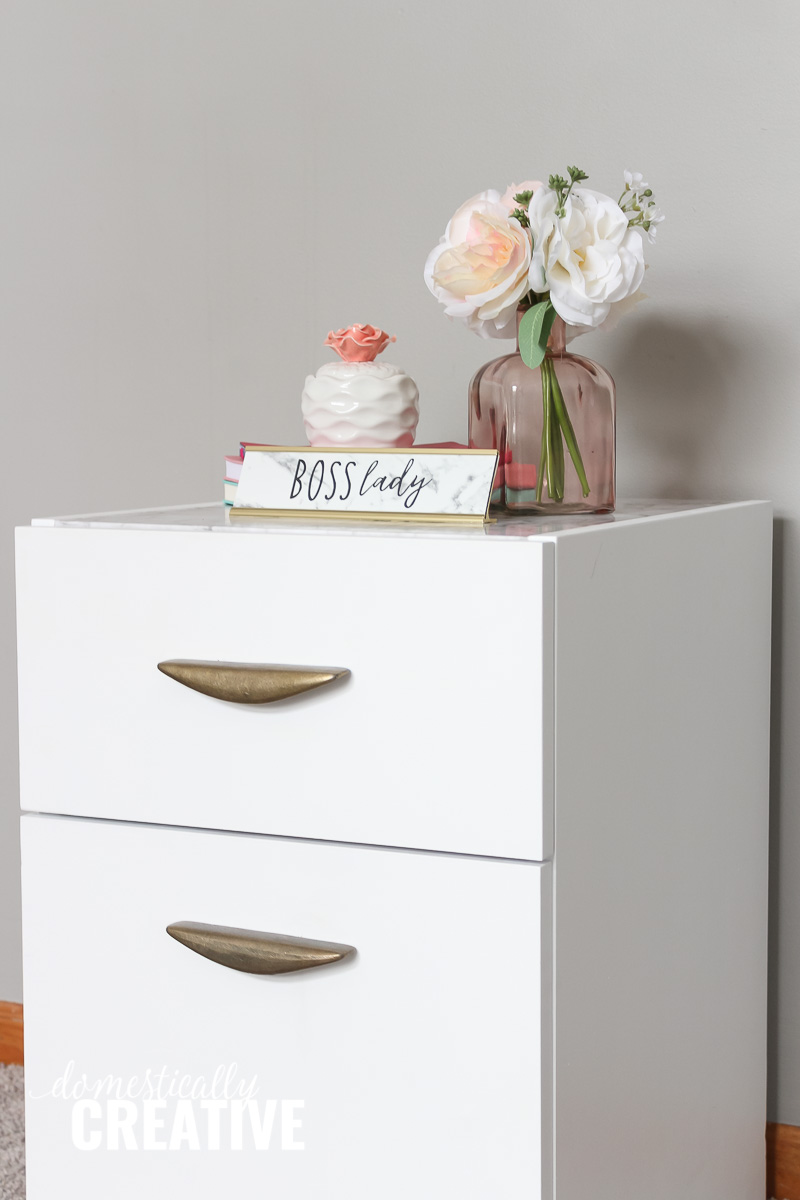
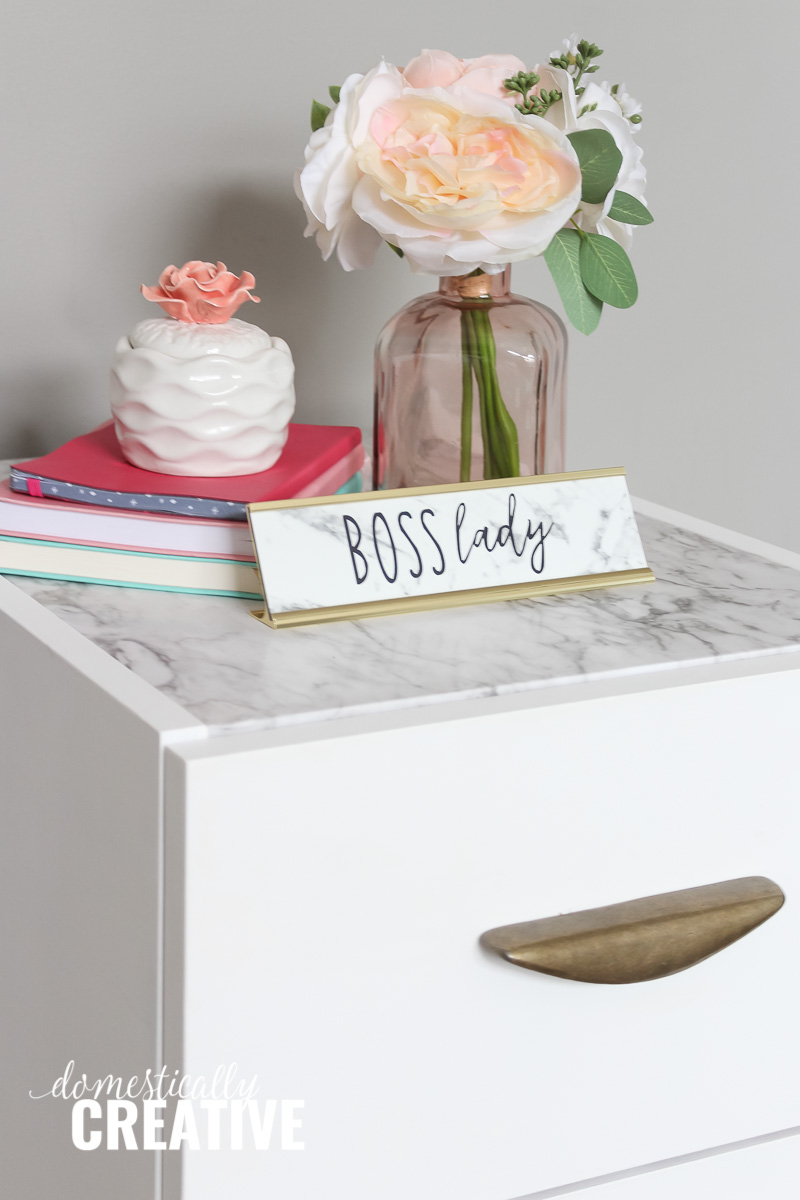
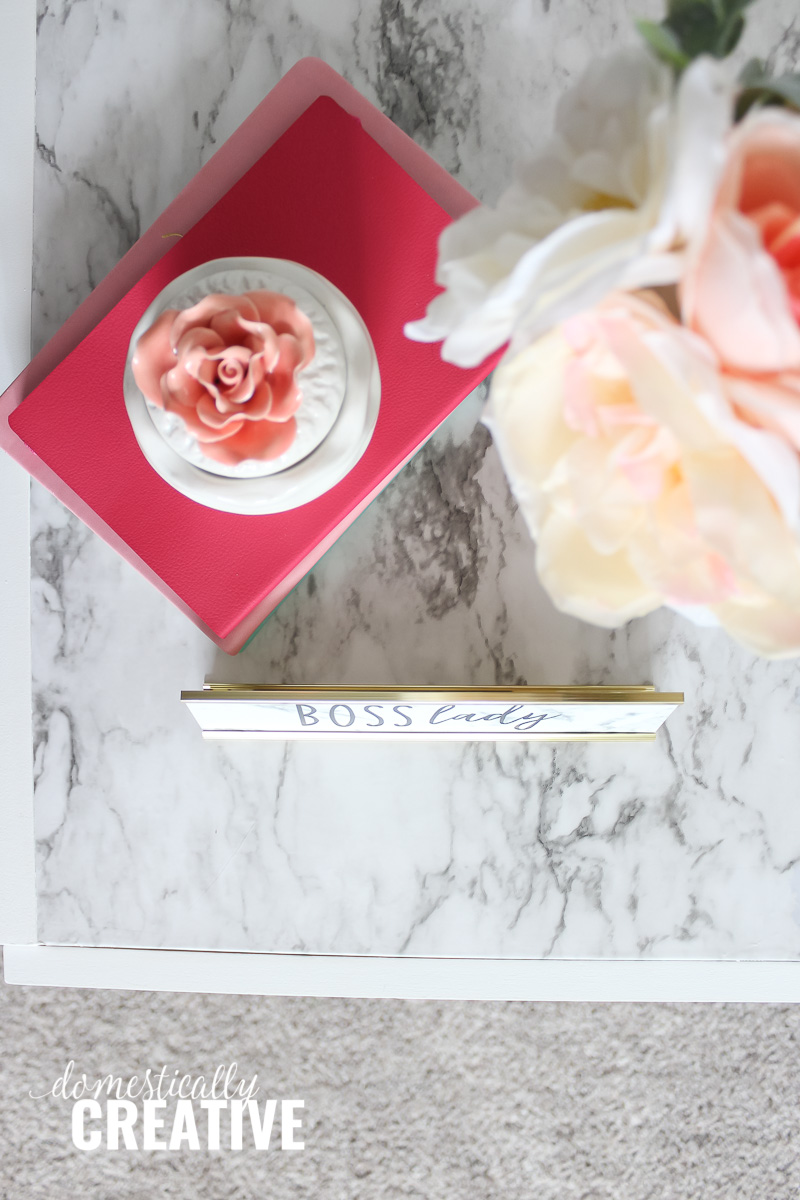
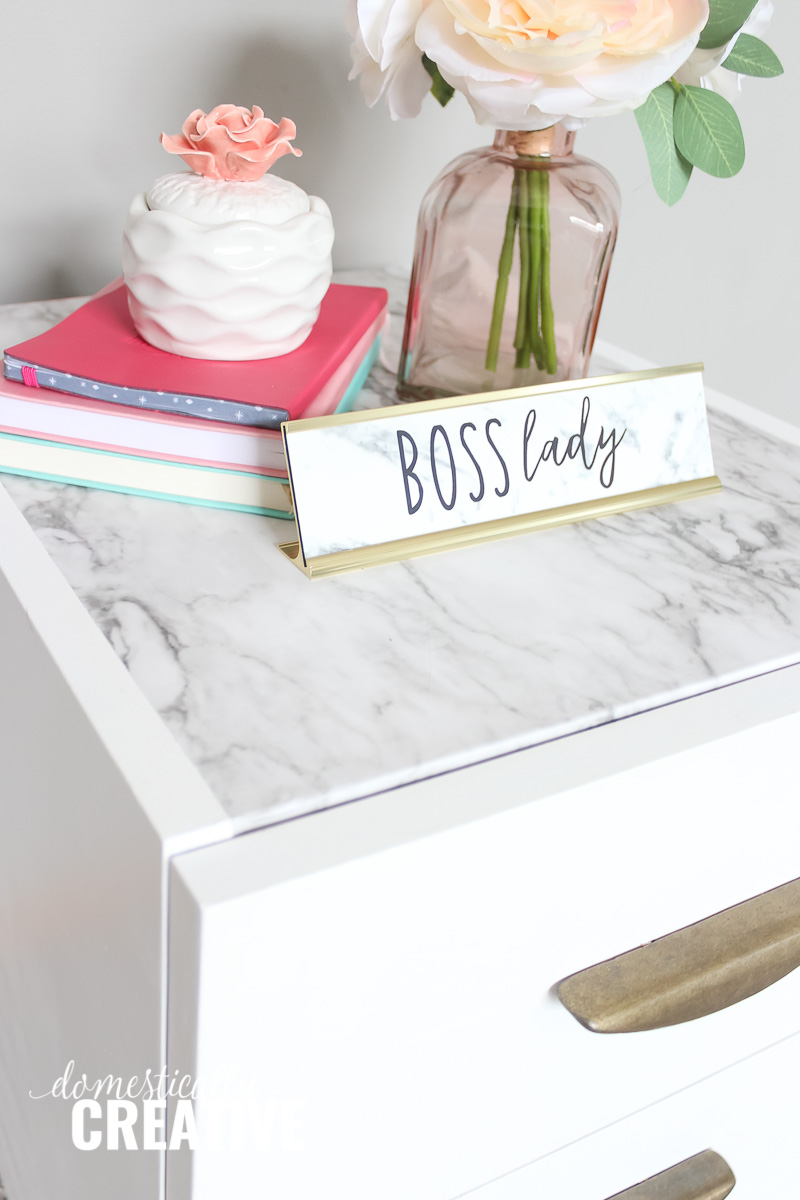
Once the pulls were on my new file cabinet, it was missing a little extra something–MARBLE. I pulled out my stash of marble contact paper and decided it would be the perfect addition to the top of the file cabinet. It was very easy to apply and I used a small craft knife to cut off the excess. A smoother tool or old credit card works great to help smooth down the contact paper and get out any bubbles.
Now my marble and gold file cabinet makeover is complete! It goes great in my office and will fit in with the rest of the makeover I have planned for it (details soon!) I love having another place to use for storage, because when you are a craft and office supply hoarder, you take all the storage you can get! I’m using the bottom drawer to store all of my fabric, similar to My Pinterventures method. The top drawer holds my paper cutter, label maker, happy planner punch and laser level (I use it for keeping my hand lettering straight!)
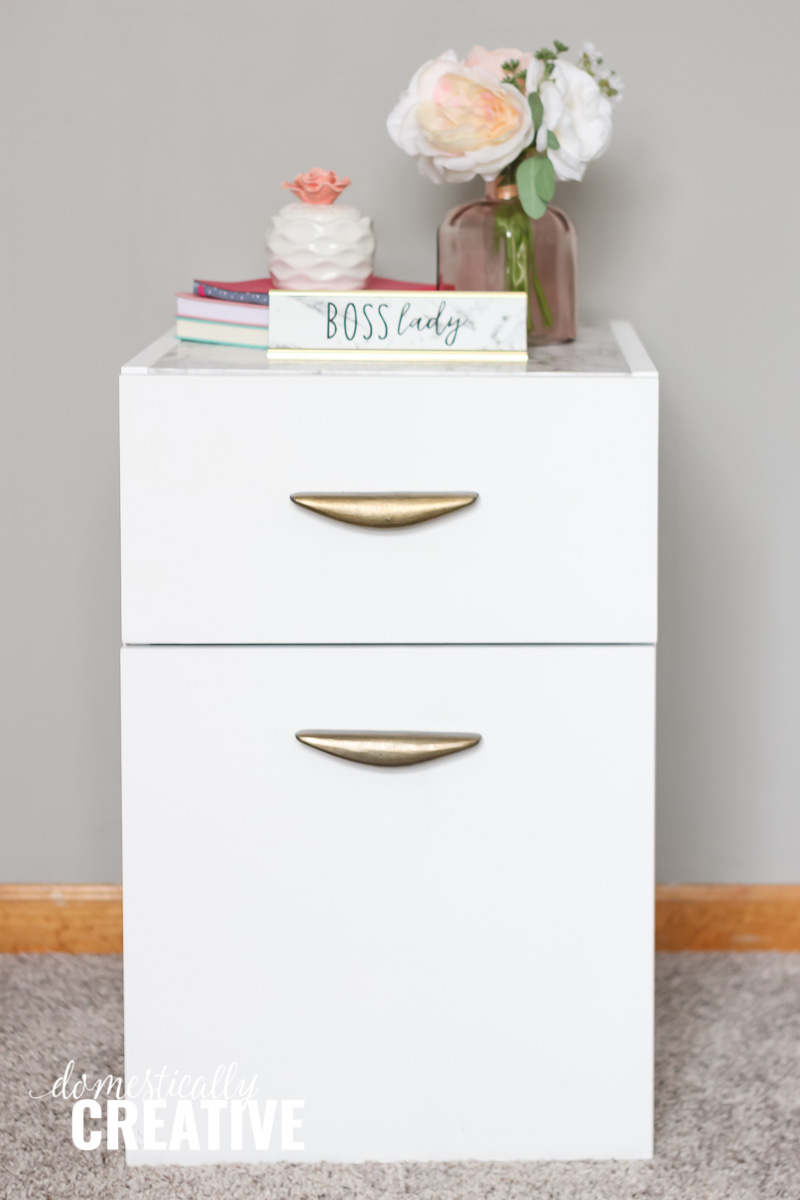
The best part is this marble and gold file cabinet makeover cost me less than $30!
Price Breakdown
- File Cabinet–$2.80
- Paint/Supplies (I had some already)–$16
- Drawer Pulls–$10
- Contact Paper–Already in my stash
More fun thrift store makeovers for craft rooms
- Repurposed CD Tower for Craft Paint Storage
- DIY Vinyl Storage Basket
- Upcycled DIY Desk Organizer
- DIY Craft Room Storage and Decor Piece
Don’t forget to pin it!
And now for more thrifty goodness!
The price was certainly right! $10 for two pieces of furniture is fabulous! Your filing cabinet looks new and I love the marble look top.
Congratulations to this wonderful upcycle. I love that you can give old unloved pieces a new life with a little TLC. Awesome that you got the cabinet and the handles at a sales price.
Oh this is right up my alley! I love white and gold and the marble top is so pretty. Can’t believe it’s contact paper! So cool!
What an amazing find! This turned out beautiful and I love how you styled it. So pretty!
I love this makeover! The marble top really gives it a classy look. I’m planning to makeover my home office this year and now I want to add a filing cabinet like this to the plans!!
wow! what a filing cabinet and it looks great. The pulls and marble give it a high end look for a great price!
Awesome job and that marble contact paper was the perfect addition. Love the Boss Lady sign too.
This is the most elegant file cabinet I have ever seen. You did a beautiful job. And I love the drawer pulls.
Love how your filing cabinet turned out! The marble top is so pretty!
What a transformation! That marble contact paper is genius!
This turned out soooo pretty Amanda! I love the marble paper that you added and those gold pulls totally make it 🙂