Repurposed Dresser for Craft Room Storage
In need of some extra craft room storage? This repurposed dresser was made into chic storage for craft room supplies and photo prop storage for cheap!
This post may contain affiliate links for your convenience. Read our disclosure policy.
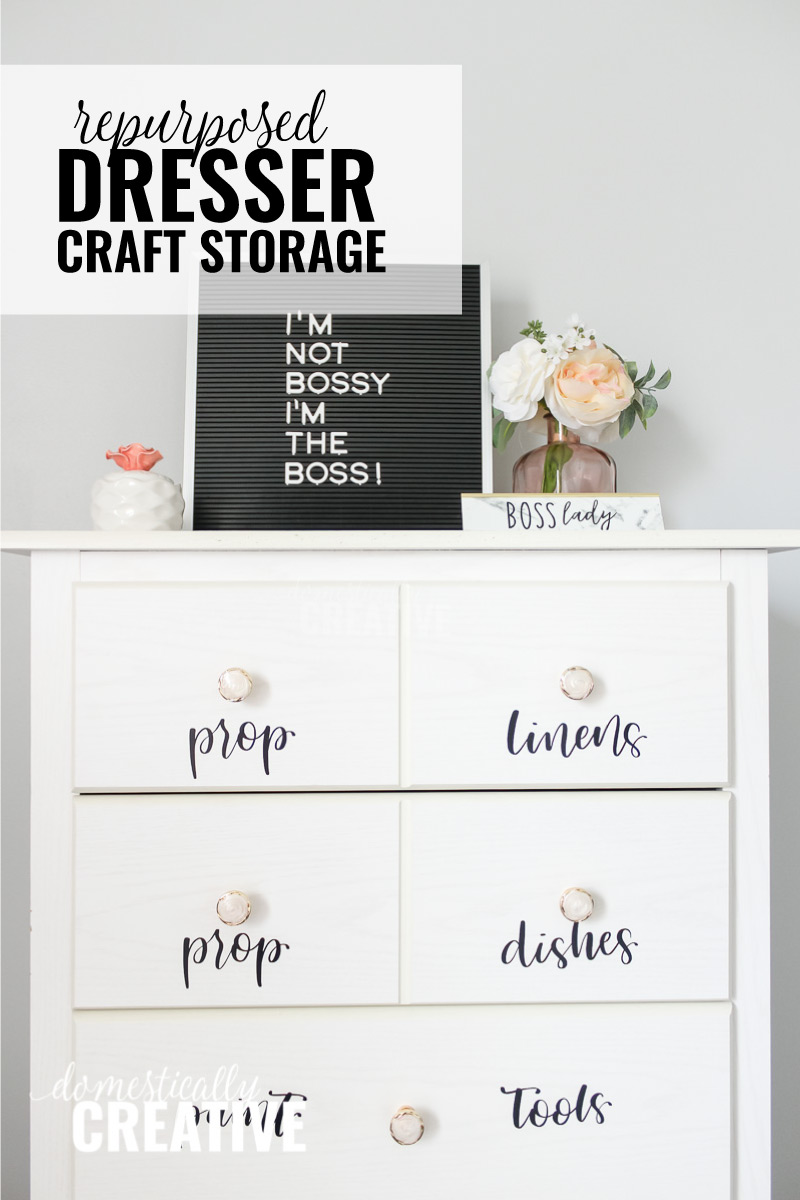
This dresser was left behind by the previous owners of the home, so this isn’t technically from a thrift store or resale. However, the same makeover rules would apply to any dresser you can find, or even if you have one sitting around your house. It’s so nice to have this repurposed dresser to serve as more craft room storage for my home office! Check out the full tutorial below and see what my friends came up with this month!
The Rules:
- Upcycle an item(s) from a thrift store, resale store, or garage sale into a new piece of decor.
- There’s no monthly theme.
- There’s no budget to stick to.
Meet the Hosts
Angela | Simply Beautiful By Angela – Deborah | Salvage Sister & Mister – Angie | Flippin Fanchers – Denise | My Thrifty House –
Jenny | Cookies Coffee and Crafts – Lynne | My Family Thyme –
Meredith | Southbound Blog – Marie | The Inspiration Vault – Gail | Purple Hues and Me – Molly | Just a Little Creativity –
Pili | My Sweet Things – Amanda | Domestically Creative – Carmen | Living Letter Home –
Emy | Semigloss Design – Jeanie | Create and Babble – Marie | DIY Adulation – Heather | Glitter On A Dime
Make sure you follow our board on Pinterest for more upcycled decor inspiration!
How to turn a repurposed dresser into craft room storage
When we started moving things into our house back in October, I noticed this little dresser tucked away in the garage. My husband and I actually both called dibs on the dresser for our respective offices, but I won 😉 I decided it would make a great craft room storage piece for my crafting blanks and photography props. Since I am in the middle of making over my office, I thought this would be the perfect time to share this repurposed dresser!
Supplies you’ll need:
- Dresser
- drawer pulls
- contact paper
- x-acto knife
- removable craft vinyl
- Silhouette/Cricut
- weeding tools
- transfer tape
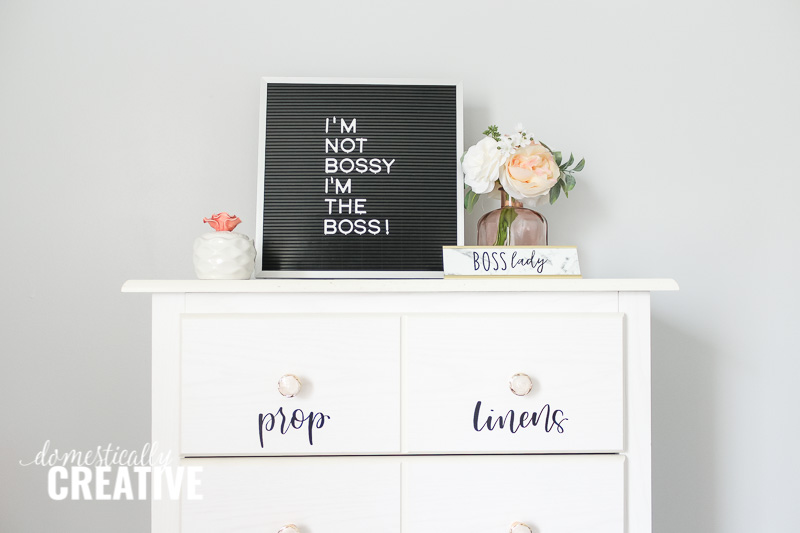
This is a pretty easy makeover since I opted not to paint the dresser. I forgot to snap any before photos but the dresser was actually in pretty great shape! The only issue was a bit of gray paint on one of the drawer fronts, however, it came off very easily with a magic eraser.
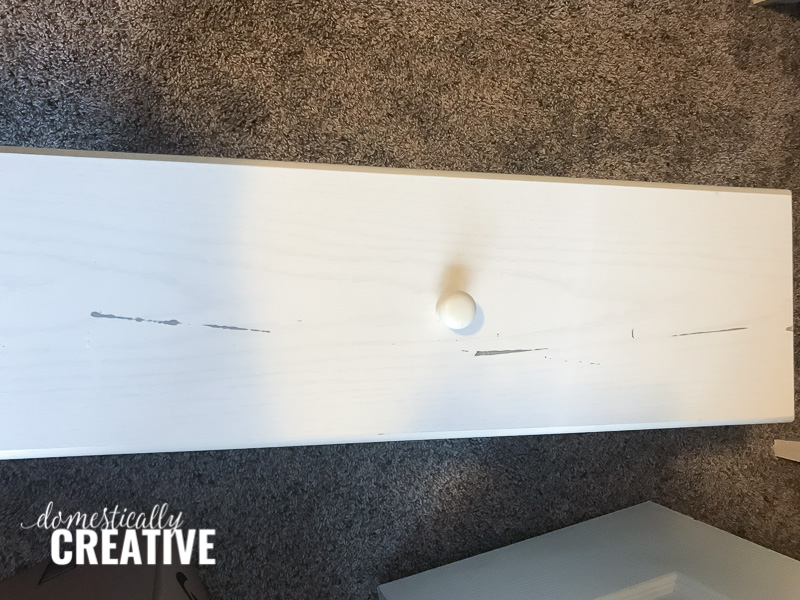
After giving it a good cleaning, I decided the inside of the drawers needed a little something. I was going to use the same marble contact paper I used in January’s challenge, but since I didn’t have enough, I went to the dollar store and picked up something different. It took 2.5 rolls to cover each drawer.
When applying contact paper, I have found that it is easiest to cut the contact paper to the right size first. It can be a little bigger but get as close to the right size as possible first. Then peel the backing off of one corner and place the contact paper in one corner of the surface you are covering. Use an old credit card, ruler or smoothing tool that comes with these weeding tools, to smooth out the contact paper and get any bubbles out.
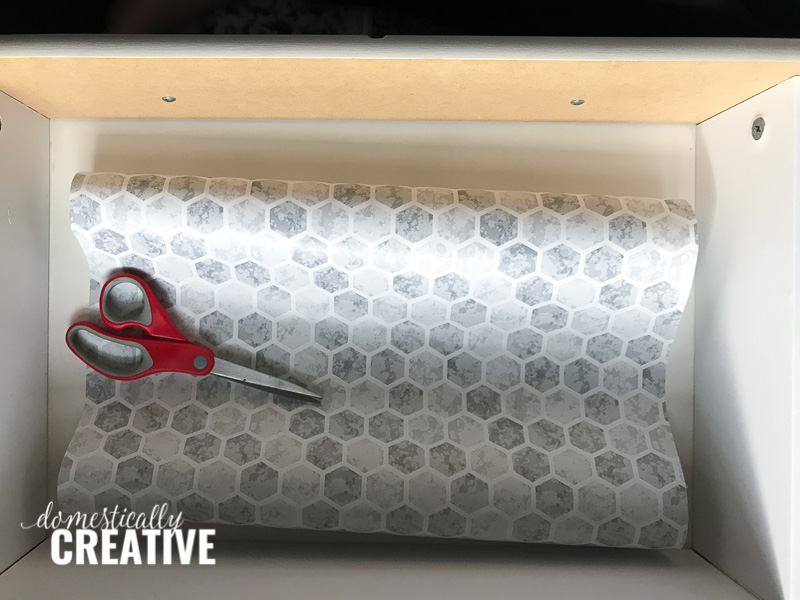
Then slowly peel the backing away from the contact paper, smoothing it out as you go, slowly, being sure to get any bubbles out. If you take all of the backing off the contact paper first, it will tend to stick to itself and everything else BUT the surface you want to cover.
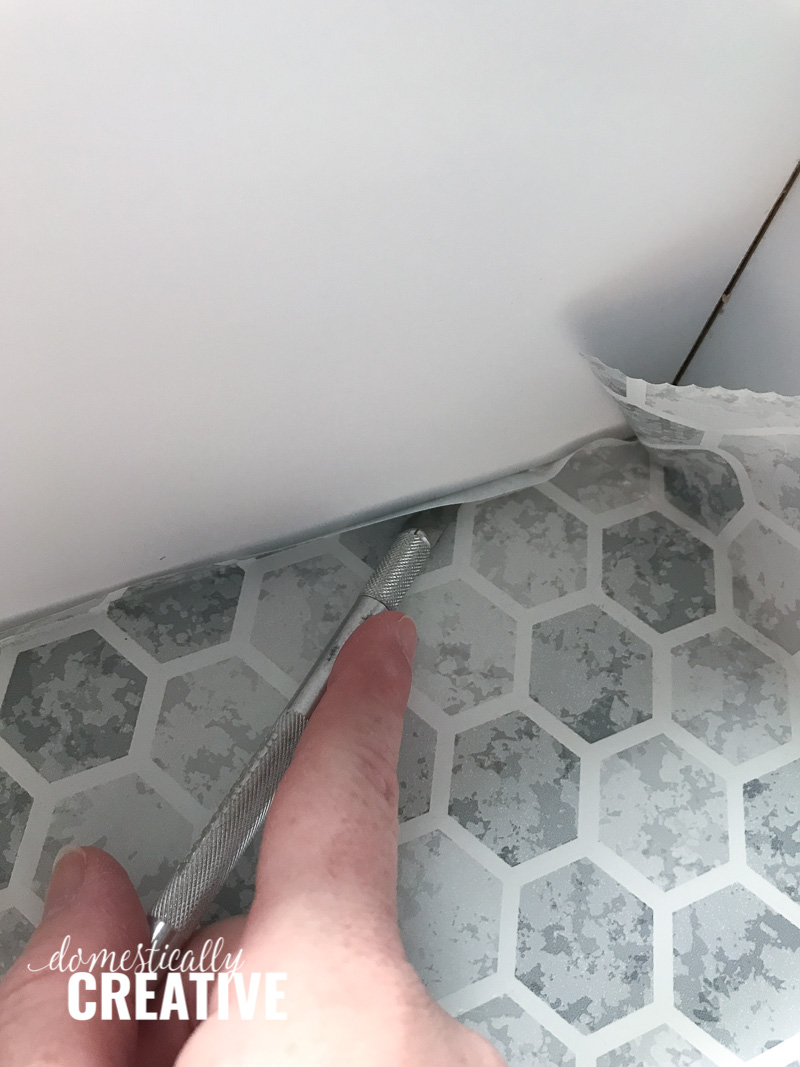
Use an x-acto knife or craft knife to cut away any excess contact paper and repeat these steps for the rest of the drawers.
What is a dresser makeover without new shiny drawer pulls? I ordered these and couldn’t be happier with how they look! They are smaller than I expected, but it actually worked out really well since the original knobs were small. The gold and subtle blush color work great in my home office.
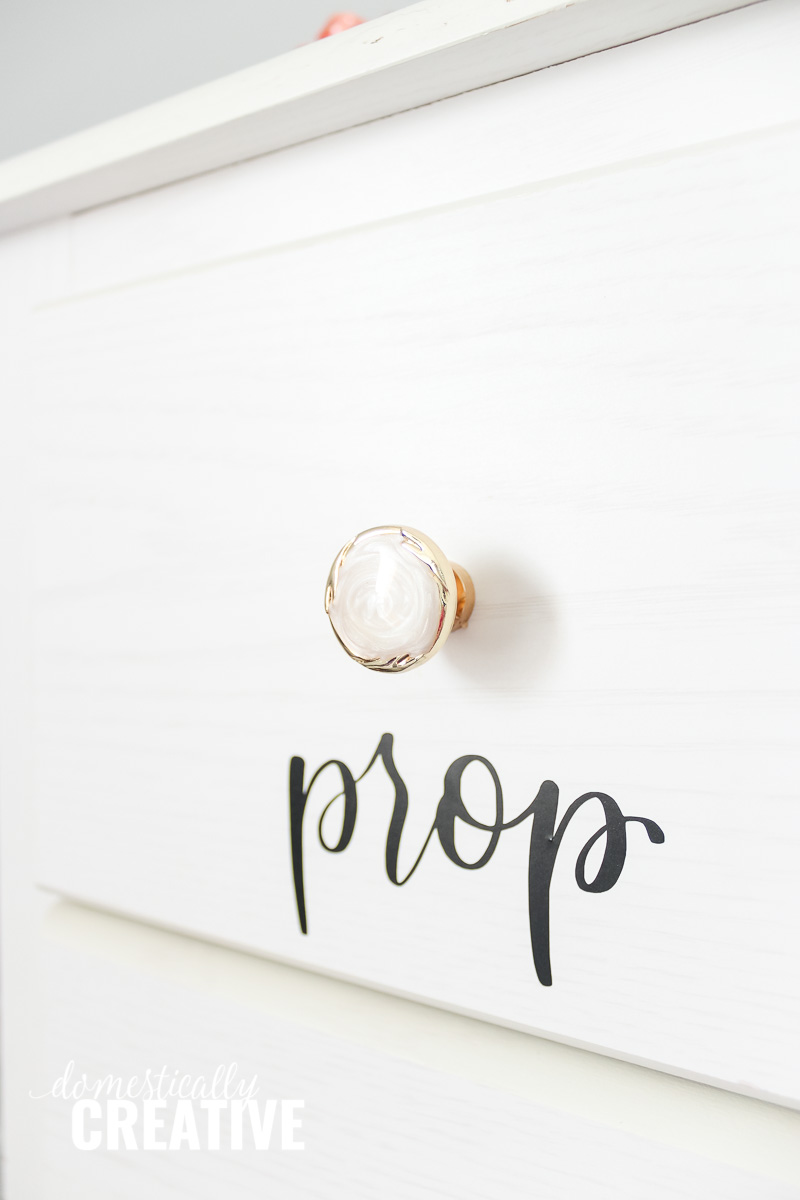
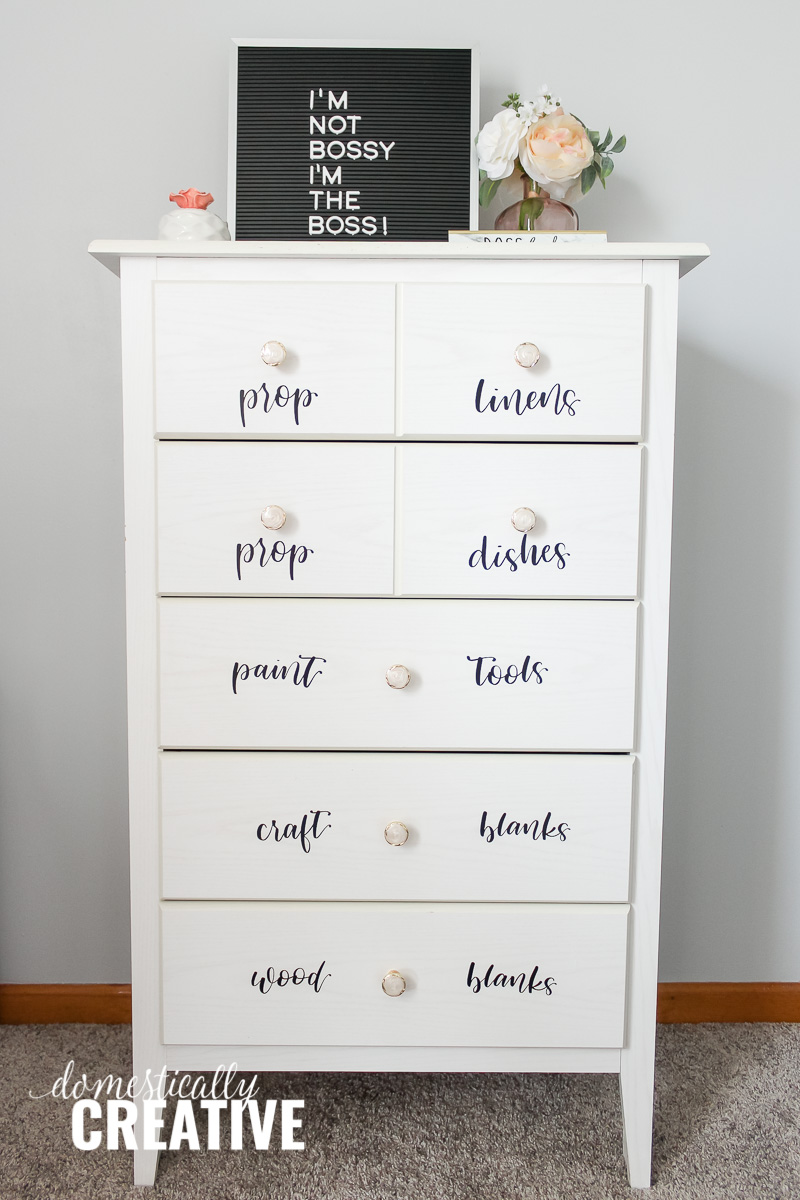
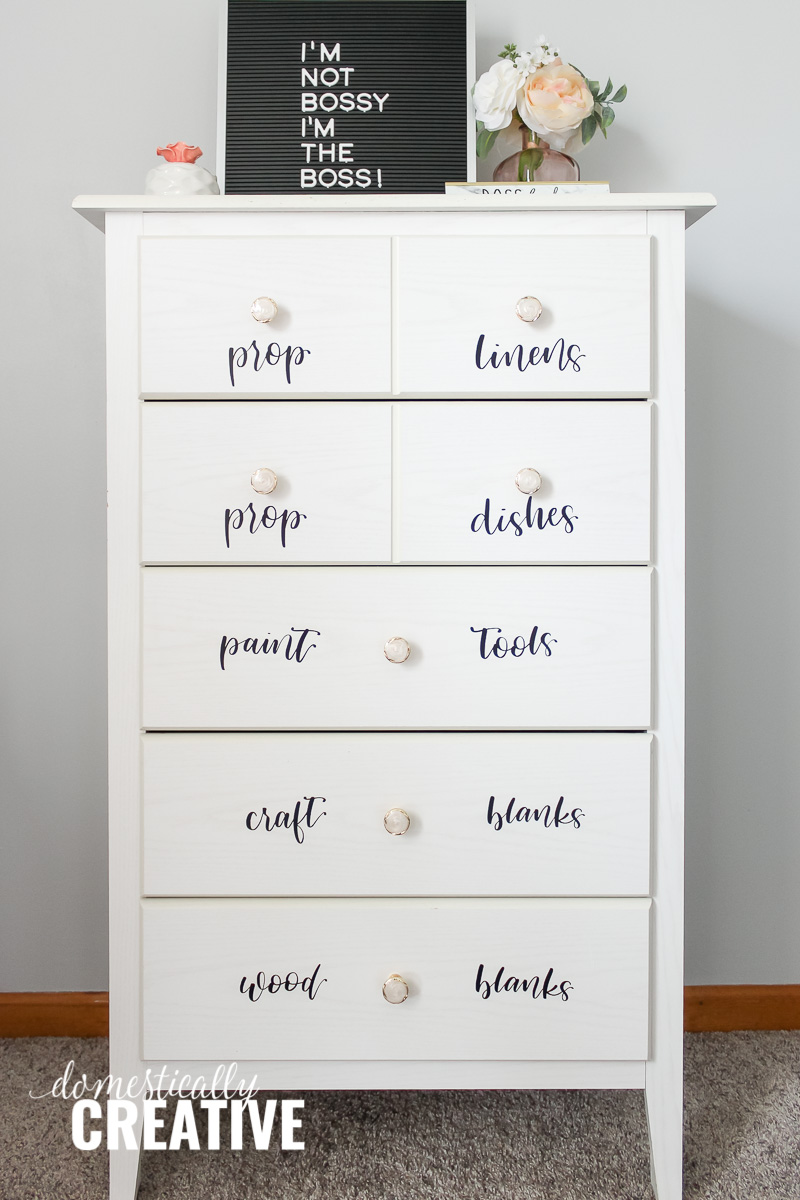
Finally, I decided I wanted to label the repurposed dresser drawers so at a glance I would know what was in each one. I could have added some cute tags, but I decided to go a more graphic route. I hand lettered the labels on my iPad, then used the Silhouette to cut them out in black removable vinyl. The vinyl will stick well, but is easy enough to remove should I change what is in each drawer later on. I used my favorite transfer tape to place the labels on each drawer.
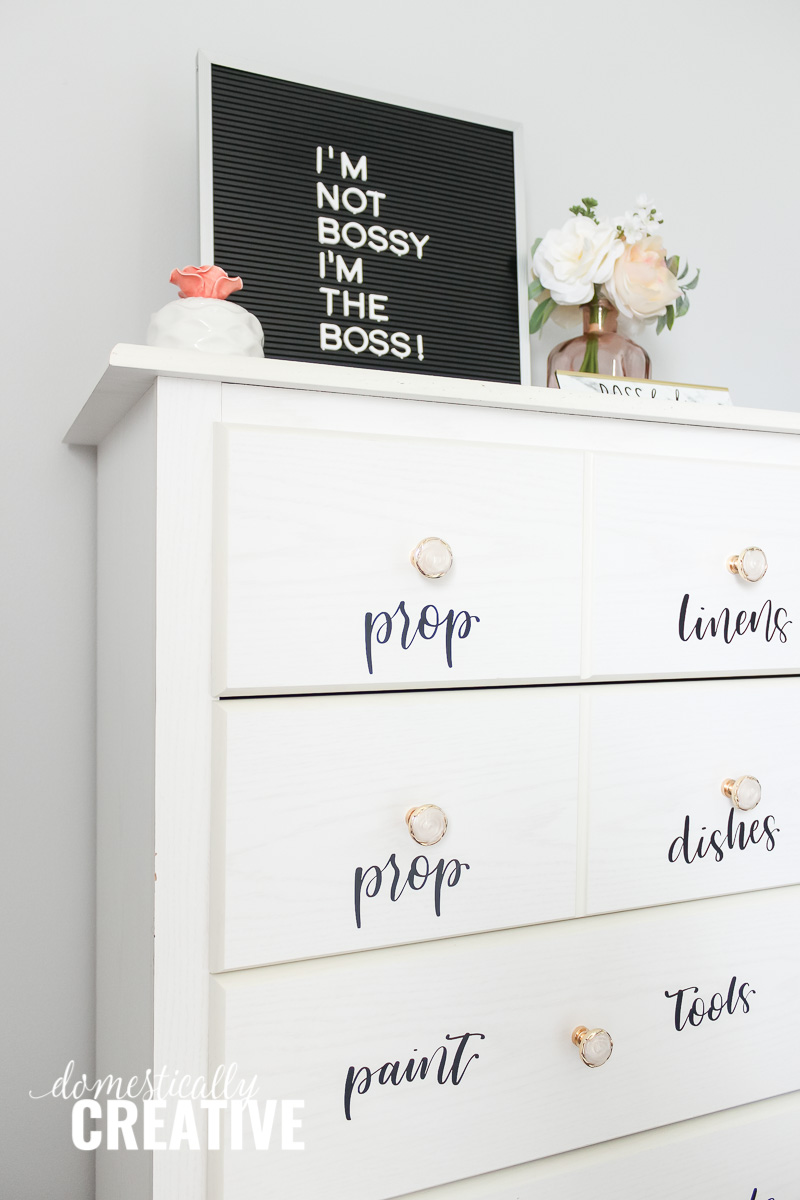
Each drawer has something different in it, and the dresser fits perfectly in the closet of my office. It’s nice to have all of my photography props, extra tools and paint and crafting blanks in one easy to access craft room storage piece!
More office ideas:
- Feminine Home Office Makeover Plan
- DIY Whiteboard Calendar and Planner
- DIY Vinyl Storage Basket
- Marble and Gold File Cabinet Makeover
Don’t forget to pin it!

Great makeover/upcycle, Amanda. Love the ‘bones’ of the dresser and the labels are perfect! We’d love for you to come share at Homestyle Gathering, Tuesday-Saturday!
Your upgraded dresser looks great! I might want to move a dresser into my craft room!
I need something like this for all my projects in process! I love how you added pretty labels to all the drawers.
I love using dresser for unexpected storage uses! Love those labels!!
Nothing better than cute storage and organization. Love this dresser.
What an awesome find Amanda! I adore those pretty knobs and the vinyl lettering is super cute and functional!
I love me some organization so this is terrific
Thanks Deborah!
What a great little dresser! Those knobs are so cute, I really like the touch of blush. What a great way to sort your supplies.
Thanks Jenny! I’m glad everything has it’s own place now!
I am so glad you won over your husband on this one! This is beautiful and I love the drawer pulls that you used.
Thank you Angie!! Let’s be honest, hubby never stood a change haha!