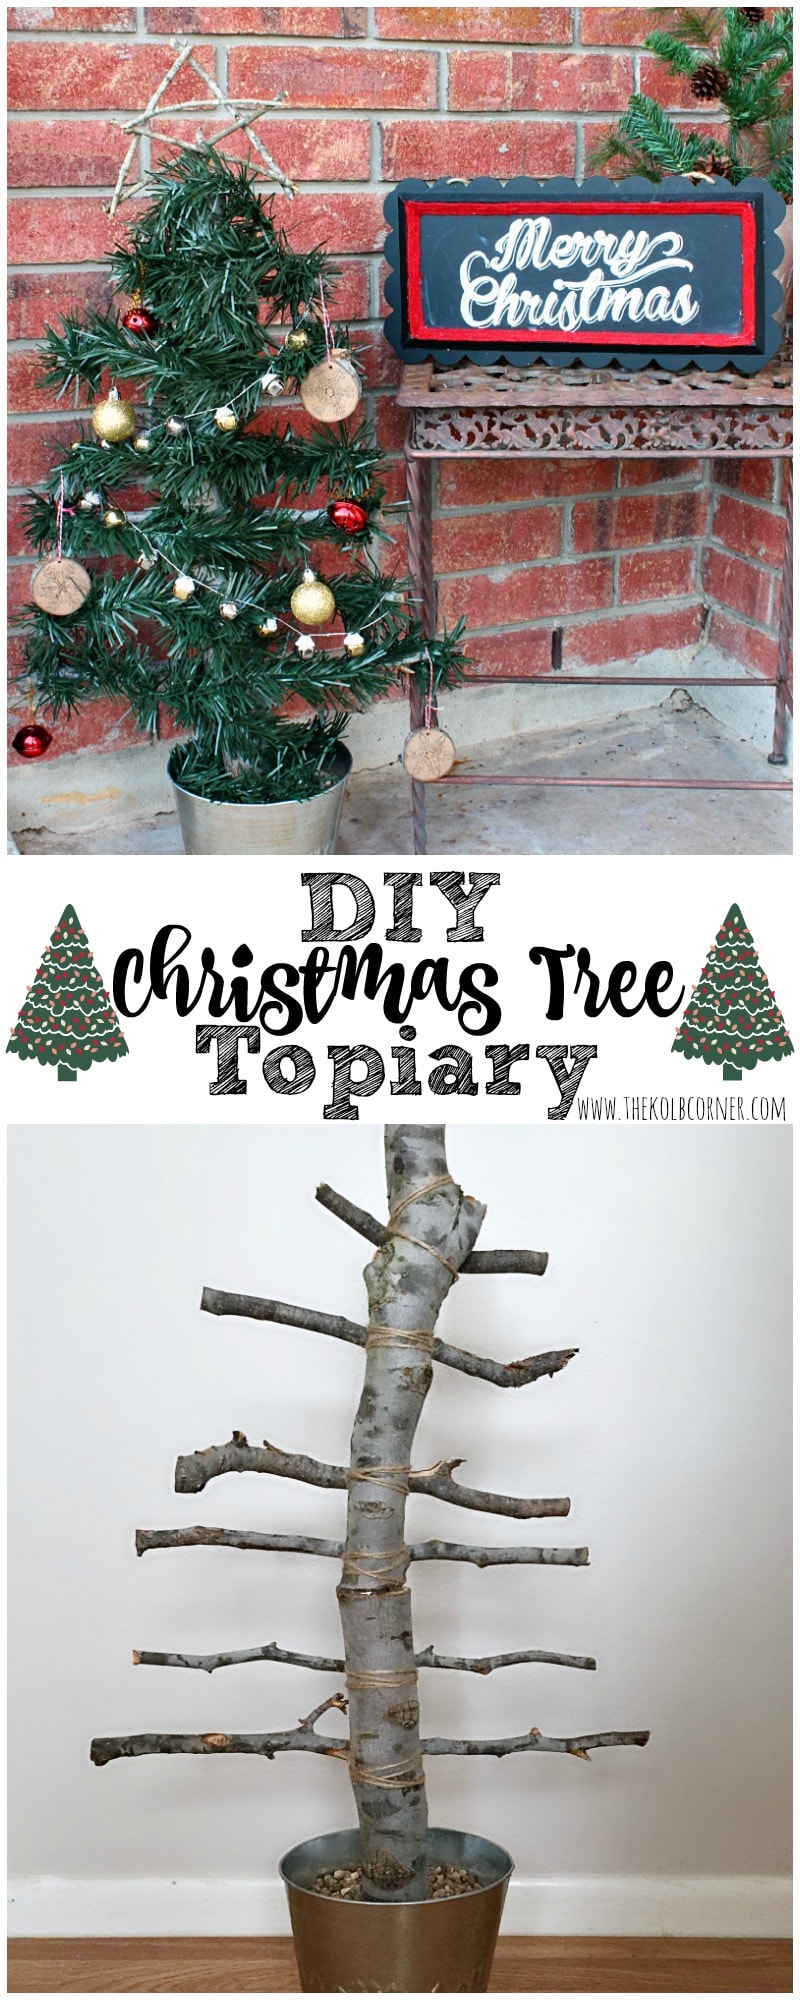
DIY Christmas Tree Topiary
Raise your hand if you’ve ever had an idea strike you that you just can’t get out of your head, and when you finally sit down to try out this idea, nothing turns out how you imagined.
This post may contain affiliate links for your convenience. Read our disclosure policy.
**Raises hand timidly**
That is exactly what happened with this DIY Christmas tree topiary.
First off, this wonderful, amazing, beautiful idea I had actually included a matching set. That’s right, this topiary was really supposed to be topiaries.
I guess we should go back to the very beginning of this topiary tale.
It all started with a trip to Goodwill {Don’t all DIY tales gone wrong start there???}
I spotted these two Christmas metal buckets for $0.50 each and just couldn’t pass them up. On the way home I was envisioning all of the things I could do with those buckets and how they would add a little bit of charm to my dining room this season.
But once I got home, I started thinking about how I could use them in my front porch decor instead. Then I started thinking about how I would really love to have a pair of topiaries to put out there, but how I would never spend that kind of money on them(unless they were 50% or more marked down after Christmas).
That’s when I had the brilliant idea to make my own DIY Christmas tree topiary using the buckets as a cute little base. Immediately I started going through my stash of tree limbs.
What, doesn’t everyone have a stash of those?
Anyway, I had the idea of where I wanted to go with it, but I just couldn’t figure out the how. After many many MANY attempts at assembling a tree, I finally came up with something.
Here’s what I did:
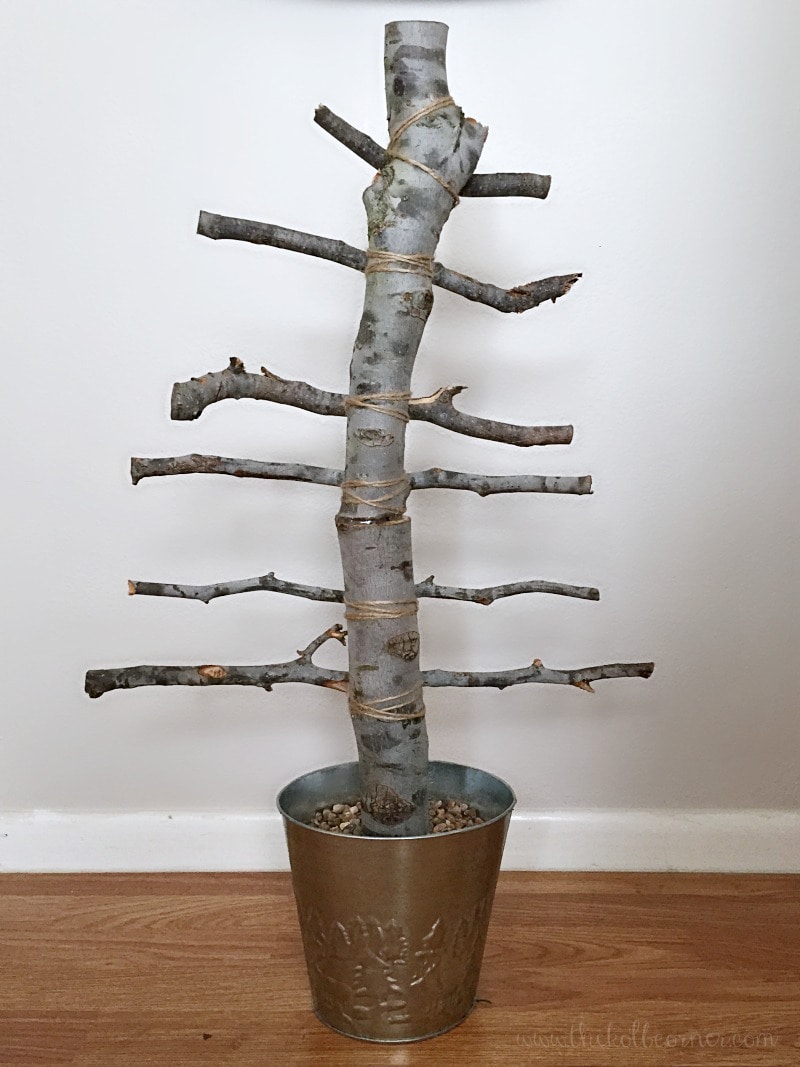
I did a mock assembly of how I wanted each wood piece to be assembled. 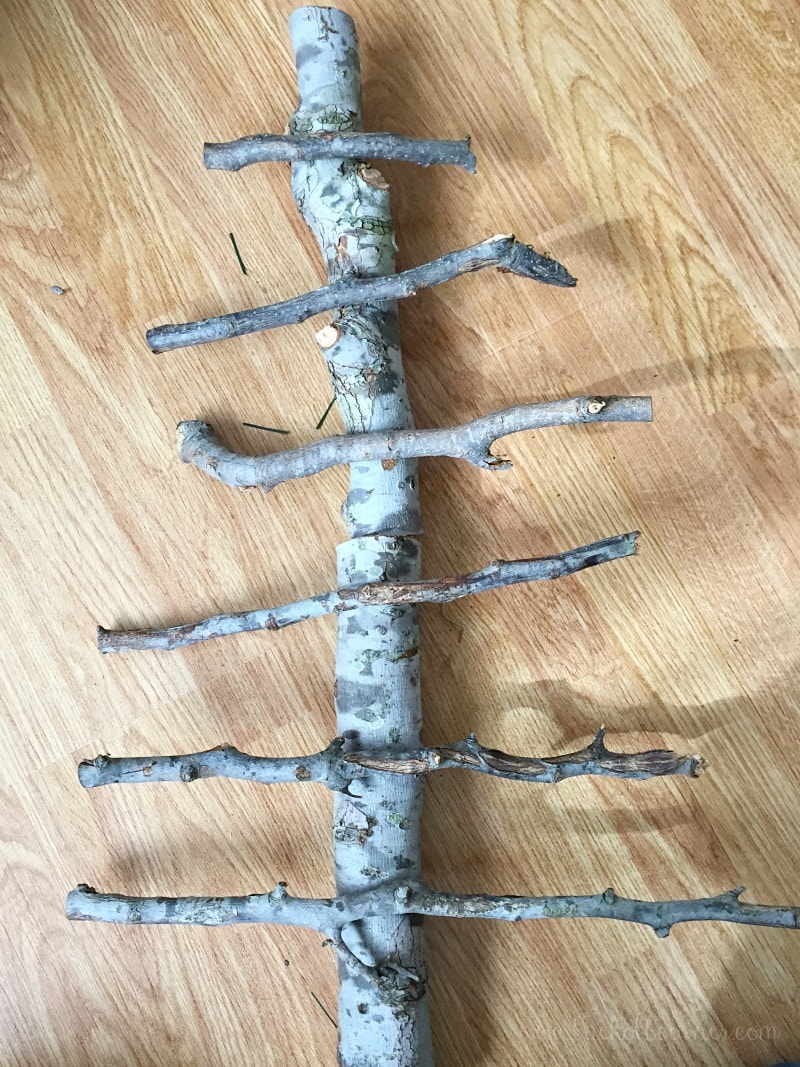
My problem was that I didn’t have a fat part of wood that was long enough for what I needed. I had to improvise by connecting two limbs.
Here’s where things got tricky. My first thought (ok my hubby’s first thought) was to drill a hole into the ends that I wanted to connect. Then I would screw in a drywall screw half way into one piece, cut the screw head off with my dremel, and carefully thread the other end onto it. It was a brilliant idea, but no matter how hard I tried I could not drill a hole into those logs. No way.
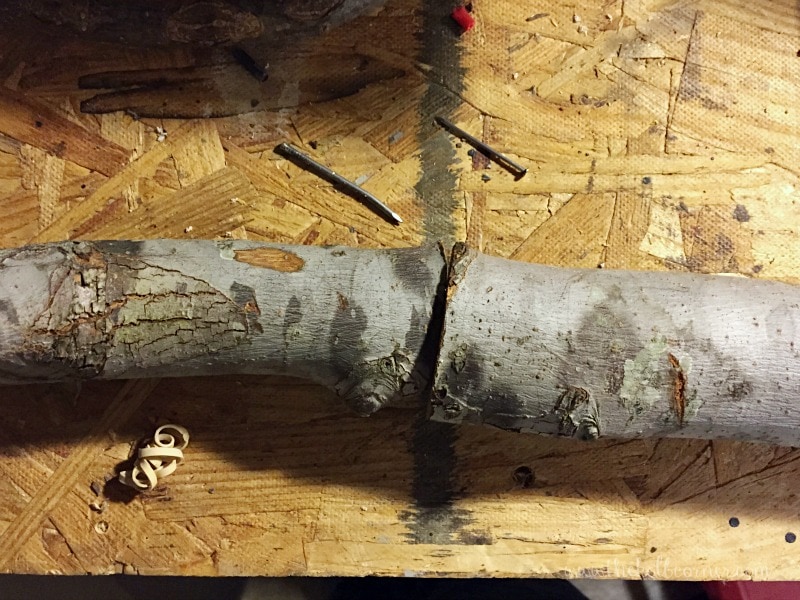
Instead, in typical Amanda fashion, I did something no practical human being would ever think to do. I hammered a 2 1/2″ finishing nail halfway into the ends that would be connected, leaving one nail in and taking one out. Then I hammered the two ends together making sure to hammer the end with the nail still in into the open end. Finishing nails are smooth on top instead of having a nail head, and with the nail track already there it actually went together pretty smoothly.
Now all I had to do was attach the “branches” somehow. Luckily these branches were so lightweight that I ended up using twine and hot glue. Yep, hot glue is my BFF lately.
First I tied each branch onto the bigger middle piece. Then I stuck hot glue into the small gap to keep it from sagging. Surprisingly it worked pretty well.
I filled one of the buckets 1/3 of the way with pea gravel, stuck the base of my topiary in it, then filled the rest of the bucket up with more pea gravel.
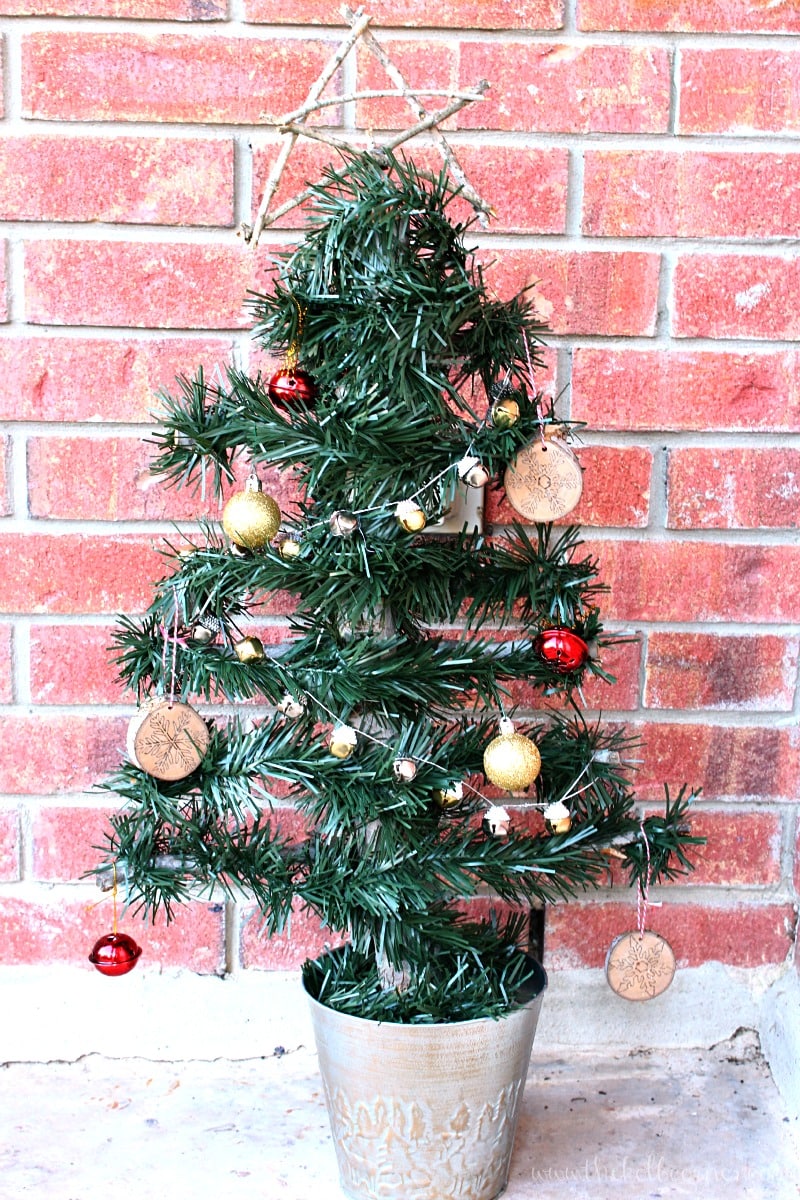
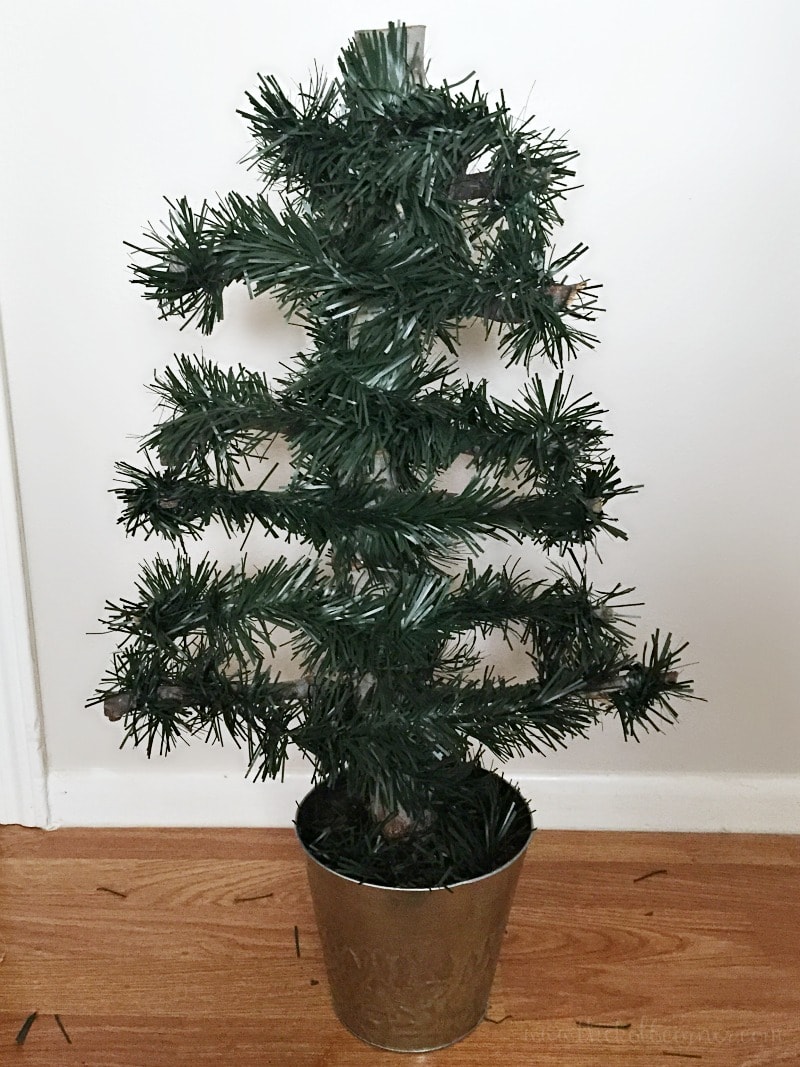
I could have left it as is and I would have been happy, but for my front porch I thought this bare wood tree would be lost. I added some green garland I got from Dollar Tree to it to make it stand out more. Instead of wrapping it around in a continuous loop I cut the garland to the size of each branch. For the middle I did loop it around though.
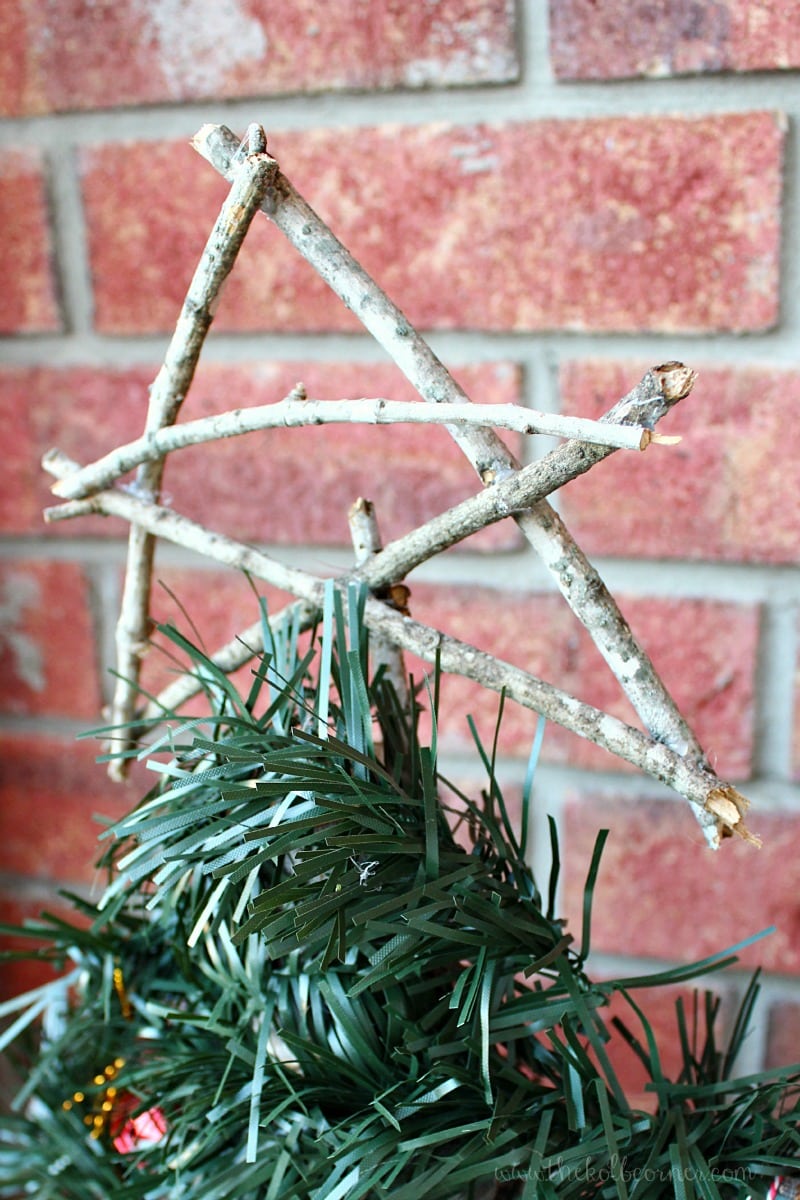
Something was still missing from it though. I sent some pictures to my friend and she said it needed a star for the top. Duh! What topiary tree is complete without a topper? I went back to my wood stash and found some skinny twigs to make a star. With a little hot glue it was easy to assemble and attach to the topiary.
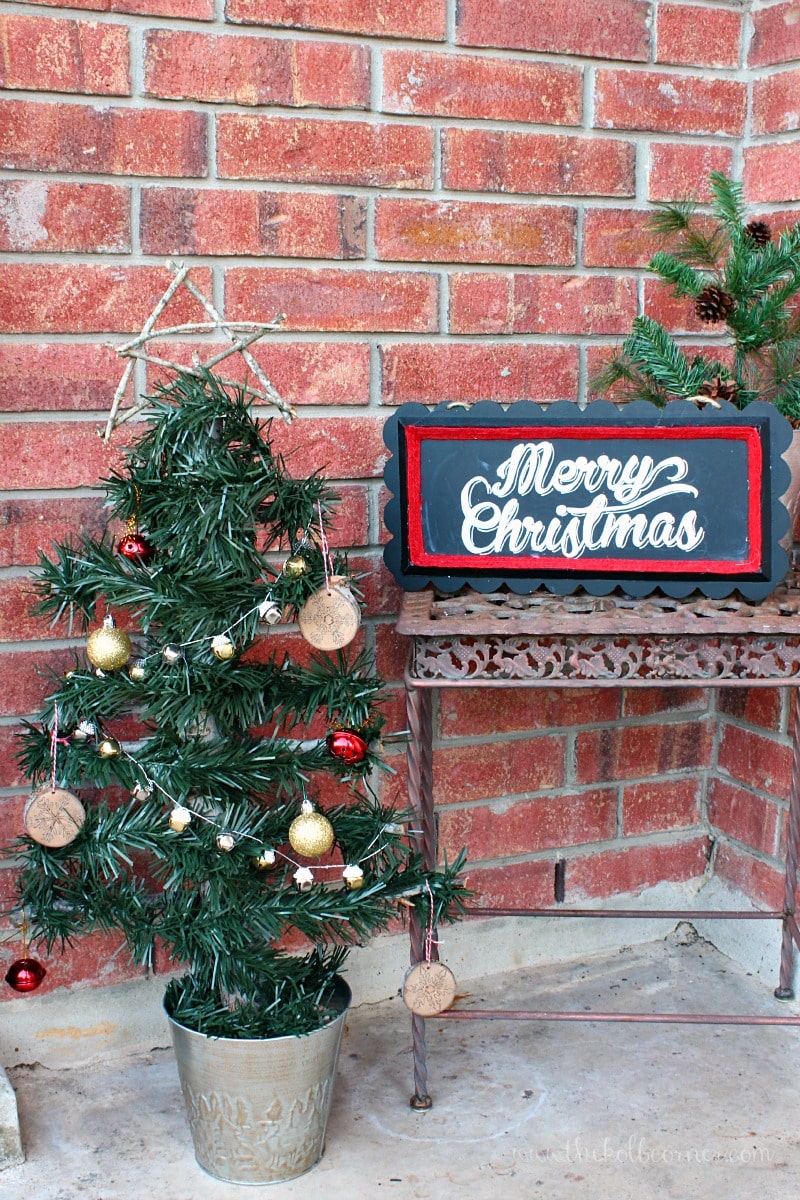
I decorated it with some bell garland, a few ornaments and these burned wood slice ornaments. The reds and gold really complement well with my joy Christmas wreath out on the porch. The second bucket is hiding behind the Merry Christmas sign and is holding a pine cone and pine tree bough.
Was it the exact idea I had envisioned? No. Was it cute? Sure. Was it a major major pain in the you-know-what? You’re DAMN right.
But am I happy with it? Of course I am!!
And I love that star!
I simply adore this! And I too have done something similar when I find a steal at a thrift store and it turns into a longer processes than I anticipated to make it into something special. Thanks for sharing on the #HomeMattersParty . I hope you will join us again in the new year.
Wow! Amazing project! Love to see more idea using wood and stick from our own backyard.
Thank you Helen! I love using items I find around the house (or yard 🙂 )