DIY Coasters
A few years ago I bought some plain white 4″x4″ ceramic tiles with the thought that I would paint on them and create my own DIY coasters.
This post may contain affiliate links for your convenience. Read our disclosure policy.
Yea, that obviously never happened.
We have been using these boring white tiles as coasters, but I just didn’t get around to painting them.
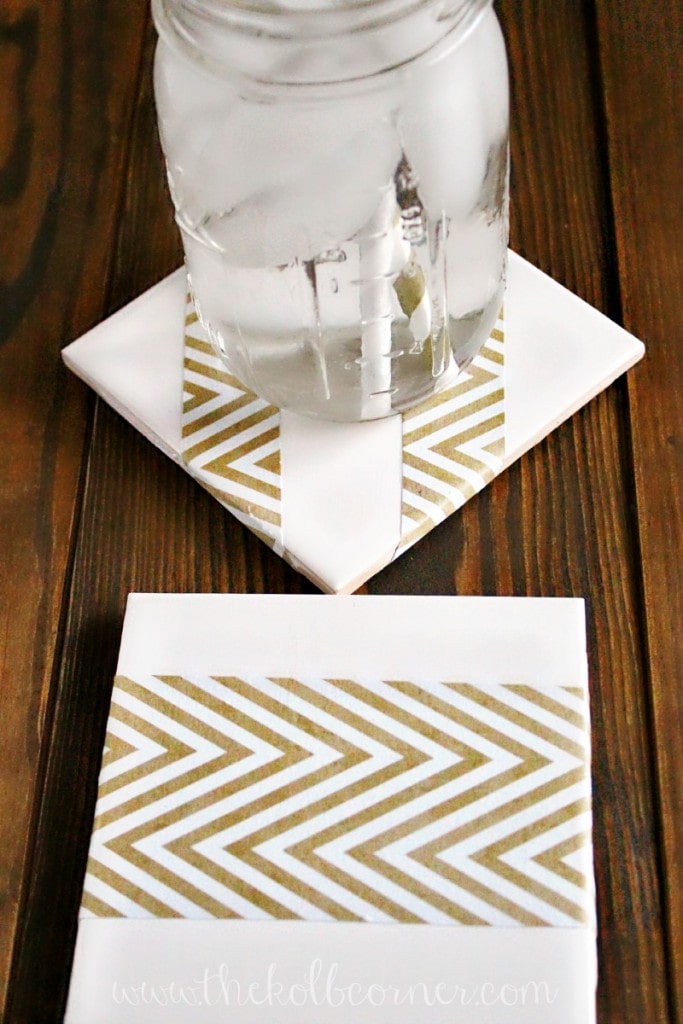
Since I have been using two of these in my office for the last several years, I decided to take a couple of them and finally get around to making them pretty.
I armed myself with a some beautiful gold and white chevron patterned scrap book paper and Mod Podge.
It was really simple to do.
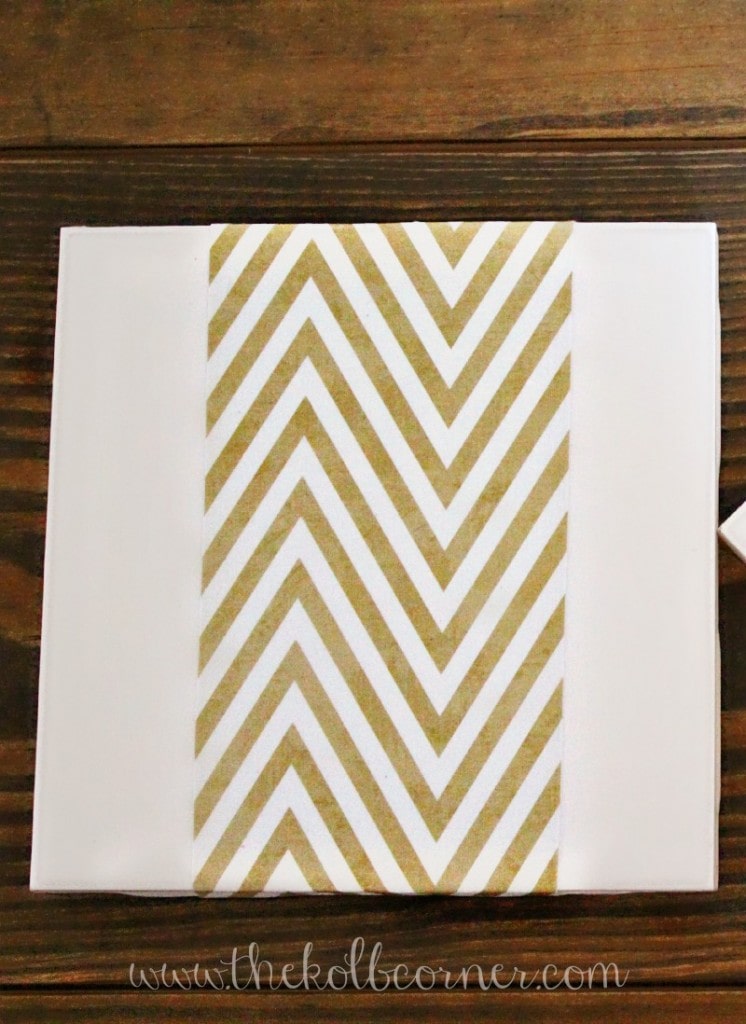
What you’ll need for these DIY coasters:
2 (or 4 for a full set) white 4″x 4″ ceramic tiles
Scrapbook paper of choice
Mod Podge
Scissors
Sponge brush
Stick on felt dots
1) Start by cutting out a few strips of some leftover scrapbook paper for the tiles.
–I chose to have my paper wrap around the tiles, but you could cut them to just hit the edge. I didn’t get fancy with my placements, but you can do whatever pattern you’d like!
2) Put a coat of Mod Podge over the whole tile
3) Place the stips of paper in whatever position you want
4) Once in place, put another coat of Mod Podge over top.
5) Let dry completely
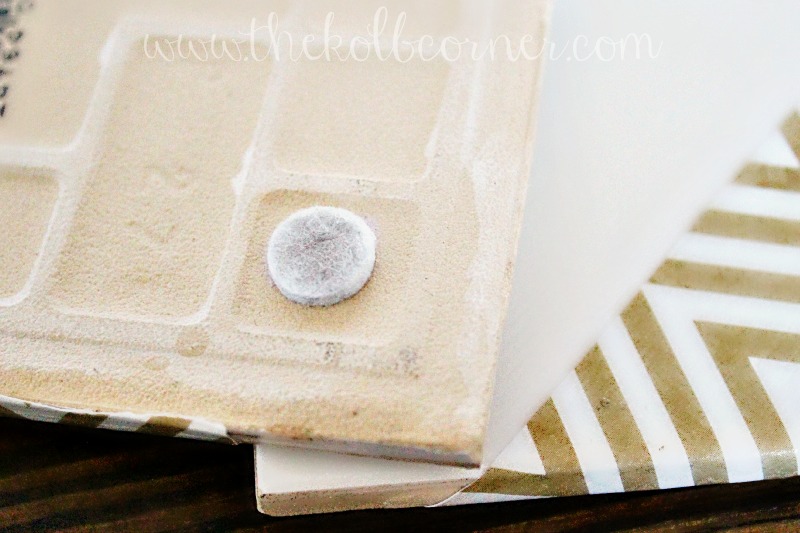
6) Flip over and place a felt dot on each corner to prevent the tiles from scratching wood furniture.
See? That was easy wasn’t it?
Now you have gorgeous, custom, handmade coasters, for a fraction of the cost you would spend in the store.
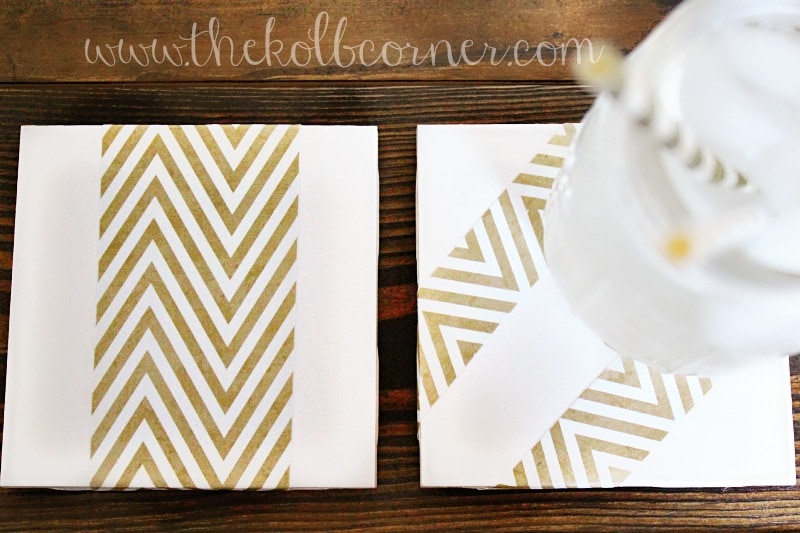
These would also make great homemade Christmas or birthday gifts!
Be sure to check out my other office projects:
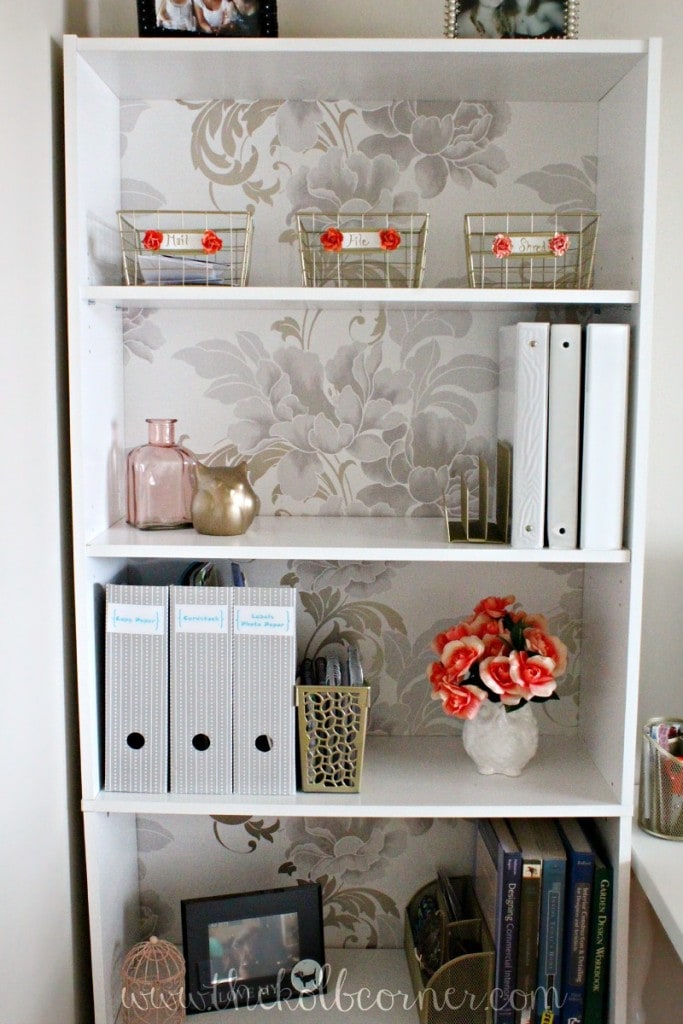
How to Wall Paper a Bookcase
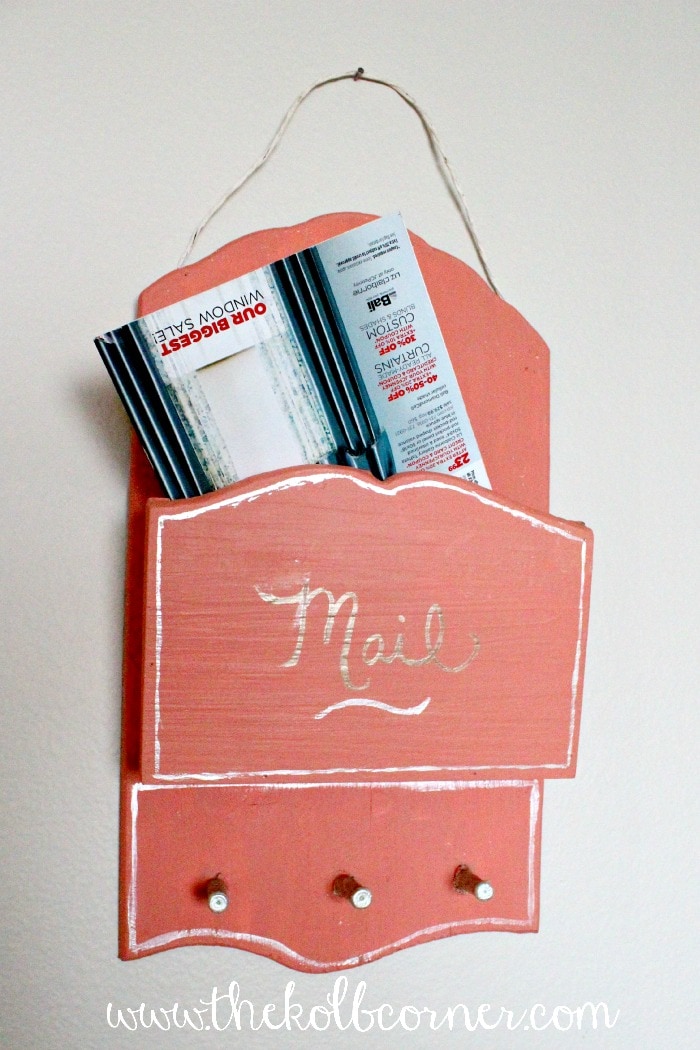
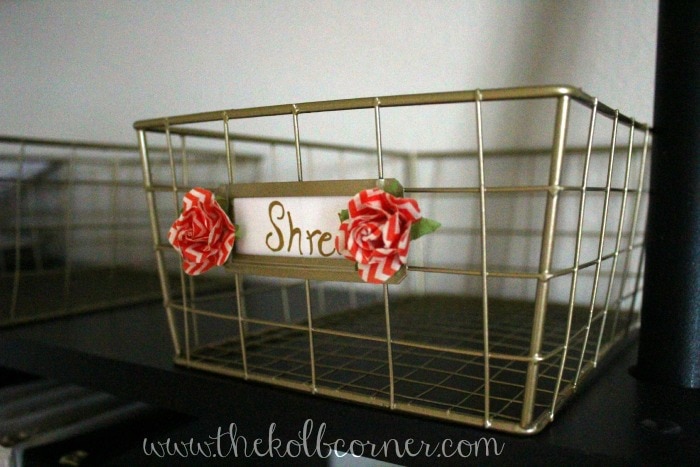
Paper and Mail Organization Part 1
Paper and Mail Organization Part 2

These are super cool. I love the use of the tile:-)
Thanks Sherry!
Such a simple project but such a big difference. I love the little felt pads on the bottom, that’s a good idea I wouldn’t have thought of!
Thank you Julie. Those felt pads really save the furniture!