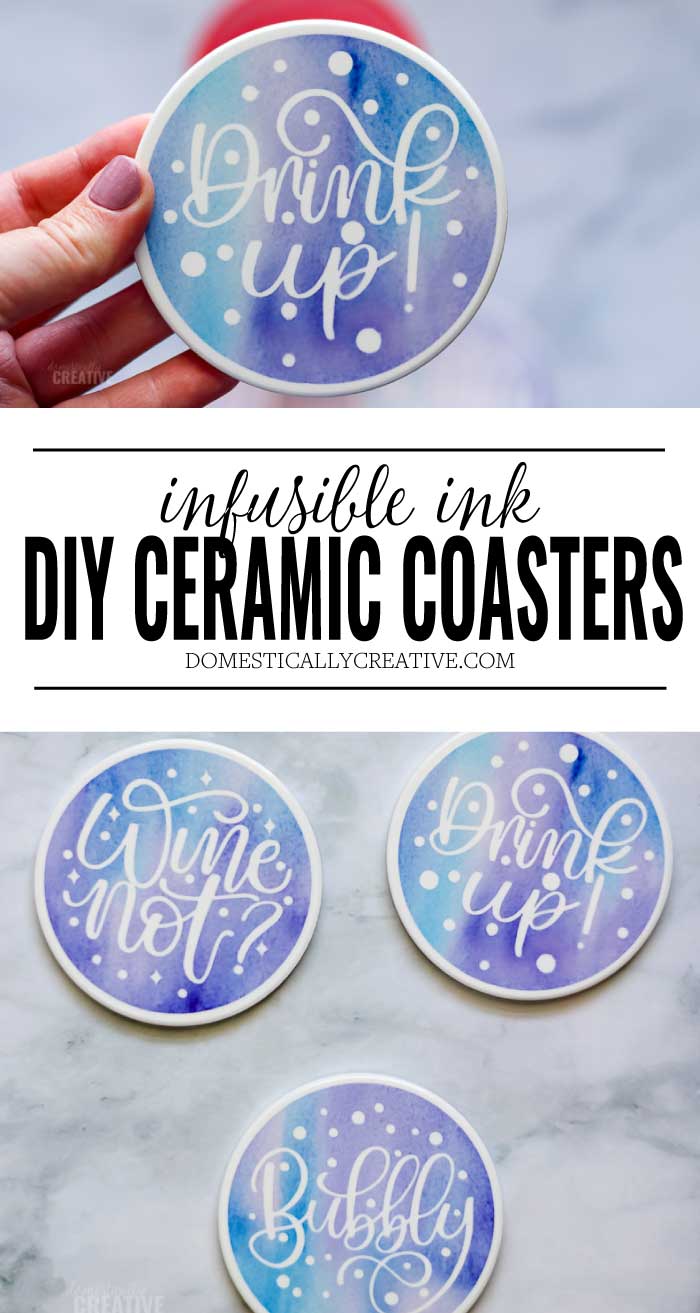
DIY Coasters with Infusible Ink
Learn the ins and outs of using Cricut’s infusible ink to create beautiful DIY coasters that make a wonderful handmade gift!
This post may contain affiliate links for your convenience. Read our disclosure policy.
DIY Coasters with Infusible Ink
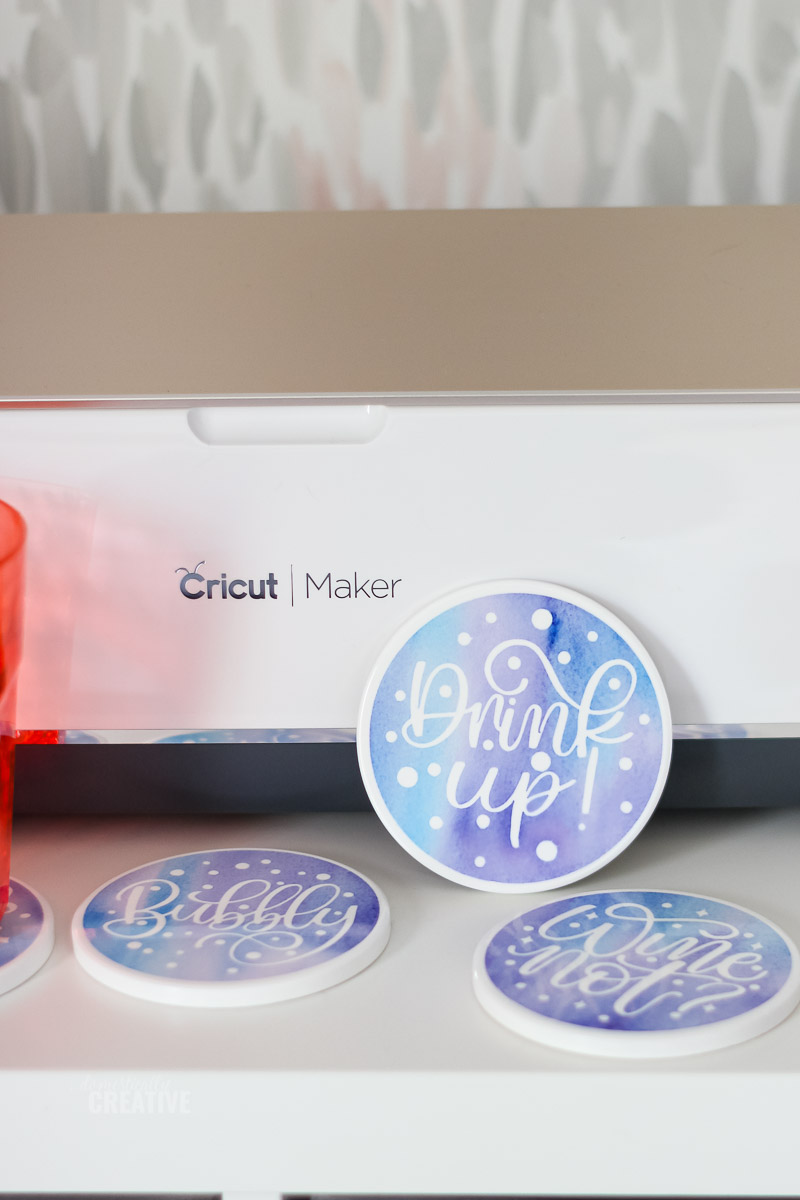
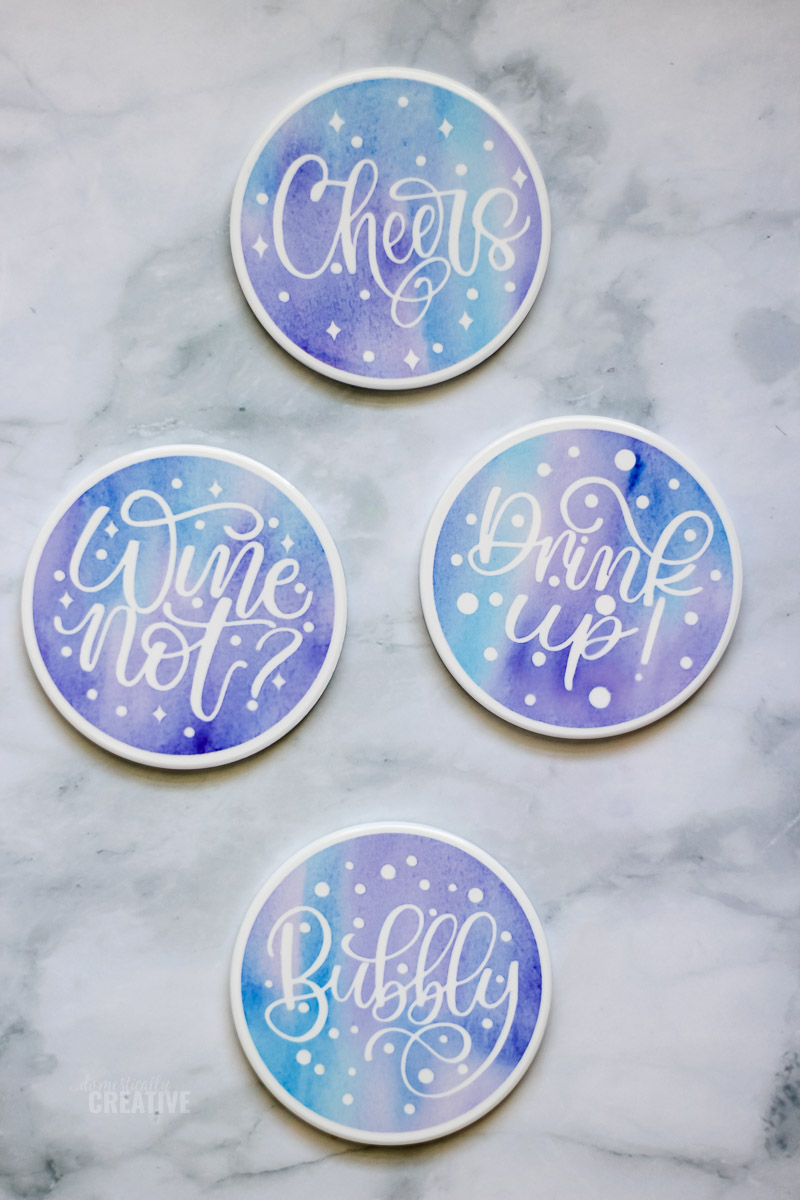
Today is all about handmade gift ideas, so these DIY coasters fit right in! This is the first project I’ve made with infusible ink and I am hooked! It’s so satisfying to peel away the carrier sheet to reveal a vibrant and smooth design. Let me show you how I made these ceramic coasters with infusible ink.
Supplies Needed:
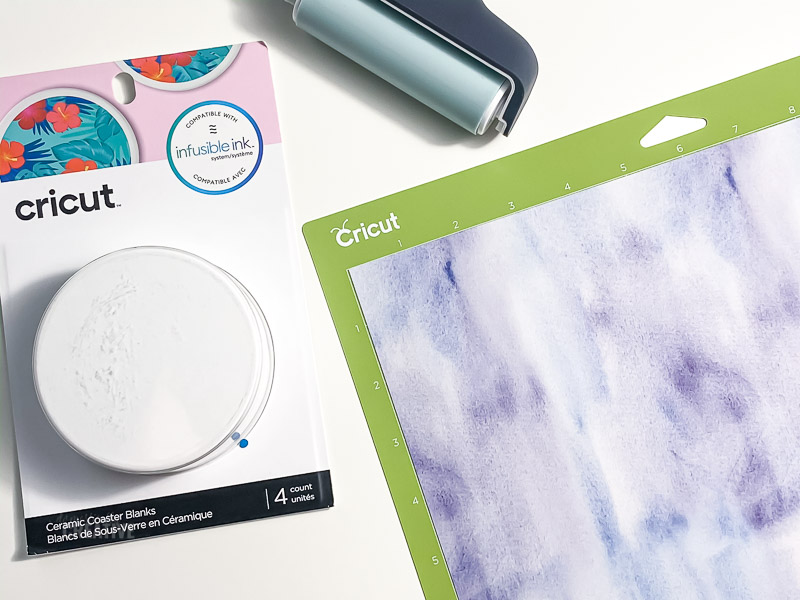
- Ceramic Coasters (coasters need to be Cricut brand or take sublimation)
- Infusible Ink
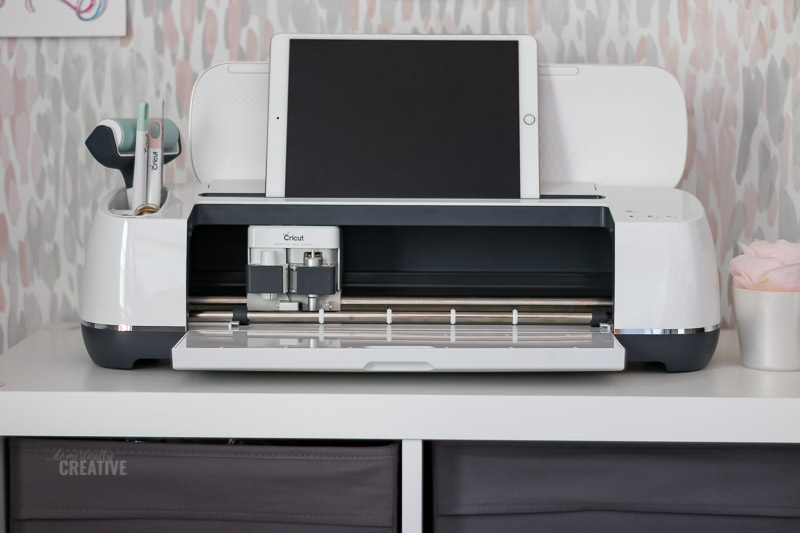
- Cricut Maker or Explore Air 2 or other machine
- Weeding tools (optional)
- Easy Press or heat press that reaches 400 degrees F
- Easy Press Mat
- white cardstock
- heat resistant tape (optional)
You’ll first want to start by choosing the designs for these DIY coasters. If you’d like to use the same files I created for this project, you can get the .svg files by subscribing to my email newsletter in the box below.
I designed these files on my iPad in the Procreate app. Want to learn more about hand lettering and creating SVG files with an iPad? Check out my other blog, Designs by Amanda Kay, to learn more.
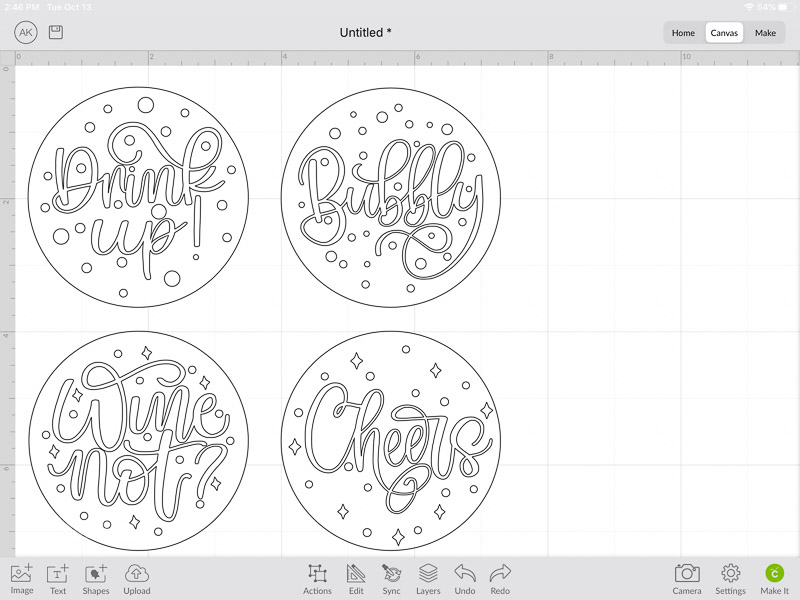
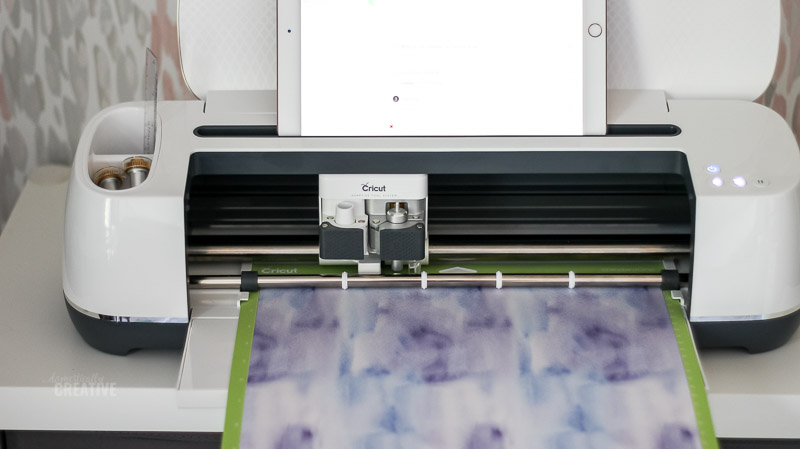
One thing I love about the Cricut Design Space is that I can use it on my iPad and send files directly from it to the machine. It even has a handy place to sit my iPad or phone.
For these DIY coasters or any project where you are cutting infusible ink, you’ll use the standard grip mat. You will also place the infusible ink transfer sheet with the design face up, like in the picture shown. Just like with HTV, you’ll want to mirror the images before cutting as well.
After cutting, it’s time to weed the designs. Infusible ink is paper, so you can slightly bend the paper to easily weed the design out. For these designs, I did a subtractive method, leaving the outline of words and shapes rather than leaving the words themself.
The next steps are outlined in detail on the Cricut help page and you can watch the video below as well. Heat up the Easy Press or heat press to let it warm up while you move on to the next steps.
Put the Easy Press Mat down onto a clean surface and place a piece of white cardstock down on top of the mat to protect it from a possible ink leak.
Clean the ceramic coasters with a lint-free cloth. Then place the design, color side down, onto the face of the coaster. If needed secure the design in place with heat resistant tape.
Next, place the coaster with the design face down onto the white cardstock and Easy Press mat. Then place the butcher paper that comes with the infusible ink transfer sheets on top of the coaster. The order should be Easy Press Mat, white cardstock, infusible ink transfer sheet (with the printed side facing up now), ceramic coaster face down, butcher paper.
Set the Easy Press on top of the coaster, no extra pressure, and set the timer for 240 seconds. YES, that is not a typo for ceramic coasters. You can get this information directly from the Cricut help site.
When the press is finished, remove and let the coasters cool down for about 5-10 minutes. They will be HOT HOT HOT. Do not let your impatience get the best of you because I guarantee you will burn your fingerprints off.
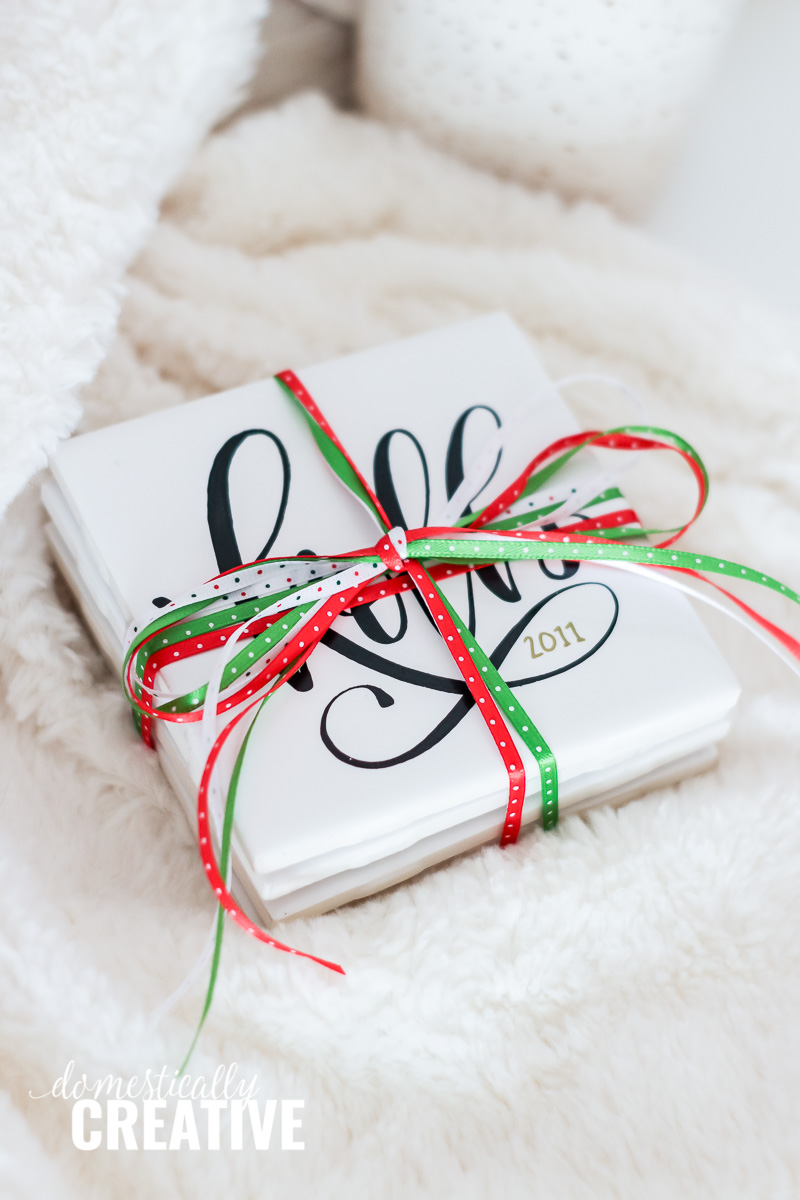
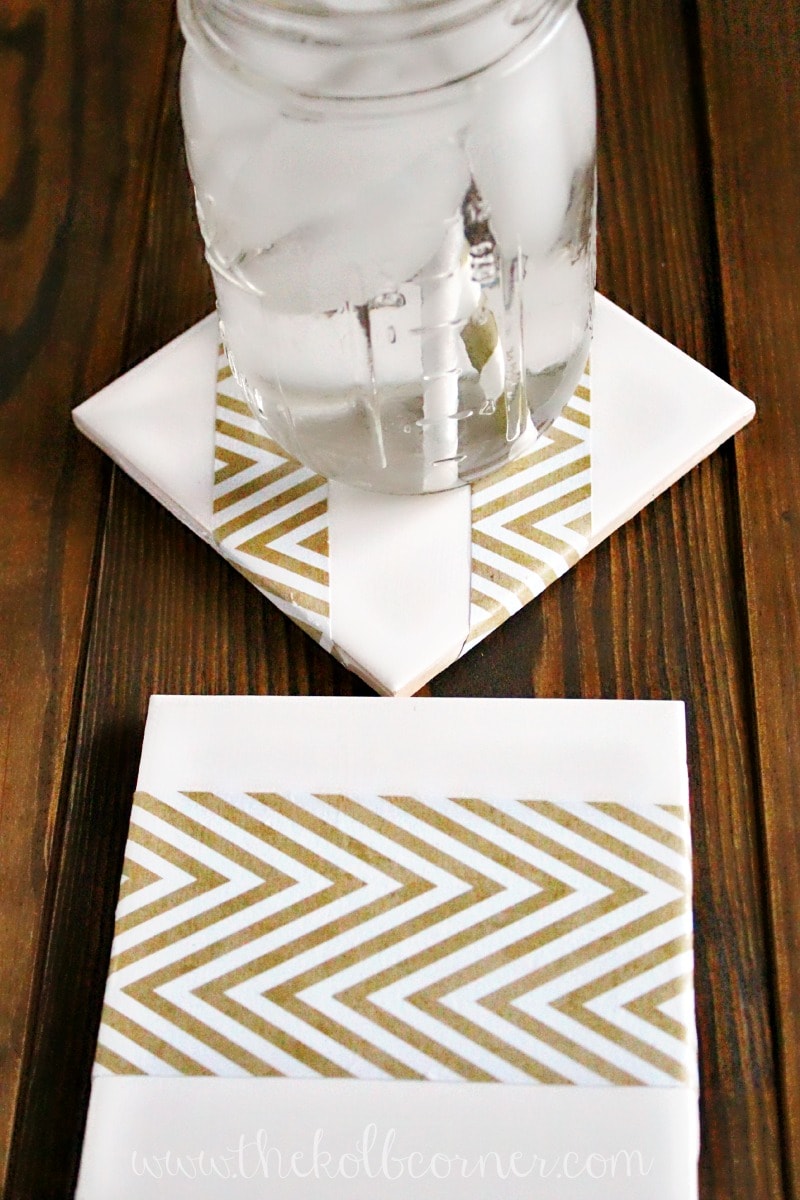
Once the coasters are completely cooled off, flip them over and peel back the transfer paper. You’ll be left with empty carrier sheets and beautiful, vibrantly colored coasters!
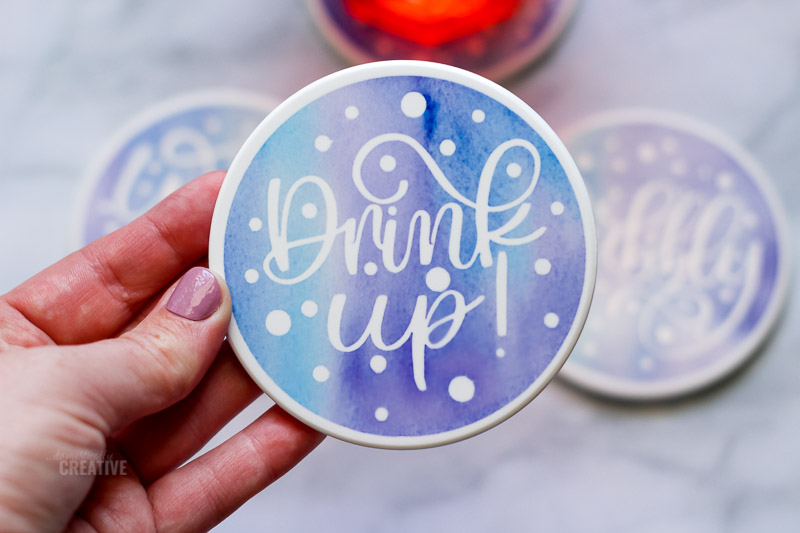
This was actually my first project using infusible ink and I was so impressed! It’s amazing to go from vinyl projects to infusible ink. I still stare at them in awe!
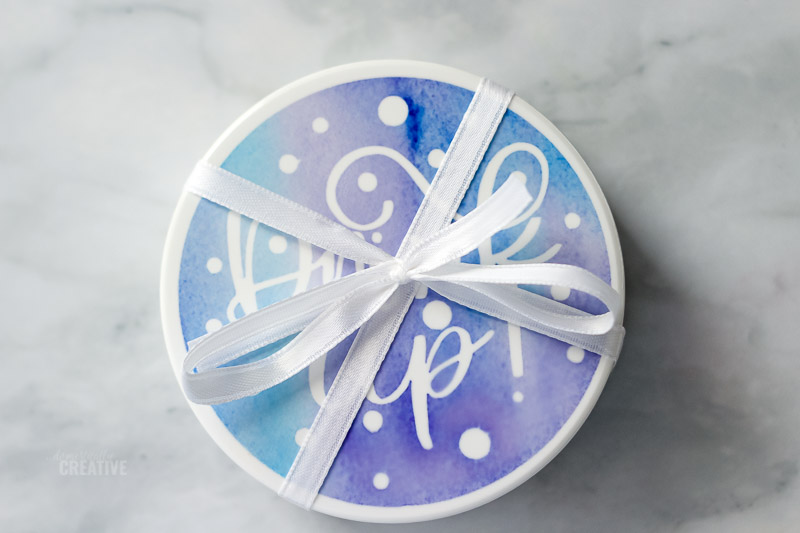
If you are planning to gift these DIY coasters to someone, simply tie them together with some ribbon. You can attach one of these printable gift tags for handmade gifts to finish it off.
Watch DIY Coasters Video:
A few tips for saving on cost for this DIY project:
I am very frugal when it comes to crafting, so I try my best to find supplies on sale. Cricut runs sales online very frequently, and you can also save 10% on every purchase with Cricut Access. Michael’s, Jo-Ann, and Hobby Lobby will also have sales on Cricut products. I will always recommend waiting for a sale to purchase supplies, and plan ahead of time!
More crafty coaster ideas:
More Crafty Gift Ideas
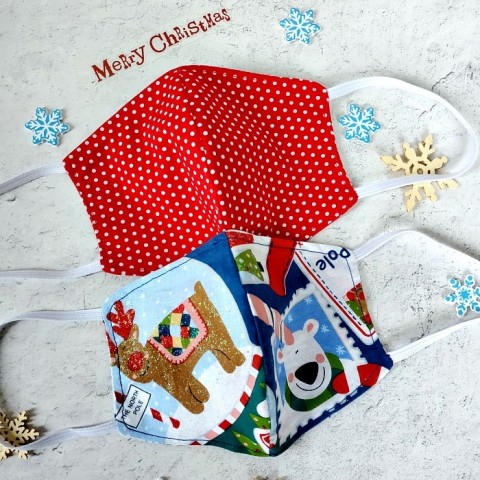
DIY Face Mask with Center Seam - Handmade Gift Idea

Make This Dollar Store Gift Elf Cam Mug Using Cricut
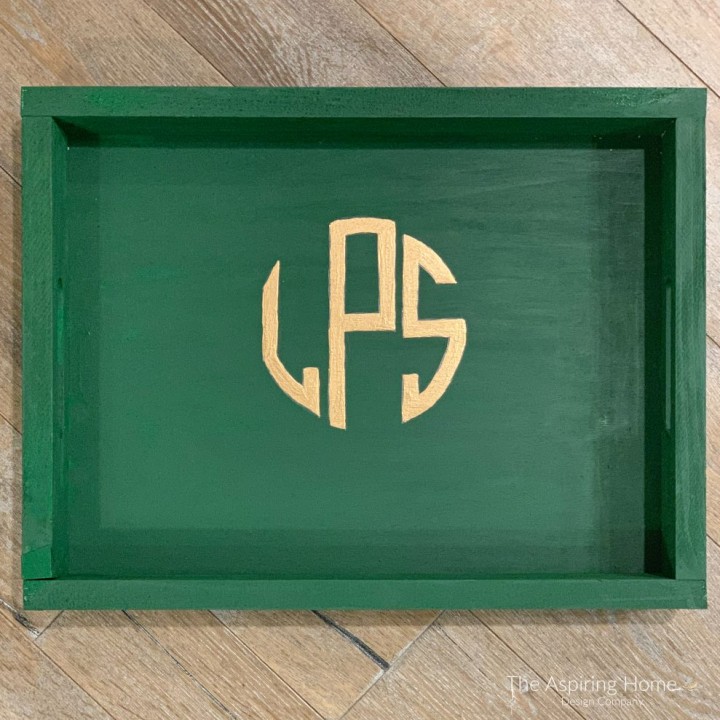
DIY Monogram Tray – The Handmade Gift
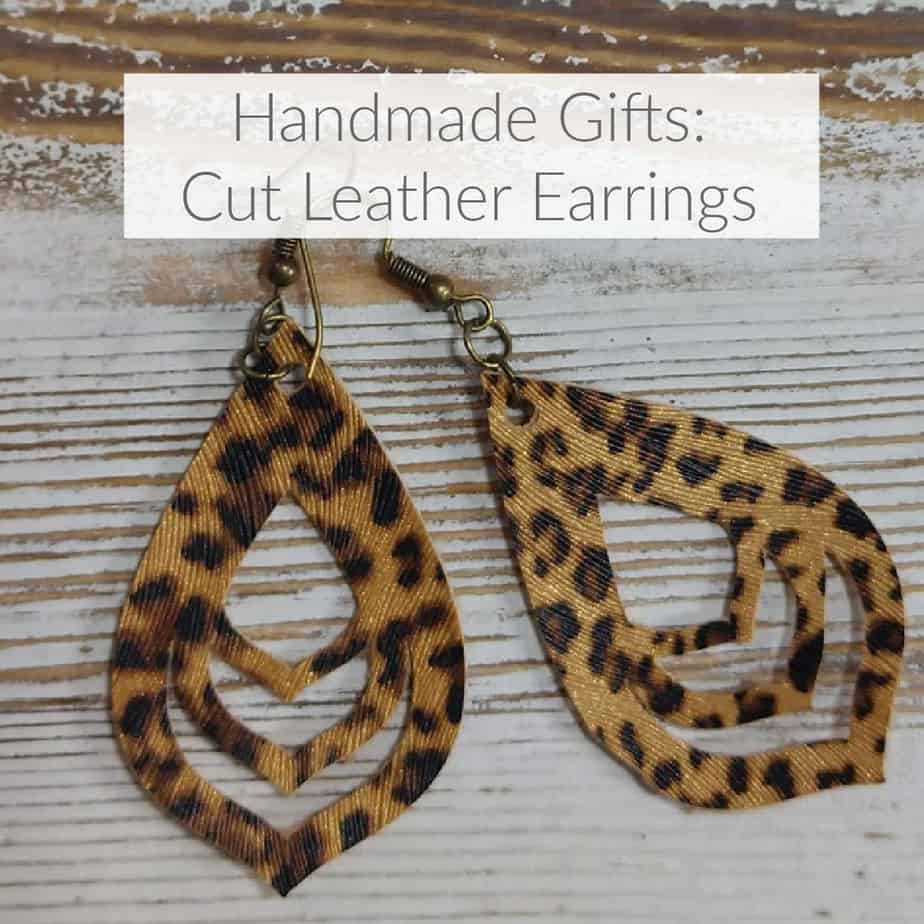
Festive Christmas - Handmade Earrings

Christmas Treats Rock Art Tutorial #FestiveChristmas
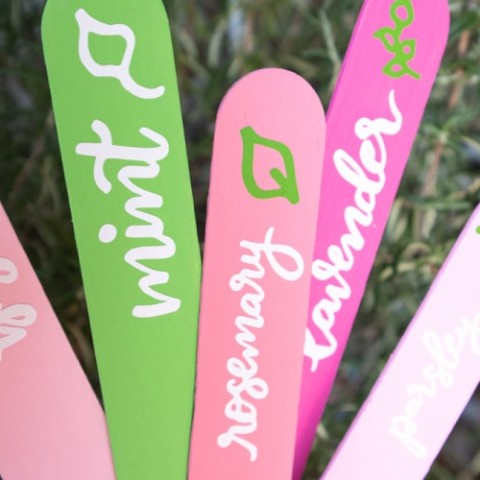
DIY Herb Markers with Cricut - Creative Cynchronicity
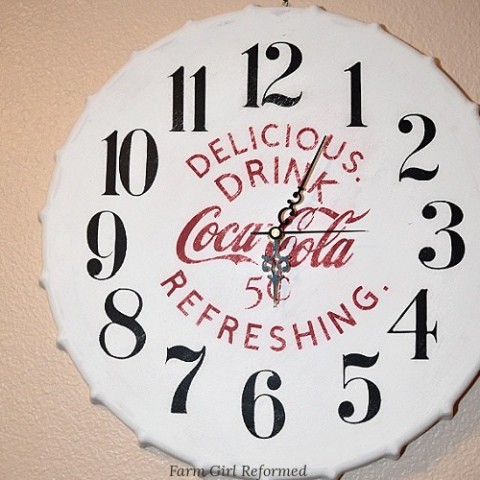
How to Make a Coca Cola Clock
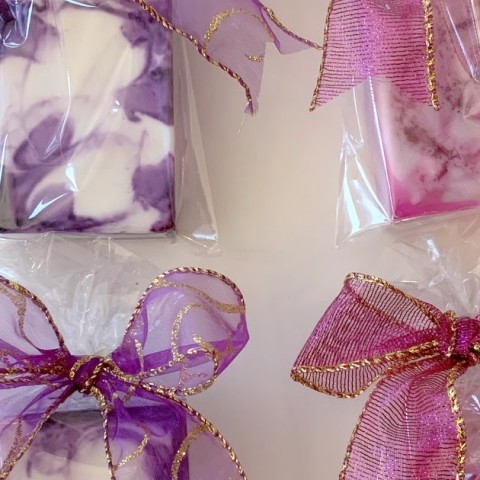
Handmade Soap Gift
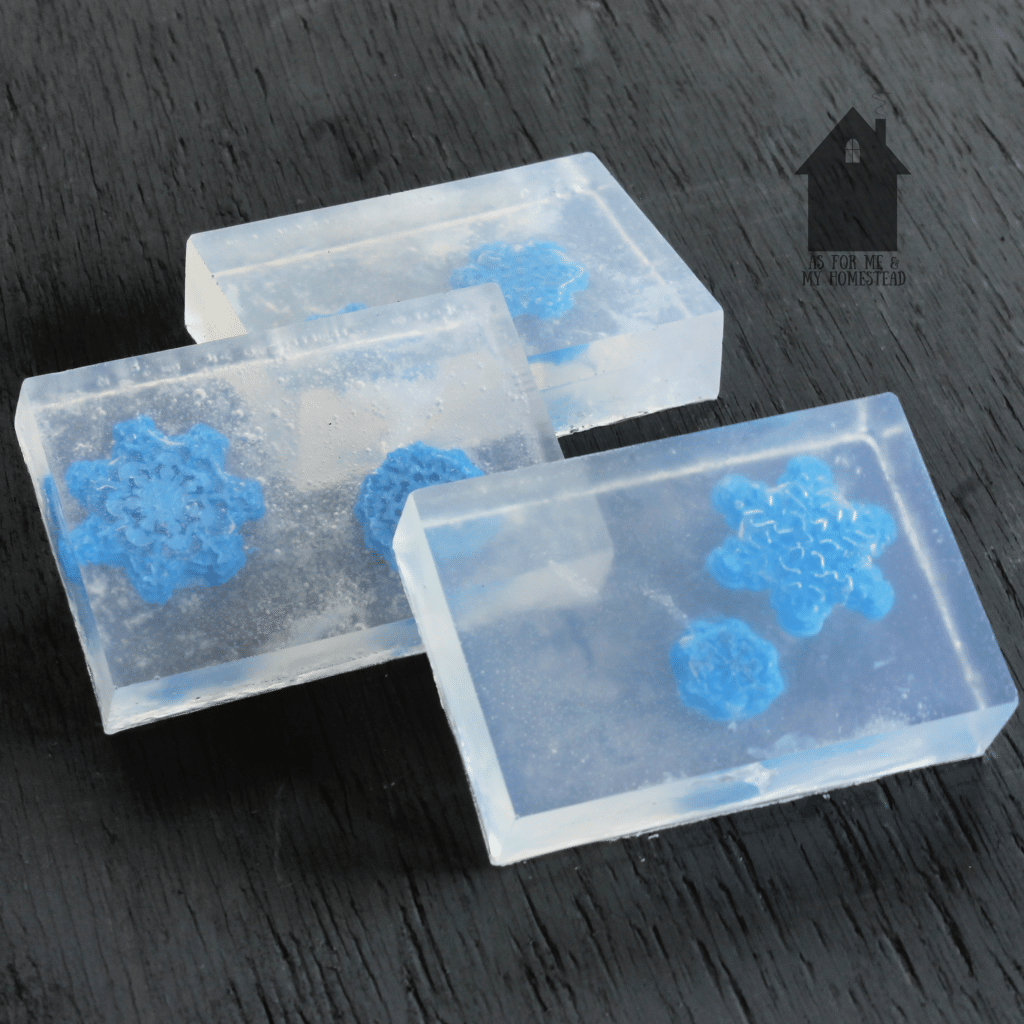
DIY Snowflake Soap

DIY Car Care Gift Bag For Her - Festive Holiday Ideas - Homemade Gifts!
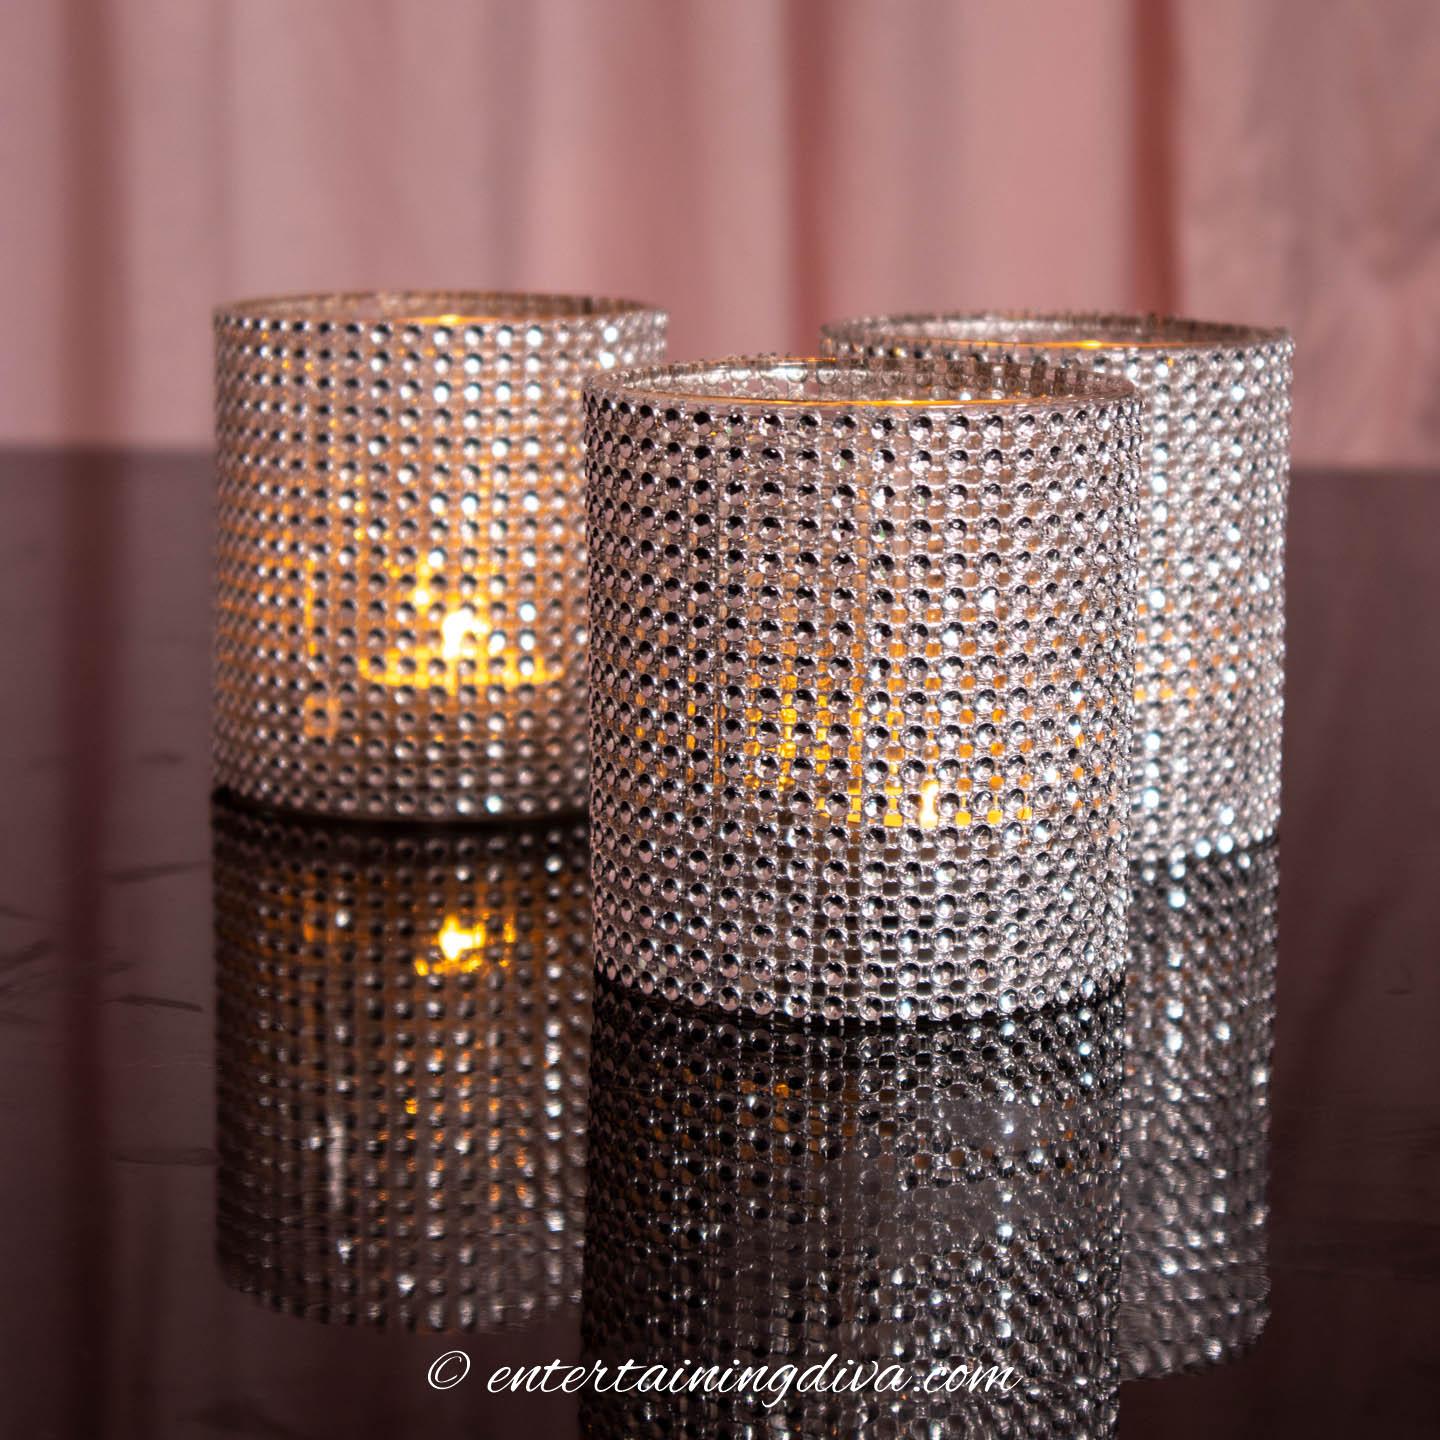
ZGallerie-inspired DIY Glam Candle Holders (Two Ways)
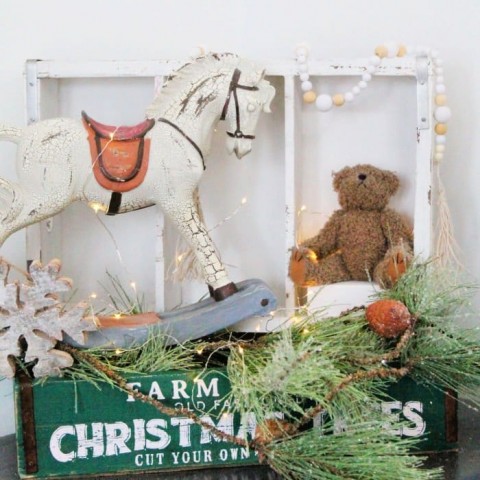
Farmhouse Bead String DIY Christmas Gift Idea
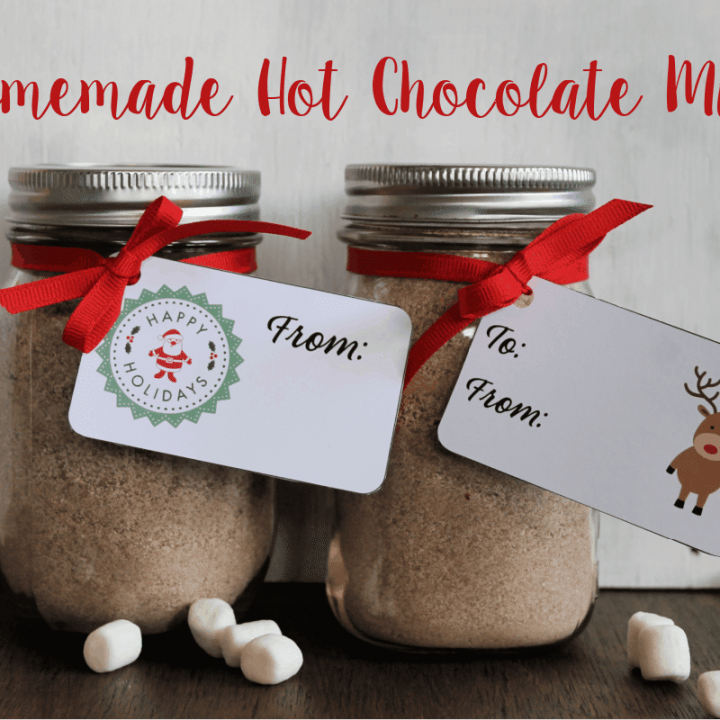
Homemade Hot Chocolate Mix
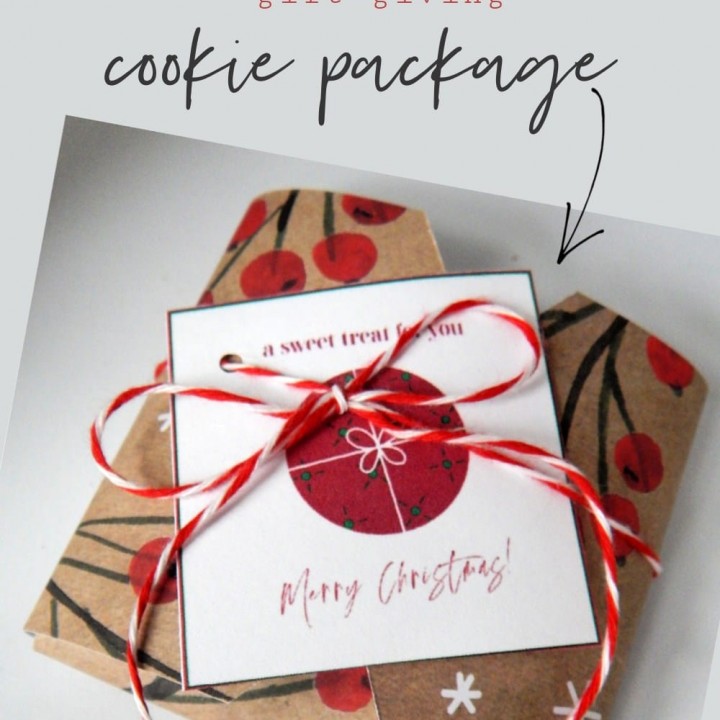
How To Package A Cookie For Christmas Gift-Giving
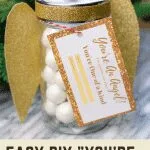
Easy DIY Angel Mason Jar Gift
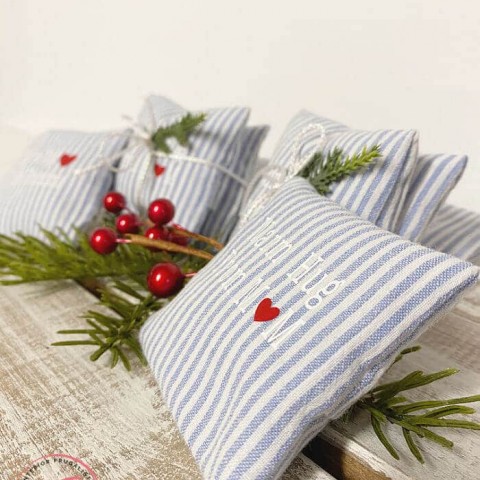
Memory Garment Hand Warmers Homemade Gift Idea
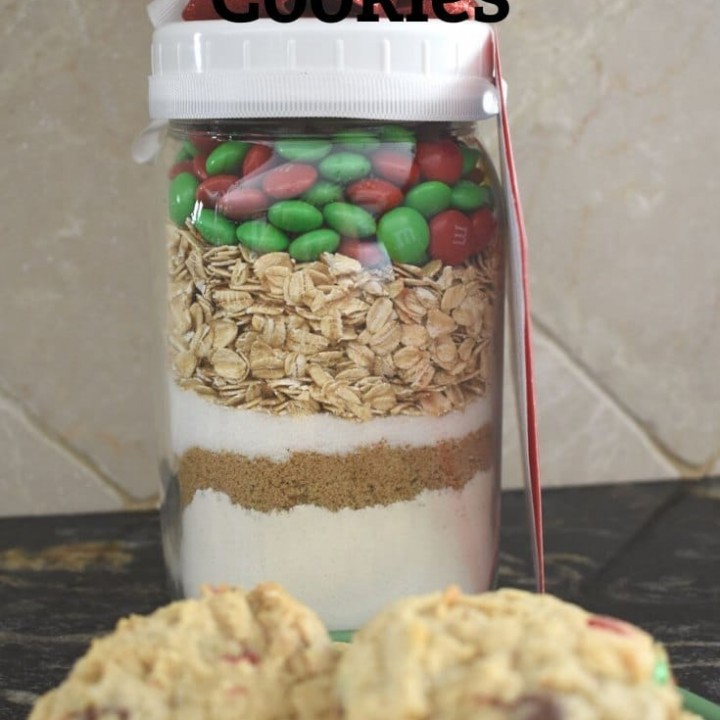
Christmas Cookies in a Jar with Free Printable
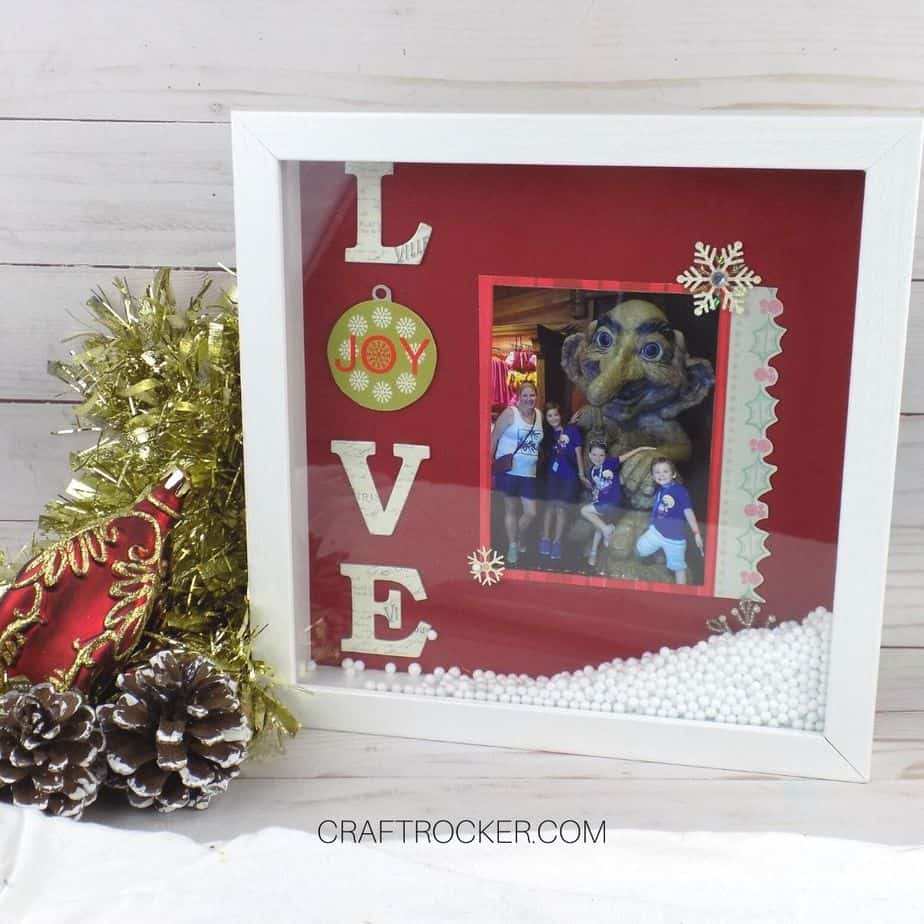
Snow Globe Shadow Box
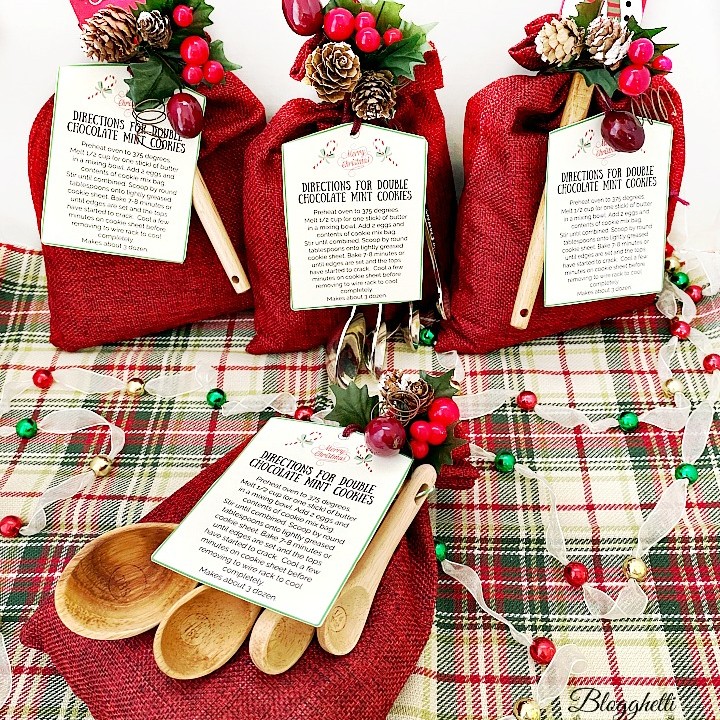
Holiday Cookie Mix Gift Sack with Printable Gift Tags
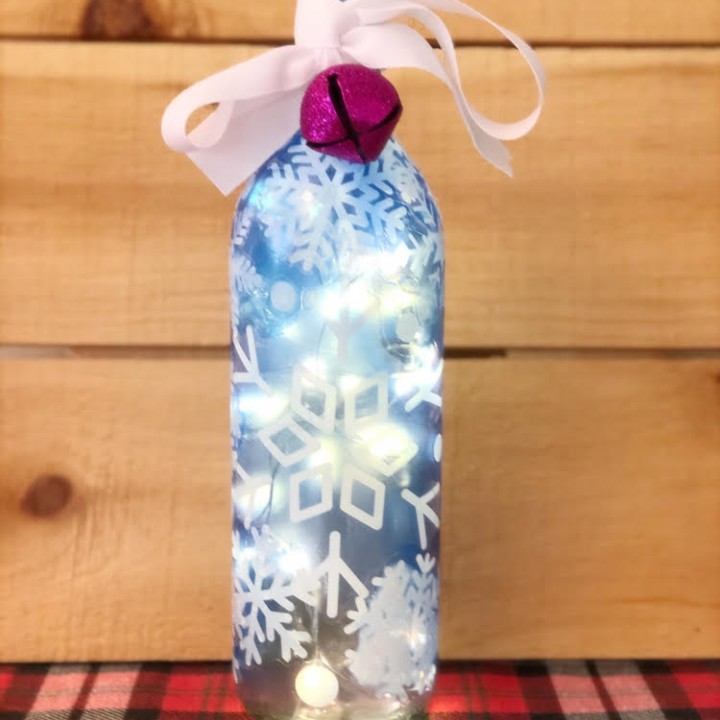
Lighted Snowflake Wine Bottle (DIY Christmas Gift)
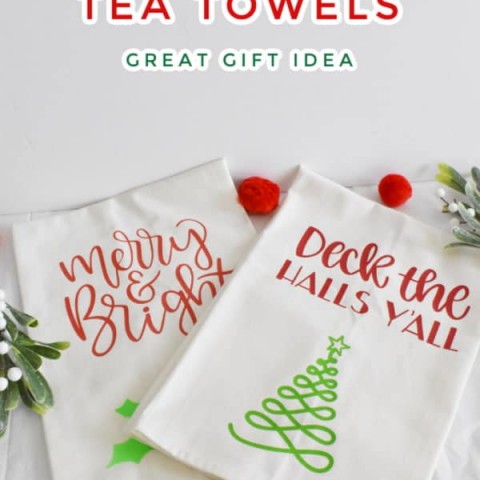
Christmas Tea Towels Using Cricut Easy Press | Across the Blvd
DIY Gifts For Teens By Teens
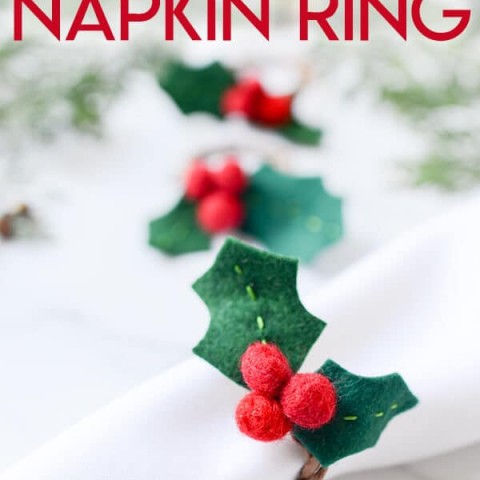
Felt Holly Christmas Napkin Rings
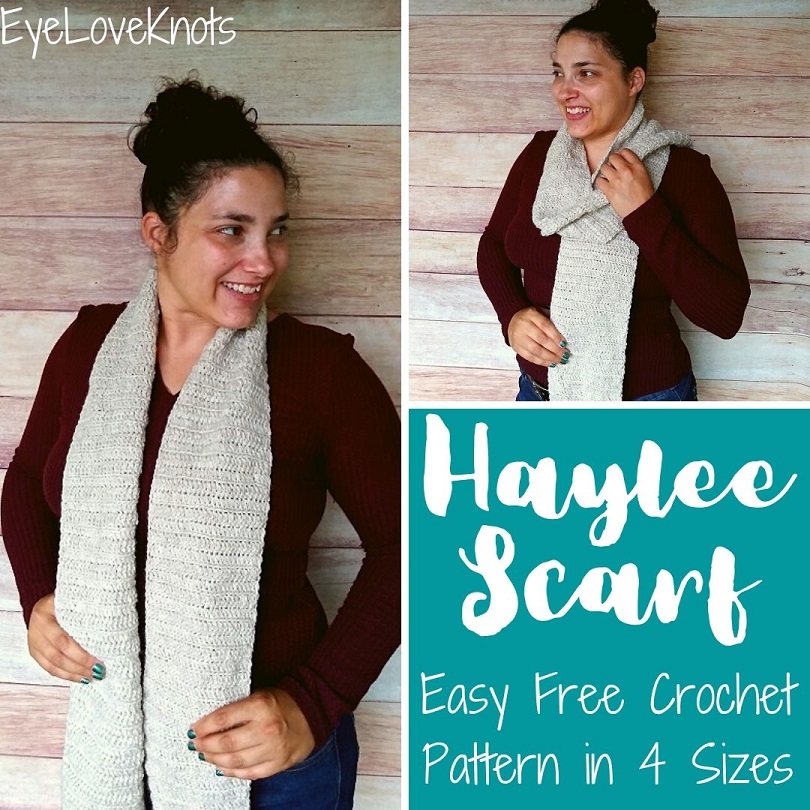
Haylee Scarf – Free Crochet Pattern
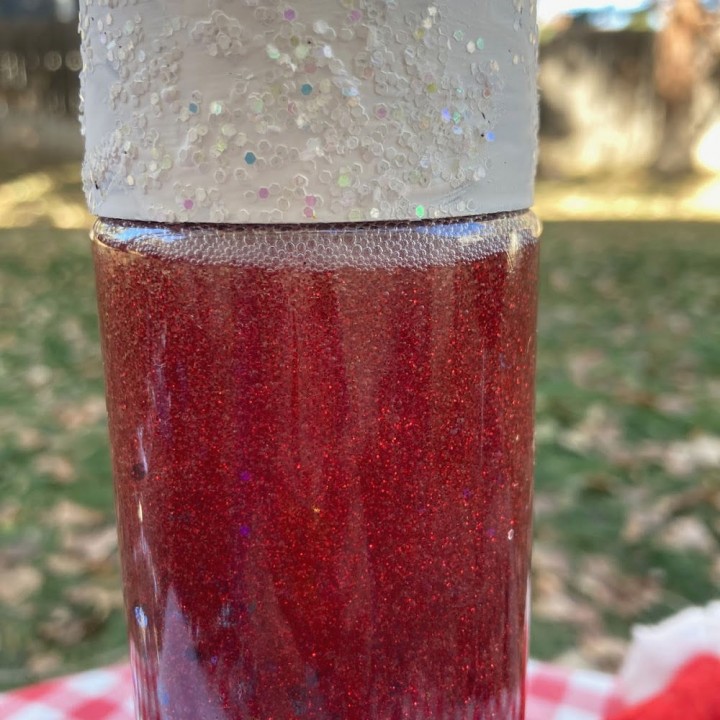
Festive Santa Hat Calming Jar
Festive Christmas Ideas Shared so far
Don’t forget to pin it!
These are really pretty! I am getting all the Winter vibes from these!
I haven’t tried the infusible ink yet, but these turned out beautiful! I will have to give it a try!
Those are so cute!
How lovely and very impressive that these are handmade! It’s amazing what you can craft with the Maker. I need to upgrade from my Air Explore 2 sometime soon.
I’m a Cricut newbie and I was so excited to see these. Infusible ink is on my Must Try list so I studied your tutorial. LOL The coasters are so pretty and a great hostess gift idea. Thanks for the inspiration!
SO pretty! Love your DIY coasters! Anyone would love this gift! 🙂
Fun gift idea, I am all about the bubbles!