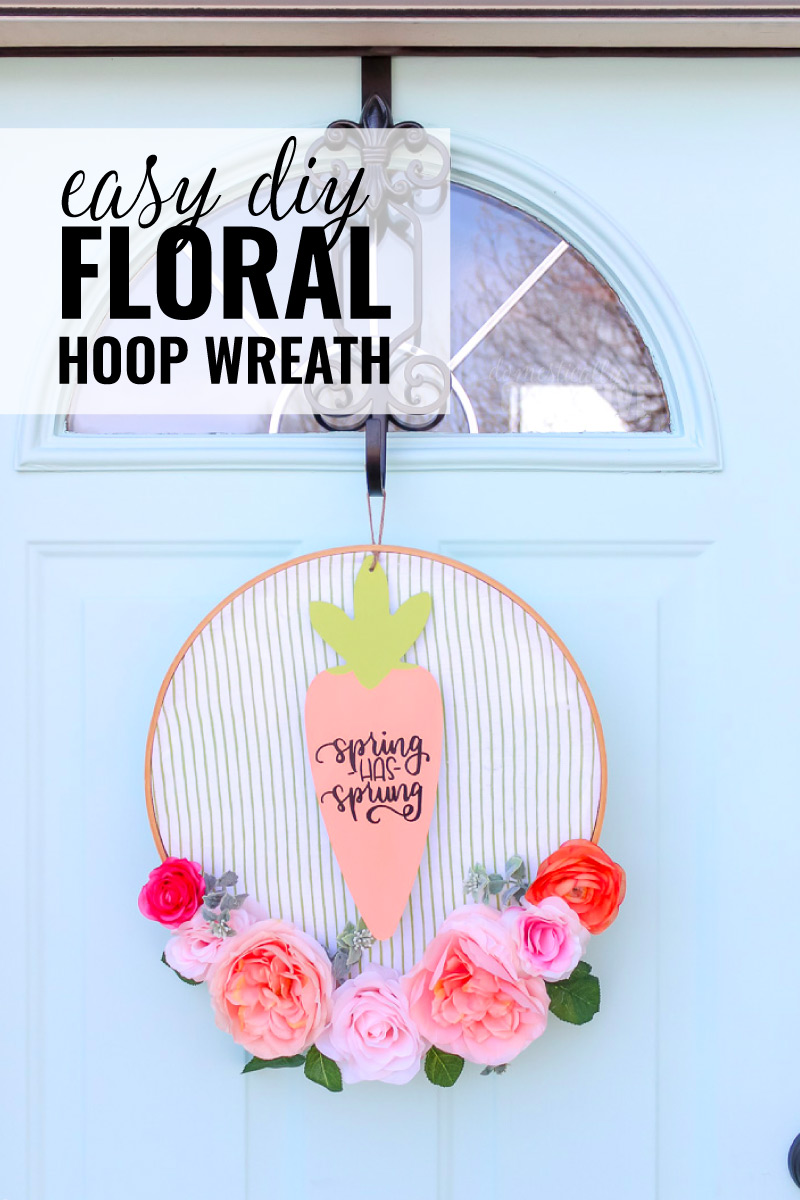
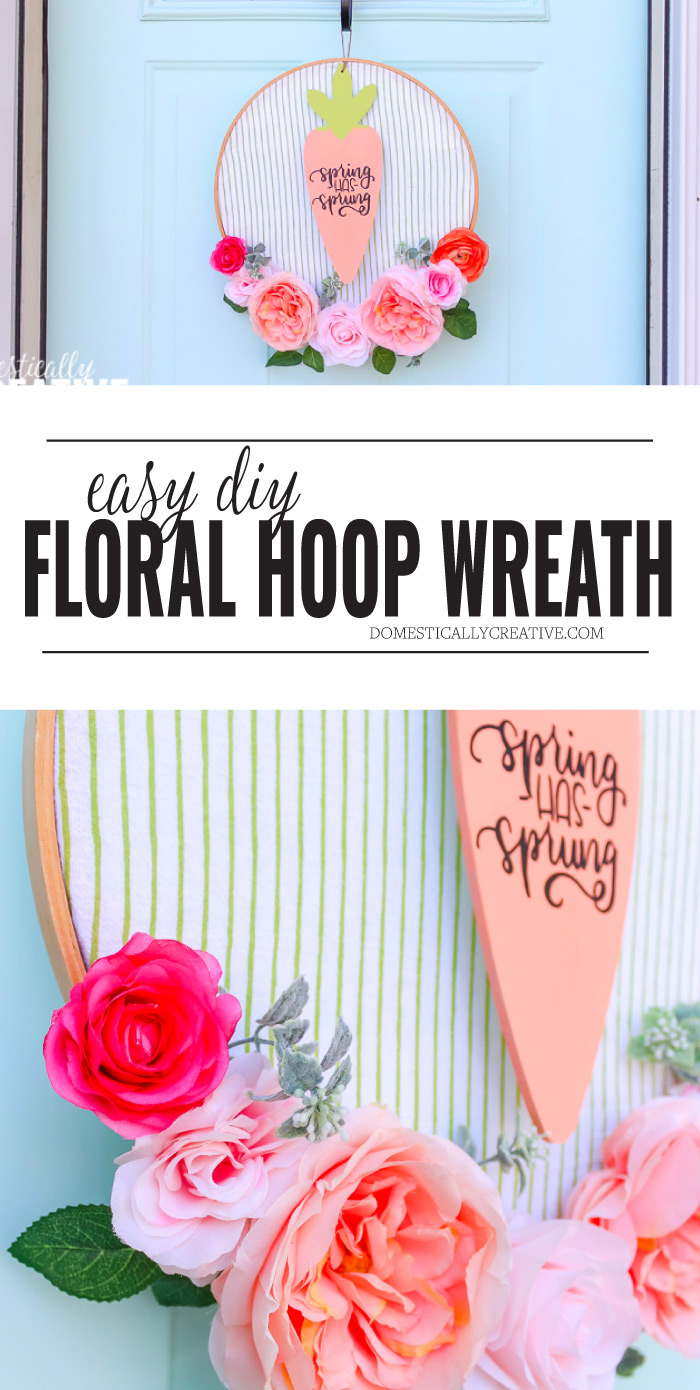
DIY Floral Hoop Wreath
Learn the steps for how to make your very own DIY floral hoop wreath with a cute “Spring has Sprung” plaque.
This post may contain affiliate links for your convenience. Read our disclosure policy.
I’m taking a break this week from sharing new projects from my home office makeover to share this fun DIY floral hoop wreath for Spring. I couldn’t let Spring come and go without creating a fun new wreath now could I? After all, I picked up a few embroidery hoops at an estate sale last weekend for $1 each and you know I love a hoop wreath!
All in all this project cost me under $10. I had the cloth napkin, paint, glue gun and sharpie paint marker already in my arsenal. The hoop was a score from an estate sale, and the flowers were 50% off at Michaels. The carrot sign I actually picked up for 50% off at Hobby Lobby last year!
How to Make a DIY Floral Hoop Wreath
Items you’ll need:
- Embroidery Hoop
- Cloth napkin or fabric of choice
- Wood carrot plaque (or some wooden plaque)
- craft paint
- paint brush
- Black sharpie paint marker
- Floral stems or bunch
- wire cutters
- hot glue gun and glue sticks
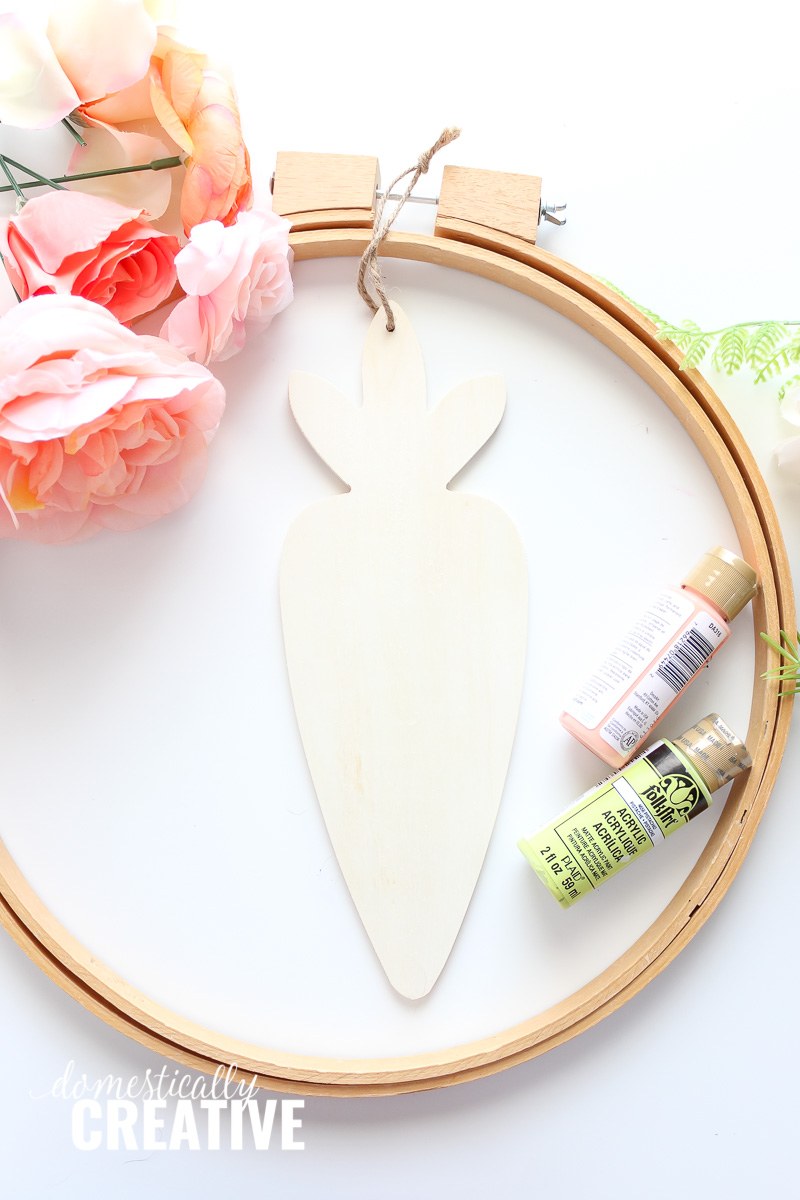
If you prefer to stain or paint the embroidery hoop for this DIY floral hoop wreath, do so before beginning. I personally prefer the unfinished wood look.
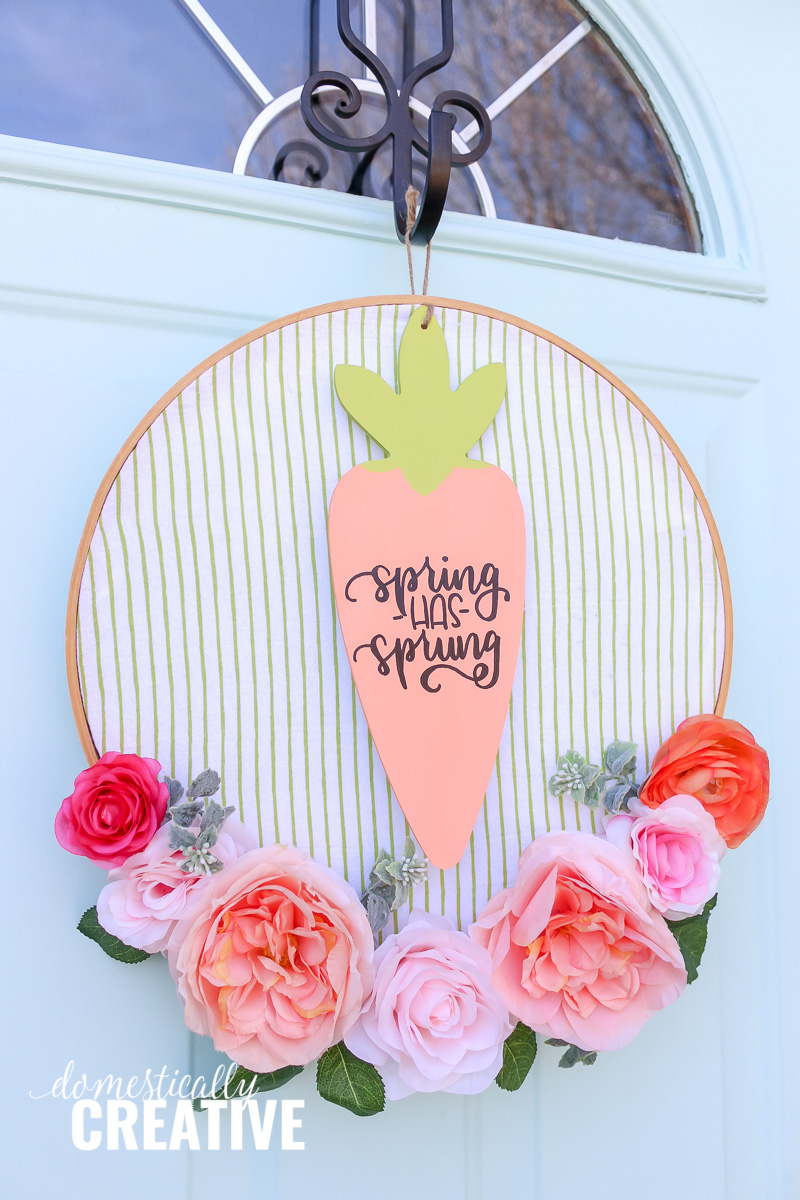
Paint the carrot or other wood plaque using the craft paint and paint brush. I just love the carrot for Spring and Easter, but you could use a rectangular or square plaque as well. It would even be fun to change the signs out for Spring and Summer!
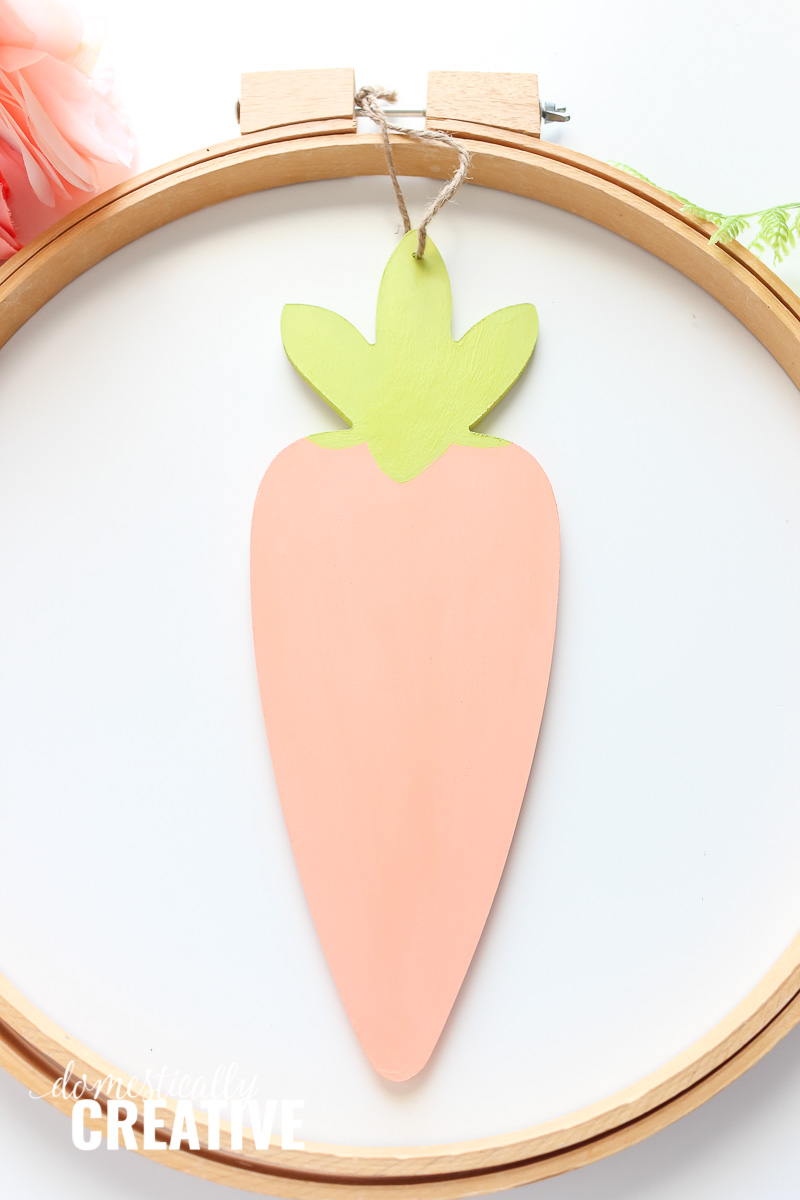
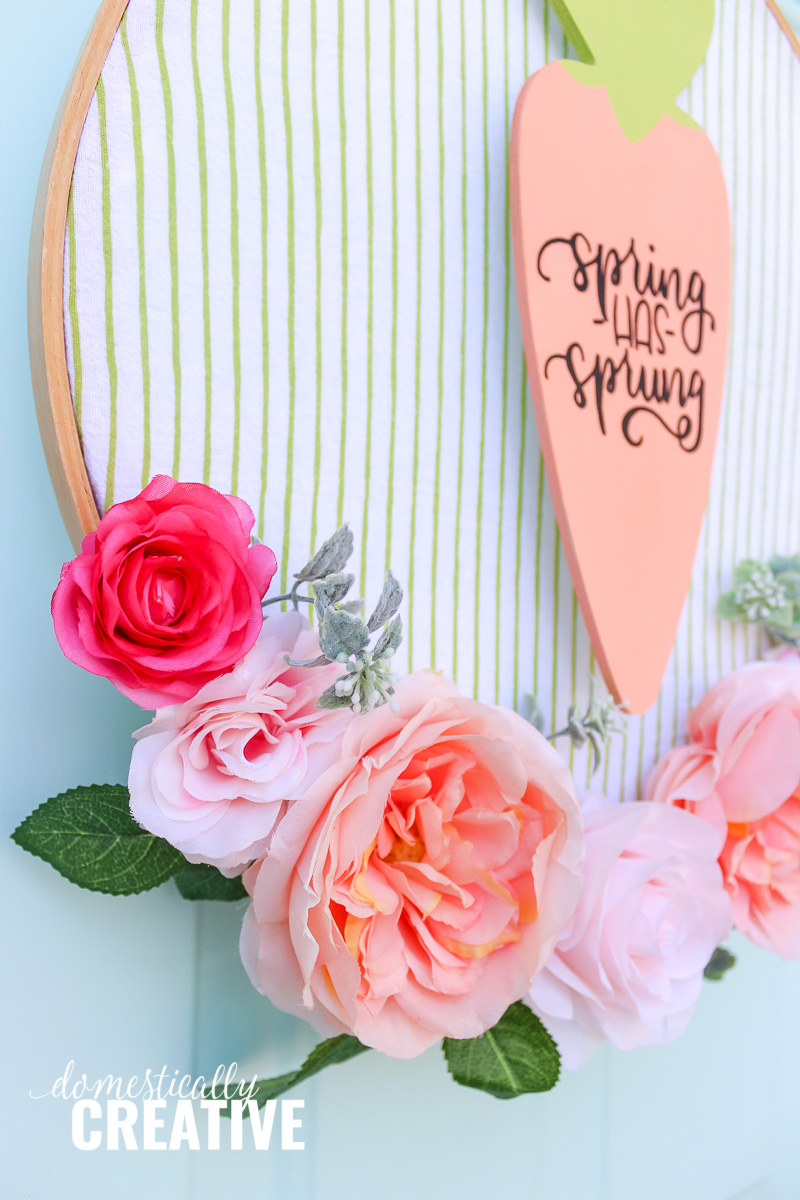
Once the plaque is dry, letter “Spring has Sprung” using the Sharpie paint marker. I did this by hand, but a few other options would be to use a stencil or use my super simple font transfer method.
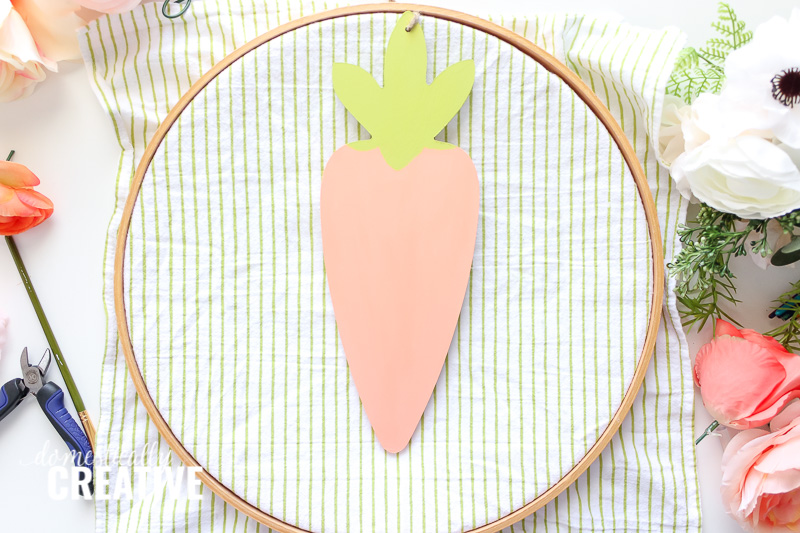
After the paint has dried completely, place the cloth napkin inside the embroidery hoop, then slip the burlap string of the wooden plaque between the hoops. Tighten down just enough so that the fabric and sign do not slip out, but don’t tighten all the way just yet!
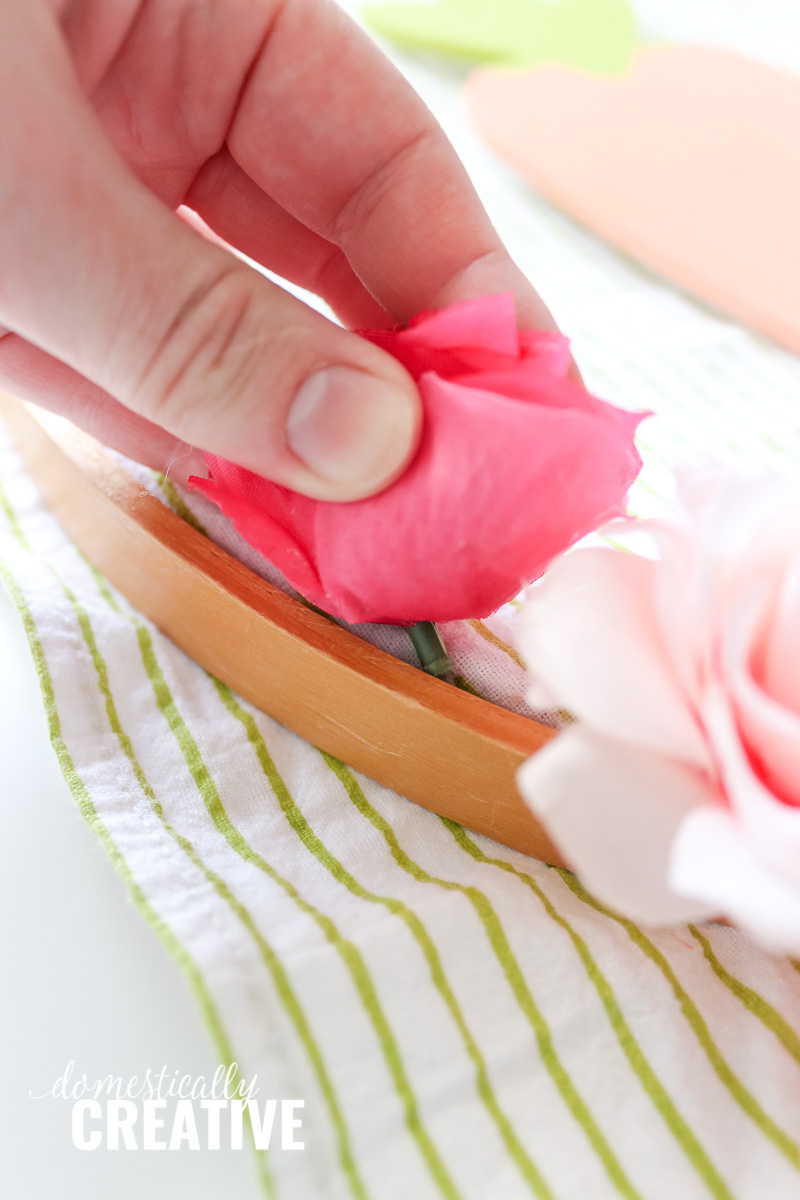
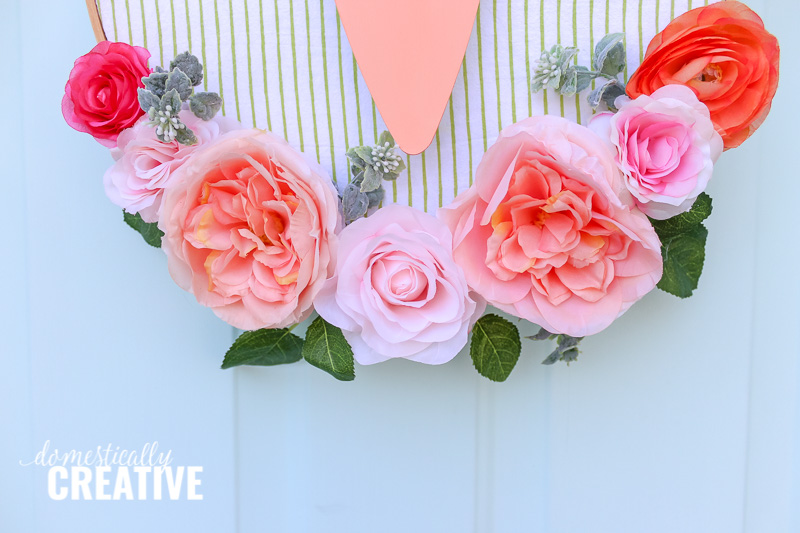
Cut the flowers off of the stem using wire cutters, leaving about 1/2″ stem. This makes it easy to stick the flowers between the hoops. Add a little hot glue around the flowers to secure them.
Use hot glue gun to attach any greenery to the wooden hoop (not the fabric or flowers) to fill in any gaps.

After the flowers are attached, flip the floral hoop wreath over and pull the napkin or fabric taught. Tighten down the hoop so everything stays together.
Tip-if you are using fabric with stripes, make sure not to pull the fabric too taught as the stripes will look skewed.
Cut away excess fabric from the napkin. Use hot glue to glue down the ends to prevent fraying and little strings from hanging out around the edges of the hoop wreath.
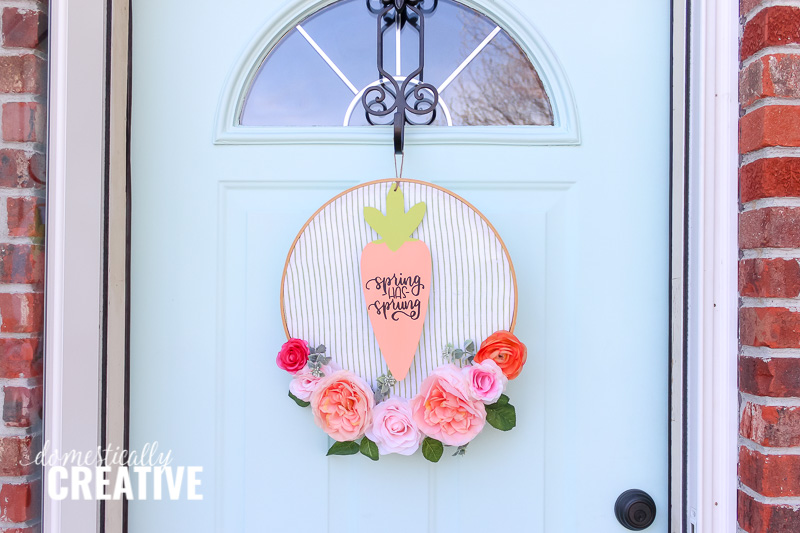
Hang the finished DIY floral hoop wreath using the bit of twine sticking out from the wooden carrot plaque.
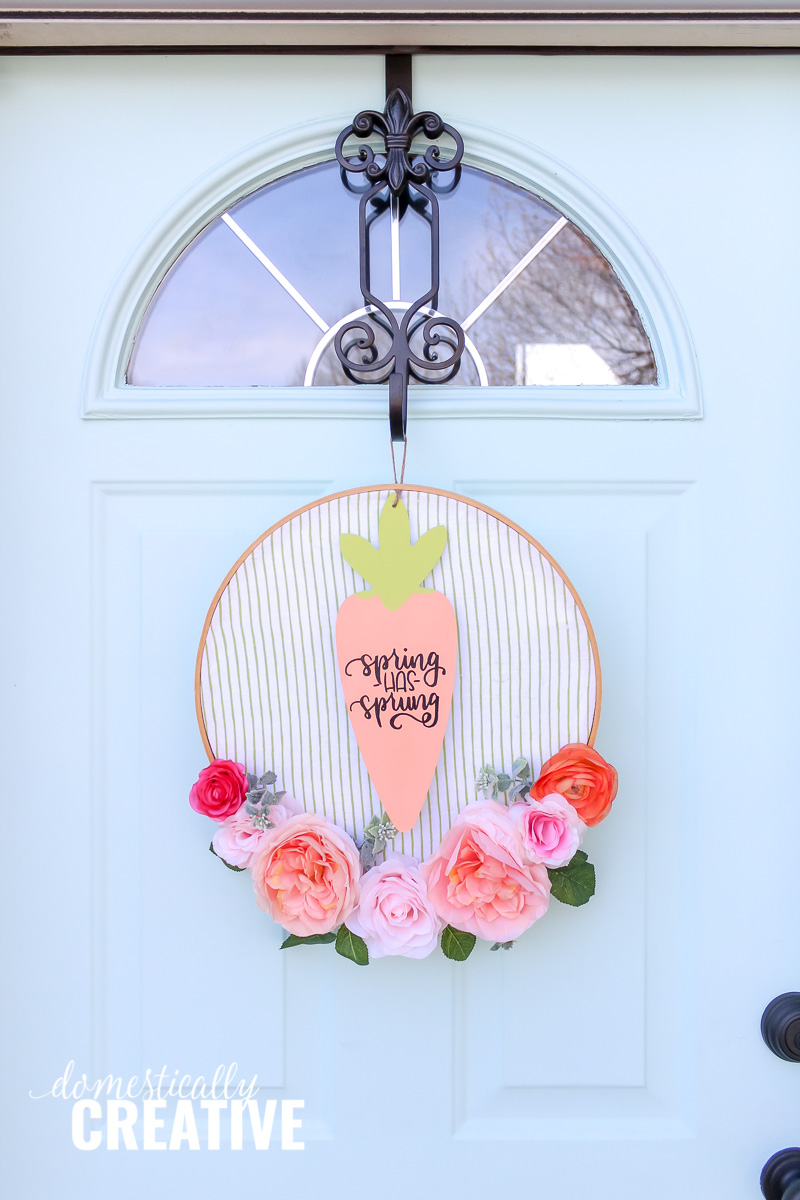
I love that this little Spring floral hoop wreath is so versatile! Not only can you change out the wooden plaque, but you could also get rid of the fabric all together! I think the wreath would be just a pretty.
My favorite part is how great these coral and pink florals look against my blue front door! What do you think?
More Spring Wreath Ideas:
Don’t Forget to Pin It!
Fun, I love hoop projects! I have so many hoops and I can’t believe I haven’t made a wreath yet. This would be a good way for me to use leftover fabric too 🙂
You need to make one!