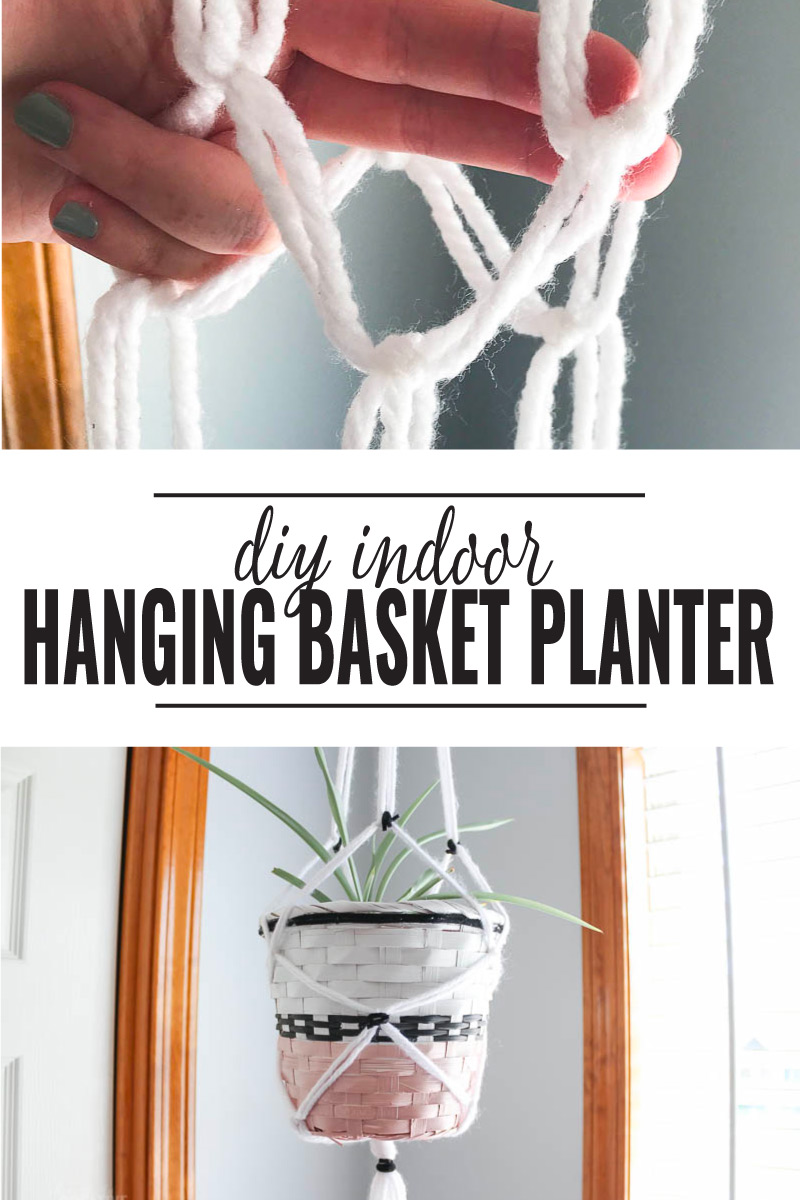
DIY Indoor Hanging Planter Basket
Take a cheap thrifted basket and turn it into a chic DIY indoor hanging planter basket with a macrame hanger. It’s simple!
This post may contain affiliate links for your convenience. Read our disclosure policy.
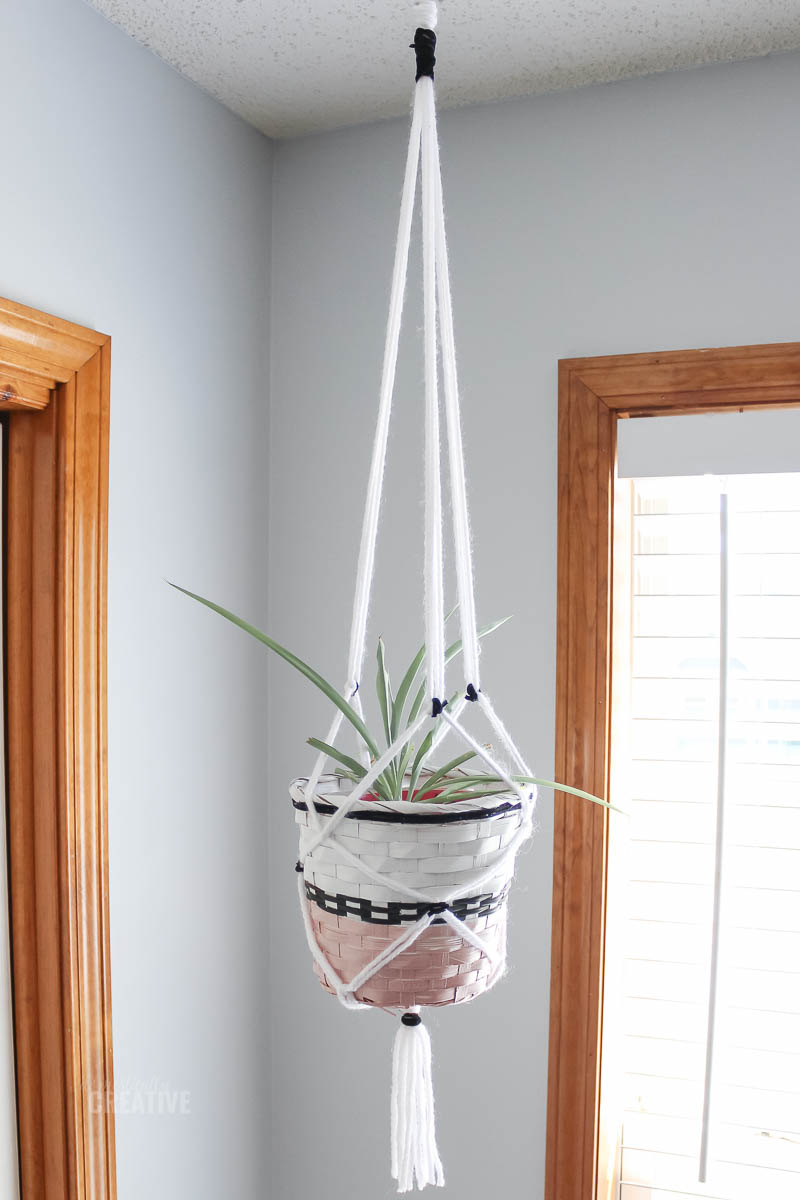
A friend recently gave me a spider plant from one of her plants and I’ve had it sitting in a plastic yogurt cup since then. I decided I wanted to make my own hanging planter with a little “macrame” for it. I found a basket at the thrift store, and a plastic pot to fit inside it all for under $2! You can see the full tutorial below, and make sure to check out my last thrift store makeover–this BOHO succulent fairy garden.
DIY Indoor Hanging Planter Basket
Supplies Needed:
- Thrifted Basket
- Spray paint (white and champagne pink used in this project)
- Frog tape
- Black acrylic paint
- Small craft paint brush
- Hot glue gun
- Black suede trim
- White yarn or cording
- Scissors
- Metal ring
- Plant to fit inside hanging planter basket
- Swag hook
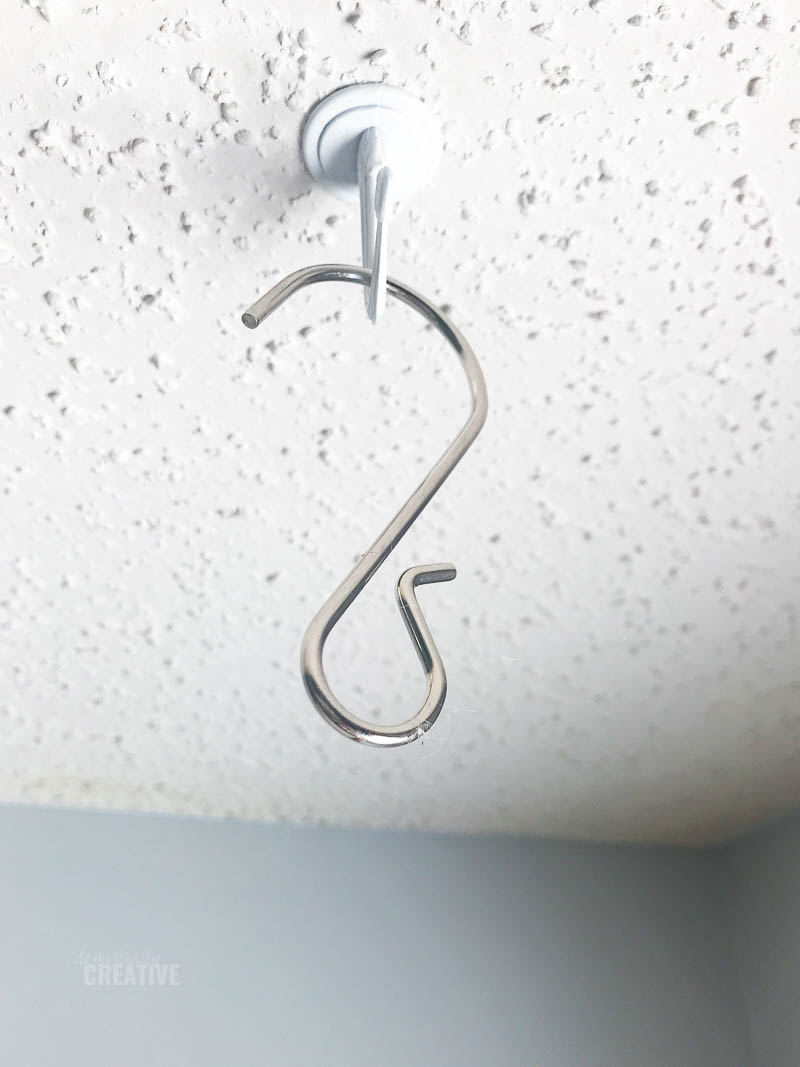
The first thing I did was install a ceiling hook with toggle bolt (swag hook) to hold my new diy indoor hanging planter basket.
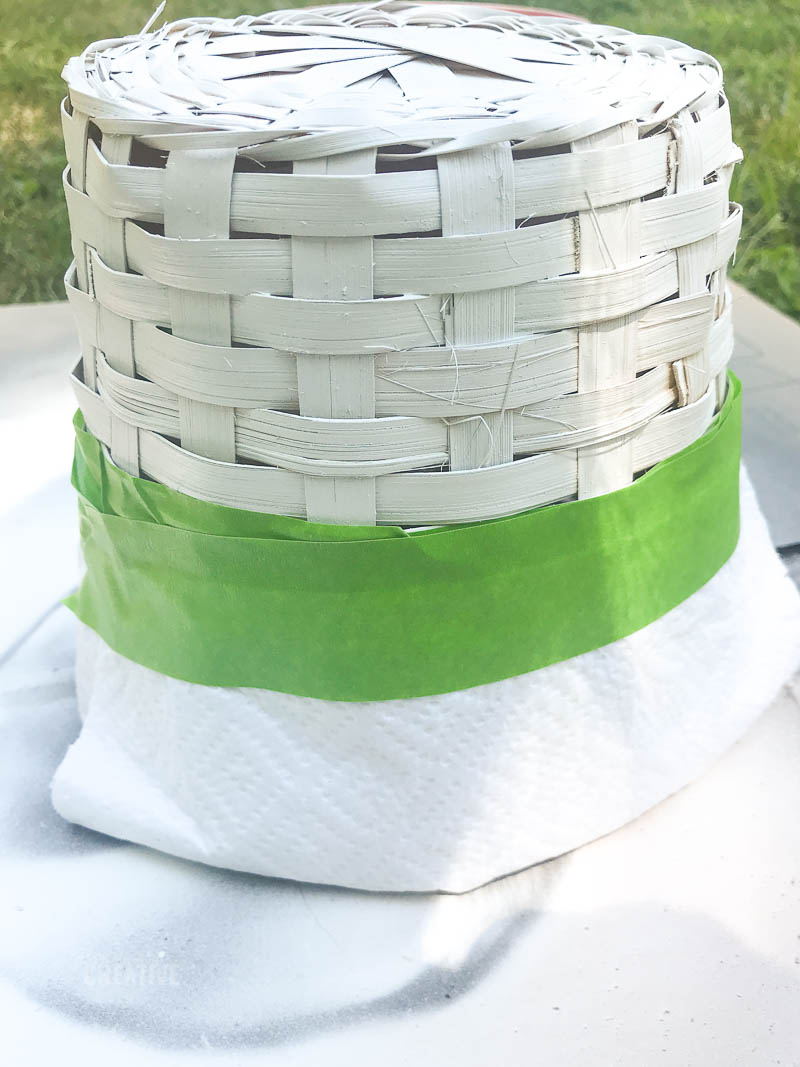
Next I gave the thrift store basket a quick coat of white spray paint. I never snapped any before pictures of the basket, but it was nothing special. Just a tan basket, with a smaller dark brown weave in the center.
After the white paint dried, I taped off the top of the basket, leaving the bottom half exposed and gave that a coat of pearl metallic champagne pink spray paint. These colors fit my office makeover from the Spring.
After the pink dried I removed the tape and paper. To give the new two tone basket an accent, I hand painted the smaller weave in the middle of the basket in black acrylic.
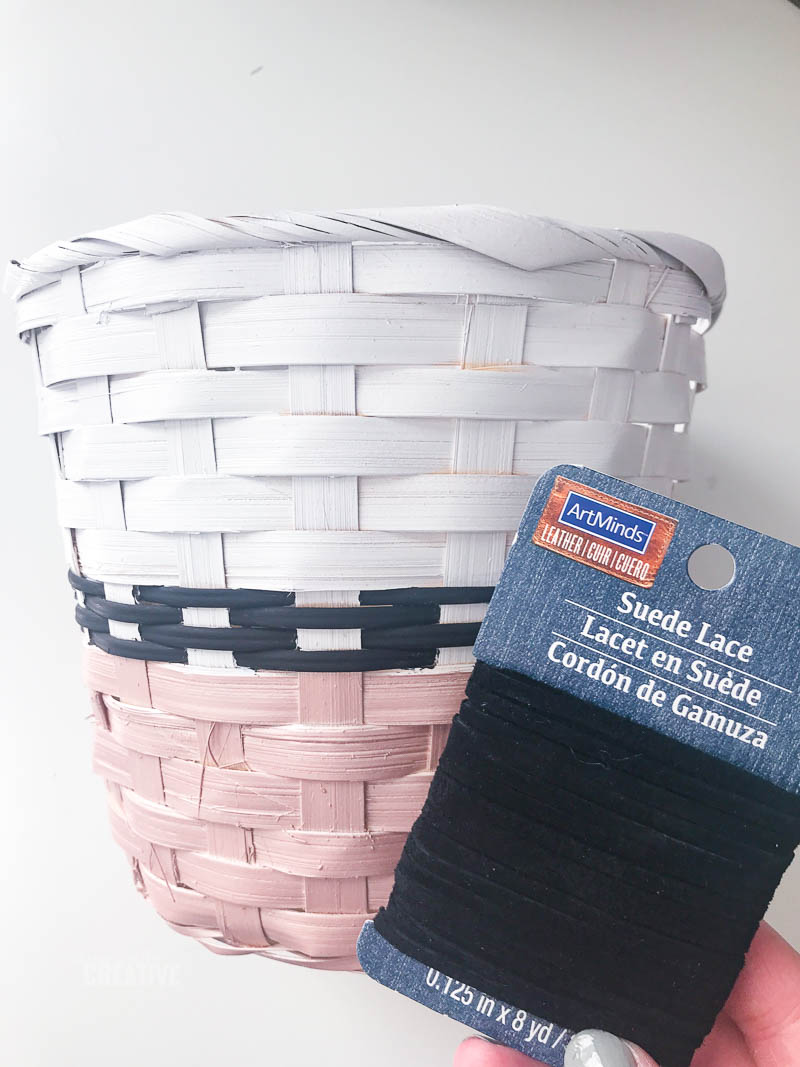
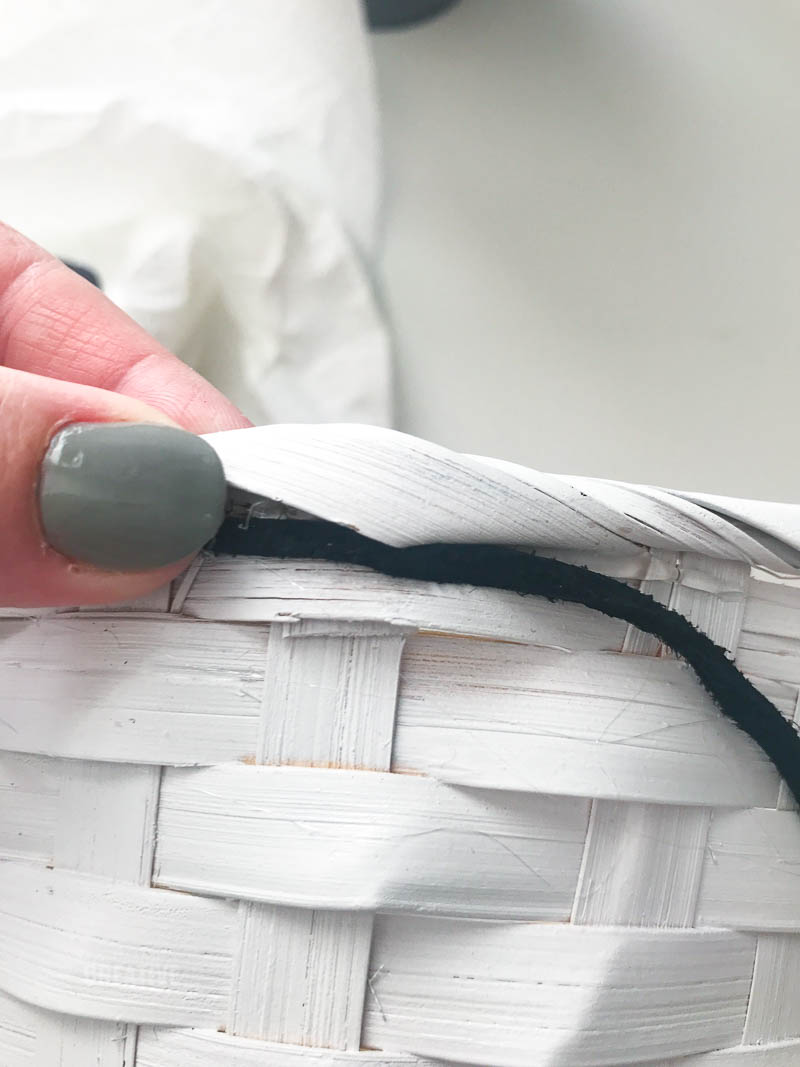
Then added some black suede trim to the top of the basket with hot glue. I tucked it under any part of the basket weave that hung over the top edge so that the trim was in a straight line across the basket.
Next came the fun part–Making a simple macrame hanger for my planter basket. I decided to use white yarn, but rope or cording would work really well for this project.
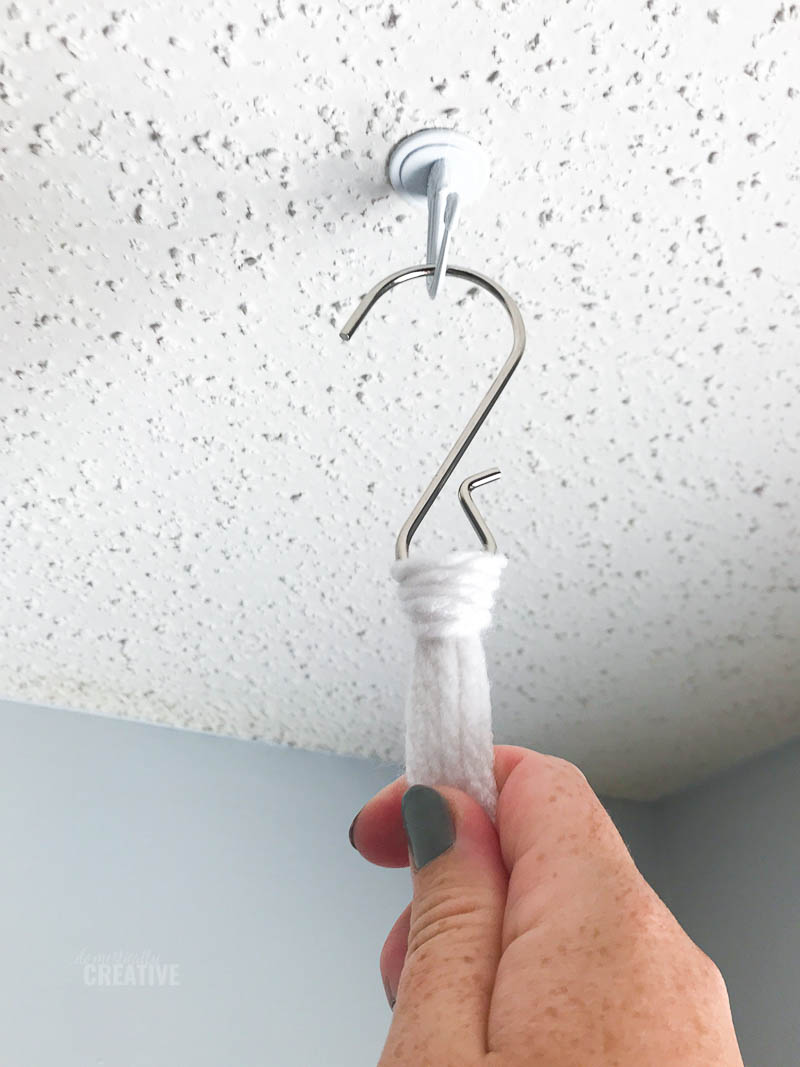
Start by cutting 6 strips of yarn to double to length you want the hanger to be–for me this was about 6′ (3′ finished) Then hang the metal ring onto the ceiling hook.
Fold each piece of yarn or cording in half and you’ll be left with a loop in the center like this.
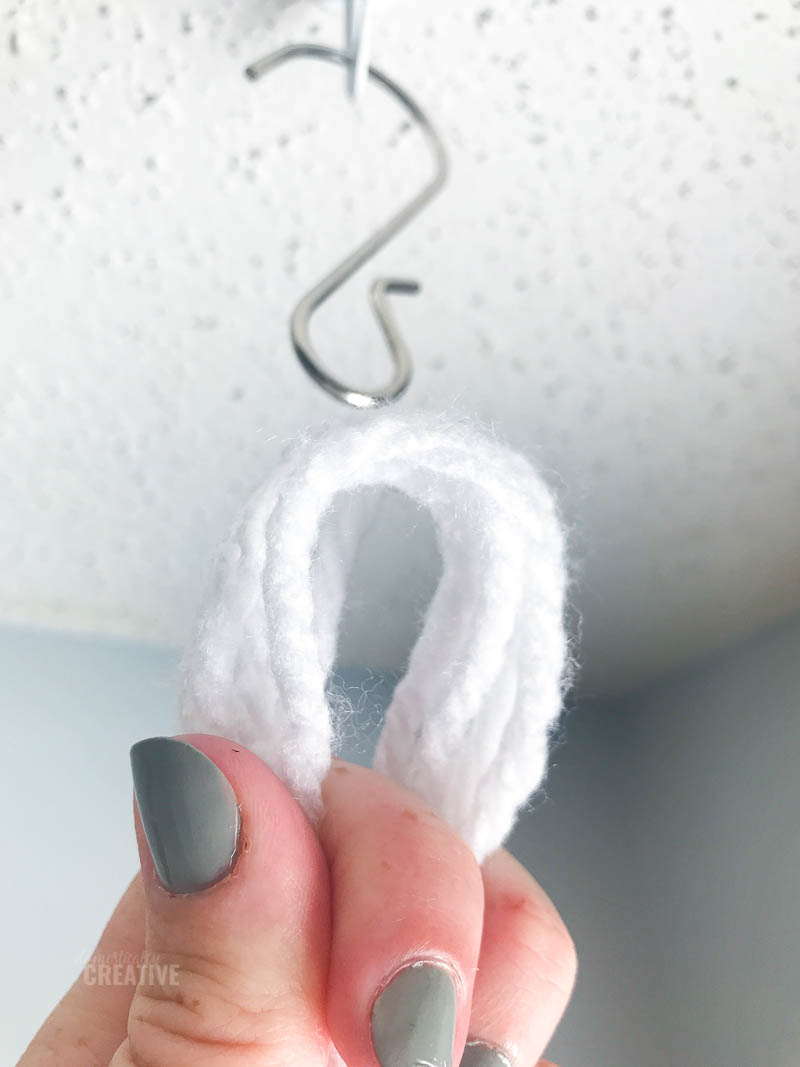
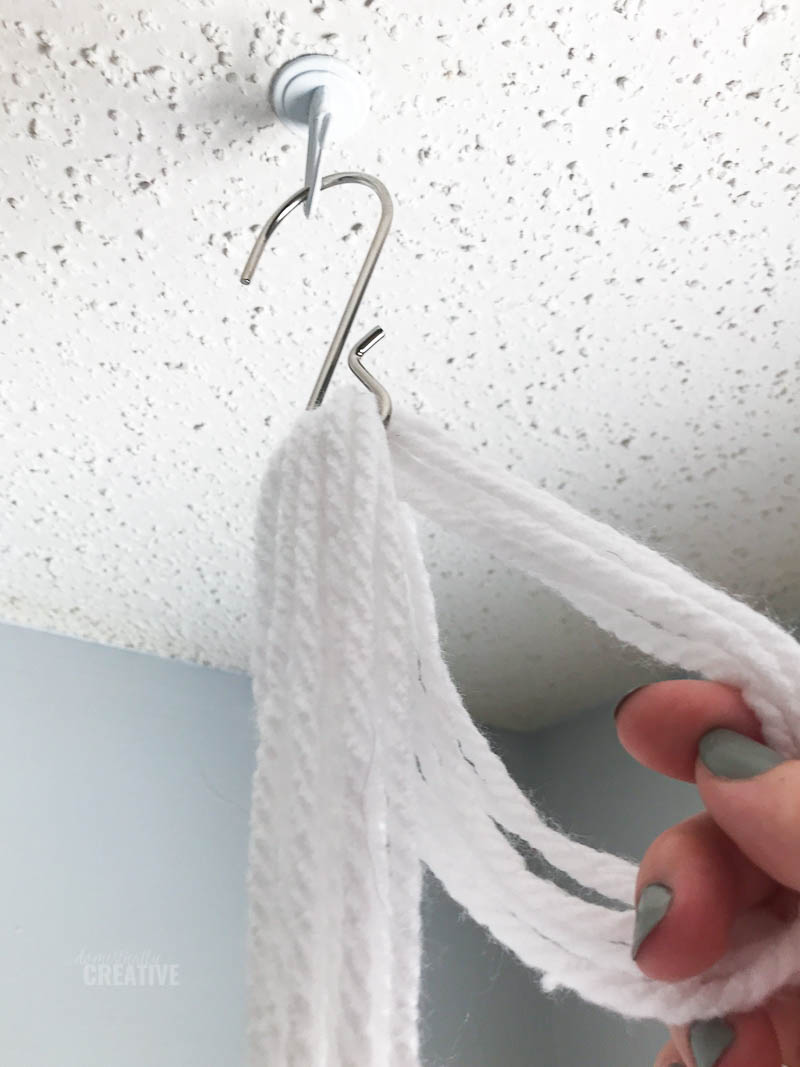
Push the loop through the metal ring, and then pull the rest of the yarn through the loop. This will secure the yarn to the metal ring.
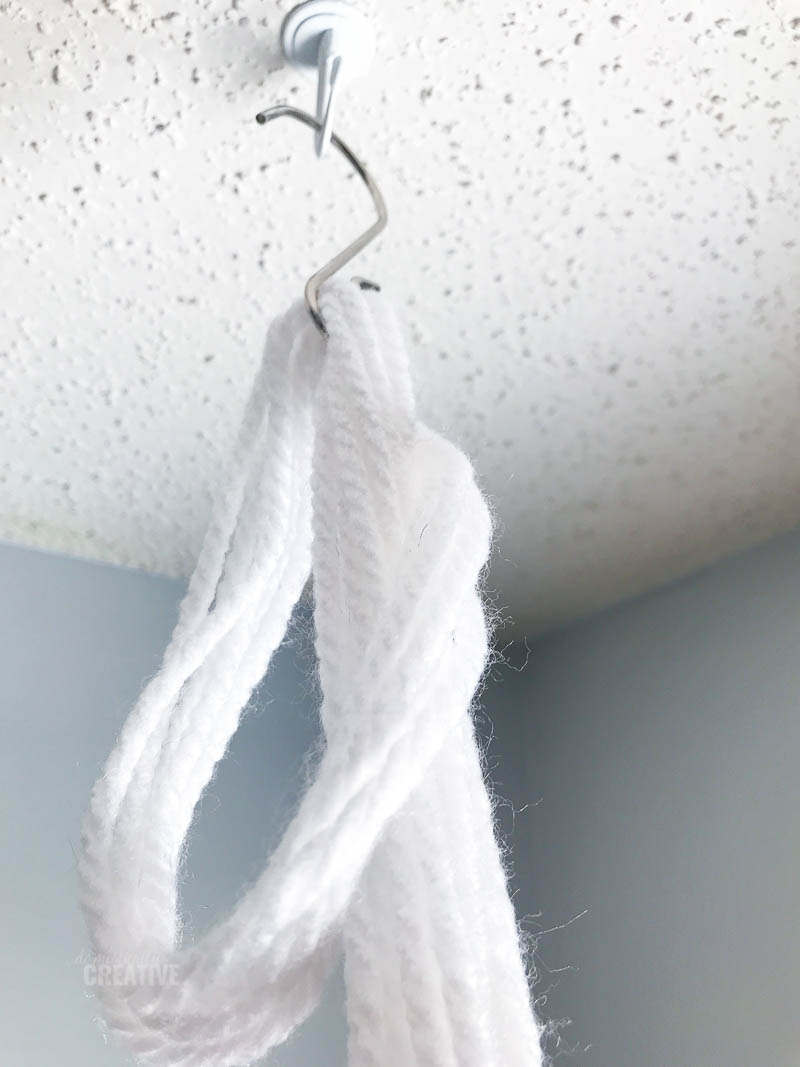
Now you are ready to start the “macrame” process. I chose a simple tie pattern for this indoor hanging planter, but feel free to get as creative as you’d like!
Divide the yarn into 6 pairs. Measure down to where you want the top of the basket to be, and tie two pairs of the yarn together in a double knot, about 1-2″ above that measurement.
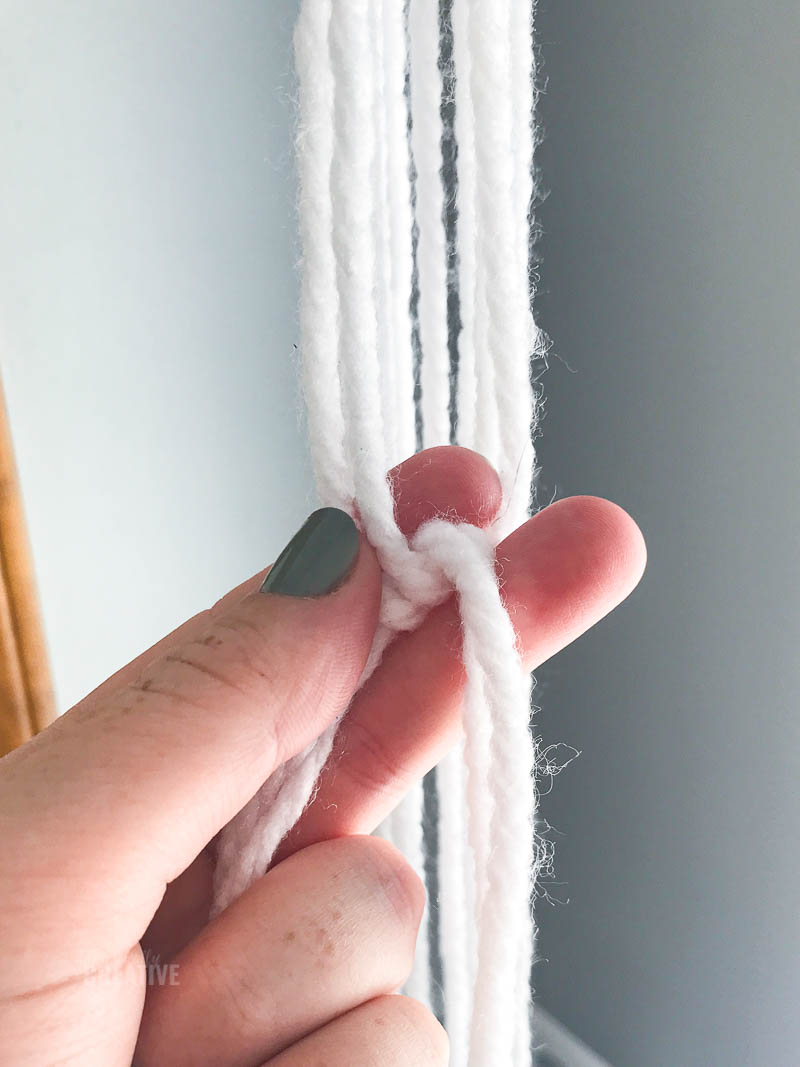
Repeat until you have three sections knotted together
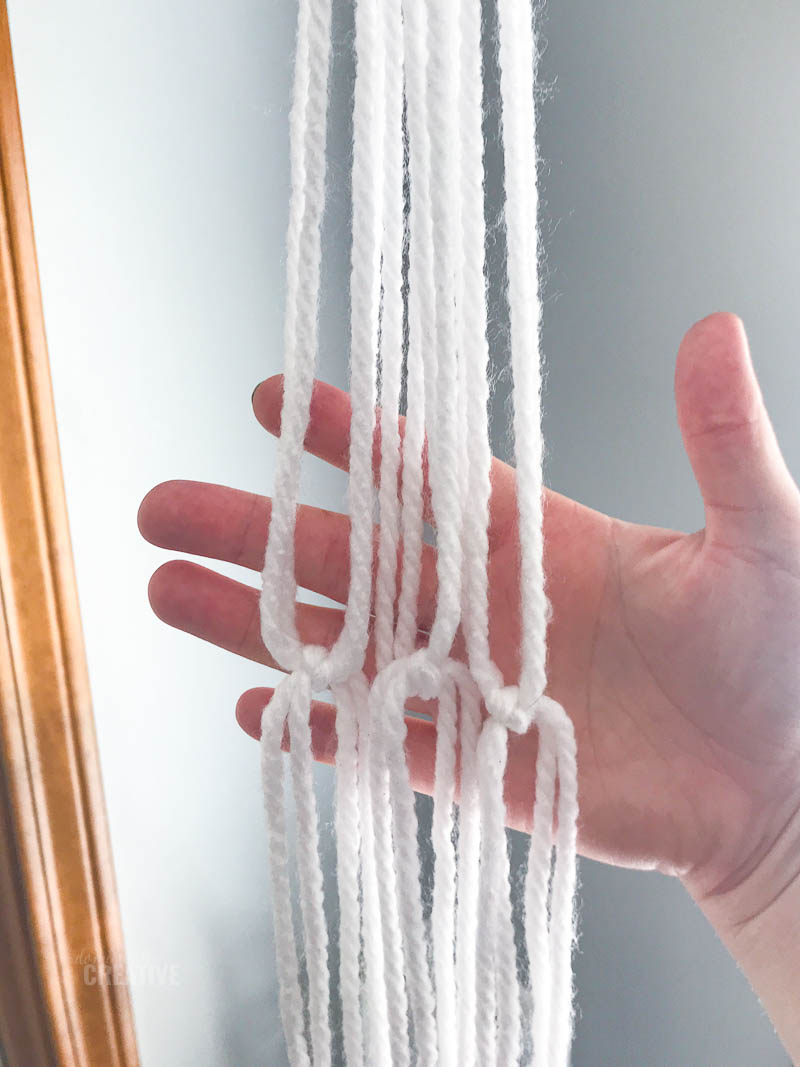

Repeat the steps above, but with the pairs of yarn that meet between the two knots above. See the photo below.
Repeat the steps 2 more times.
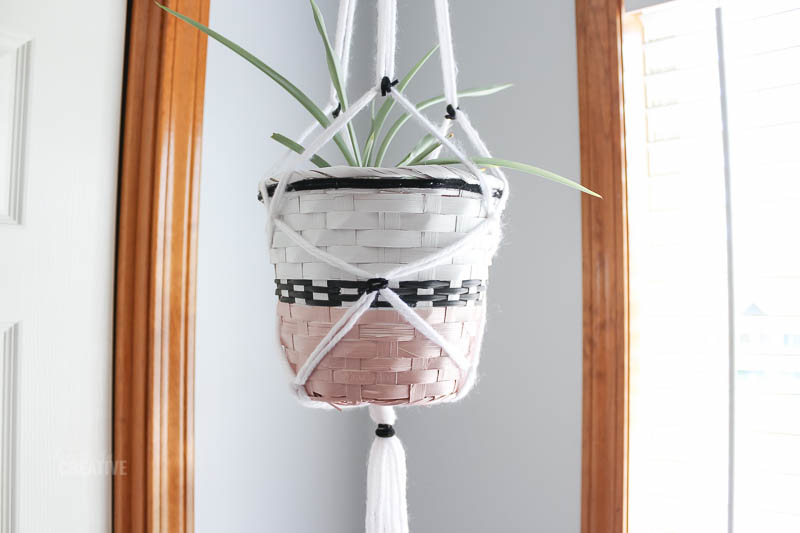
Finally gather the ends of the yarn together centered at the base of the basket, and tie a knot to secure it.
Add some black suede trim if desired to accent.
More Thrift Store Projects:
- Upcycled Succulent Planter
- DIY Vinyl Storage Basket
- How to Make a Custom Pet Toy Storage Bin
- DIY Mason Jar Wall Vases
Don’t forget to pin it!
That is a cute way to upcycle an old basket, and kids can help with the macrame.
Very pretty! What a great addition to your office. I really like the different colors on the basket.
This turned out so cute. I love the two tones on the basket and the beautiful macrame.
Lovely way to upcycle a thrift store basket, Amanda. The colors look pretty and your tutorial for hanging it is great.