Home Sweet Home Chalkboard Sign–Thrift Store Decor Upcycle Challenge
I’m so excited to bring you this Thrift Store Decor Upcycle Challenge! I’ve teamed up with 20 other bloggers for this thrift store blog hop. The rules were simple–take an item(s) from a thrift store, yard sale, resale shop etc. and transform it into a new piece of home decor. There was no budget, or theme to stick to so we were free to let our creativity run wild!
This post may contain affiliate links for your convenience. Read our disclosure policy.
Meet the Hosts

Amanda | The Kolb Corner Chelc| Inside the Fox Den
Erlene | My Pinterventures Kim | Made in a Day Sara | Twelve on Main
Emily | Two Purple Couches Shirley | Intelligent Domestications
Marie | DIY Adulation Lindsay | Crazy Organized Michelle | Our Crafty Mom
Julie | Live From Julie’s House Debra | Shoppe No. 5 Dru | Polka Dot Poplars
Maureen | Red Cottage Chronicles Pili | Sweet Things Channell | Hobnail House
Colleen | Life on Kaydeross Creek Ann | Duct Tape and Denim
Paula | Virginia Sweet Pea Sherry | Savvy Apron Stacy | Anastasia Vintage
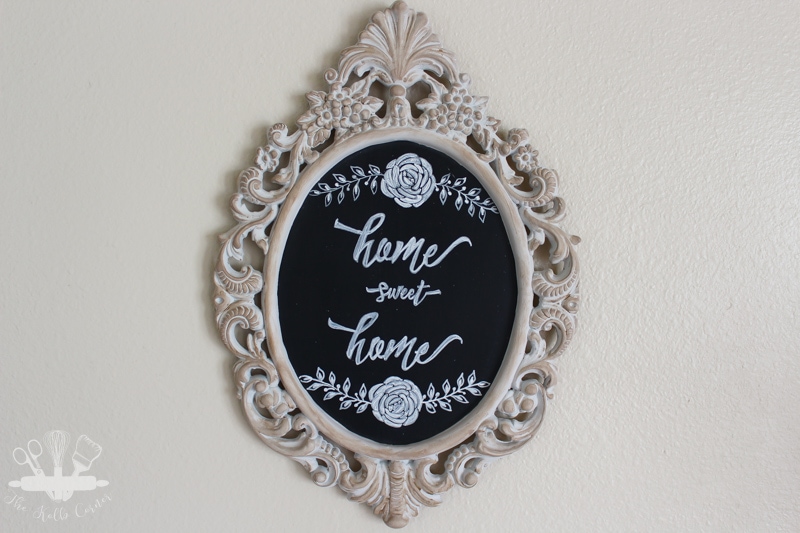
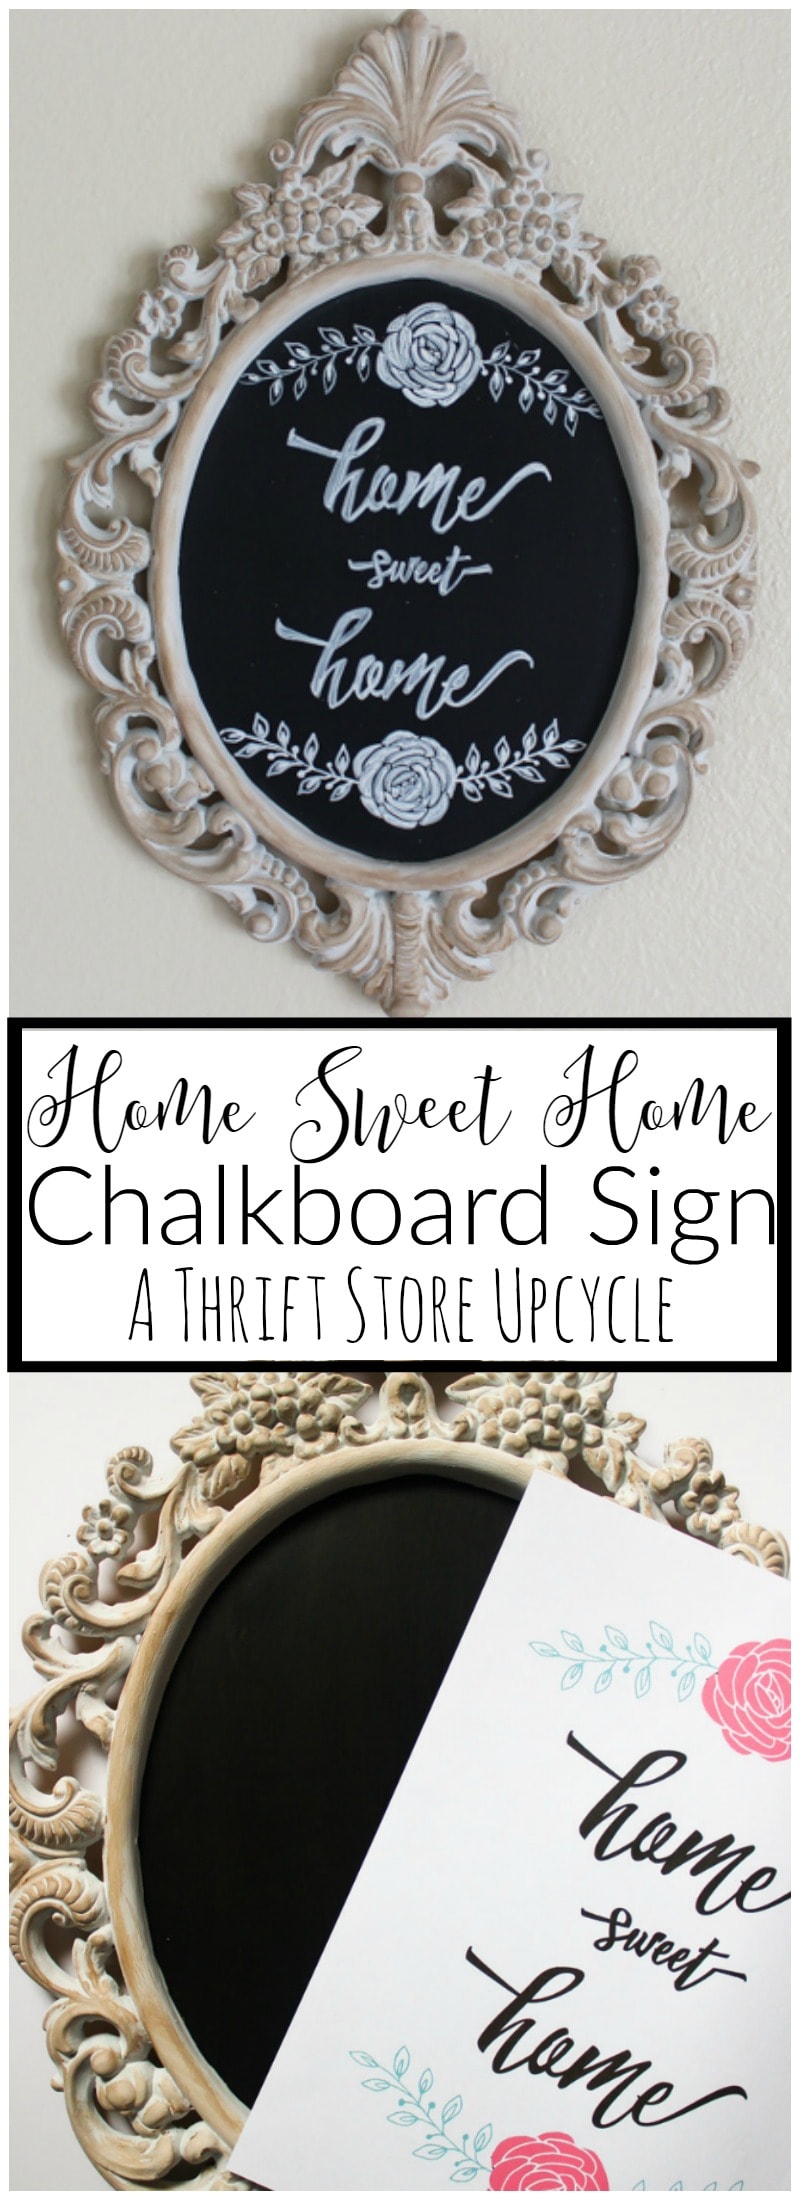
Home Sweet Home Chalkboard Sign
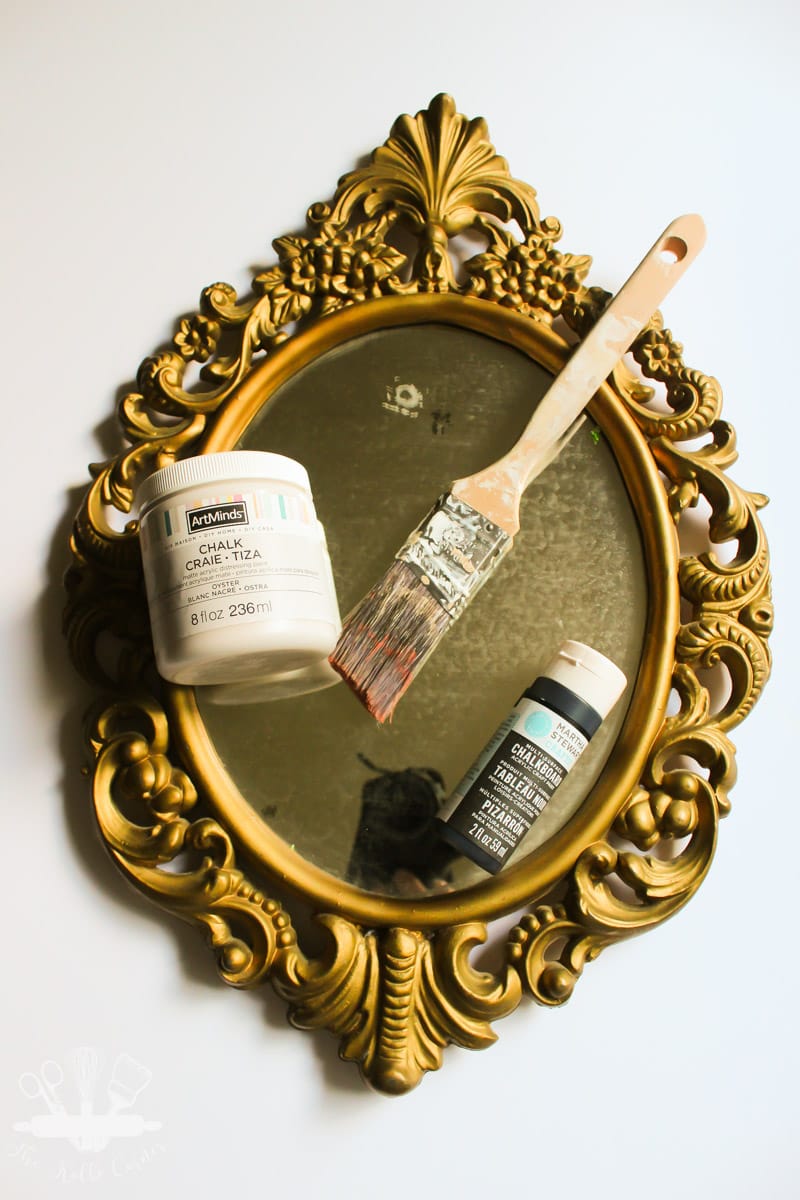
On one of my many trips to a local thrift store in town, I stumbled across this very beat up mirror that was marked down to $1.50. Most of the time I tend to get tunnel vision when I’m at thrift stores, and just can’t look past the beat up exterior of a piece. This time was different though. As soon as I saw the frame, I had this Home Sweet Home Chalkboard Sign pop in my head.
This is rare stuff folks! Most of the time I have a vision, but my final product turns out nothing like the original vision. This time, the finished version is exactly what I had dreamed up in my scattered little head.
 This was a really easy upcycle too! I used my font transfer method that I’ve used here, here, here and here. The design is something I whipped up quickly in PicMonkey and printed out. This piece will help me complete a gallery wall I am working on for my living room makeover.
The following tutorial includes affiliate links to products used for this project. I only recommend products I have personally used and loved. You can read my full disclosure policy here for more information.
How to make your own Home Sweet Home chalkboard sign:
What you’ll need:
- Decorative mirror, frame, etc (you can cut plywood to fit inside a frame)
- Chalkboard paint
- Chalk Paint
(color of choice)
- Home decor wax
- Chalk markers
- Chalk
- Paint brush and foam brush
- Printer, scissors and pencil
- Rag or papertowels
- Start by cleaning the mirror and frame really well. Remove mirror from frame and set aside.
- Using a paintbrush, paint 2-3 coats of chalk paint onto the frame. Be sure to let it dry completely between layers, and let dry completely before applying wax.

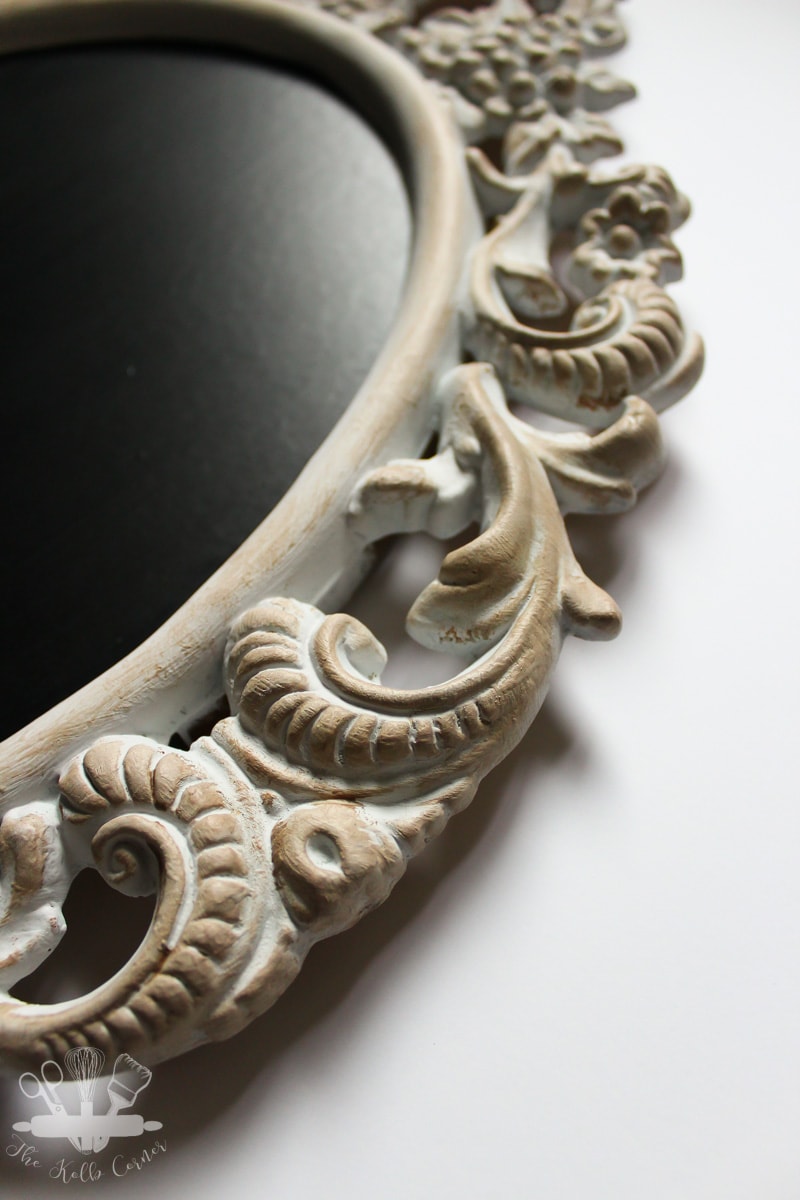
- To finish the frame, rub or brush on home decor wax, wiping away any excess. There is not an exact science to this. I used the brown antique wax to give the frame depth and an aged look.
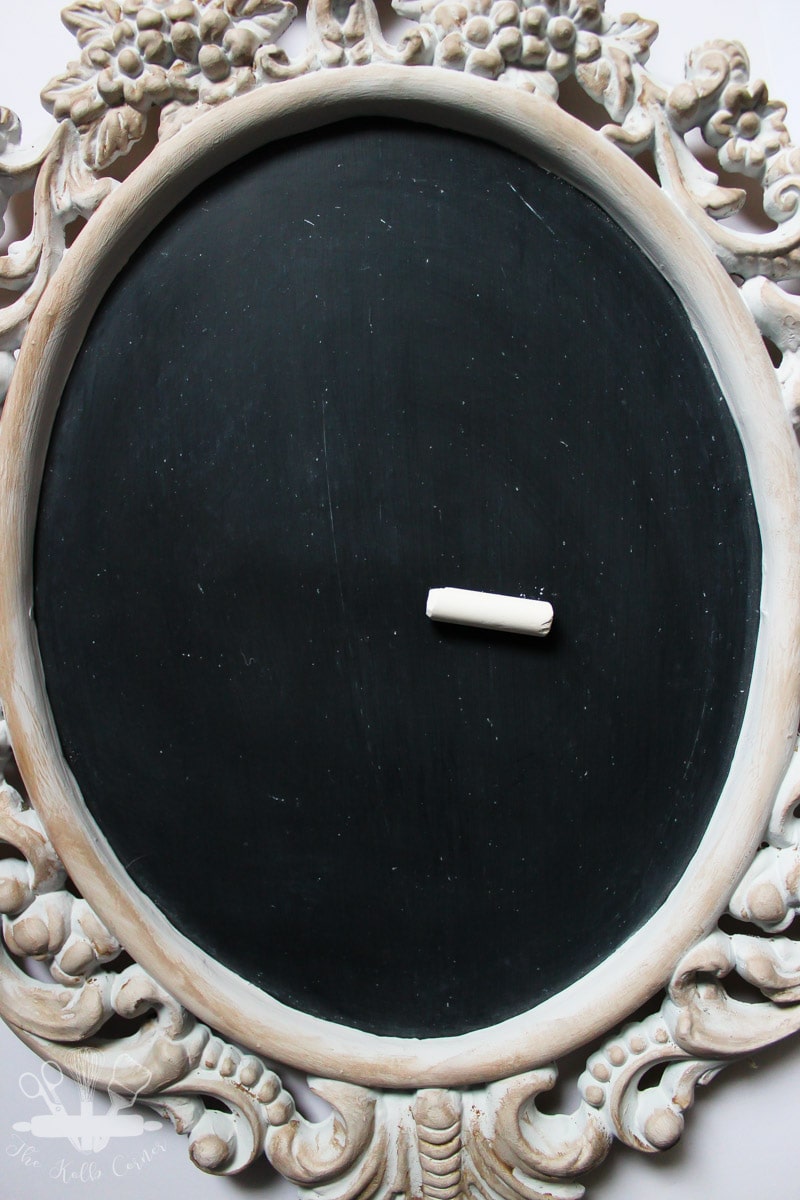
- Using a foam brush, paint chalkboard paint onto the backside of the mirror, or onto the plywood insert. I used the backside of the mirror so I wouldn’t have to use a primer that would stick to glass. Paint on 2-3 coats letting it dry between coats and dry overnight before moving on to the next step.

- Using the side of a piece of chalk, shade all over the chalkboard and wipe away with a dry rag. This will prime the chalkboard for use.
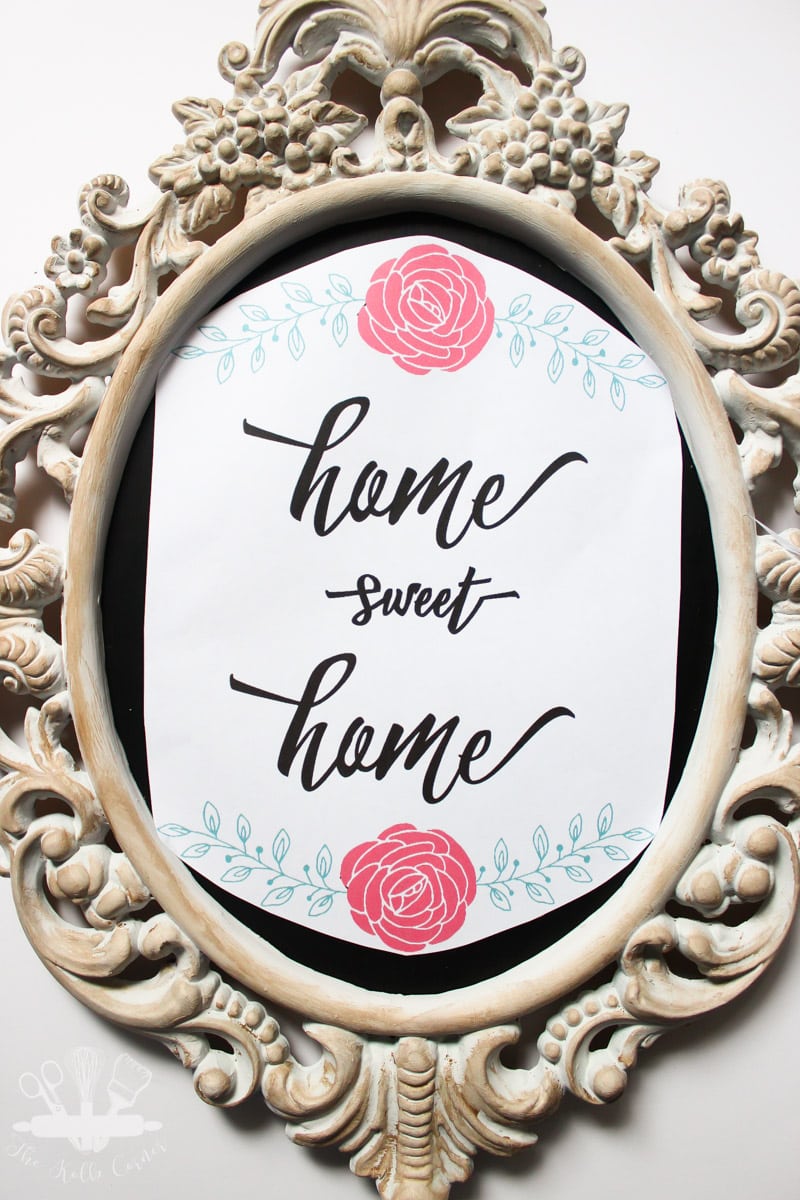
- I created my design mock up in PicMonkey, saved it as a JPEG and printed it out as an image. It fit almost perfectly in the frame.
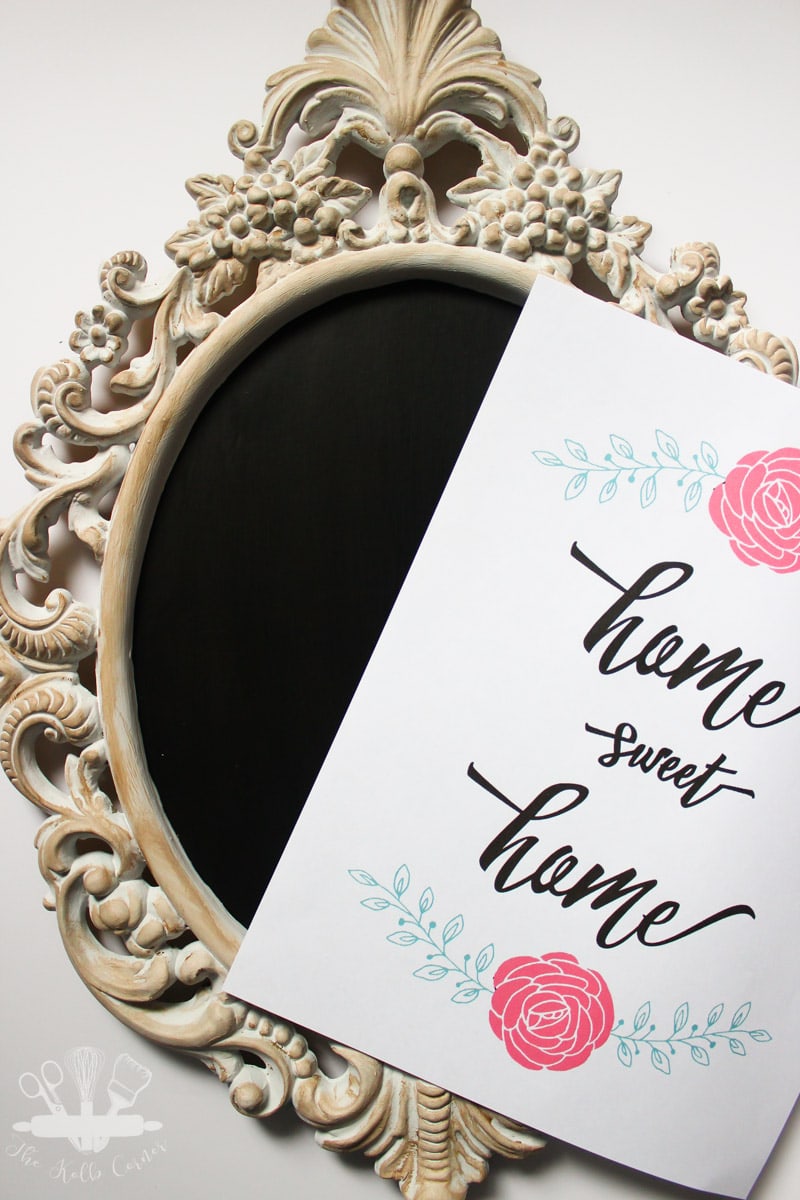
- Next, shade all over the back of the printed image with chalk.
- Flip the image over and place it to fit in your frame. Secure with tape if needed.
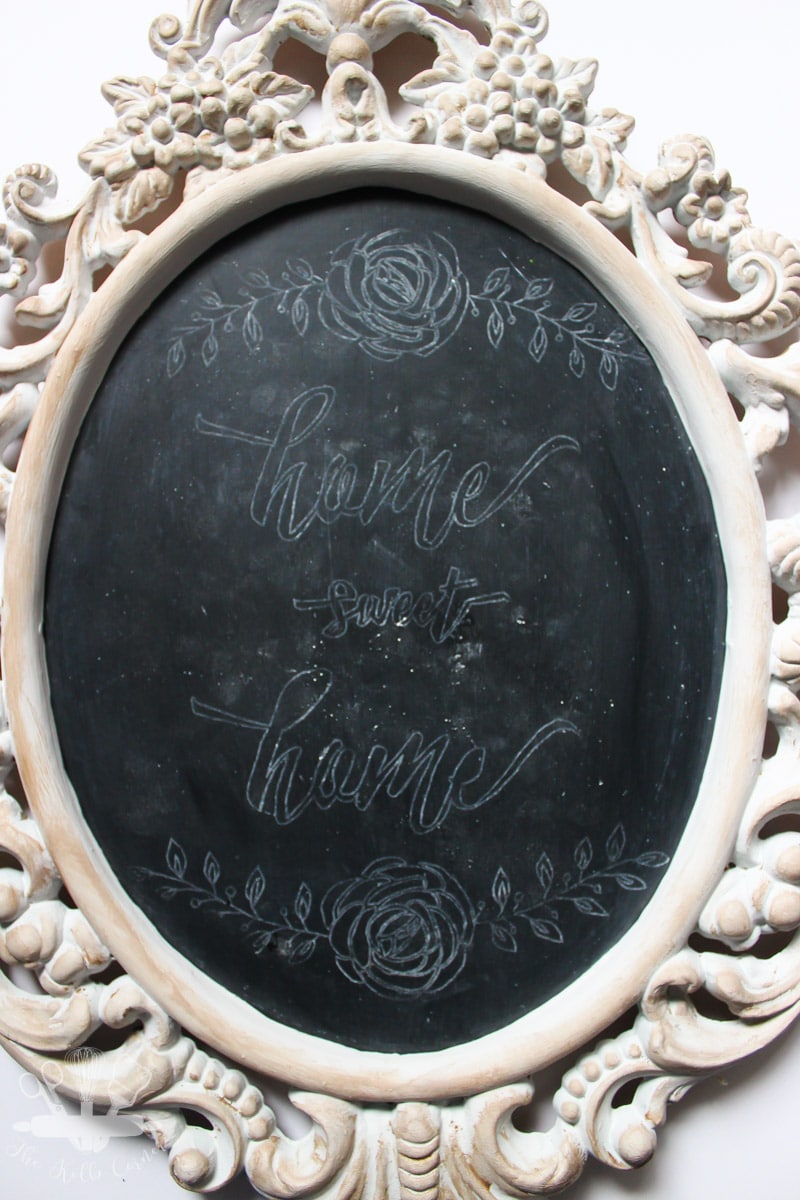
- Trace over the design using a pencil to transfer the image onto the chalkboard. Make sure to press firmly to transfer the design completely.
- Pull up the image and you should be left with a ghost chalk outline of the design.
- Using the chalk markers, trace over the chalk outline and fill in areas as needed.
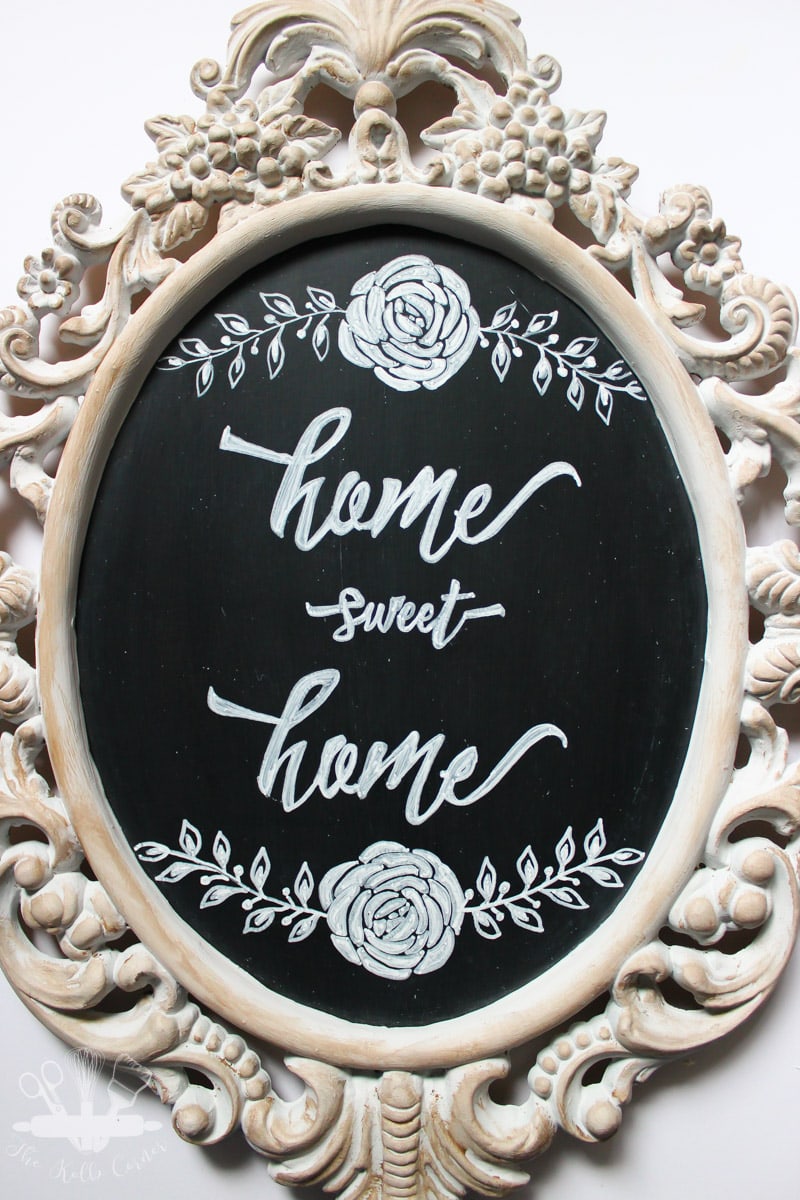
- Assemble mirror and frame back together and hang in desired spot.
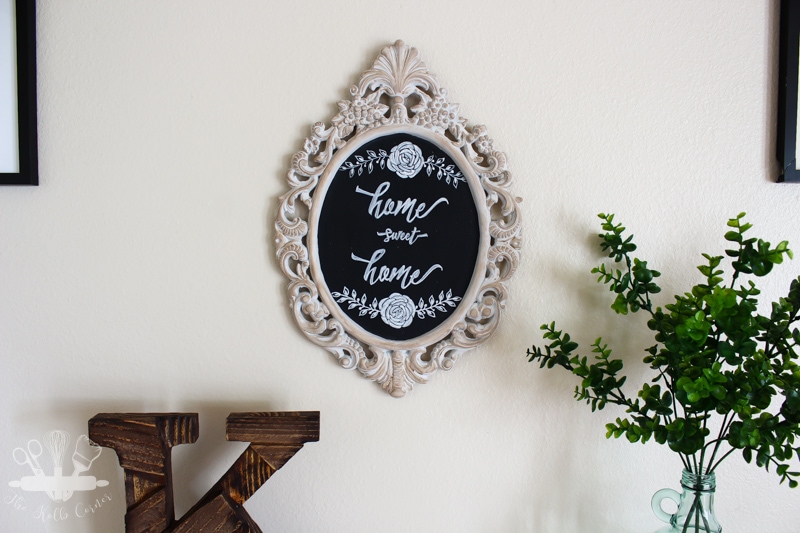
Next to my Home Sweet Home chalkboard sign is that wooden letter “K” I picked up at Home Goods a few weeks ago. I was so in love it HAD to come home with me.
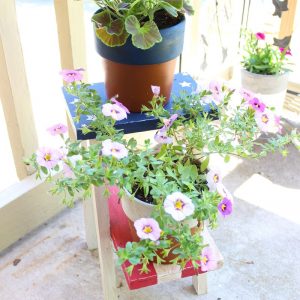
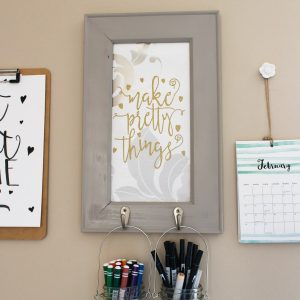
More upcycled decor:

Need some more inspiration?? Be sure to check out my fellow bloggers’ thrift store upcycle projects too!
Your chalkboard turned out perfectly!! I love it!!
Thank you Angela!
You gave the mirror a whole new look and it’s great! I would have never thought that design was from PicMonkey…looks so fancy 🙂
Thanks Erlene!
Love it! Simple and easy. 🙂 Seems very easy and I love up-cycling!
Thank you Shanna! It was really easy to upcycle.
This is really cool. I love a good thrifty upcycle and you chalkboard writing is so nice. Thanks for sharing.
Thank you Michelle!
This is new to me. I have never heard of chalkboard markers. Love the finished product. Thanks for sharing something so lovely and simple!
You need to check them out Debbie! Thank you for stoppin by.
This looks absolutely gorgeous! I love it.
Thank you Courtney!
Amanda, love the frame shape and your chalkboard drawing is so cute! It looks great hanging in your wall
What a great find. I love the finished chalkboard. Just my style!
Thank you Maureen!
I love this. The frame is gorgeous. And chalkboards can be so versatile.
Thank you Debra! I’m a bit obsessed with chalkboards, but hey what’s one more?
Your chalkboard mirror looks awesome! And the design you added is so pretty 🙂
Thank you Emily!!
I’m so glad you were able to look past the rough appearance of this piece – it’s absolutely gorgeous now! 🙂
Thank you Stacy! I fell in love with the frame and all the details of it.
I love this so much! The image is so beautiful! Great job!
Thank you Michelle!
This mirror makes a perfect chalkboard and it’s going to look great in your living room as a part of your gallery wall.
Thanks so much for organizing this challenge. I had so much fun reading through all of the projects and getting inspired.
Thank you Paula! I can’t wait to get my gallery wall together.
Amanda, this turned out beautifully! You’d think you got it at a high end decor store!
Thanks Chelc! I’m happy with it.
I have almost the same frame! I love the idea for transferring chalk! So much easier than most ways I’ve seen! Pinned!
Kim
Thanks Kim!
Your chalkboard is perfectly adorable! I’ve been trying out a few different transfer methods lately and this one is one my list – the results are terrific.
Thank you so much for organizing the challenge – maybe we can make it a monthly event? 🙂
Thank you Julie! You should give the transfer a try, it is really simple to do!