How to Draw on a Chalkboard Like a Pro
Learn my hack to draw on a chalkboard like a pro so that you can display some beautiful chalkboard art in your own home.
This post may contain affiliate links for your convenience. Read our disclosure policy.
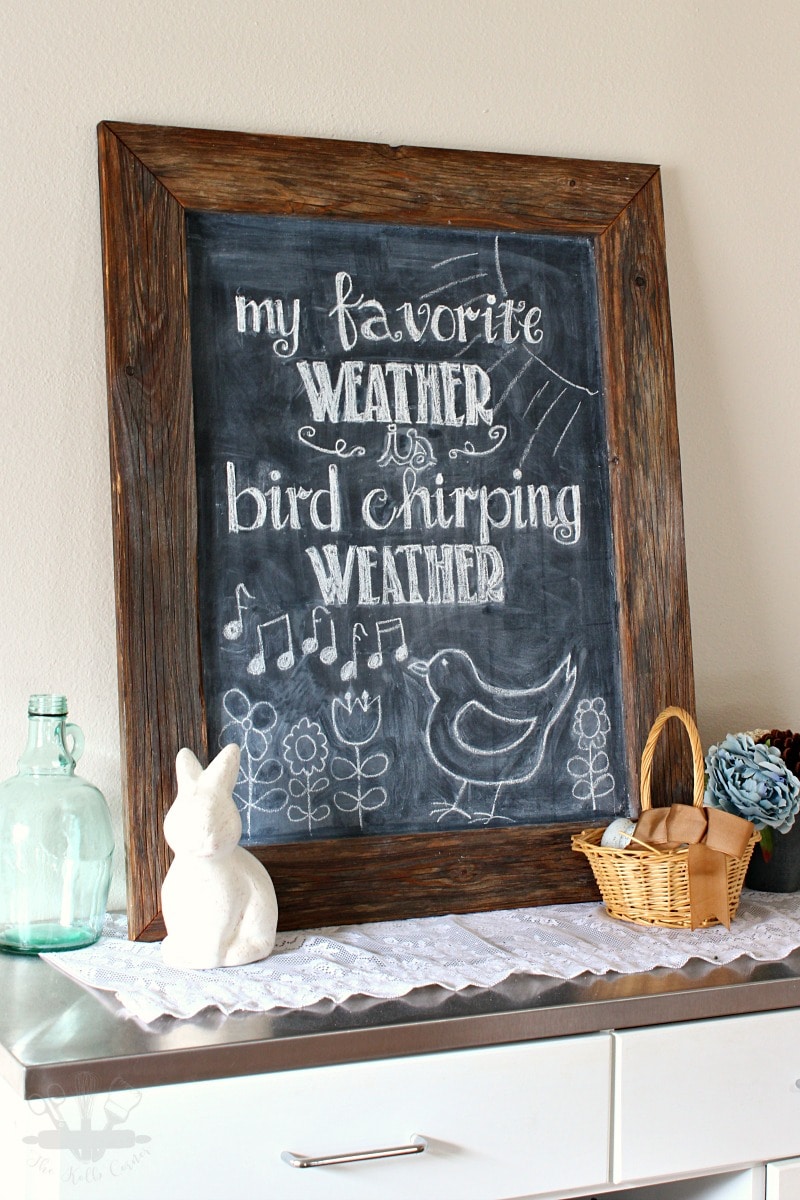
I’ve already shown you how I cheat at making hand painted artwork with my font transfer method, but now I want to show you exactly how I make my chalkboard art look so polished. At least in my eyes. We’ve all seen them floating around Pinterest–those perfectly decorated chalkboards that look like a professional artist spent hours getting it to look just right.
If you’re a DIYer like me and have the “I can do that too” attitude, then you’ve been wondering exactly how you can achieve that beautiful chalkboard art without having even the slightest artistic ability. Well, it took me a few tries, but I finally have it down. And the best part? It’s pretty easy!
How to draw on a chalkboard like a Pro:
What you’ll need:
- Chalkboard (see how I made mine here)
- Chalk*
- Chalk pencils* (AKA transfer pencils)
- Skinny Chalk* (optional)
- Q-Tips
- Glass of water
- rag
- ruler
- pencil
- Print out of your mockup
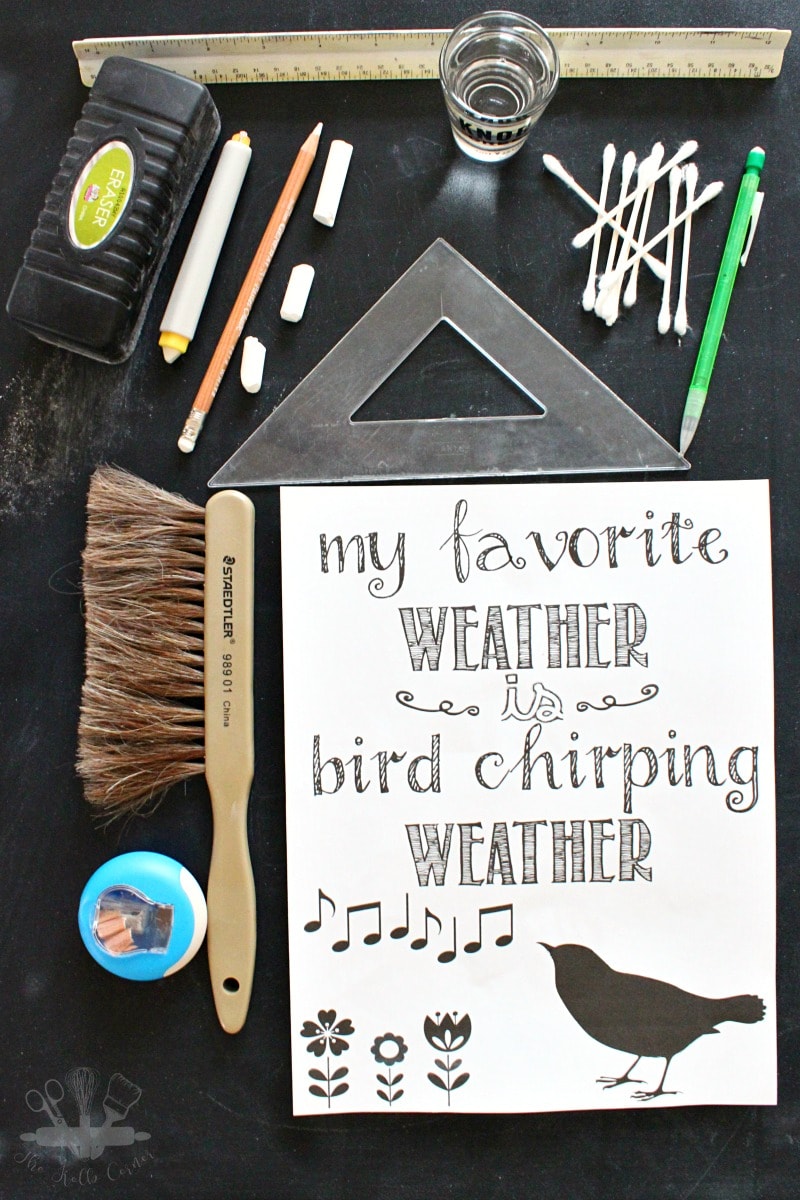
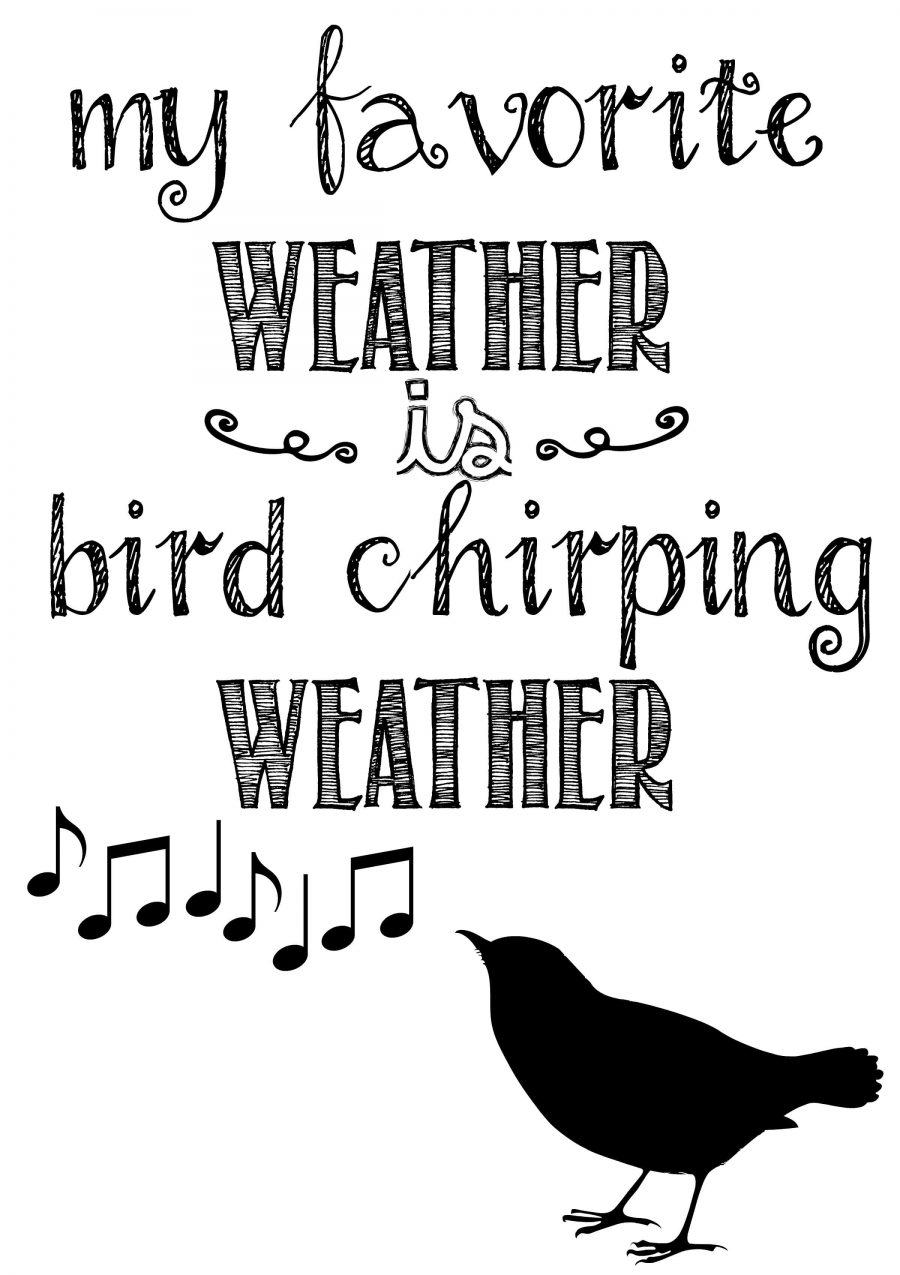
I always start out by drawing a mock up of what to put on the chalkboard. For mine I like to do a theme to go with the season. This time I stuck with a Spring theme since here in Texas we haven’t really gotten a Winter. I make these mock ups in PicMonkey, but you could use MS Word, Publisher, Photoshop or another source. Canva is great if you are considering using graphics in your mock up as well because there are so many different options.
Next is the more difficult part–making grid lines on your chalkboard and paper. I make my grid lines 1″x 1″ on the mock up and do the same amount of boxes on the chalkboard but make them 2″ x 2″. If you have a huge chalkboard you may want to do 3″ or 4″ boxes. For example, I had eight 1″ boxes across the width and eleven 1″ boxes for the height of the paper mock up. So on my chalkboard I made my grid of eight 2″ boxes across the width and eleven 2″ boxes for the height. This will make my final art twice as big as the paper mock up.
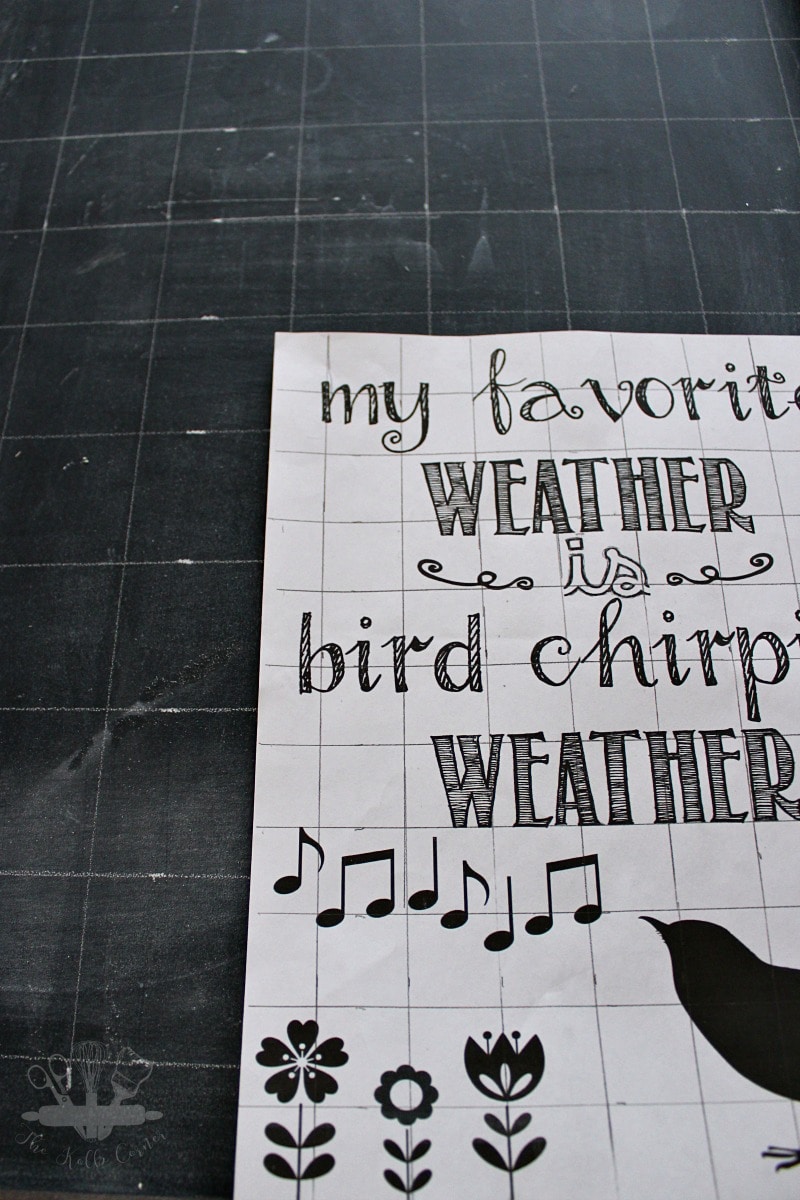
Ok now the fun part- actually drawing on the chalkboard! For this I like to use the chalk pencils because they are thin, and light. For me it’s easier to draw with initially. Basically going one grid box at a time, draw each letter onto the chalkboard, making sure to keep the box you are working in equal to the box the characters are in on the mock up. See in the picture below how the stalk of the “m” starts in the corners of the first four grid lines in both the mock up and the chalkboard? Don’t worry about shading in or anything else at this time. Just draw in the basic shapes and outlines.
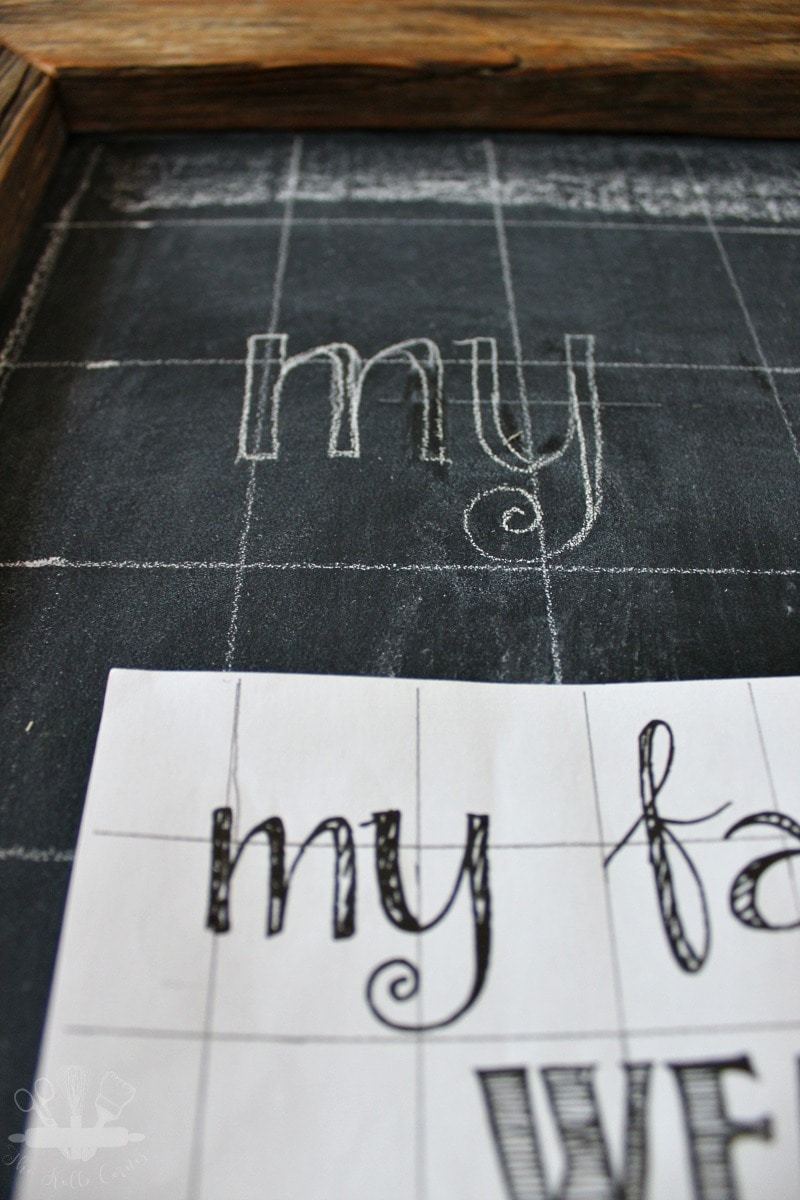
Don’t worry about shading in or anything else at this time. Just draw in the basic shapes and outlines. This part will be a little tedious but the end result is well worth it. Keep going until you have all of the chalkboard done.
Next, use a regular piece of chalk to go back over the outlines and fill in. This will give the chalk art some umphf! Here’s a tip–dip the tip of the chalk into the glass of water to make the chalk go on smoother and darker.
Using the Q-tips and/or a wet rag, go through and touch up any areas that may need it. I prefer using the Q-tips for getting into smaller more detailed spots, and the wet rag to wash off the grid lines.
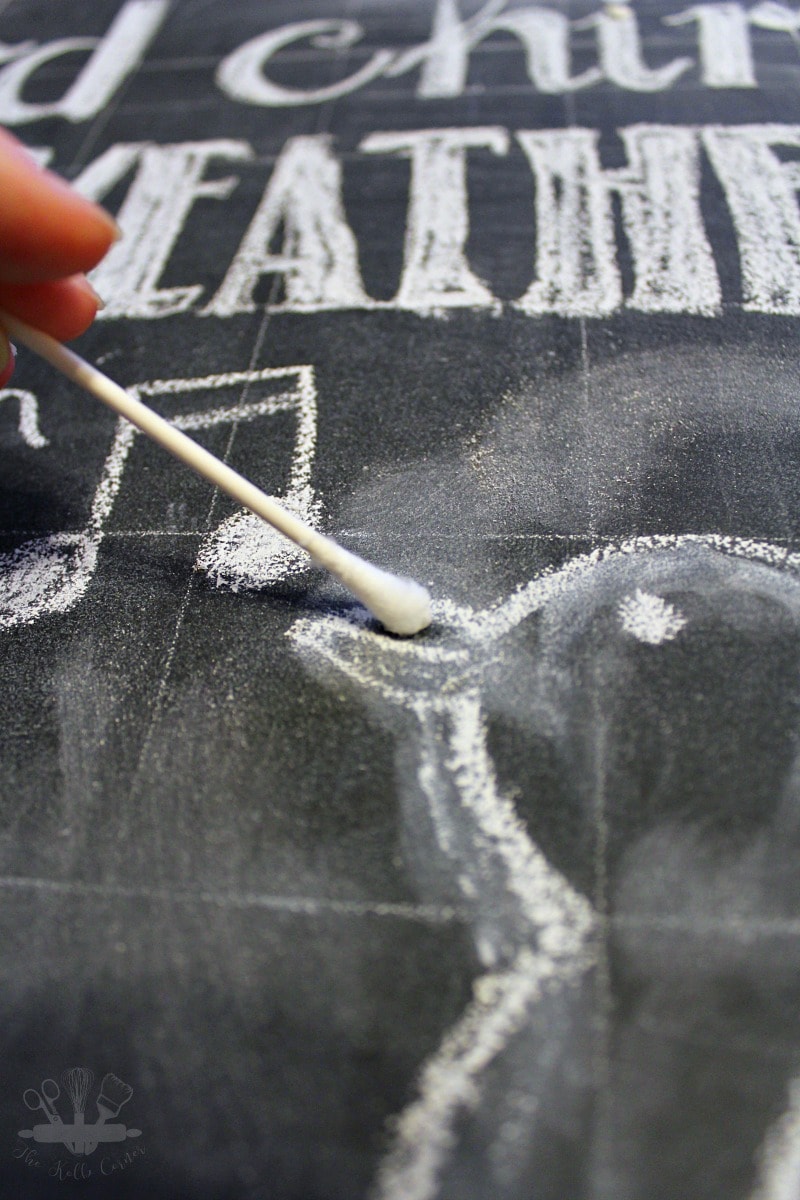
Once everything is touched up, and the grid lines are erased, stand back in awe of your creation!
As you can see I decided to change up my bird graphic for a more whimsy look and changed the flowers around a little. And I just couldn’t help myself from getting out a few little Spring/Easter decorations to offset it.
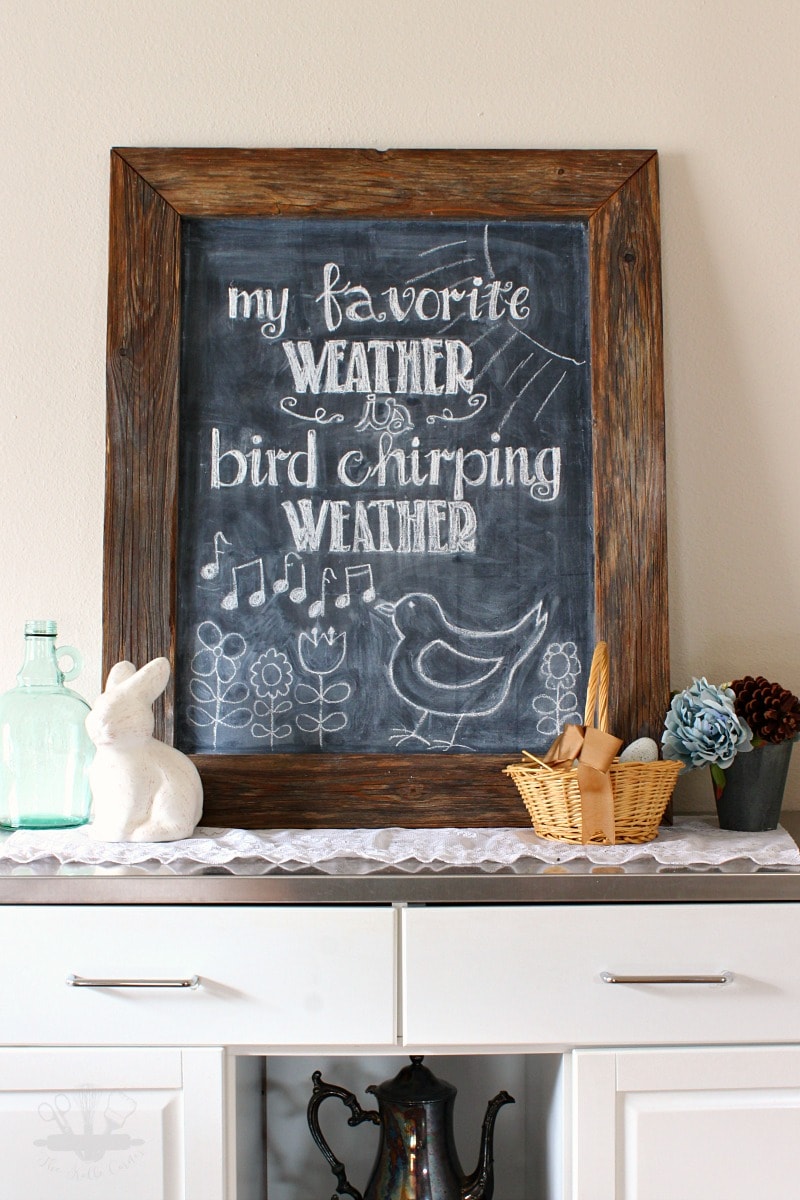
So now you know the secret to faking artistic abilities and how to draw on a chalkboard like a pro. Go forth my friends and conquer those empty chalkboards once and for all!
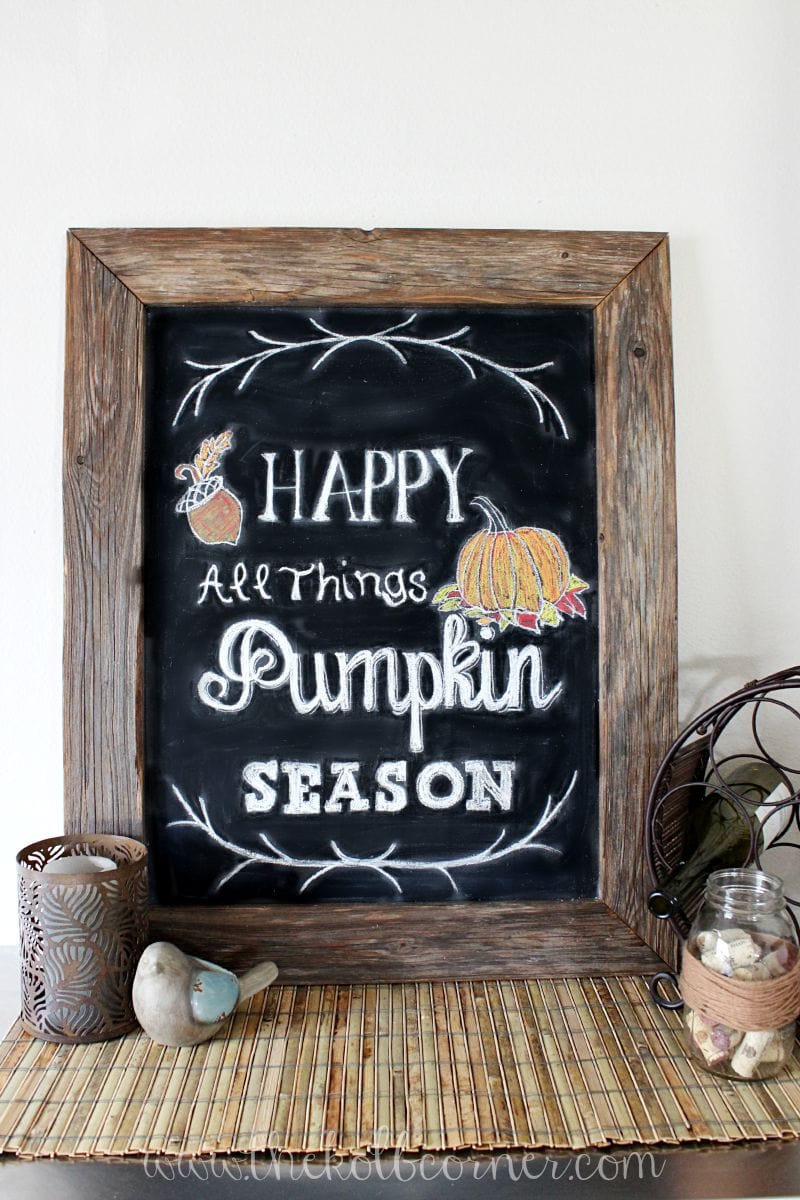
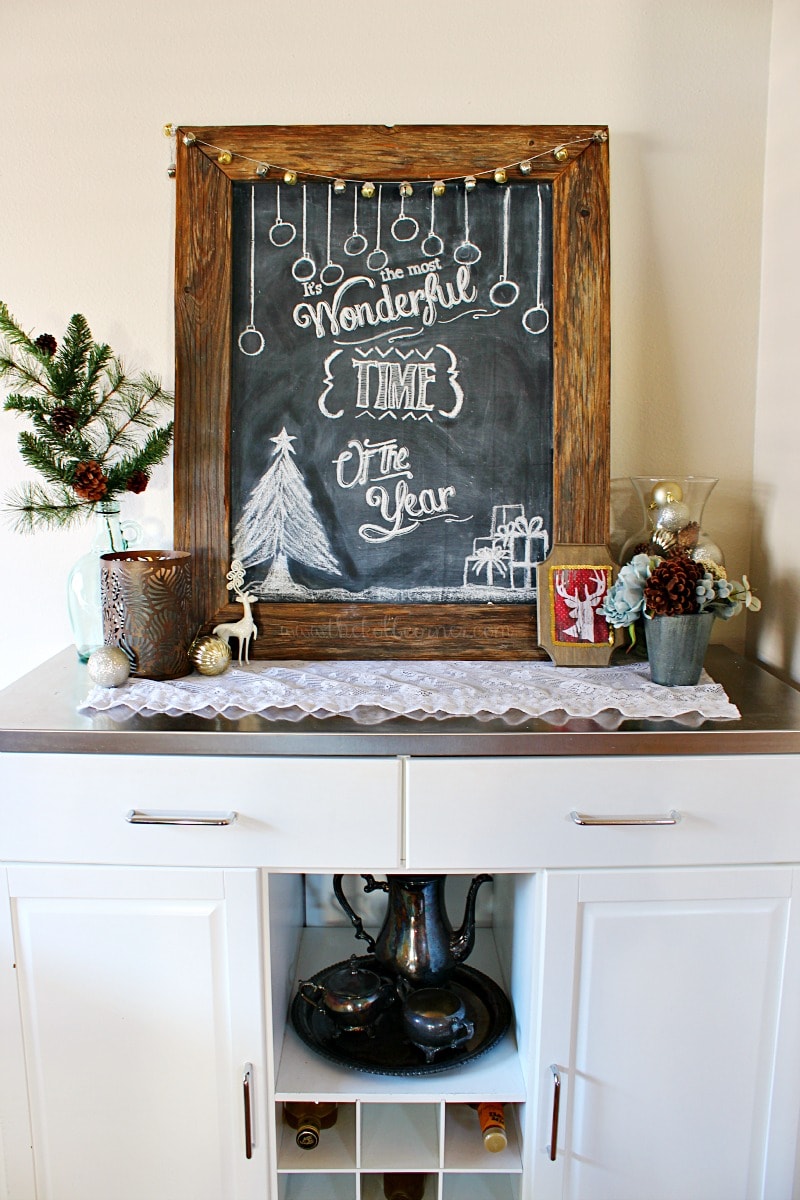
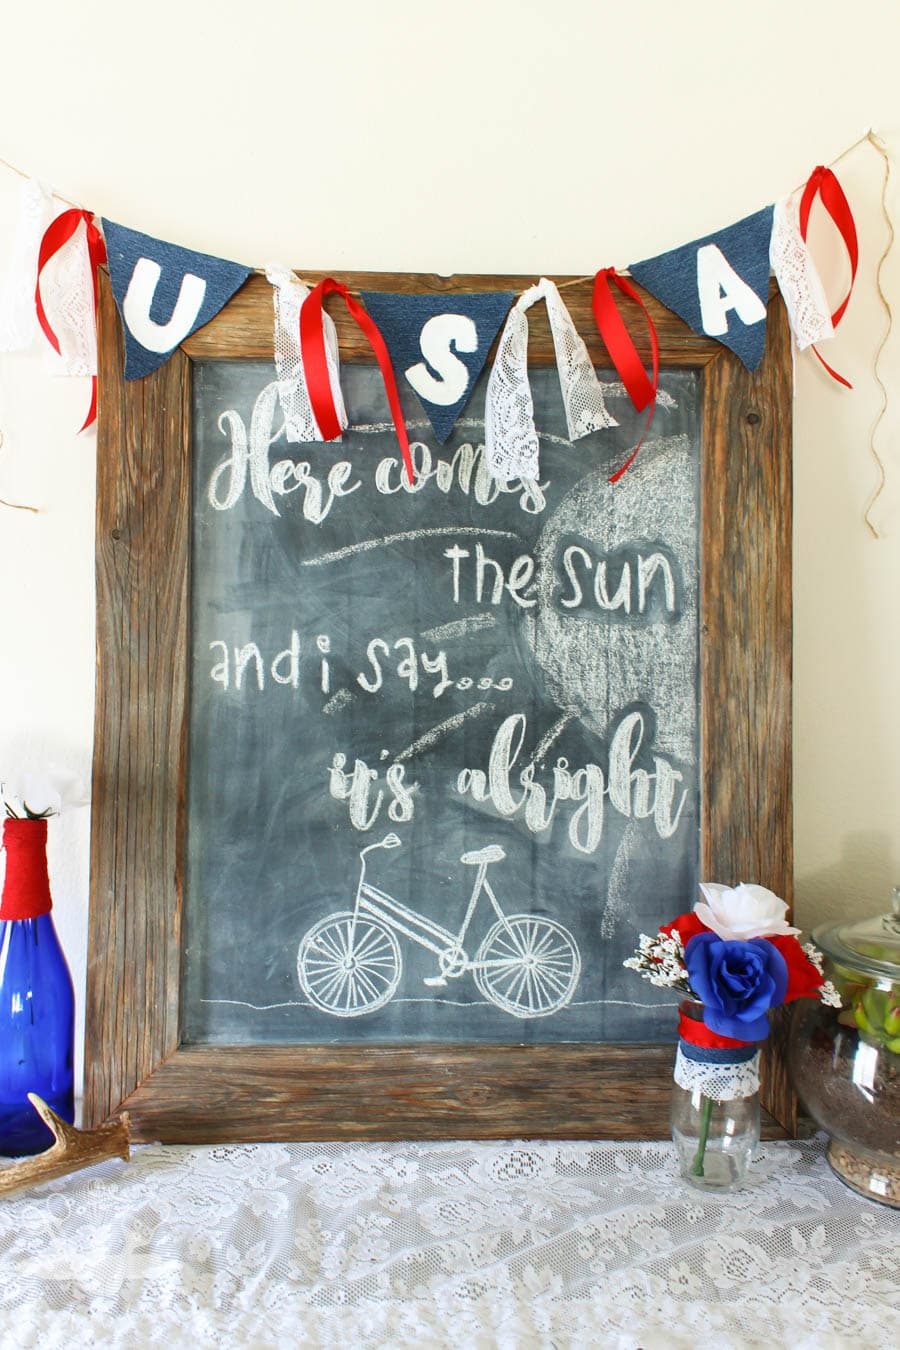
Check out these other chalkboard drawings


Amazing! I feel like I know a dark little secret now. I always wondered how on earth people could write/draw so perfectly, especially on a chalkboard. Apparently, I can too! Thanks for the tips
Yes Angie anyone can do it this way!
Great job lovin your little birdy~ Sharing on FB #merrymonday
Thanks Kim!